Top Posts
Kigali Travel Guide: Two Weeks in Kimihurura
3 Days in Doha: Things to Do, See & Eat
Qatar Airways Stopover in Doha: How It Works & Our Experience
Best Day trips from Sendai
Sendai Travel Guide: What to Do, Eat and Where to Stay
A Self-Guided Art Walk in Kigali: Exploring Kacyiru’s Art Centres
Windhoek Travel Guide: Is Namibia’s Capital Worth Visiting?
Kibiji Cycling Route Rentals: A Day Trip from Okayama
Okayama Travel Guide: A Practical Base for Kurashiki and the Kibi Plain
Is Tottori Worth Visiting on a Japan Trip?
LBSB World
  • Home
  • Destinations
    • Africa
      • Namibia
      • Rwanda
    • Asia
      • China
      • Indonesia
      • Japan
      • Qatar
    • Europe
      • Albania
      • Bosnia-Herzegovina
      • Croatia
      • Montenegro
      • Netherlands
      • North Macedonia
      • Serbia
    • North America
      • Dominican Republic
  • Travel itineraries
  • Plan your trip
  • About Us
    • About Sam & Livia
    • The Story Behind Our Full-Time Travel Life
    • abearcalledpaddington
Author

Sam

  • Author Profile
  • Posts by the Author
  • Best Day trips from Sendai
  • Sendai Travel Guide: What to Do, Eat and Where to Stay
  • Kibiji Cycling Route Rentals: A Day Trip from Okayama
  • Okayama Travel Guide: A Practical Base for Kurashiki and the Kibi Plain
  • Is Tottori Worth Visiting on a Japan Trip?
  • How to Find the Abandoned Kurayoshi Railway Line
Sam

I design and execute structured, scalable digital ecosystems that integrate SEO, AEO, UX and analytics into commercially focused marketing strategies. I also travel full-time!

Your Banana Called!
Japan

Is Mojiko Worth Visiting? A Retro Port Stop Before Honshu

by Sam July 17, 2026
written by Sam

Mojiko, also known as Mojiko Retro, is a small port town at the northern tip of Kyūshū, just across the Kanmon Strait from Honshu. It isn’t the kind of place we’d tell you to cross Japan for on its own, but as a short stop before heading towards the San-yō or San-in Line, it worked beautifully.

Mojiko was our second stop on our 23 day slow regional train route through western Japan, and it made a charming pause before crossing from Kyūshū to Honshu.

It has a beautifully restored old train station, retro streets, sea views, banana-themed everything, curry, museums, a wharf, and one of the best-value hotel rooms we had on the whole trip. It’s compact, easy to explore, and ideal for one or two relaxed nights.
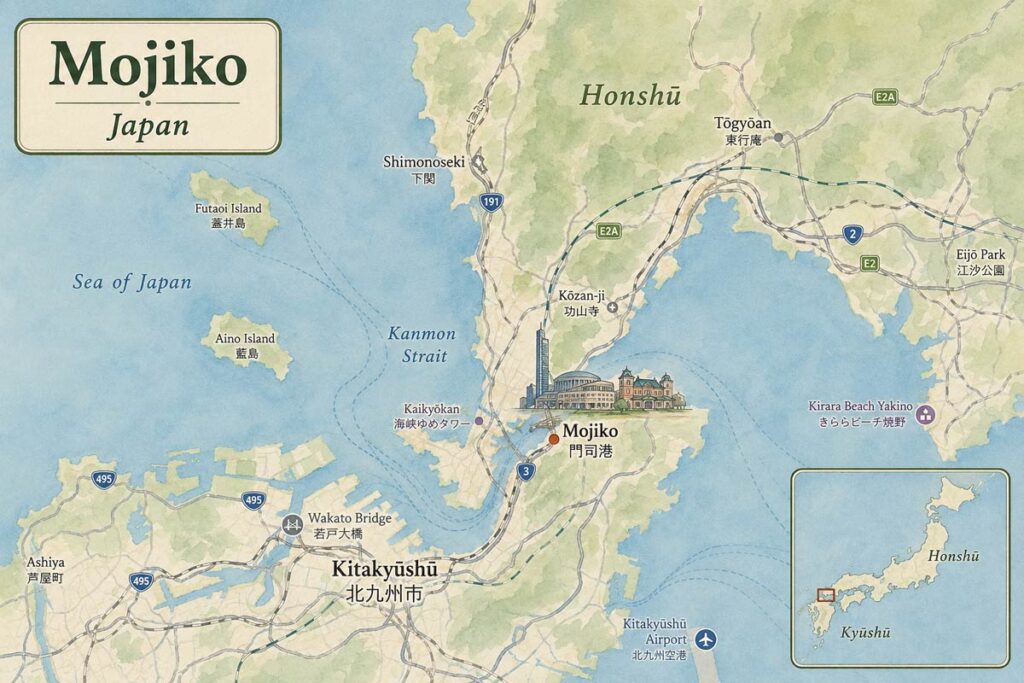
Mojiko Map
Mojiko Map
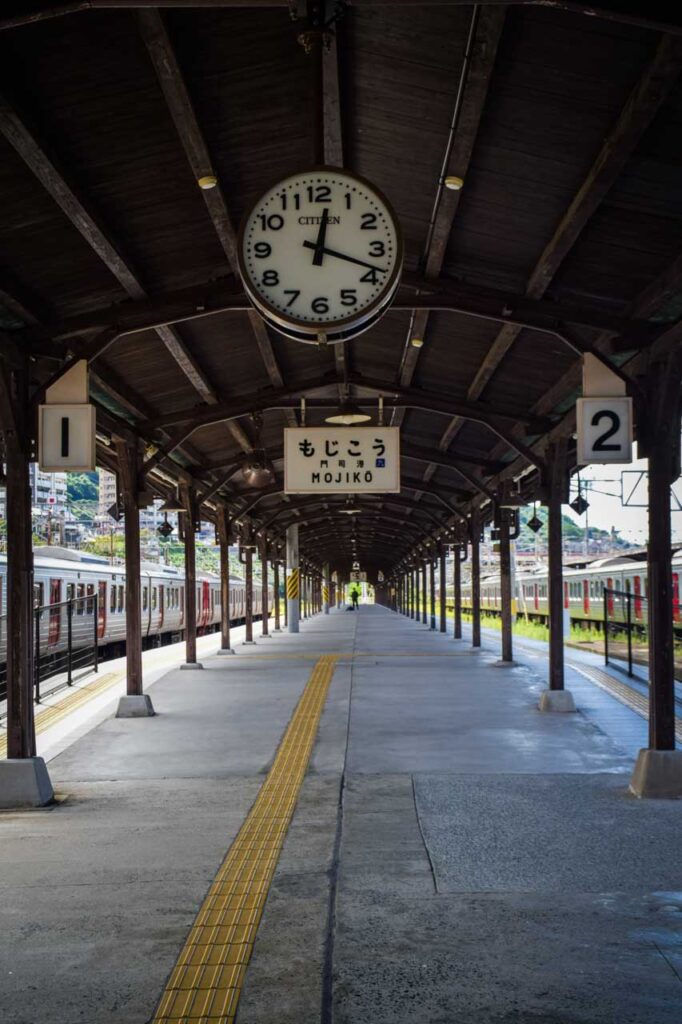
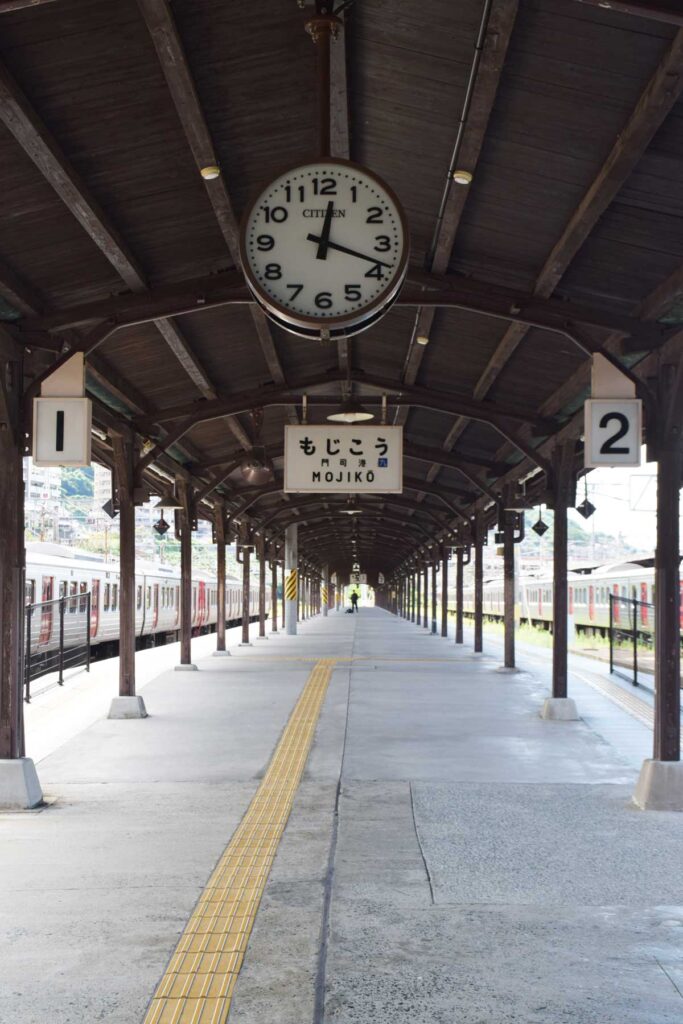
Mojiko Train Platform
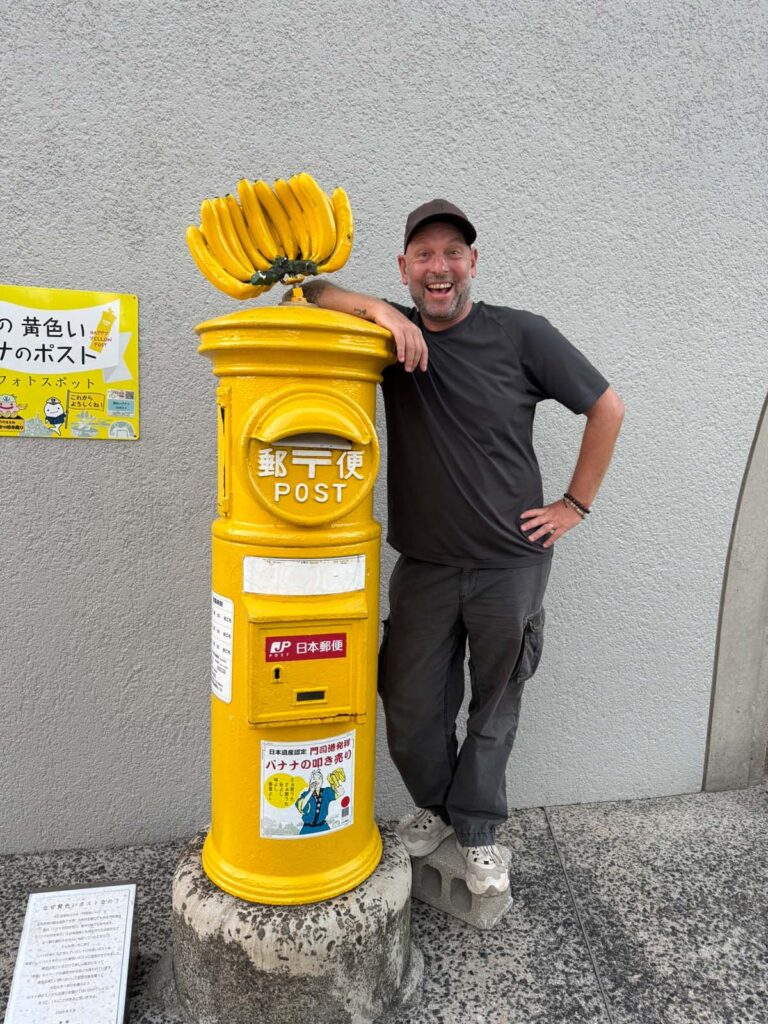
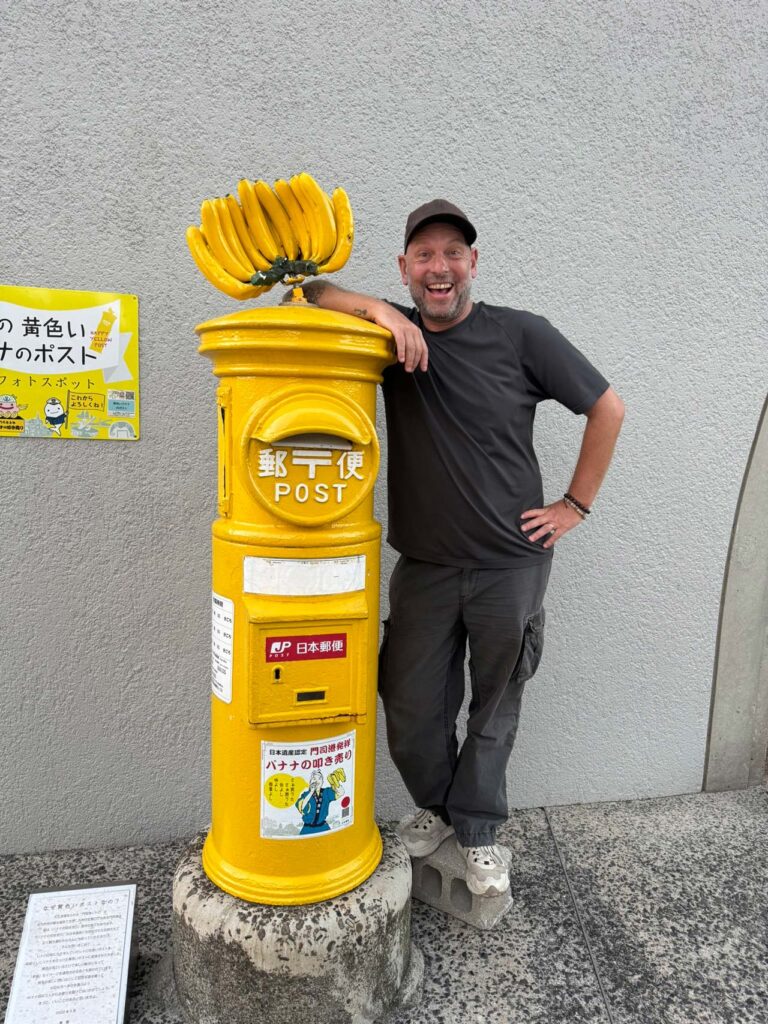
Even the postbox features bananas!
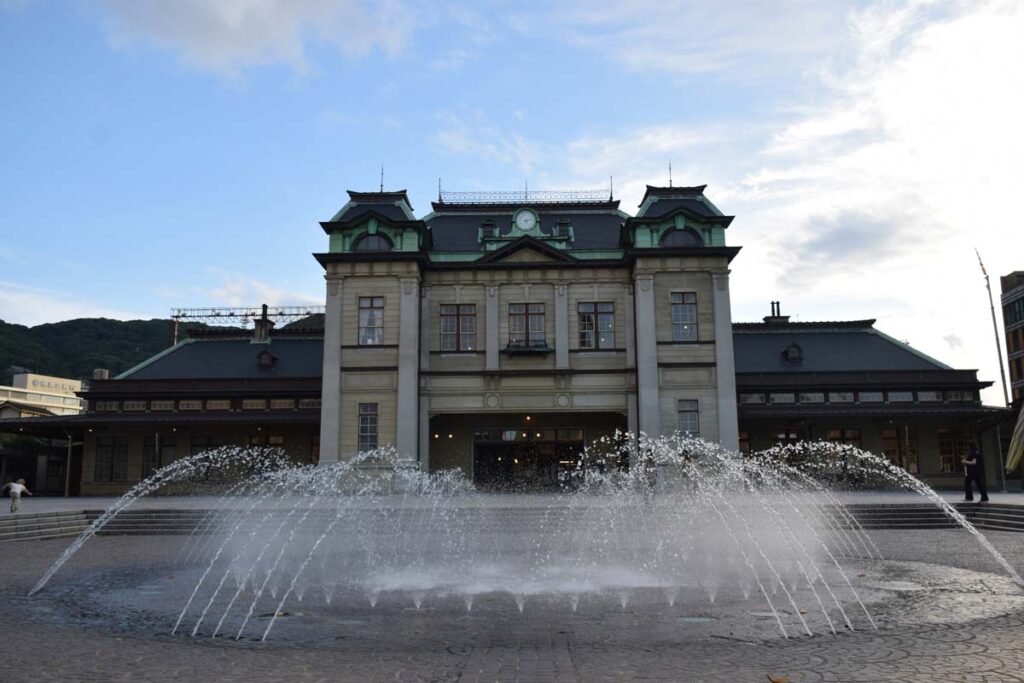
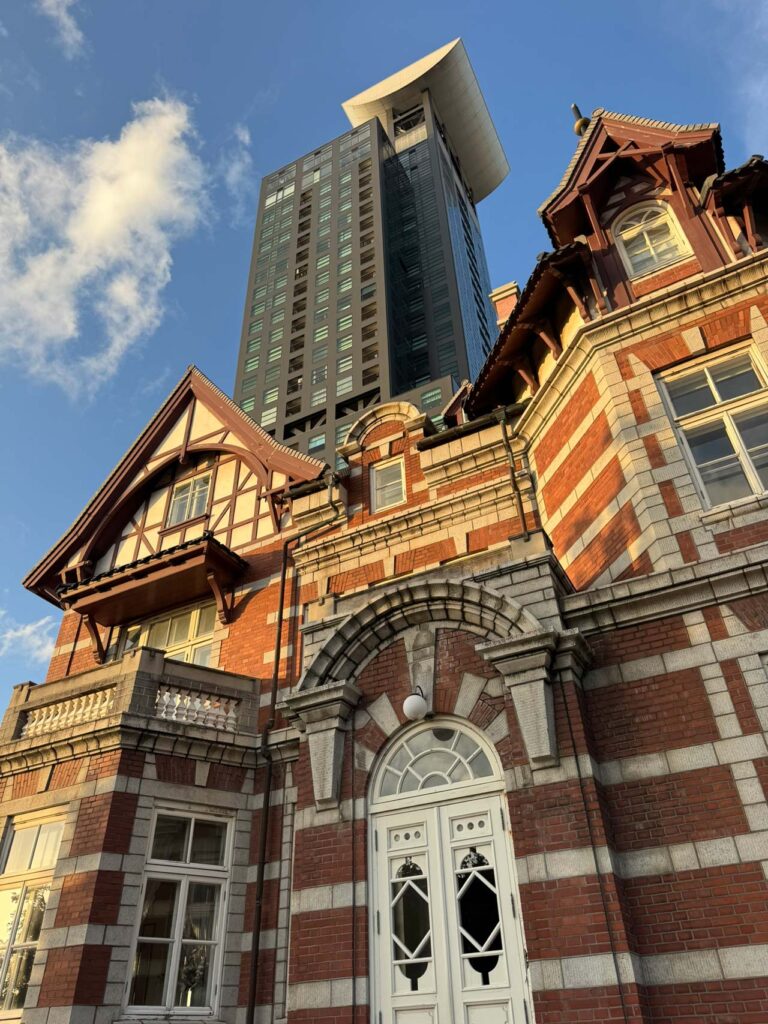
The charming Mojiko Train station

Why Visit Mojiko?

Mojiko is worth visiting if you enjoy small historic towns, retro architecture, quiet waterfronts and slightly quirky places. It doesn’t have the scale or drama of Japan’s major tourist cities, but that is part of the charm.

The town is branded as “Mojiko Retro”, and the area around the station and waterfront has a nostalgic, early 20th-century feel. You’ll find old buildings, sea views, museums, cafés, curry restaurants and the famous Bananaman statue.

It’s also a practical stop if you’re travelling by regional train. From Mojiko, it’s easy to continue towards Honshu and connect with Shimonoseki before heading along the San-yō or San-in route.

Where to Stay in Mojiko

We stayed at Premier Hotel Mojiko, and it was the biggest and best-value room of our entire 23 day slow regional train trip through western Japan.

The hotel is right by the waterfront, close to Mojiko Station, the wharf, restaurants and the main retro area. Our room had lovely views over the port, and the location made everything easy to reach on foot.

For a short stay in Mojiko, we’d recommend staying close to the station or waterfront. The town is small, so being central means you can arrive by train, drop your bags and start exploring almost immediately.

Things to Do in Mojiko

Take Your Time at Mojiko Station

Mojiko Station is one of the loveliest things about arriving here, so don’t rush off the platform as soon as your train pulls in. Take a moment to turn around, look back and enjoy the retro station atmosphere before heading out.

The station building itself is beautiful from the outside too, with a restored historic design that sets the tone for the rest of Mojiko Retro. It’s not just a transport stop; it’s part of the experience.

The charming Mojiko Train station

Wander Around Mojiko Retro

The main Mojiko Retro area is compact and easy to explore on foot. You’ll find old buildings such as the Former Moji Customs Office, waterfront views, small museums, cafés, restaurants and plenty of banana-themed details scattered around town.

It’s a nice place to wander without a strict plan. The charm is mostly in the atmosphere: the old station, the wharf, the sea air and the slightly unusual retro branding.

Find the Bananaman Statue

One of Mojiko’s quirkiest claims to fame is its banana connection. Bananas became linked with the town because Mojiko was once an important port for imported bananas, especially from Taiwan and Southeast Asia. Over time, banana selling and “banana叩き売り” street performances became part of the town’s identity.

Today, that history shows up in a much sillier way: banana souvenirs, banana curry, banana signs and the Bananaman statue near the waterfront. It’s odd, but fun, and very Mojiko.

Visit Mojiko Retro Observation Gallery

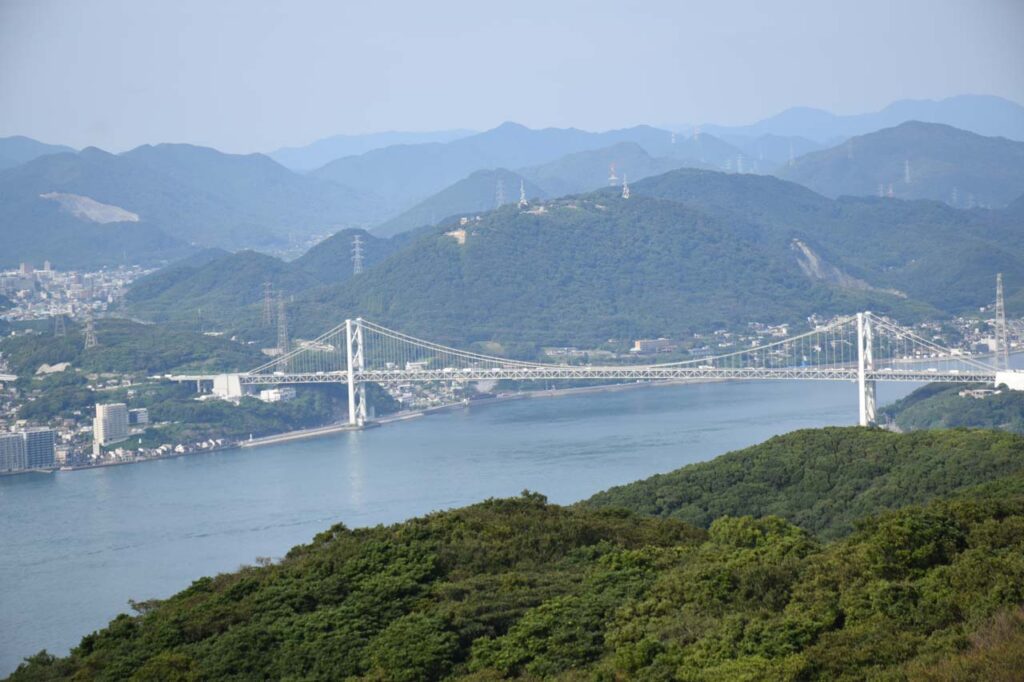
The Mojiko Retro Observation Gallery is one of the best places to get a proper view over the town and the Kanmon Strait. From above, you can see Mojiko’s waterfront, the bridge, the sea traffic and Honshu across the water.

It’s especially useful early in your visit because it helps you understand how the town sits between Kyūshū and Honshu. Mojiko is small, but from the observation deck, the location feels much more dramatic.

Strait views from the Kanmon Museum rooftop
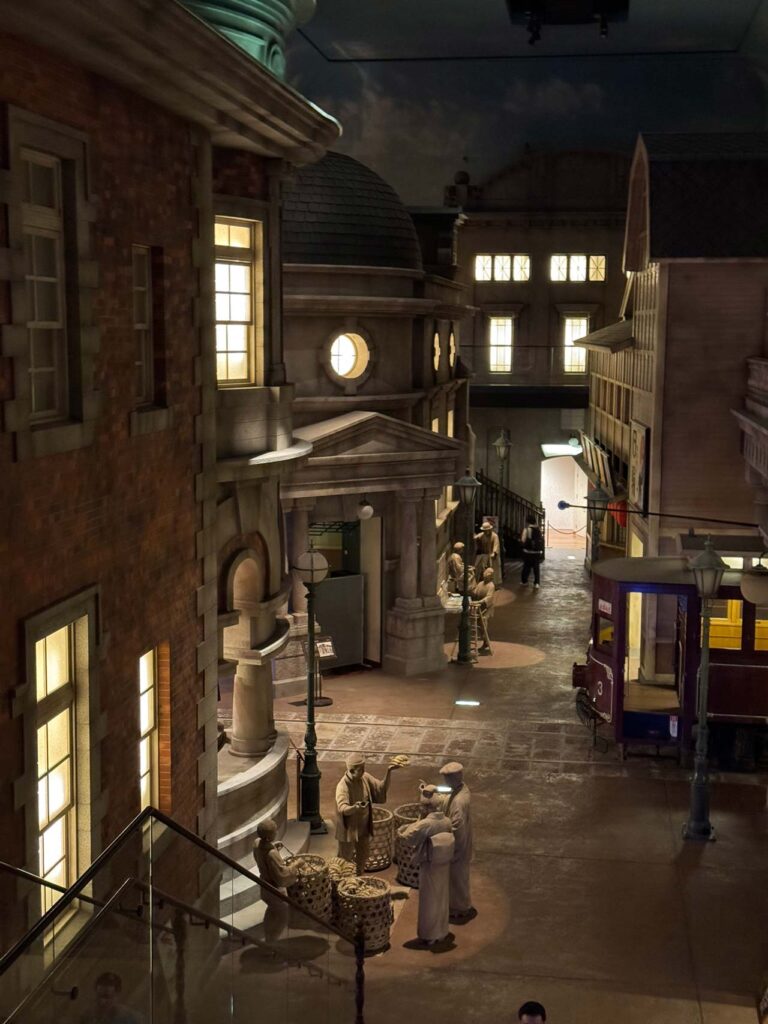
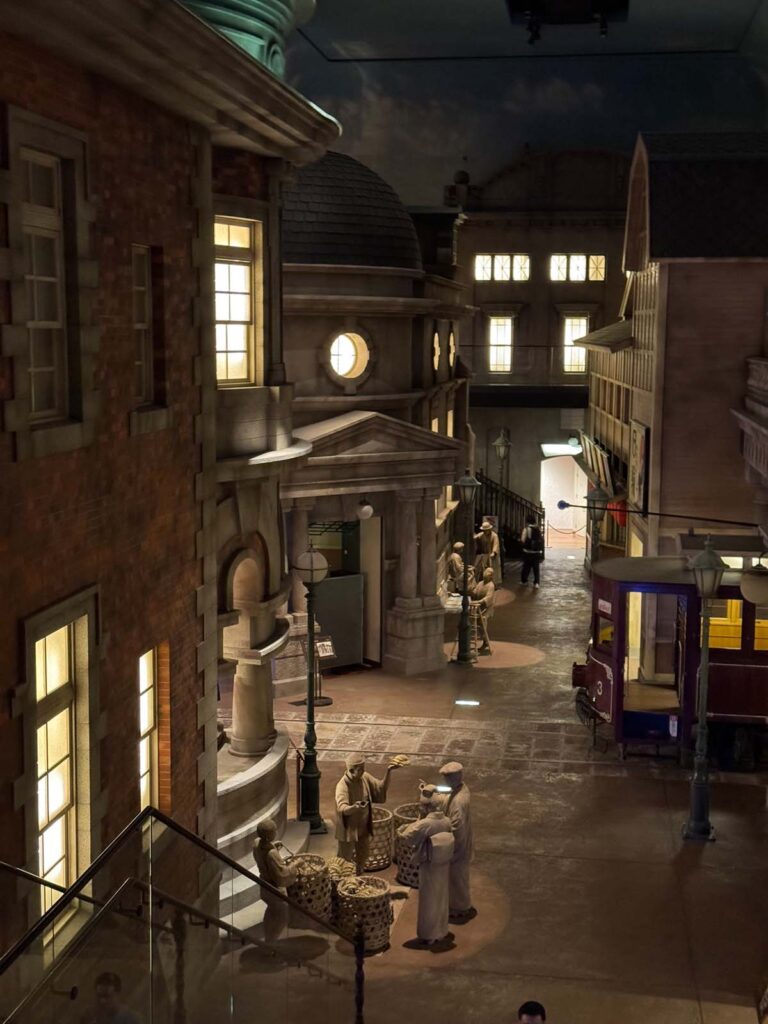
Retro vibes at The free exhibition area on the first floor of the Kanmon Strait Museum

Visit the Kanmon Strait Museum

The Kanmon Strait Museum is close to the waterfront and focuses on the history and culture of the strait between Kyūshū and Honshu. We especially liked that you can go up to the café area for free and enjoy the views.

Even if you don’t spend much time in the museum itself, the building is worth stopping by for the location. The café views make it an easy and low-effort break while walking around Mojiko.

Stop at Retro Mojiko Old Street Museum

Adjoining the Kanmon Strait Museum is The Retro Mojiko Old Street Museum, also known as 海峡レトロ通り, is free to visit and gives you a small glimpse into the town’s nostalgic side. It’s not a huge attraction, but it fits well with the retro theme of the area.

For a short Mojiko itinerary, it’s a good quick stop between the station, wharf and observation area. You can walk quite easily to all three.
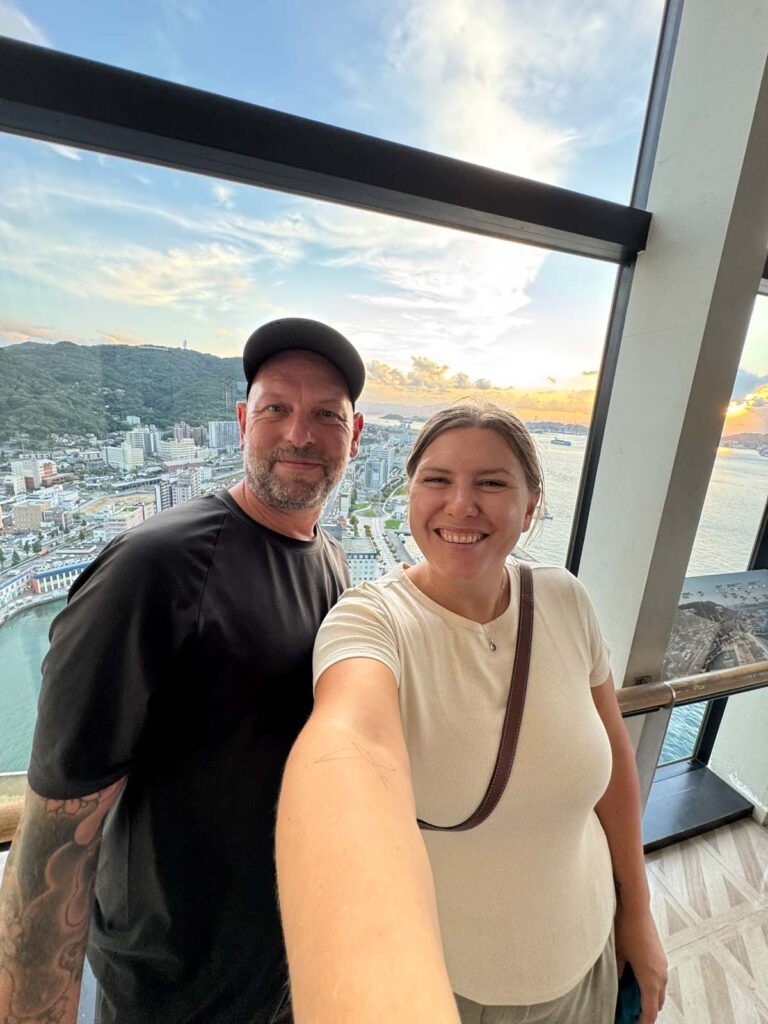

Views from the top of the Mojiko Retro Observation Gallery
Sunset views from the top of the Mojiko Retro Observation Gallery
The Old Mitsui O.S.K. Lines Ltd. Building

Hike to Mt. Kazagashira Observatory

If you want a proper walk, continue towards Mt. Kazagashira Observatory. The hike is worth it for the views over the strait, Mojiko and the surrounding coastline.

It’s a good option if you have an extra half day in town and want to do more than just the retro waterfront. The views from the top made Mojiko feel much bigger and more scenic than it first appeared.

To start, Walk to Kifune Shrine and follow the path and signs up the hill. We like adding small shrines like this to our routes because they break up the sightseeing and give you a better sense of everyday Japan away from the main tourist corners.
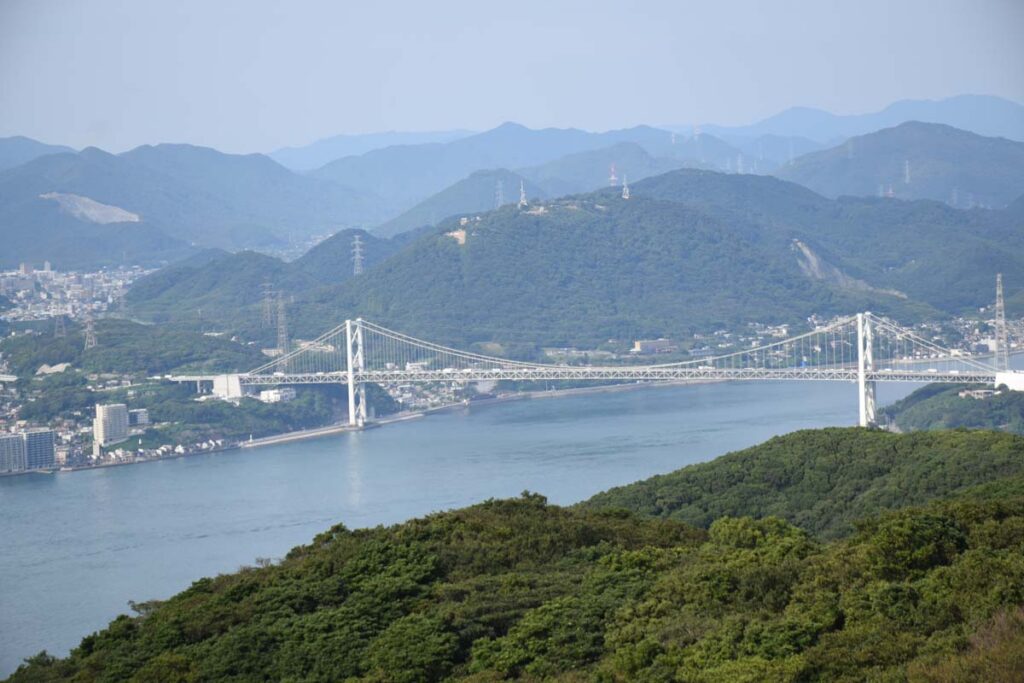
Kanmon Strait from Mt. Kazagashira Observatory

Consider the Kyushu Railway History Museum

Mojiko also has the Kyushu Railway History Museum, though we didn’t visit it ourselves. If you like trains, it could be worth adding to your itinerary.

There is even a small train you can drive around, which looked like the kind of slightly odd but fun activity Japan does so well.

Where to Eat in Mojiko

Curry Honpo Mojiko Retro

Mojiko is known for banana curry, and Curry Honpo Mojiko Retro is one of the obvious places to try it. Banana curry sounds strange, but in Mojiko it makes sense because of the town’s banana history.

It’s the kind of local speciality that is definately worth trying once, especially when a place has built so much of its identity around it.

Would you try Banana Curry?!
Sundowner spot Teppan Tiger

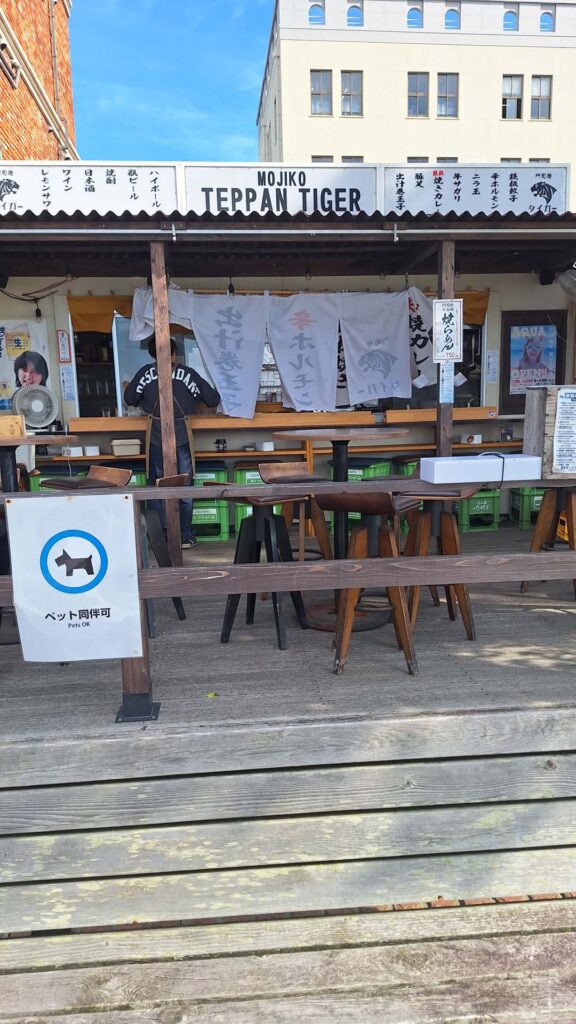
Mojiko Teppan Tiger

We also ate at 門司港鉄板タイガー, or Mojiko Teppan Tiger, a teppanyaki restaurant in Mojiko. It was a good casual meal and a nice option if you want something hot, filling and straightforward after walking around town. It’s right on the waterfront, which makes a great spot for a sundowner.

Mojiko isn’t a huge food destination, but for a short stay, there are enough good options around the retro area and waterfront.

How Long Do You Need in Mojiko?

Mojiko works best as a short stop. We stayed two nights, which felt just right for seeing the retro waterfront, taking in the views and adding a walk up to Mt. Kazagashira Observatory.

1 Night

One night is enough if you arrive early, explore Mojiko Retro, see the station, visit the observation gallery, eat curry, grab aphoto with Bananaman and continue onwards the next day.

2 Nights

Two nights gives you a more relaxed visit. You can add the Kanmon Strait Museum, Kifune Shrine, the hike to Mt. Kazagashira Observatory and still have time to enjoy the waterfront without rushing.

How to Get from Mojiko to Honshu

Mojiko sits just across the Kanmon Strait from Honshu. You can take a ferry across the water, which sounds like the more scenic option, but it isn’t necessarily the cheapest or most practical route.

For us, the easier and cheaper option was to take the train back to Moji, then continue through to Shimonoseki on Honshu. From there, you can connect with the San-yō Line and continue your journey west or east.

If you’re travelling by regional train, Mojiko makes a neat pause before crossing from Kyūshū to Honshu.
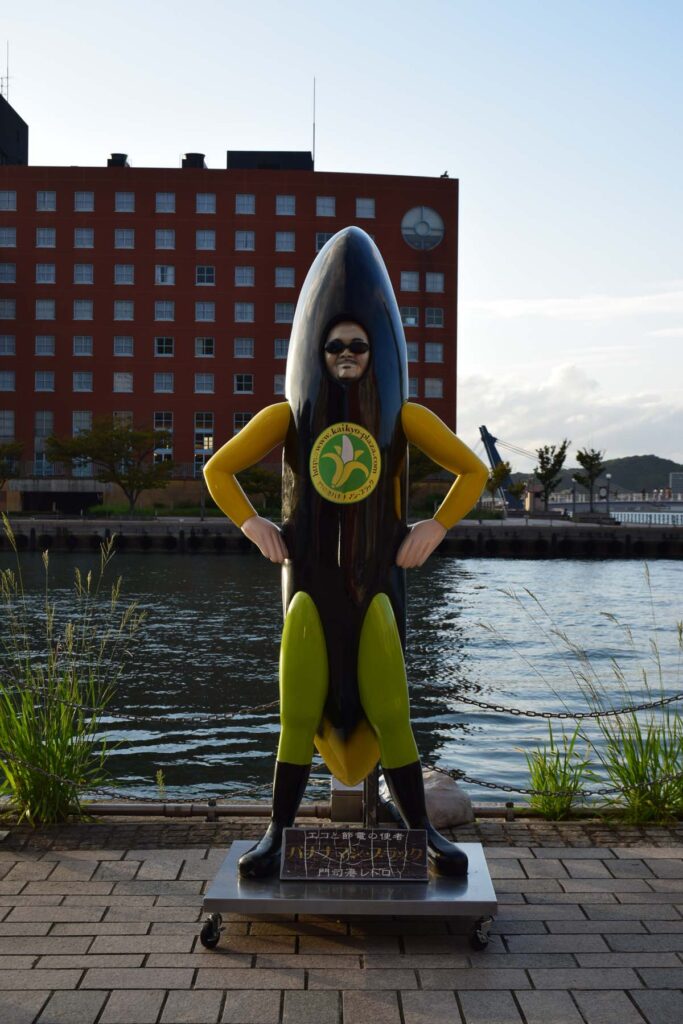
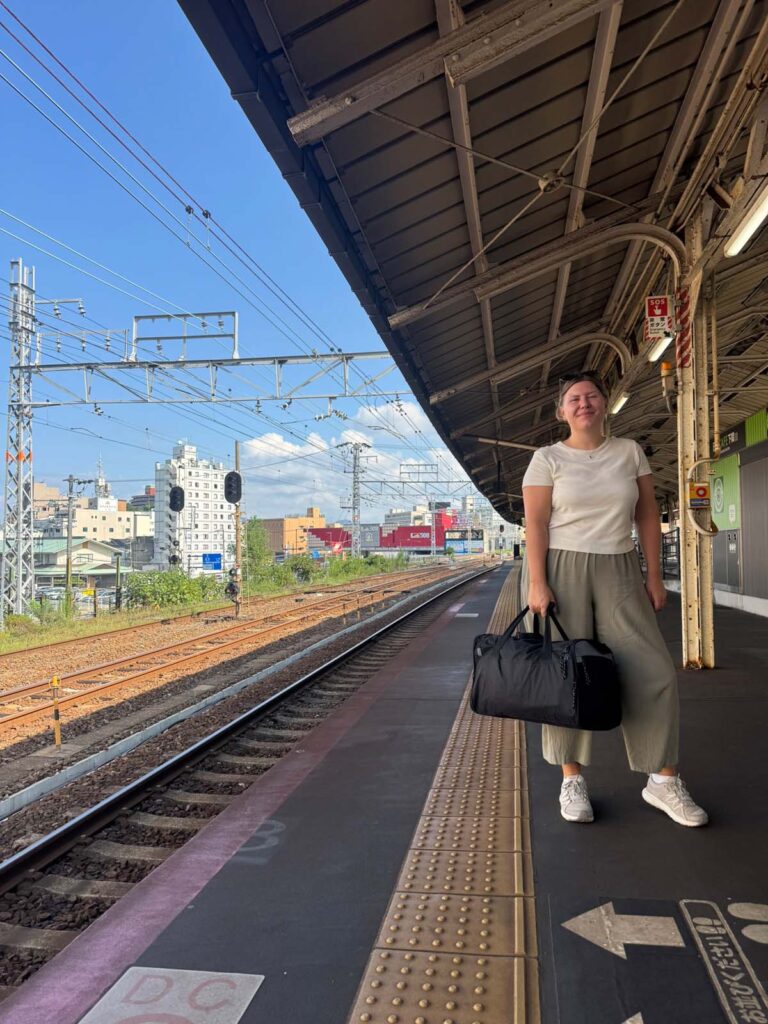
Find Bananaman!
Find Bananaman!
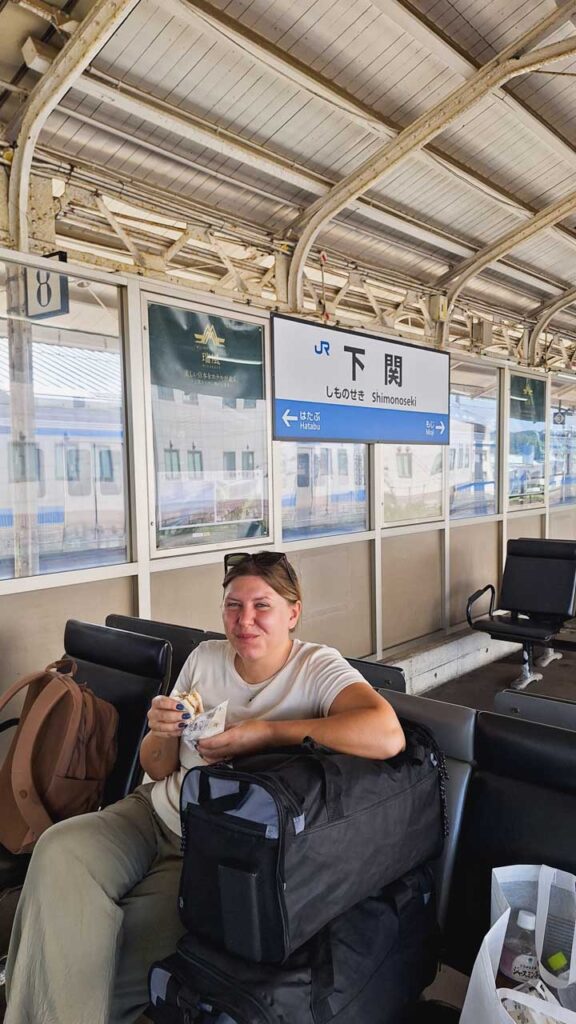
On the platform at Shimonoseki

Is Mojiko Worth Visiting?

Mojiko is worth visiting if it fits naturally into your route. It’s not a place we’d build an entire Japan trip around, but as a short retro port stop before Honshu, it was charming, easy and memorable.

The old station, banana theme, waterfront views, observation deck, quiet streets and good-value hotel made it a fun break between bigger travel days.

If you’re heading towards Shimonoseki, the San-yō Line or the San-in Line, Mojiko is well worth adding as a relaxed stop along the way. Mojiko made a great stopover point for our 23 day slow train route through western Japan.
Save the pin

July 17, 2026 0 comments
FacebookTwitterPinterestLinkedinRedditStumbleuponWhatsappTelegramThreadsOpenAIChatGPTEmail
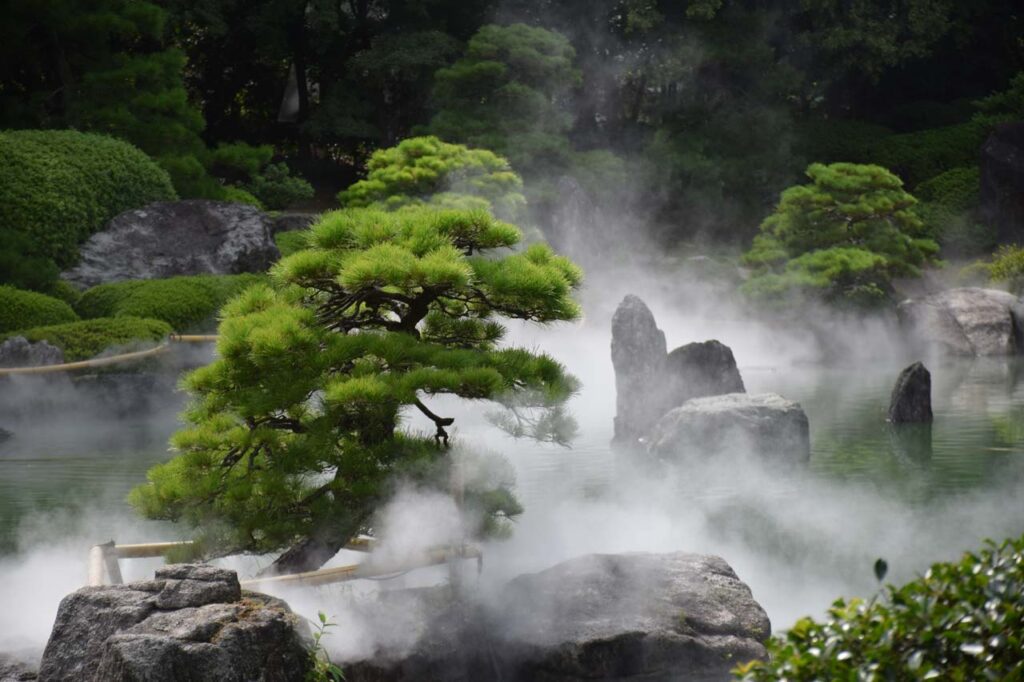
Ohori Park Japanese Garden
Japan

Is Fukuoka Worth Visiting? A Calmer, Less Touristy Side of Japan

by Sam July 16, 2026
written by Sam

Is Fukuoka worth visiting? We think so, especially if you want a Japanese city that feels calmer, easier to handle and less touristy than Tokyo, Kyoto or Osaka before heading deeper into Kyūshū or along the San-In Line. This Fukuoka travel guide covers where to stay, what to do, where to eat, how long to spend in the city, and the practical tips we found useful during our stay.

Fukuoka was the starting point for our slow travel route through western Japan, and it turned out to be a gentle, easy introduction back into the country. Located on Kyūshū, Japan’s southern main island, Fukuoka has everything you want from a Japanese city without feeling overwhelming.

At first glance, it can look like another modern Japanese city: grey buildings, convenience stores, shopping streets, ramen shops and busy stations. But once we slowed down, Fukuoka became much more enjoyable. We found peaceful parks, excellent coffee, friendly neighbourhoods, shrines, castle ruins, easy transport and some seriously good food.

It may not have the obvious drama of Kyoto or Tokyo, but that’s exactly why we liked it. Fukuoka felt practical, relaxed and very liveable, making it a great first stop in Japan or a useful base before exploring more of Kyūshū.

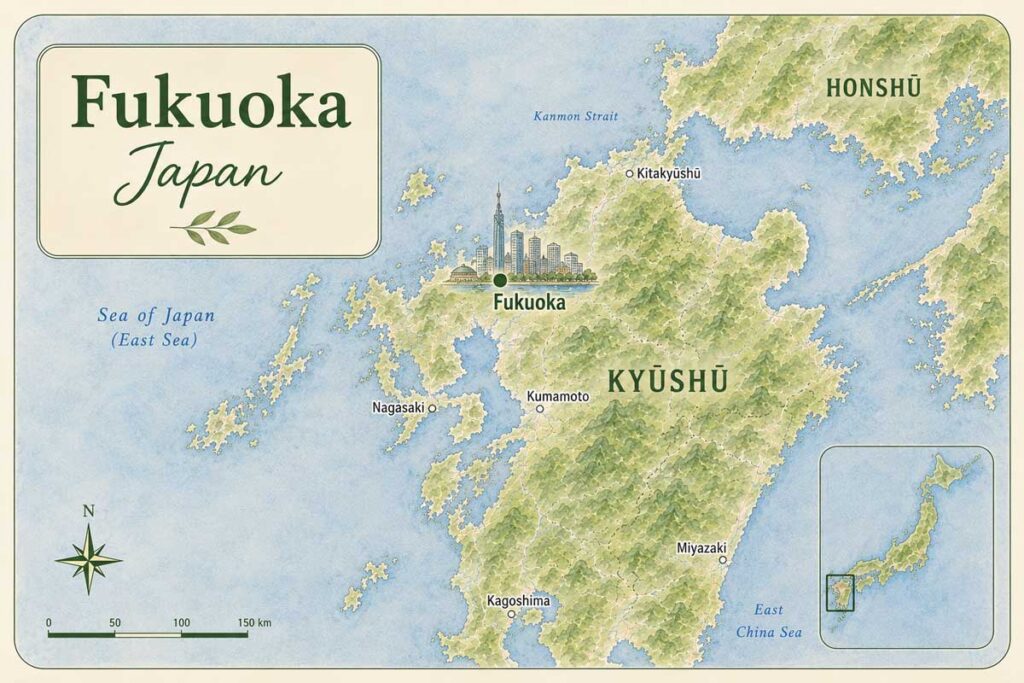
Fukuoka Map
Fukuoka Map

Fukuoka was also the starting point for our 23 day regional train route through western Japan, which followed the Sanin Line from Kyūshū towards Tottori and Okayama.

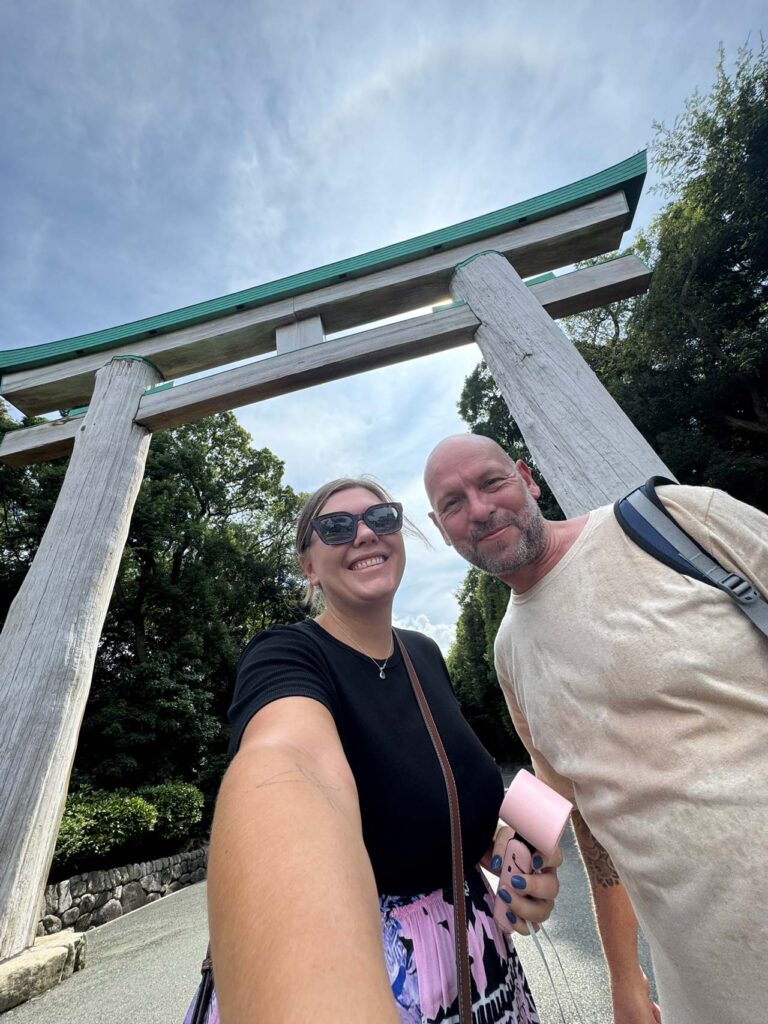
Tori gate near Fukuoka Prefecture Gokoku Shrine
Fukuoka Prefecture Gokoku Shrine
Fukuoka Castle Ruins

Why Visit Fukuoka?

Fukuoka is one of the easiest large cities in Japan to enjoy. It has a good metro system, a compact centre, excellent food and a more relaxed atmosphere than many of Japan’s better-known destinations.

The city is especially famous for Hakata ramen, and if you love noodles, you’ll be very happy here. It’s also a great place for coffee, casual restaurants and late-night food, with plenty of places where you can eat well without spending a fortune.

What we liked most was the balance. Fukuoka doesn’t feel like classic tourist Japan: it’s smaller, calmer and far less crowded, with fewer visitors than the country’s big-name cities. One minute you can be eating ramen in the city, and the next you can be walking around Ohori Park, visiting a shrine, exploring castle ruins or taking a boat to a nearby island.

Fukuoka also works well as a starting point for a longer Japan itinerary. From here, you can continue deeper into Kyūshū, head north towards Mojiko and the Sanin Line, or connect easily to other parts of Japan by Shinkansen.

Where to Stay in Fukuoka

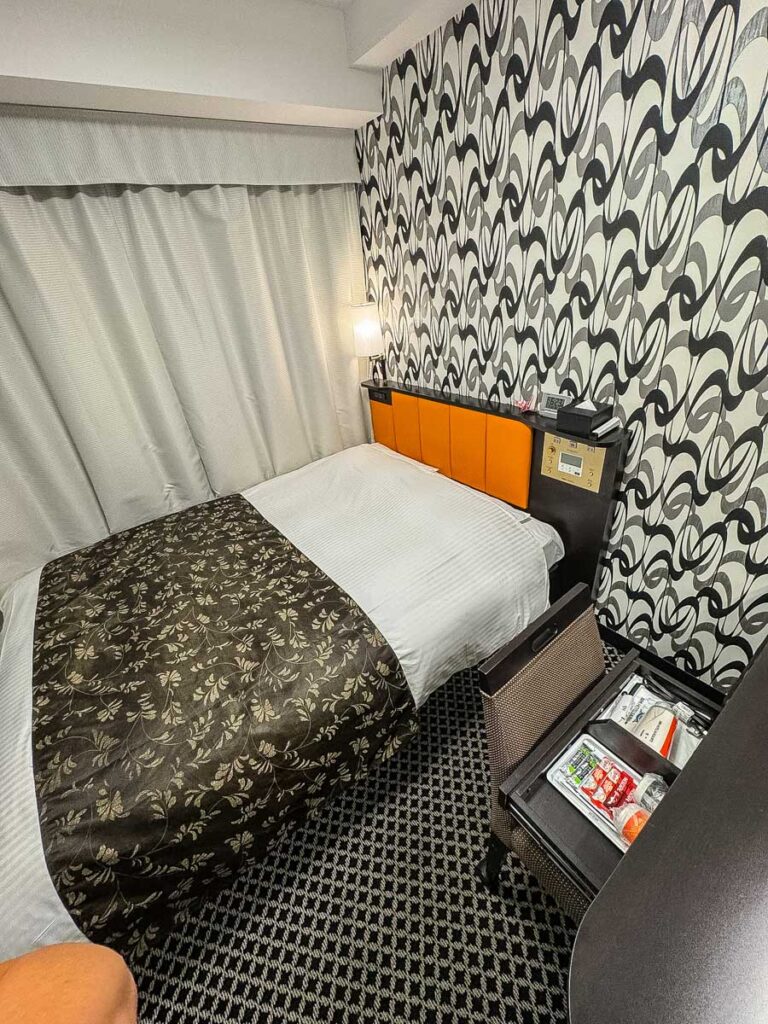
We stayed at APA Hotel Fukuoka Tenjin Nishi, which worked well for our visit. The location was convenient for getting around the city, with access to metro stations, restaurants, coffee places and shops nearby.

For most visitors, staying around Tenjin, Akasaka or Hakata makes the most sense. Tenjin and Akasaka are good if you want restaurants, cafés and a slightly more central city feel, while Hakata is useful if you want to be close to the main train station.

If it’s your first time in Fukuoka, we’d choose somewhere with easy metro access. The city is simple to get around, but being near a station makes day-to-day exploring much easier.

APA Hotel Fukuoka Tenjin Nishi - A typical Business Hotel
APA Hotel Fukuoka Tenjin Nishi – A typical Business Hotel

Best Things to Do in Fukuoka

Visit Fukuoka Prefecture Gokoku Shrine

Fukuoka Prefecture Gokoku Shrine is a peaceful place to visit if you want a quiet break from the city. It has a large wooden torii gate, open grounds and a calm atmosphere that makes it feel removed from the surrounding streets.

We liked that it didn’t feel overly busy or touristy. It’s the kind of place you can visit without needing a long plan: walk through, slow down for a moment and enjoy the setting.

It also pairs well with a visit to Ohori Park, as both are close enough to combine in the same relaxed morning or afternoon.

Walk Around Ohori Park

Ohori Park is one of the best places in Fukuoka to slow down. The large pond, walking paths and open views make it a lovely place for a gentle wander, especially if you’ve just arrived in Japan and want an easy first day.

It’s popular with locals walking, running, cycling or sitting by the water, which gives the park a nice everyday feel. We always enjoy places like this because they show you how a city actually lives, not just what it offers tourists.

If you want a calm start to your Fukuoka visit, Ohori Park is a good place to begin.

Visit Ohori Park Japanese Garden

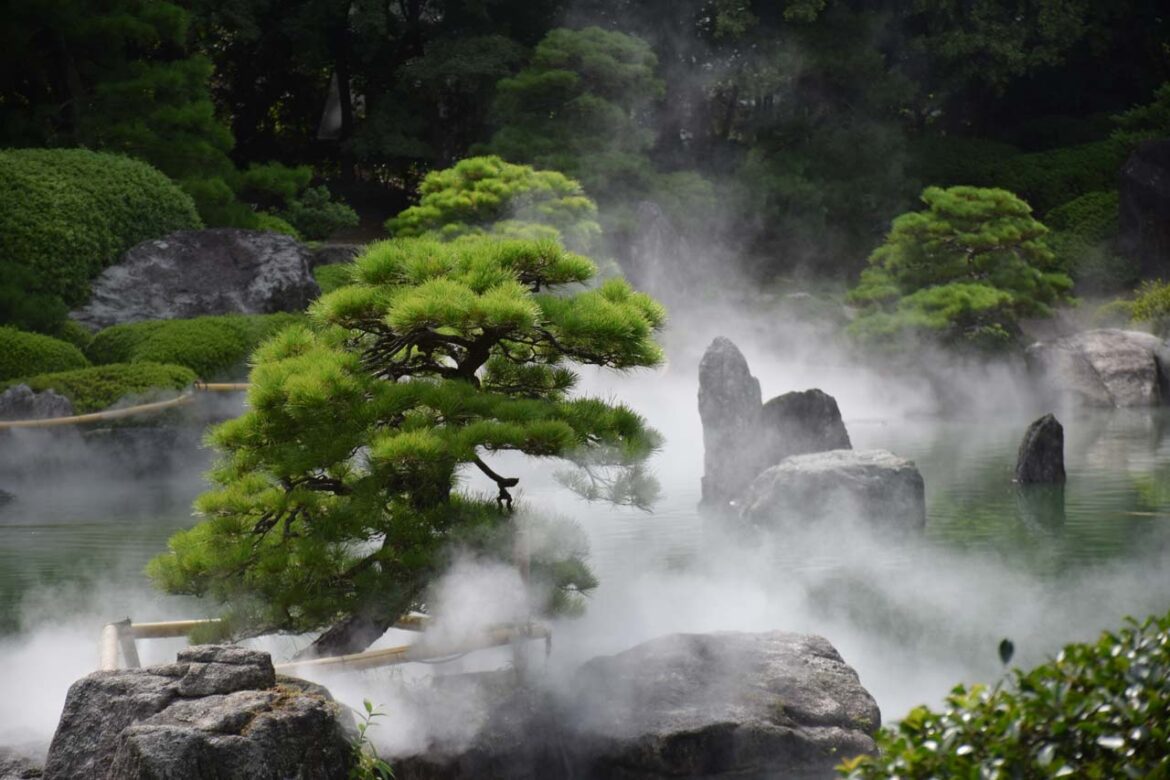
Next to the park, the Ohori Park Japanese Garden is worth visiting if you enjoy landscaped gardens and quiet spaces. It’s not huge, but it’s beautifully arranged and makes a peaceful contrast to the city outside. On the hour they flood the small lake with fog which looks incredible.

You’ll find traditional garden design, carefully shaped trees, water features and places to pause rather than rush. It’s the kind of stop that fits well into a slower Fukuoka itinerary.

We wouldn’t build an entire day around it, but combined with Ohori Park and nearby cafés, it makes a very pleasant couple of hours.

Stop at &LOCALS Ohori Park Shop

&LOCALS Ohori Park Shop is a lovely little stop near the park, especially if you want a drink or snack in a peaceful setting. It has that clean, simple Japanese design we always enjoy, and it fits perfectly with a slower day around Ohori.

It’s not a major attraction, but it’s exactly the kind of small place that makes wandering in Japan so enjoyable. Sometimes the best travel moments are just a good drink, a nice view and nowhere urgent to be.

Cross Chamura Bridge

Chamura Bridge is a small but pretty stop while exploring the Ohori Park area. It’s not somewhere you need to go out of your way for, but it adds to the charm of wandering around this part of Fukuoka.

We liked this whole area because it was easy to explore without a strict route. You can move between the park, shrine, garden, cafés and small sights at a relaxed pace. After exploring the Shine, Park, Shop and bridge it’s an easy metro ride back from Ohori Park (Fukuoka Art Museum) Stop ID: K06.

Explore the Korokan Ruins Museum

The Korokan Ruins Museum gives you a glimpse into Fukuoka’s older history and its role as a place of exchange with the Asian mainland. It’s a small museum, but an interesting stop if you want to understand more about the city beyond food and shopping.

Because it’s near Maizuru Park, it’s easy to include while exploring the castle ruins and surrounding green spaces. We wouldn’t call it a must-see for everyone, but if you enjoy history, it’s worth a short visit.

Walk Through Maizuru Park and the Plum Garden

Maizuru Park is home to the remains of Fukuoka Castle, and it’s a good place to walk, especially if you like castle ruins rather than fully reconstructed buildings. The stone walls and elevated viewpoints give you a sense of the city’s past without feeling too formal.

The plum garden is especially nice if you visit during the right season. Even outside peak bloom, this is a pleasant area to wander and a good reminder that Fukuoka has plenty of quieter corners.

Take a Boat Trip to Nokonoshima Island

One of our favourite things to do in Fukuoka was taking the ferry to Nokonoshima Island. To get there, take the ferry from Meinohama Ferry Passenger Terminal, then continue across to the island for a very different side of the city.

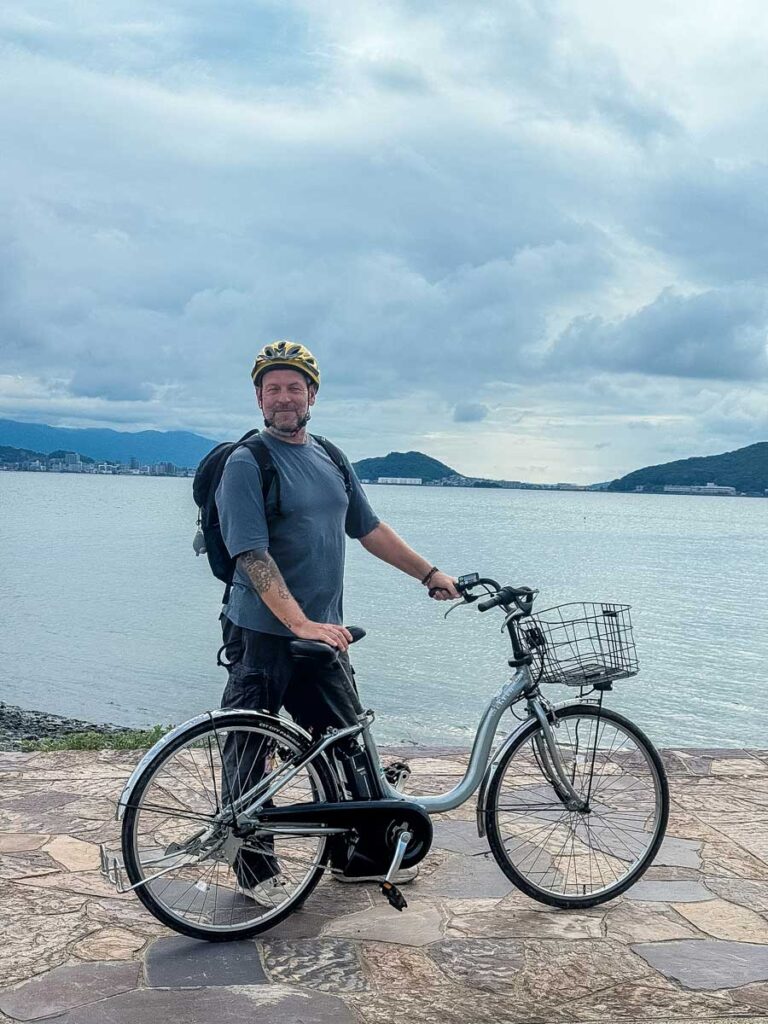
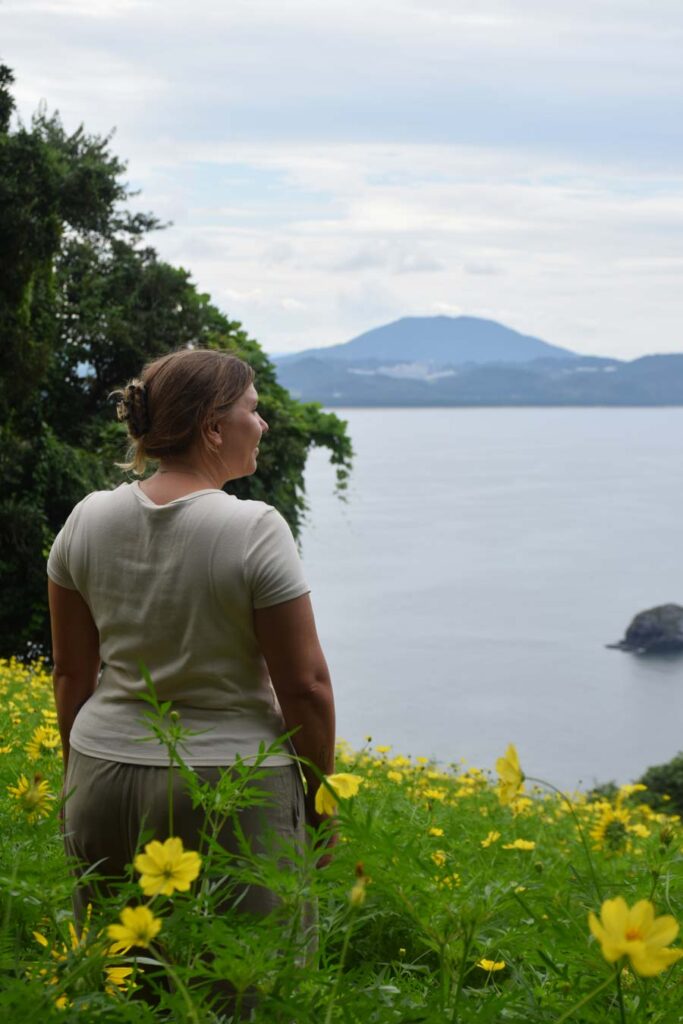
Once we arrived, we rented electric bikes and made our way to Nokonoshima Island Park. The entrance fee was ¥1,500 per person. There were also a few cute animals, such as rabbits and goats, which was really nice to see! Aside from the flowers and animals there are shops and restaurants in an old village with traditional Japanese houses. The island felt peaceful and scenic, with sea views, open spaces and a slower pace than the city.

It’s an easy day trip from Fukuoka and a great option if you want a break from urban sightseeing. If the weather is good, we’d definitely recommend adding it to your itinerary.

Electric bike rental on Nokonoshima island
Nokonoshima Island Park

Where to Eat in Fukuoka

Fukuoka is a brilliant food city. It’s best known for Hakata ramen, but we also found good izakayas, coffee shops, gyoza, sushi and casual places that made eating out easy.

These are some of the places we tried or marked during our stay.

The Original Ippudo Ramen Daimyo branch
Izakaya Kadono Uguisu Akasaka in Fukuoka
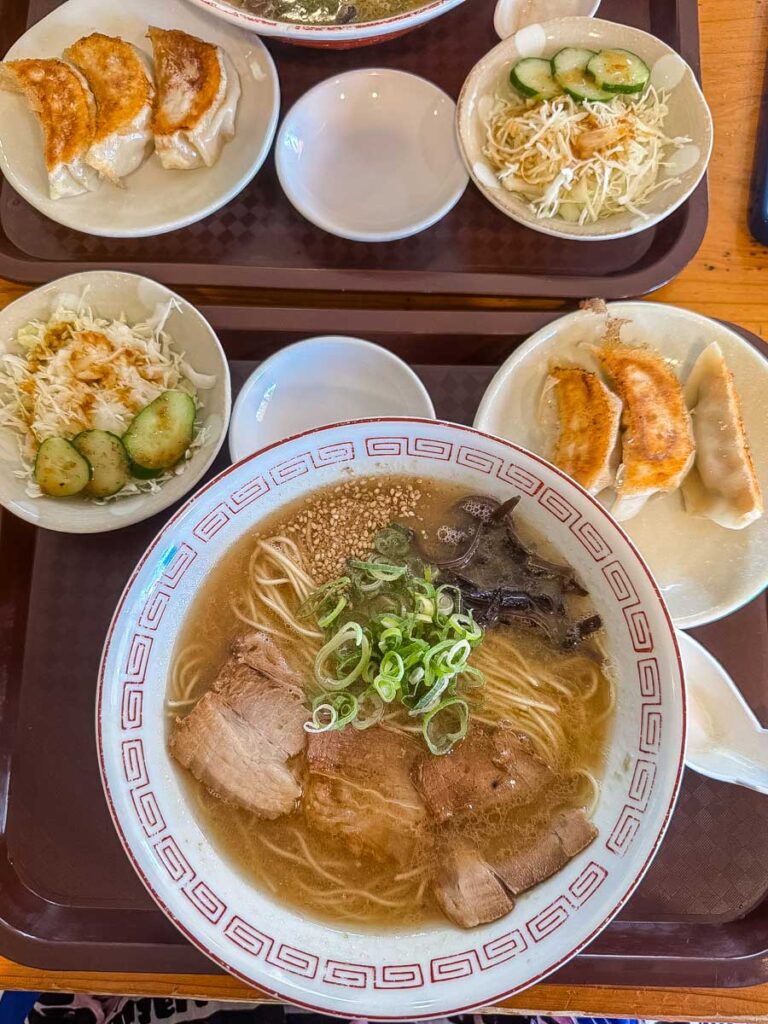
Lunchtime special at Gyoza Ittetsu

Ippudo Daimyo Branch

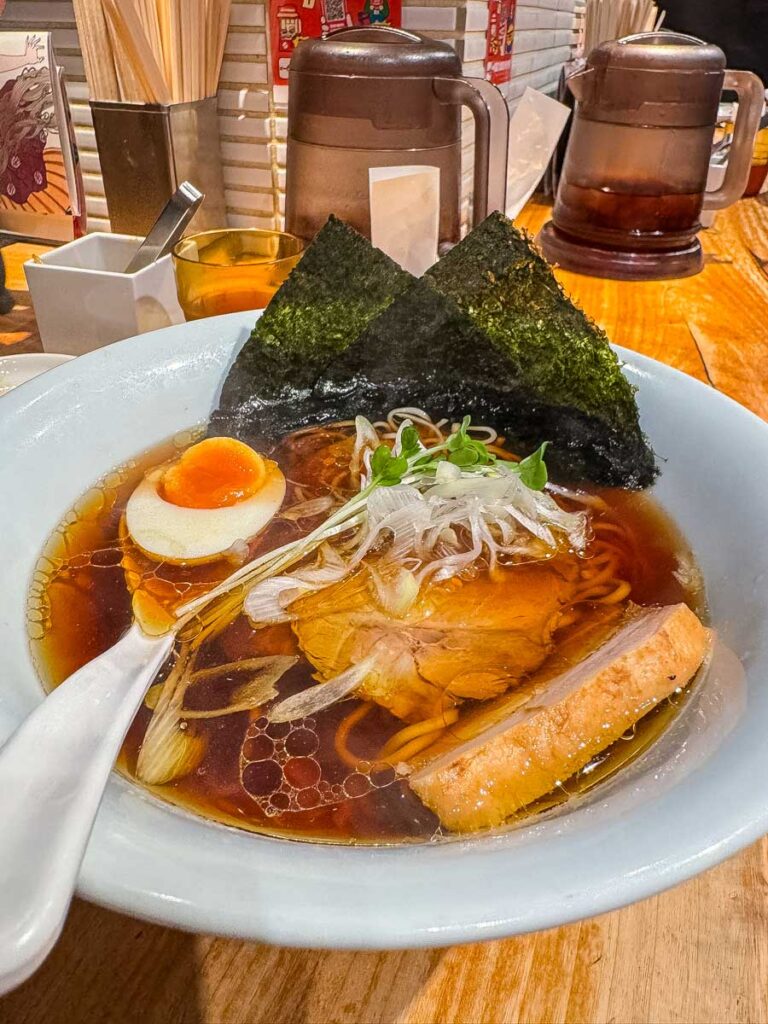
If you’re going to eat ramen in Fukuoka, Ippudo is an obvious place to start. The Ippudo Daimyo branch is close to where the original Ippudo story began, and it’s a fun stop if you enjoy ramen history as much as the food itself.

It’s popular, but for good reason. A bowl of rich tonkotsu ramen here feels like a proper Fukuoka introduction. Also head here for lunchtime specials. If you’re super hungry you can usually get a free refill, just ask.

博多珍珍 赤坂店

This was our spicy ramen (Dan Dan noodle) stop in Akasaka. If you want something with more heat and flavour, it’s a good option to add to your food list.

As with many smaller restaurants in Japan, don’t worry too much if English is limited. A little patience, pointing and translation help usually gets you there.

大衆とり酒場 とりいちず 福岡赤坂店

This casual chicken izakaya was a good option for an easy meal in Akasaka. They have great fried chicken and big glasses of cold beer and highballs. It’s a kind of working mans izakaya. Places like this are useful when you want something relaxed, filling and not too expensive.

Fukuoka has plenty of these casual restaurants, which is one of the reasons it’s such an easy city to spend a few days in.

Kadono Uguisu Akasaka

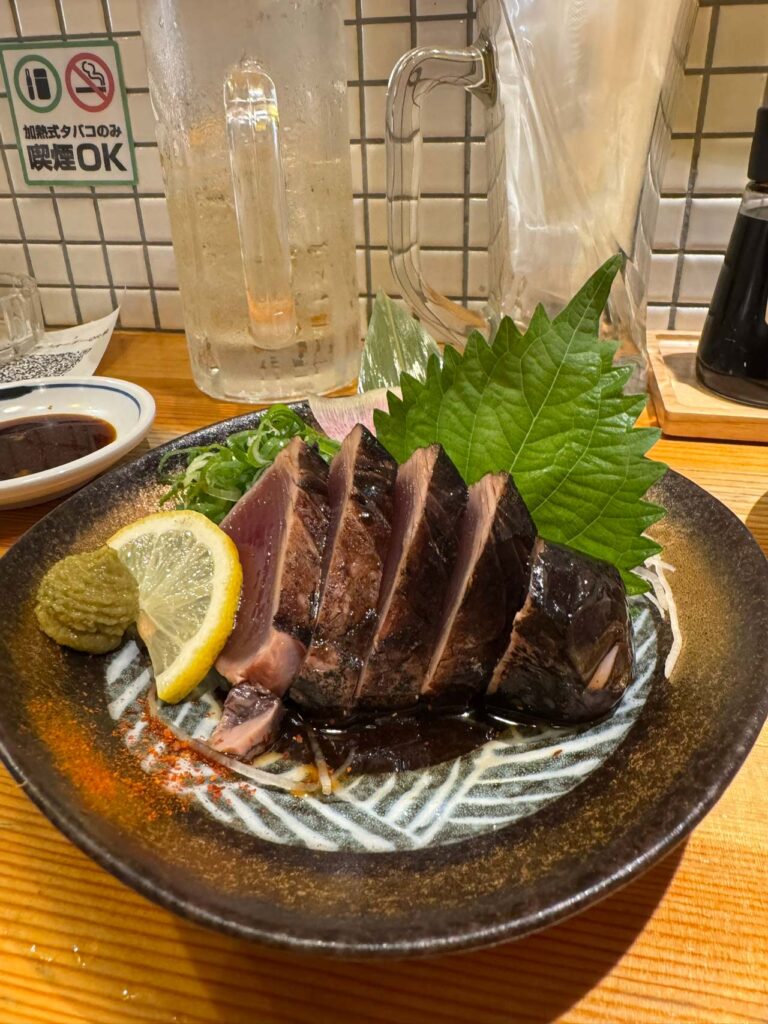
Kadono Uguisu Akasaka is another good food option in the area. It has the kind of local restaurant feel we enjoy when travelling in Japan: casual, atmospheric and focused on good food rather than fuss. The seared tuna pictured above was insane! We highly reccommend you drop in during the day and make an evening reservation. It gets quite busy,

Gyoza Ittetsu

After visiting the Fukuoka Prefecture Gokoku Shrine Gyoza Ittetsu is a good choice if you’re craving ramen and dumplings. Even better if you visit at lunchtime as they have a great special. Japan does gyoza very well, and this is the kind of simple meal that always works after a day of walking around the city.

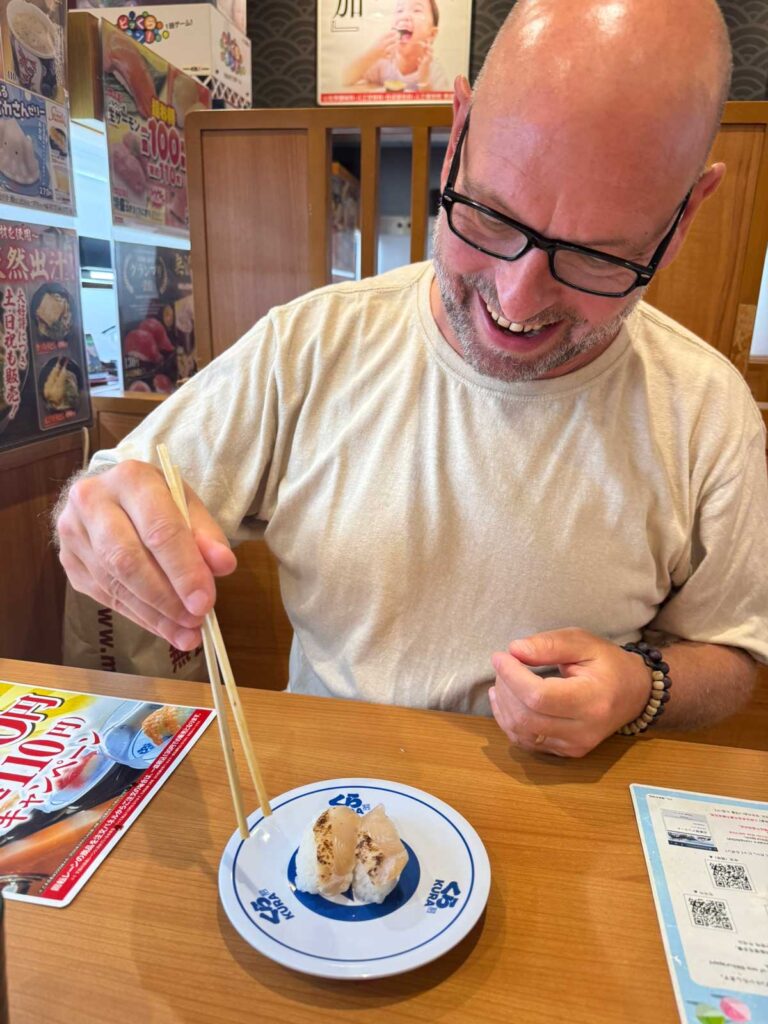
KURA Sushi

For a cheap sushi fix, KURA Sushi is always useful. It’s not fancy, but it’s fun, affordable and easy, especially if you want a low-effort meal.

Sometimes conveyor belt sushi is exactly what you need.

光珈琲 HIKARU COFFEE

HIKARU COFFEE was one of the coffee stops we enjoyed in Fukuoka. It’s a bit bougie, our iced coffee came in a large wine glass. The city has a good coffee scene, and finding independent cafés became part of our daily routine.

Petrol Blue

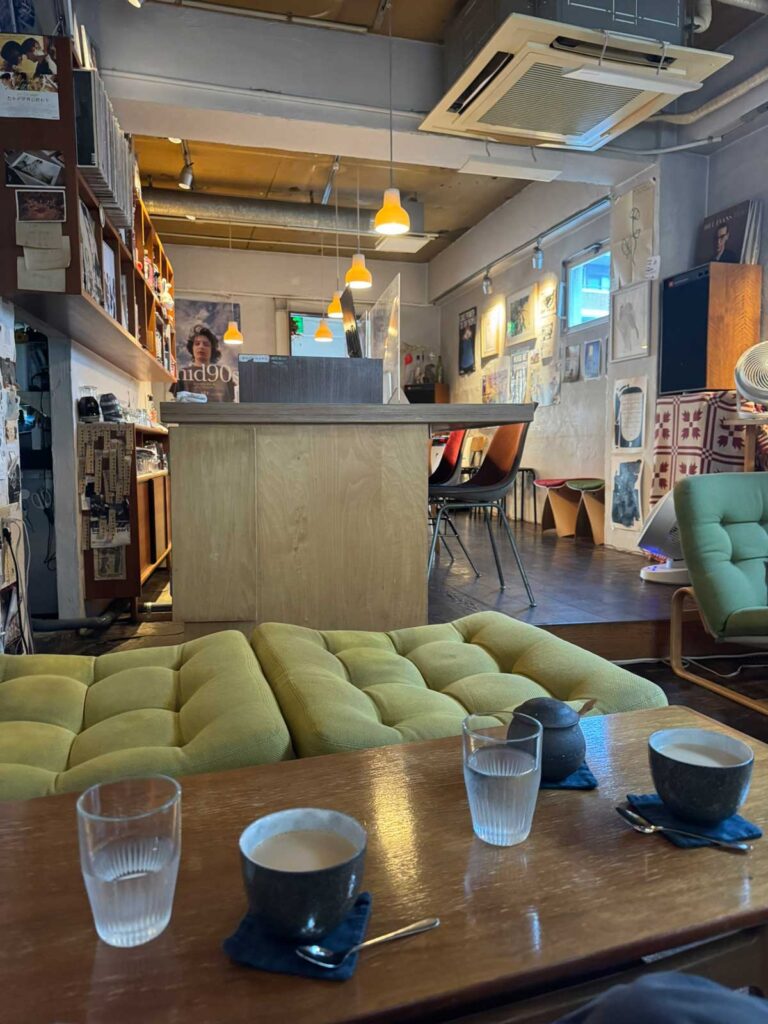
Petrol Blue is another good coffee option, it’s also a bar in the evening too. It plays downtempo jazz and leftfield, classic furniture, concrete walls and lots and lots of vinyl. It’s worth adding to your Fukuoka map if you like seeking out hidden cafés while travelling. Note: it’s upstairs, so you have to get in the smoke smelling elevator to get up there.

British Pub MORRIS’ BLACK SHEEP

Sometimes, after a lot of travel, you just want a pub. MORRIS’ BLACK SHEEP gave us that familiar break, and it’s a good option if you fancy a drink somewhere casual in the evening.

How Long in Fukuoka Is Enough?

If you’re wondering how long in Fukuoka is enough, we think most travellers will be happy with two to four days depending on their pace.

We stayed 7 nights in Fukuoka, but that was longer than most visitors need. We used the time to catch up on work, sort photos and ease into our Japan trip before continuing towards Mojiko and the Sanin Line.

For most travellers, 2 to 4 days is enough, depending on how slowly you like to travel.

2 Days

With 2 days in Fukuoka, focus on the city highlights. Spend time around Ohori Park, visit Gokoku Shrine, explore Maizuru Park and the castle ruins, then enjoy ramen and a few casual food stops in the evening.

This is enough time for a quick introduction, especially if Fukuoka is part of a longer Japan itinerary.

3 Days

Three days is a better amount of time for most visitors. You can see the main city sights without rushing and still have time for good food, coffee and a slower afternoon.

With 3 days, we’d include Ohori Park, Maizuru Park, the Korokan Ruins Museum, a few ramen stops and some relaxed neighbourhood wandering.

4+ Days

With 4 days or more, add a trip to Nokonoshima Island. This gives you a completely different experience from the city and makes the itinerary feel more balanced.

If you like slow travel, Fukuoka is an easy place to stay longer. It may not be packed with famous attractions, but it’s comfortable, practical and enjoyable to live in for a few days.

Sam does love his KURA sushi
Coffee vibes at Petrol Blue
Enjoying a beer at the British Pub MORRIS' BLACK SHEEP
Enjoying a beer at the British Pub MORRIS’ BLACK SHEEP

Practical Tips for Visiting Fukuoka

Getting from Fukuoka Airport to the City Centre

One of the best things about Fukuoka is how close the airport is to the city. Getting from Fukuoka Airport to the city centre is quick and straightforward by metro.

This makes Fukuoka one of the easiest arrival cities in Japan. You can land, get through the airport and be in the centre without a long transfer.

Getting Around Fukuoka by Metro

Fukuoka’s metro is simple to use and connects many of the places visitors are likely to need. We used it to move around the city and found it reliable, clean and easy to understand.

If you’re staying near a metro station, you’ll have no trouble getting around without a car.

ICOCA, Suica and IC Cards

IC cards such as ICOCA and Suica make travelling around Japan much easier. If you have an iPhone, you can usually add one digitally to your wallet, which makes tapping in and out very simple.

On Android, it can be more complicated depending on where you purchased your device, so getting a physical IC card may be easier. Once you have one, you can use it for metro journeys, many trains, convenience stores and vending machines.

At the airport head to the Fukuoka Airport Subway Station and use the cash-only kiosks. You can purchase a local IC card (such as Hayakaken, nimoca, or Sugoca) for a minimum of ¥1,500 which includes a ¥500 refundable deposit.

Best Time to Visit Fukuoka

Spring and autumn are generally the best times to visit Fukuoka. The weather is more comfortable for walking, parks are pleasant, and it’s easier to enjoy the city without the heat and humidity of summer.

Spring is especially nice if you catch plum or cherry blossom season, while autumn usually brings milder temperatures and good conditions for exploring. We visited in September and it was HOT!

That said, Fukuoka is a year-round city. If you’re using it as a starting point for a longer Japan trip, it’s still a practical and enjoyable place to begin.

Internet, Payments and Apps

Japan is easy to travel with the right basic tools. We recommend having mobile data, either through an eSIM, pocket Wi-Fi or local SIM, as you’ll use maps, translation apps and transport information constantly.

Google Maps works well for metro and walking routes, while translation apps are useful in smaller restaurants where menus may not be in English.

For payments, Japan is much more card-friendly than it used to be, but it’s still worth carrying some cash. IC cards such as Suica and ICOCA are also useful for transport and small purchases. We use our Wise cards where we can, but Japan is a mostly cash society and you will need cash at almost all ramen stores throughout the country.

Final Thoughts on Visiting Fukuoka

Fukuoka was a great introduction to this part of Japan. It didn’t overwhelm us with major sights, but that was part of the appeal. Instead, it gave us good food, easy transport, peaceful parks, interesting history and a gentle start to our slow journey through western Japan.

We wouldn’t say Fukuoka is the most dramatic city in Japan, but it is one of the easiest to enjoy. It’s relaxed, practical and full of small moments that make travel in Japan so satisfying.

If you’re starting a Kyūshū trip, heading towards the Sanin Line, or simply looking for a Japanese city that feels approachable and liveable, Fukuoka is well worth adding to your itinerary and also made a great starting point for our 23 day slow train route through western Japan.
Save the pin

July 16, 2026 0 comments
FacebookTwitterPinterestLinkedinRedditStumbleuponWhatsappTelegramThreadsOpenAIChatGPTEmail
Our cute train from Tottori to Okayama
JapanTravel Itineraries

23 Day Japan Slow Travel Itinerary by Train

by Sam July 9, 2026
written by Sam

We’ve visited Japan four times now, but on this trip we wanted something different. Instead of racing between the classic first-time stops, we slowed everything down and followed a quieter route through western Japan by regional train.

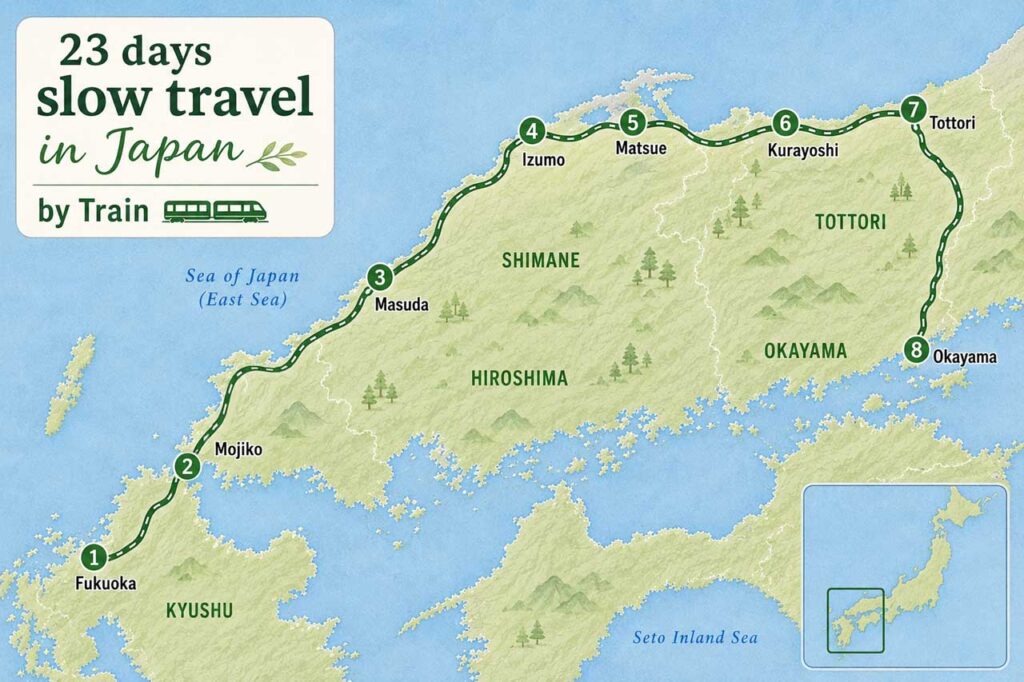
This 23 day Japan slow travel itinerary took us from Fukuoka on Kyushu, across to Mojiko, then along the San-Yo Line and changing to the San-In Line through Masuda, Izumo, Matsue, Kurayoshi and Tottori, before heading south to Okayama on the Imbi Line . It was one of the most rewarding trips we’ve done in Japan: quiet towns, friendly people, beautiful train journeys, excellent food and barely any international tourists.

If you’re looking for a Japan slow train route that goes beyond Tokyo, Kyoto and Osaka, this itinerary is a lovely way to see a different side of the country.

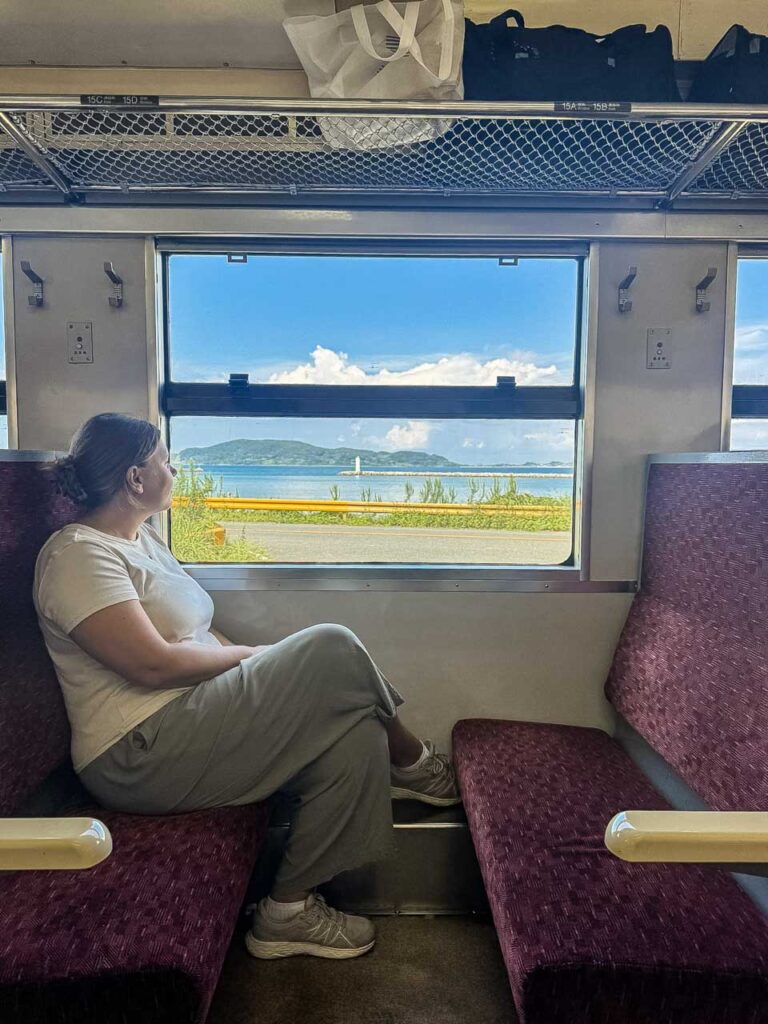
Slow train views
Slow train views
Train platform of Retro Mojiko
Platform life at the start of the San-Yo Line

Our Japan Route

We travelled between towns and cities entirely by regional train, with a few local buses and metro journeys used to reach sights along the way.

Our route looked like this:

Fukuoka → Mojiko → Masuda → Izumo → Matsue → Kurayoshi → Tottori → Okayama
Our Route on the San-Yo and San-In line in Japan

This is not a fast Japan itinerary. It is a slow travel route built around regional trains, smaller cities, coastal scenery, old towns, shrines, castles and quiet everyday moments.

Fukuoka 福岡市 — 7 Nights

Fukuoka was our arrival point after flying in from Shanghai, and it gave us time to settle back into Japan at an easy pace. At first glance it feels like a modern Japanese city of grey buildings, convenience stores and endless places to eat, but it also has great coffee, castle ruins, shrines and some brilliant food.

We visited the original Ippudo Ramen shop and also took a boat out to Nokonoshima, where we rented electric bikes and explored the island. Seven nights was longer than most people would need, but we used the time to catch up on work and reset before starting the train journey properly.

We stayed at APA Hotel Fukuoka Tenjin Nishi which was in a great area with lots of food places and easy access to the center by metro.

Read our full Fukuoka guide here

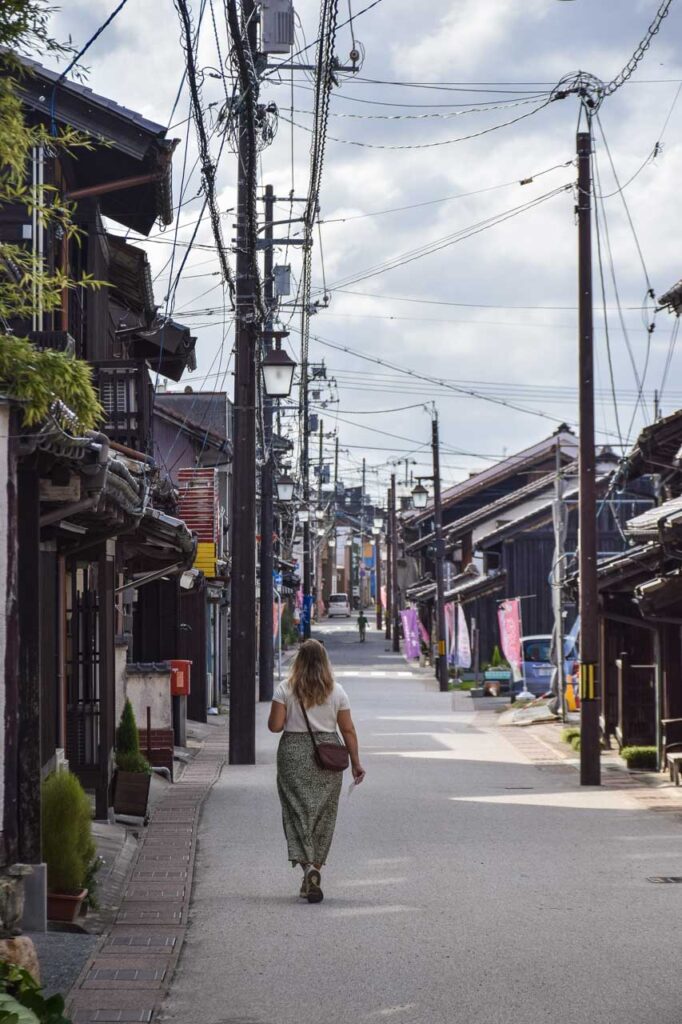
Tori gate near Fukuoka Prefecture Gokoku Shrine
Nokonoshima Island Park
Izakaya 大衆とり酒場 とりいちず 福岡赤坂店 in Fukuoka
Ohori Park Japanese Garden

Mojiko 門司港 — 2 Nights

Mojiko or ‘Retro Mojiko’ is a charming little port city with a slightly odd banana theme, a beautiful old station and a peaceful waterfront. We tried banana curry, visited the observation deck, wandered through the free old street museum and hiked up to Mt. Kazagashira Observatory for views over the strait.

The town has a quiet, nostalgic feel and made a gentle transition between city travel and the slower route ahead. From here, we crossed towards Shimonoseki and began following the San-Yo and San-In Line west to east.

We stayed at the Premier Hotel Mojiko one of our favorite hotels on this trip, it had a huge room (for Japanese standards) and pretty views over the port and the bananaman statue.

Read our full Mojiko guide here

The old customs office and Observation tower in Mojiko
Free museum next to the Kanmon Strait museum
Bananas are everywhere in Mojiko
View over the Kanmon Strait between Kyūshū and Honshu

Masuda 益田市 — 2 Nights

Masuda is the kind of stop that made people ask why we were going there, but it turned out to be one of the warmest places on the trip. We saw no tourists and everyone we met was friendly, patient and curious, including the staff at our hotel onsen, where tattoos were not an issue as we were foreign visitors.

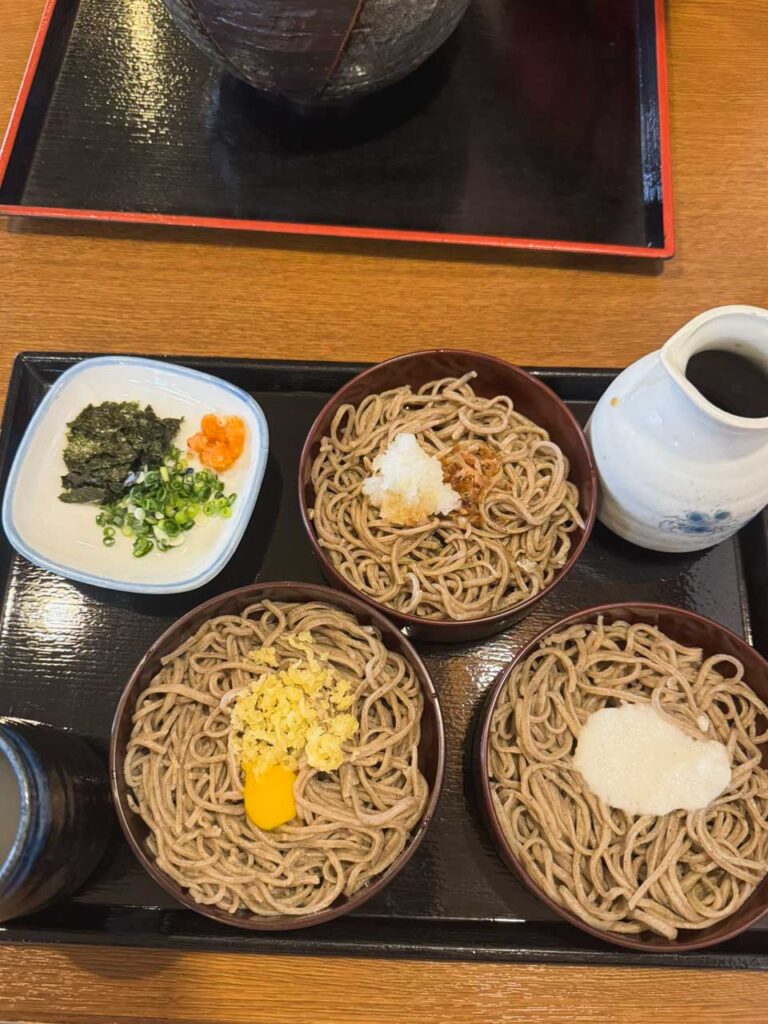
We visited the Iwami Art Museum, ate cold soba for the first time and had one of those memorable izakaya meals where the menu was handwritten in Japanese and Google Translate struggled hugely. A local woman Livia met in the onsen even drove us to a small coastal Ebisu shrine that would have been difficult to reach by public transport.

We stayed at the Mascos Hotel which was modern with a large room and tattoo friendly onsen.

Read our full Masuda guide here

Life on a local train in Japan
Hanae Mori collection at Iwami Art Museum
cold soba noodles
cold soba noodles
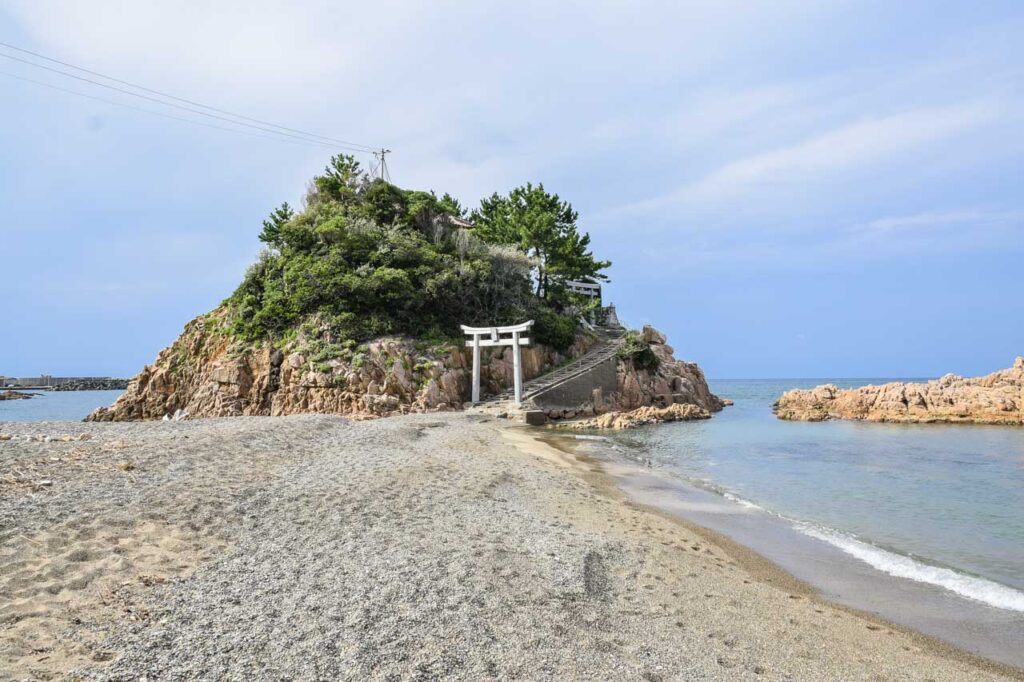
Ebisu Shrine just outside Masuda

Izumo 出雲市 — 1 Night

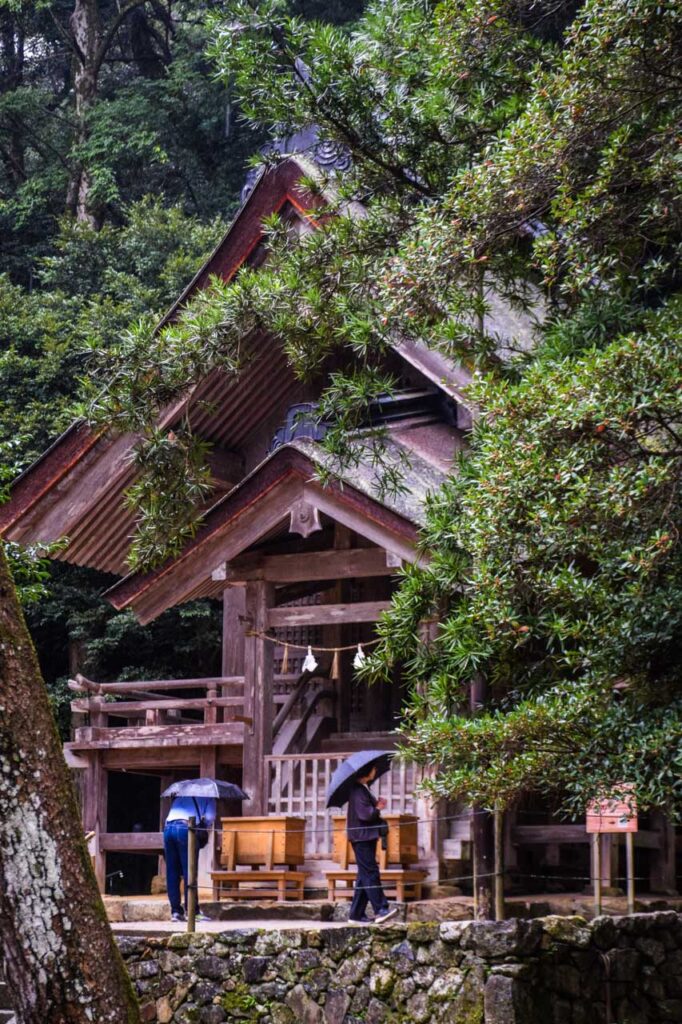
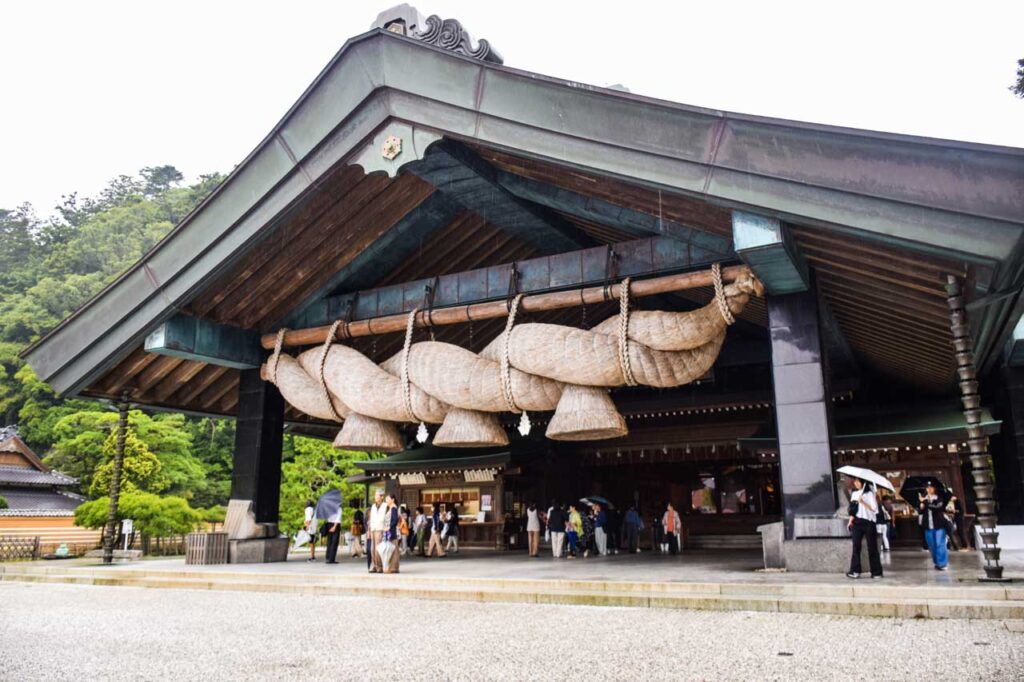
Izumo is mainly known for Izumo Taisha, one of the most important shrines in Japan. The huge shimenawa rope is the famous image, but the whole shrine complex felt atmospheric, especially in the drizzle and forested surroundings. It was busy with Japanese visitors, but nothing like the crowded shrine experiences you get in the bigger tourist cities.

One night was enough for us, but it was a worthwhile stop on this slow travel route through western Japan. Many Japanese people are stil shocked we made it there, as many haven’t been themselves.
We stayed at the Super Hotel Izumo Ekimae a standard business Japanese hotel but with a 2 hour free bar every evening.

Read our full Izumo guide here

One of the many shrines at Izumo Taisha
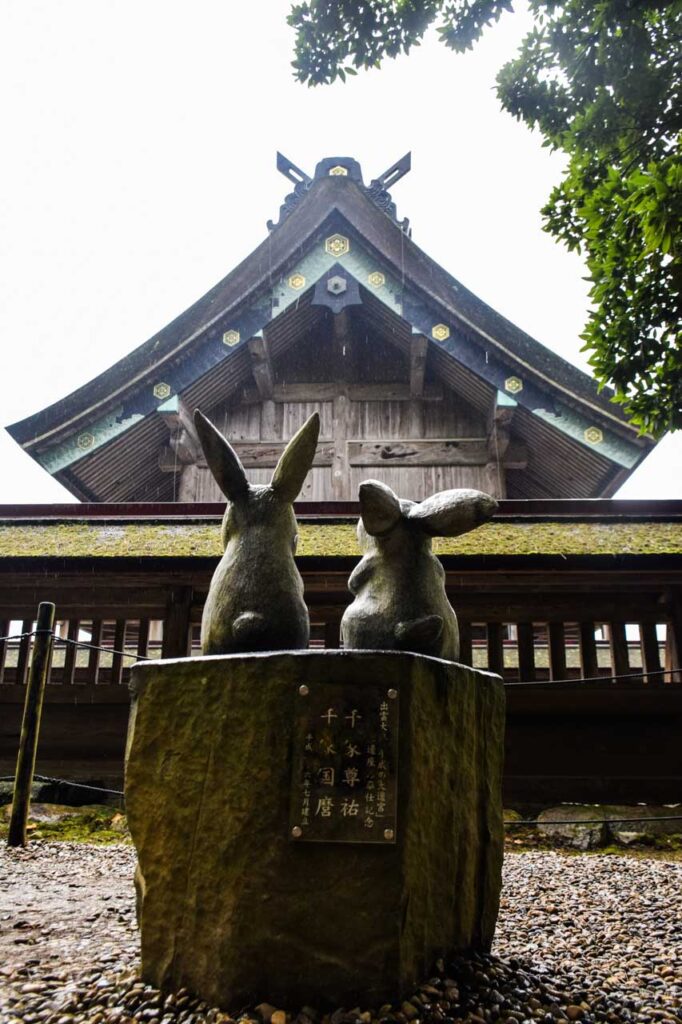
Rabbits everywhere at Izumo Taisha
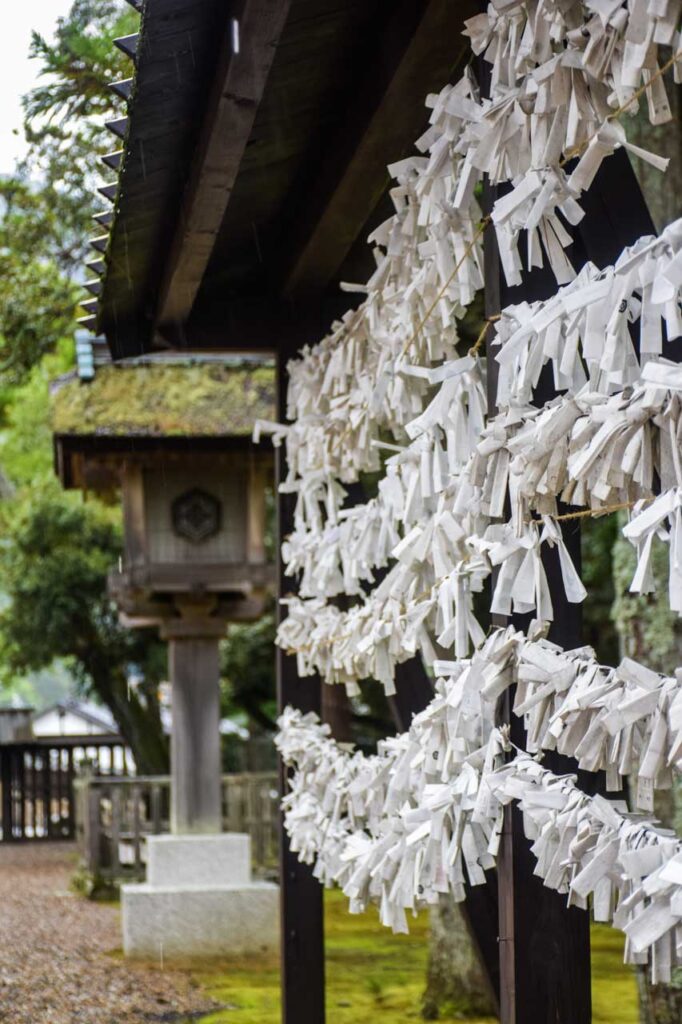
If your fortune is bad, leave it behind
The massive shimenawa at Izumo Taisha

Matsue 松江市 — 2 Nights

Matsue was a more substantial city with a strong sense of Edo-period history. We visited the castle, explored the samurai house area, saw the fox shrine, ate more cold soba and enjoyed sunset views over the lake. Staying near Matsue-Shinjiko-Onsen Station meant we were in a more appealing part of the city, even if it required a bus ride back to the main station when we left.

Good coffee, a great lunchtime BBQ deal and a fun evening in a local izakaya made Matsue one of the easiest stops to enjoy.

We stayed at Matsue New Urban Hotel it was close to the Castle and had a tattoo friendly onsen.

Read our full Matsue guide here

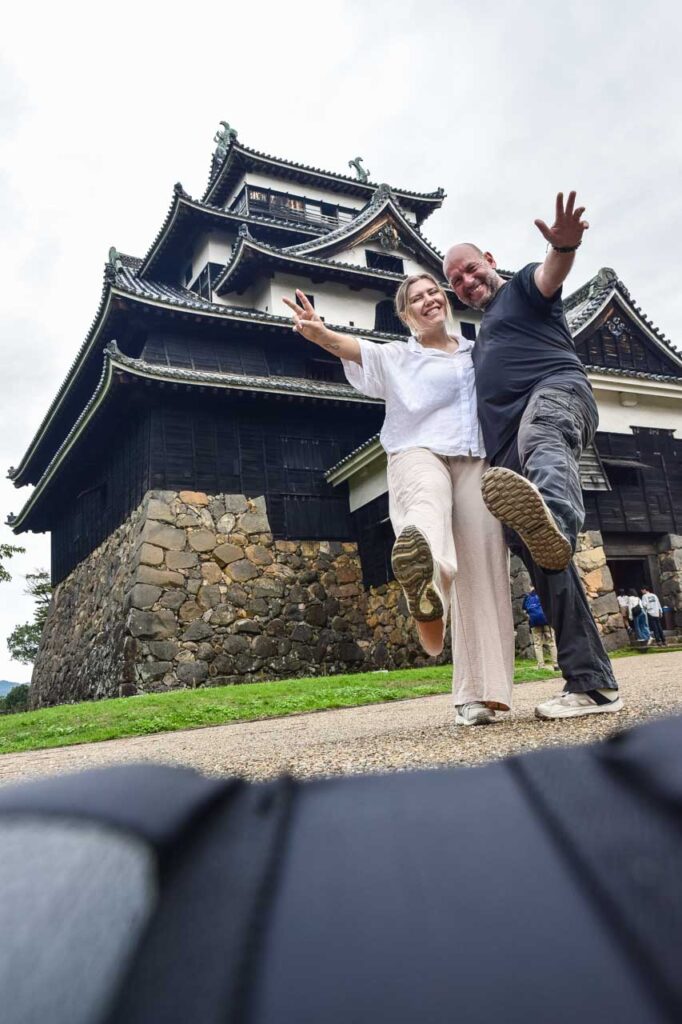
Matsue Castle
Matsue Castle
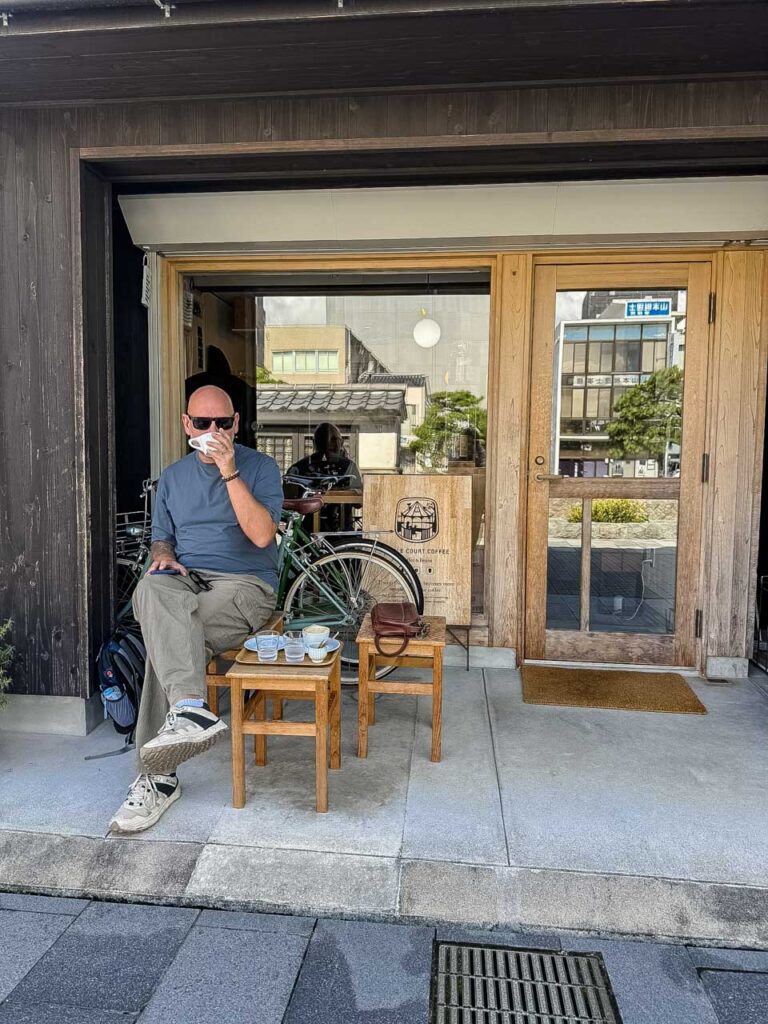
Our favourite coffee in Matsue
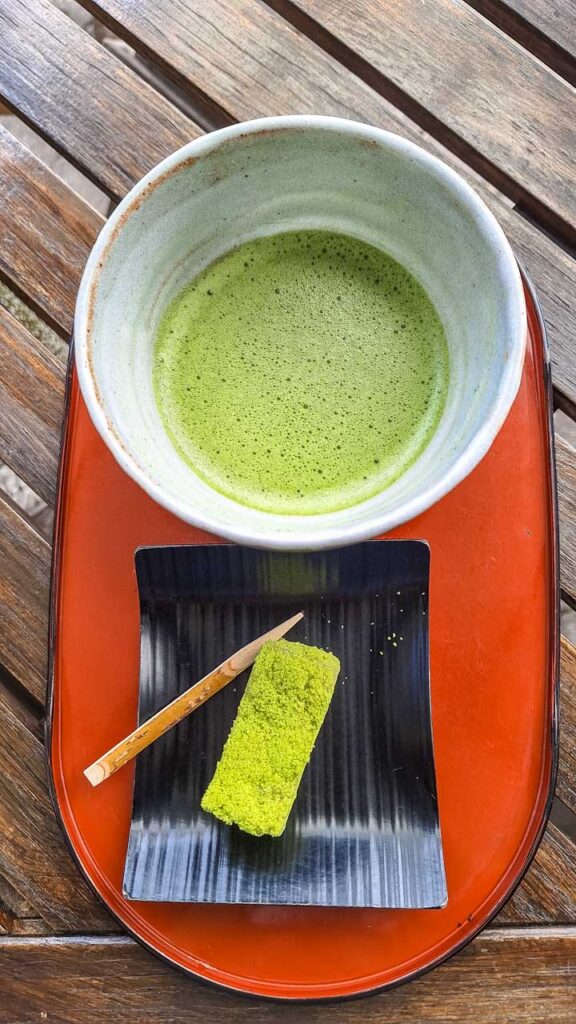
Matcha tea with Matcha Mochi
Lakeside sundowners
Lakeside sundowners

Kurayoshi 倉吉市 — 2 Nights

Kurayoshi gave us old-town charm without the crowds. We stayed near the main station and took the bus into the White Wall Warehouses district, where we found traditional buildings, small museums, good coffee and a much slower pace. We also visited the surprisingly fun Tottori Nijisseiki Pear Museum, which was far better than a pear museum has any right to be.

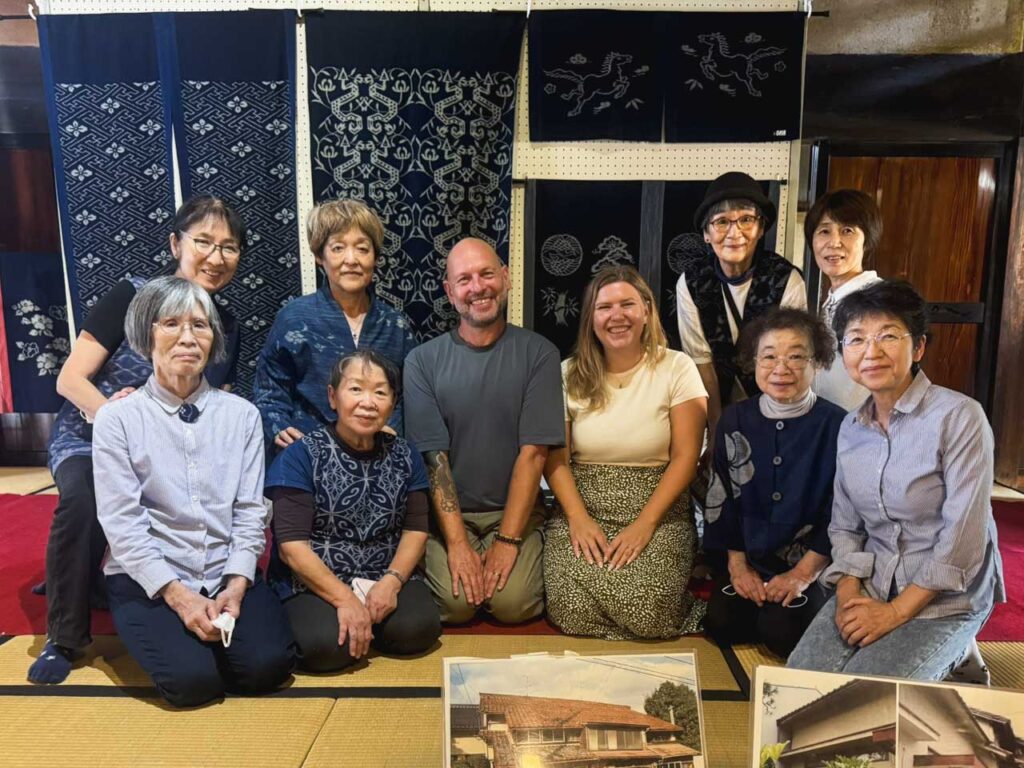
At Kurayoshi Yodoya, the former Makita Family Residence, we met a group of lovely volunteer ladies who didn’t speak English, but somehow, with smiles, gestures and a little translation help, we still managed to have a wonderful conversation.

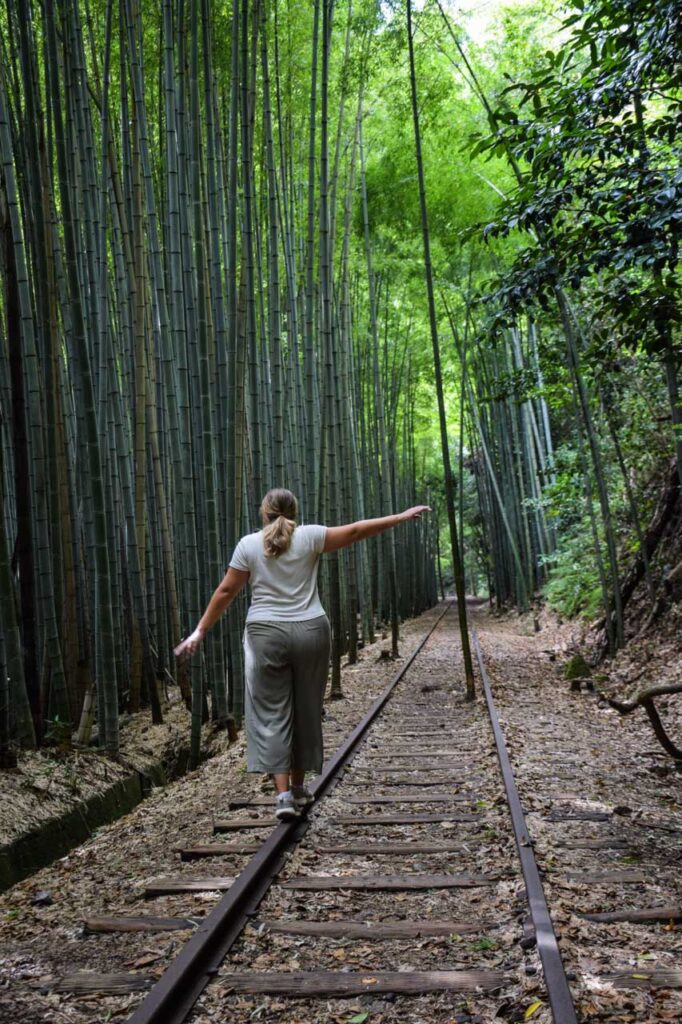
Our favourite side trip was finding the abandoned Yamamori railway line, a quiet, overgrown place that felt like something from a Studio Ghibli scene.

We stayed at Hotel St Palace Kurayoshi which was conveniently close to the railway station.

Read our full Kurayoshi guide here. (coming soon)

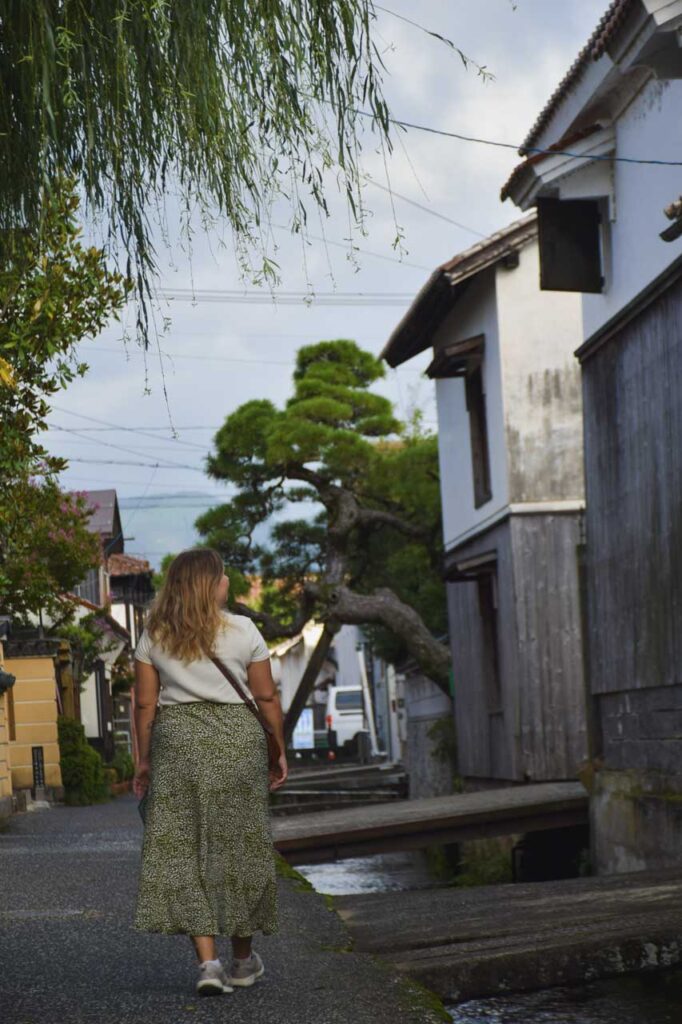
Kurayoshi Old Town
Kurayoshi Old Town
Ghibli vibes at the abandoned train line
Meeting the ladies at Makita Family Residence

Tottori 鳥取市 — 2 Nights

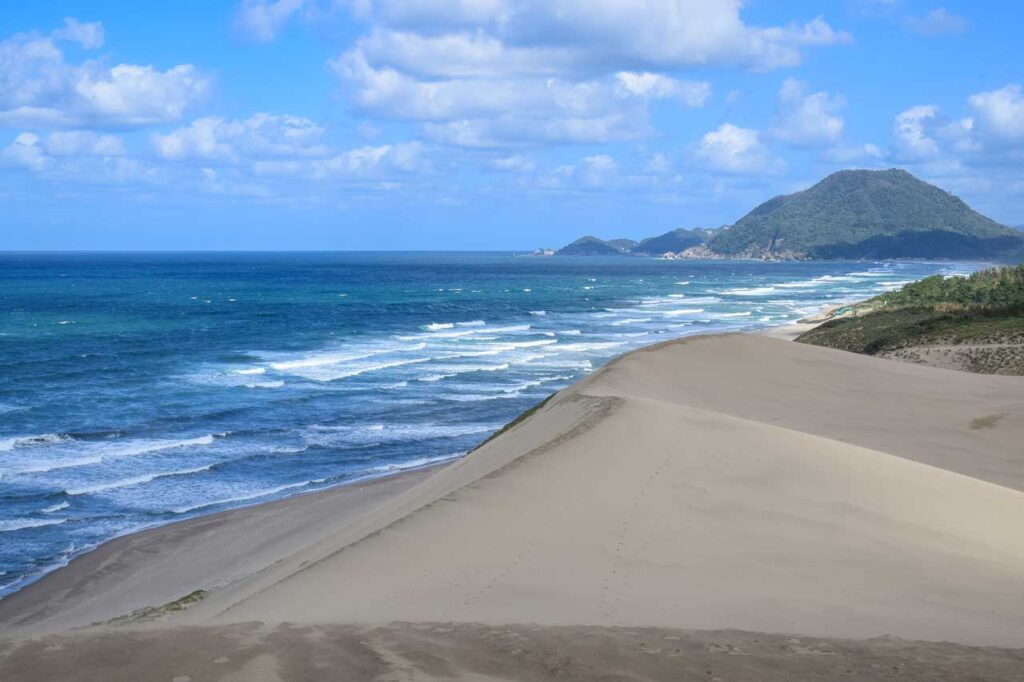
Tottori is famous for its sand dunes, where the desert-like landscape meets the sea. It is one of the more unusual natural sights in Japan and definitely one of the best places to visit in Japan if you want something different from temples, castles and city streets. That said, it was also our least favourite stop on the San-In Line because it felt more touristy than the other places on this route.

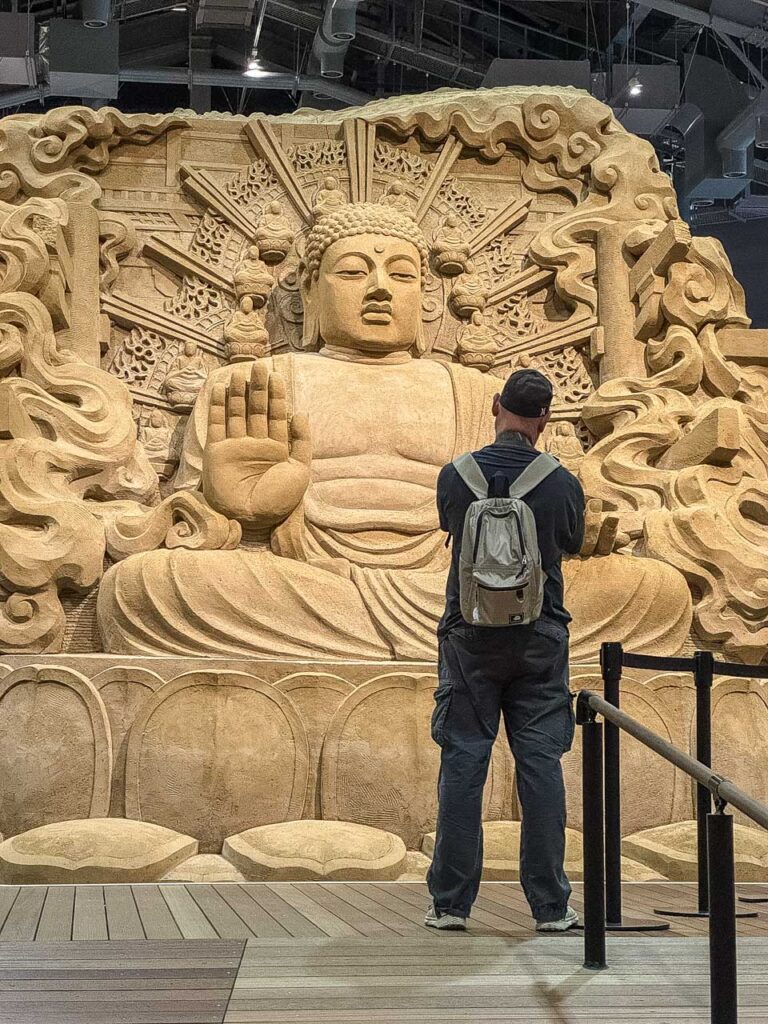
The Sand Museum was strange but impressive, with huge sand sculptures that change regularly.

Wee stayed: Tottori Washington Hotel Plaza which was pretty close to the train station.

Read our full Tottori guide here. (coming soon)

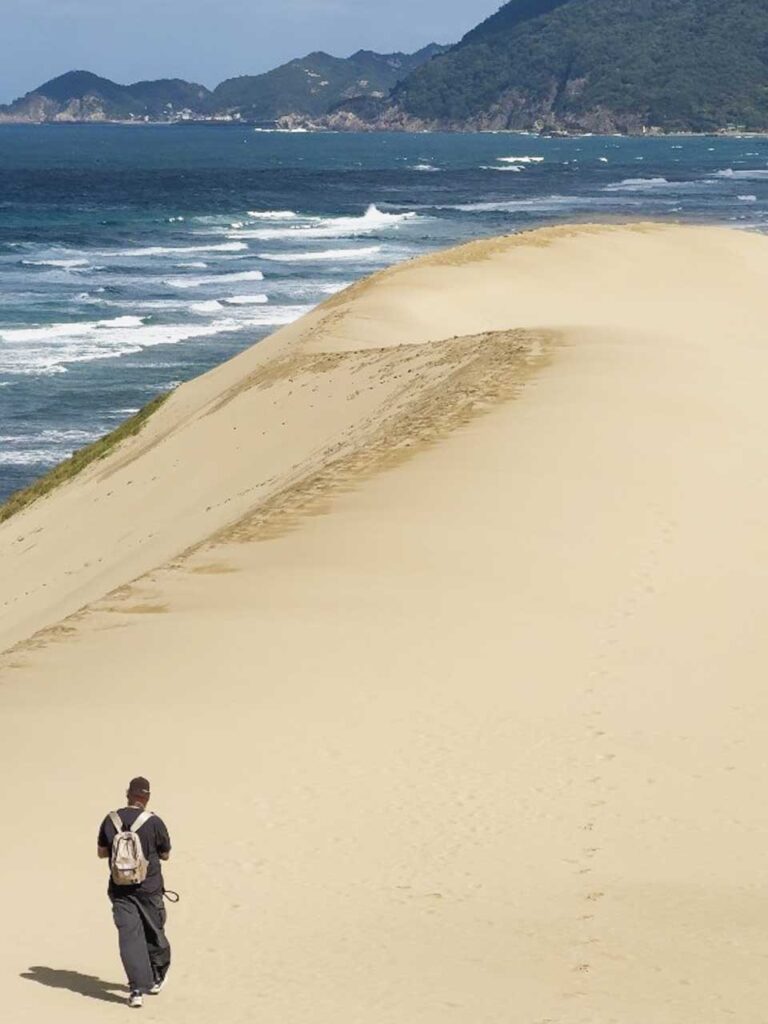
Sam walking along the Tottori Sand Dunes
Sand Castle Museum in Tottori
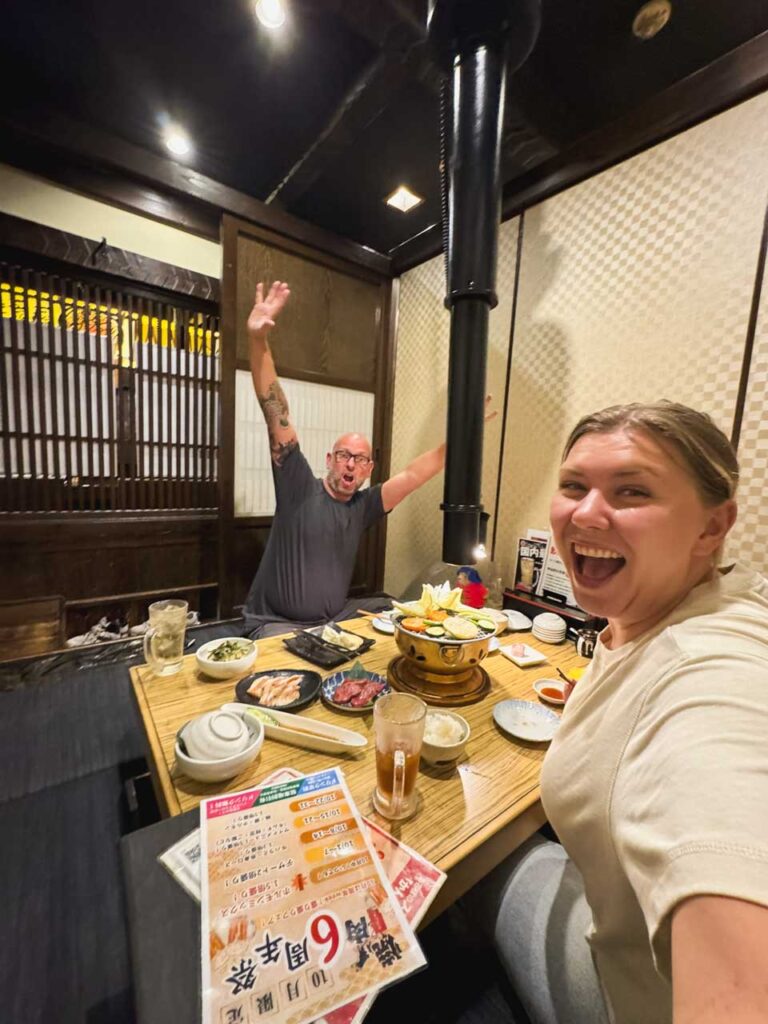
Yakiniku in Tottori
Yakiniku in Tottori
Tottori Sand Dunes
Tottori Sand Dunes

Okayama 岡山市 — 4 Nights

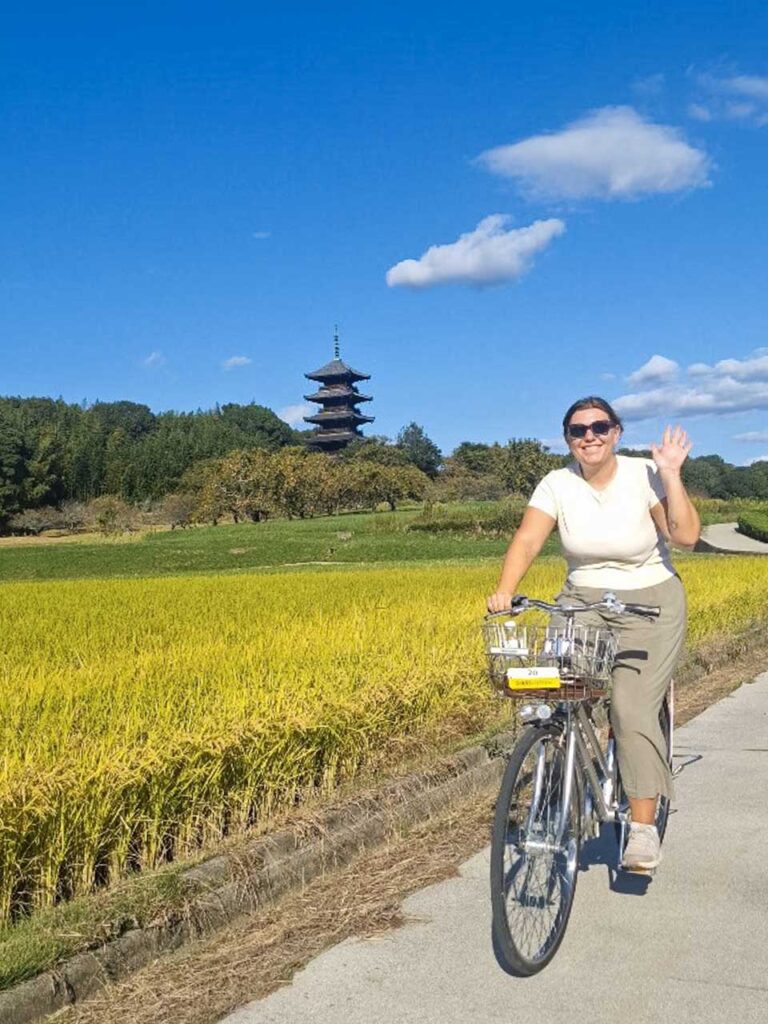
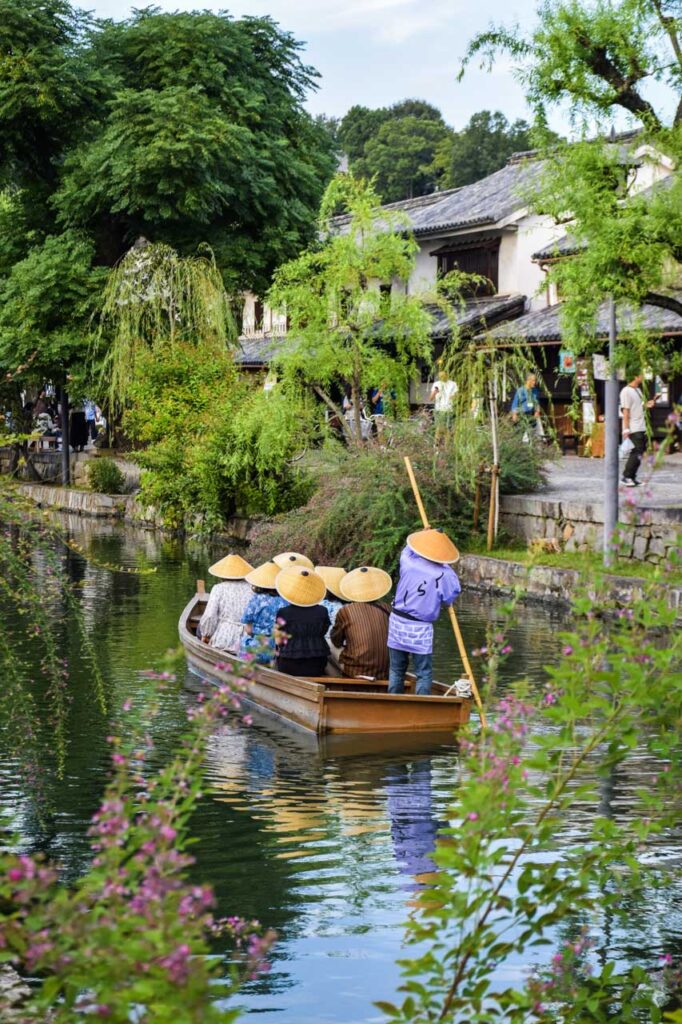
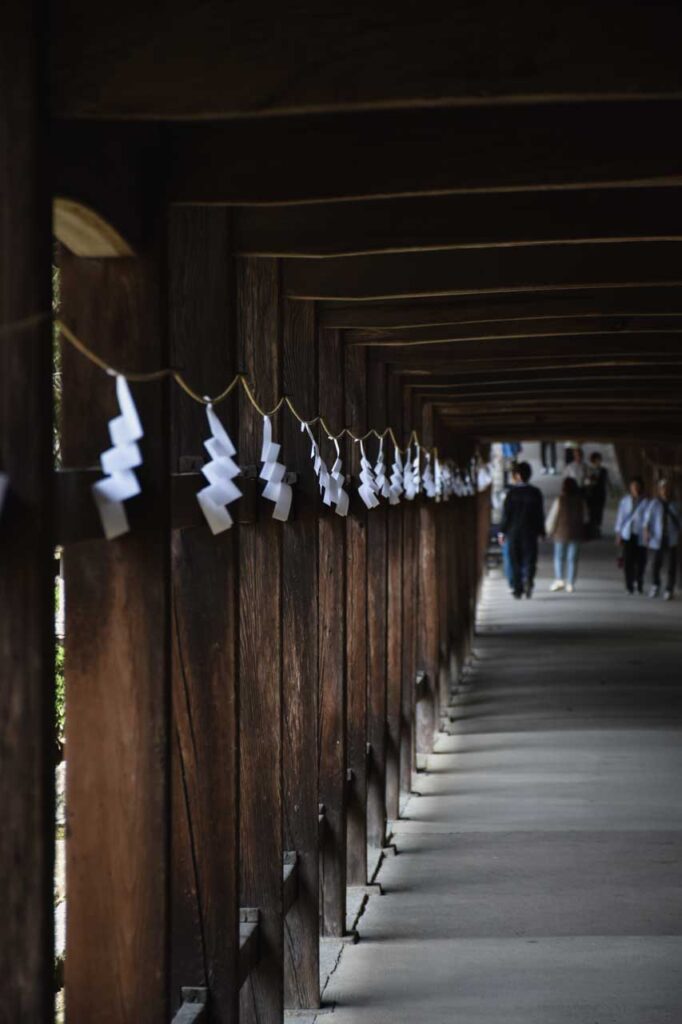
Okayama marked the end of our regional train journey and felt like a return to a larger, more connected city. At first it seemed like another grey urban stop, but it opened up once we explored beyond the centre. We visited Kibitsu Jinja with its long covered walkway, cycled out to a five-storey pagoda and took a trip to Kurashiki for denim shopping and a beautiful old canal district.

After so many smaller towns, Okayama was a comfortable place to slow down, reflect and ease back into civilisation.

We stayed: HOTEL LiVEMAX Okayama West was was small, but very clean and close to the train station.

Read our full Okayama guide here. (coming soon)

Five-storied Pagoda of Bitchu Kokubun-ji Temple
The water town of Kurashiki
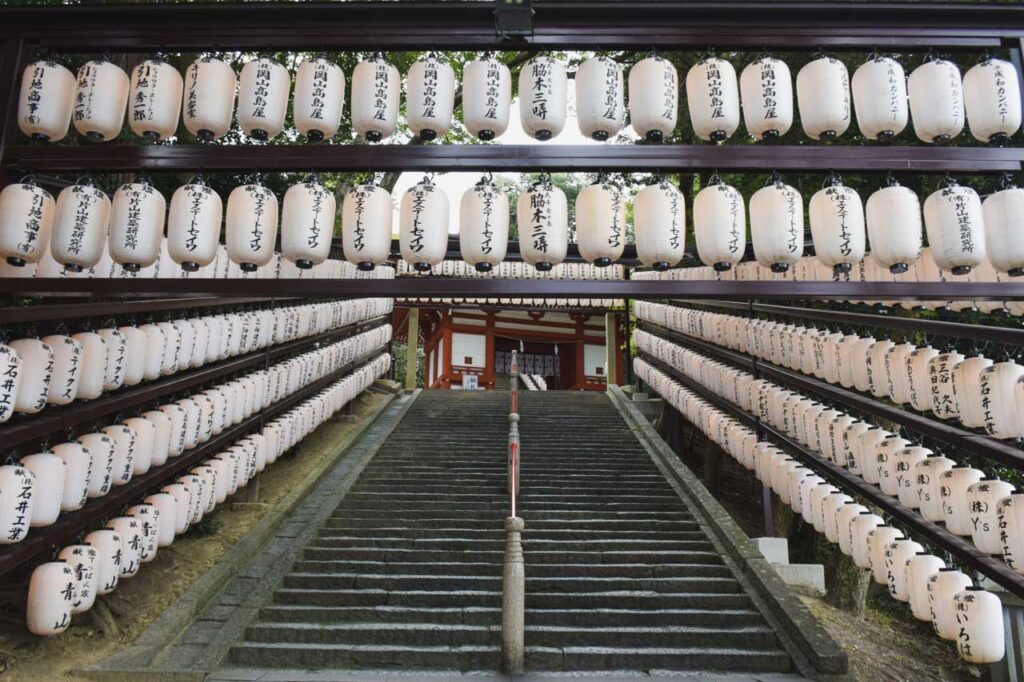
Kibitsu Jinja (Sanbi Ichinomiya)
Entrance to Kibitsu Jinja (Sanbi Ichinomiya)

Travelling Japan by Local Train

This route is not about bullet trains or rushing between major cities. It is about small local trains, two-carriage services, coastal views, quiet stations and the kind of journeys where the train itself becomes part of the experience.

For this itinerary, we would not bother with a nationwide or Regional JR Rail Pass. Local tickets were easy enough to buy, the journeys were flexible, and this route was much better suited to slow independent travel than a high-speed pass-based itinerary.

One important thing to know is that IC cards such as Suica or ICOCA may not work properly on some rural sections of the San-In Line. We tapped in at Shimonoseki and could not tap out at Masuda, which eventually froze our cards until station staff helped us fix the fare at Izumo.

If we did this again, we would buy paper tickets for the rural sections instead of relying on an IC card.

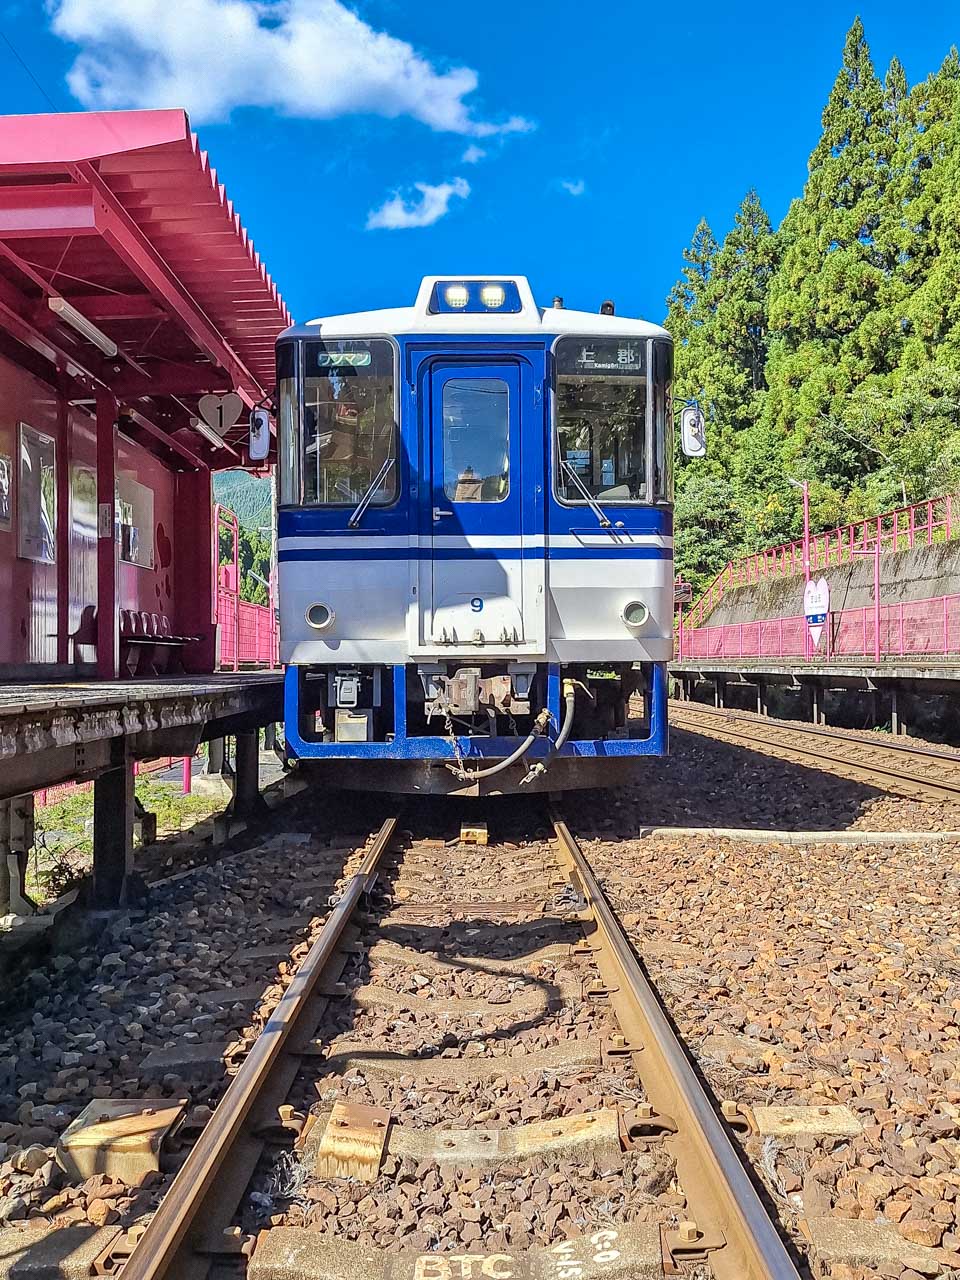
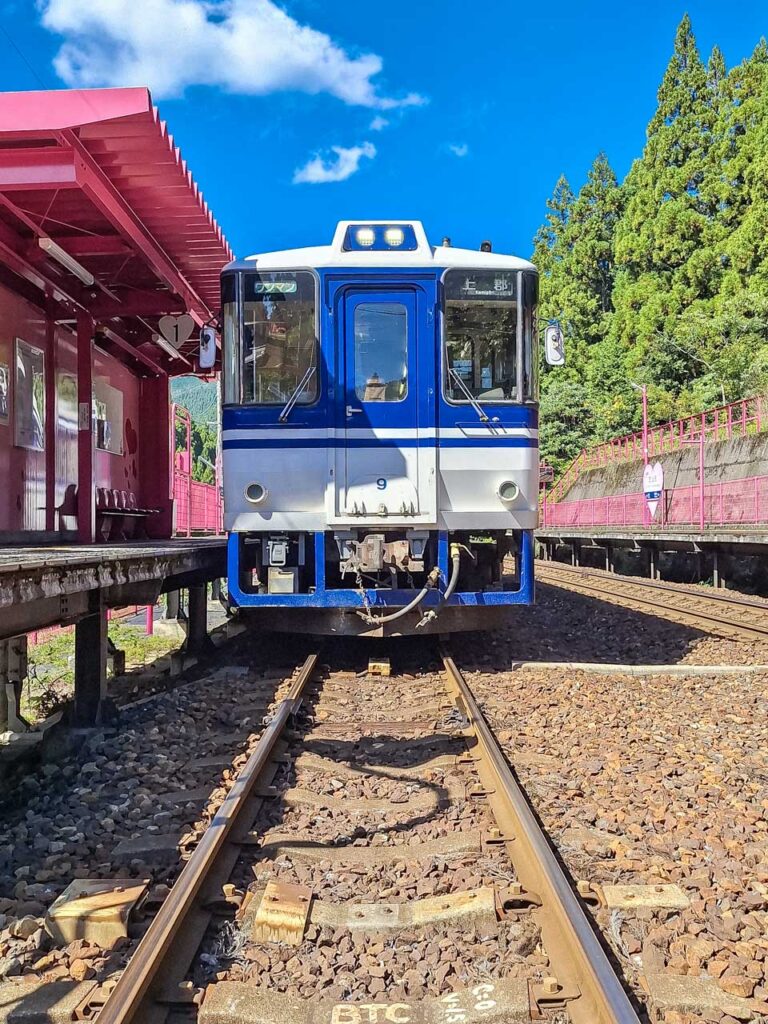
Our cute train from Tottori to Okayama

What We’d Change

We probably did not need seven nights in Fukuoka. That was useful for us because we had work to catch up on and photo backups to sort after travelling in China, but most travellers could spend three or four nights there and use the extra time elsewhere.

We also considered continuing further along the coast towards Obama, but by Tottori we were getting tired from planning each small stop, checking transport and figuring out where to stay and eat. Heading south to Okayama felt like the right decision at that point.

Is This Japan Itinerary Right for You?

This Japan slow travel itinerary is best if you have already visited the major tourist route and want to see a quieter side of the country. It is not the best route for a first trip if your dream is Tokyo, Kyoto, Osaka, Mount Fuji and the classic highlights.

But if you like small cities, local trains, ordinary neighbourhoods, regional food, shrines, castles, coastal scenery and slower travel days, this route is a lovely alternative. It reminded us why we keep coming back to Japan.

Final Thoughts

This was one of the most rewarding trips we’ve taken in Japan. By avoiding the busiest places and travelling slowly by regional train, we found a version of the country that felt calmer, friendlier and more personal.
The San-In Line gave us those perfect slow train moments: small stations, sea views, countryside, local food and quiet towns and beautiful shrines where people seemed genuinely surprised to see us. We would absolutely travel through Japan this way again.

Save the pin

July 9, 2026 0 comments
FacebookTwitterPinterestLinkedinRedditStumbleuponWhatsappTelegramThreadsOpenAIChatGPTEmail
Uncategorized

Trusted House Sitters Promo Code: Save on Your Membership

by Sam July 2, 2026
written by Sam

Thinking about joining Trusted House Sitters?

If you’re planning to become a house sitter or you’re a homeowner looking for reliable pet sitters, you can save money on your membership by using our exclusive referral link.

Trusted House Sitters Promo Code

Use referral code:

RAF663387

Or simply use our referral link below to have the discount applied automatically:

👉 https://www.trustedhousesitters.com/refer/RAF663387/

Why We Recommend Trusted House Sitters

We’ve been using Trusted House Sitters for years as full-time travellers and it’s completely changed the way we travel.

Not only has it saved us thousands on accommodation, but it’s also allowed us to care for incredible pets in countries all over the world while staying in real homes instead of hotels.

From city apartments to countryside cottages and luxury villas, we’ve experienced places we probably never would have visited otherwise.

If you’re curious about how it works, our experience using the platform and whether it’s worth the membership fee, you can read our full guide here:

Using Trusted House Sitters to Support Your Travels

👉 https://lbsbworld.com/using-trusted-house-sitters-to-support-your-travels/

How to Claim Your Discount

  1. Visit our referral link: https://www.trustedhousesitters.com/refer/RAF663387/
  2. Create your Trusted House Sitters account.
  3. Choose your membership.
  4. Your referral discount will be applied during the signup process.

Whether you’re looking to travel more affordably or find trusted people to care for your pets while you’re away, we can genuinely recommend Trusted House Sitters based on our own experience.

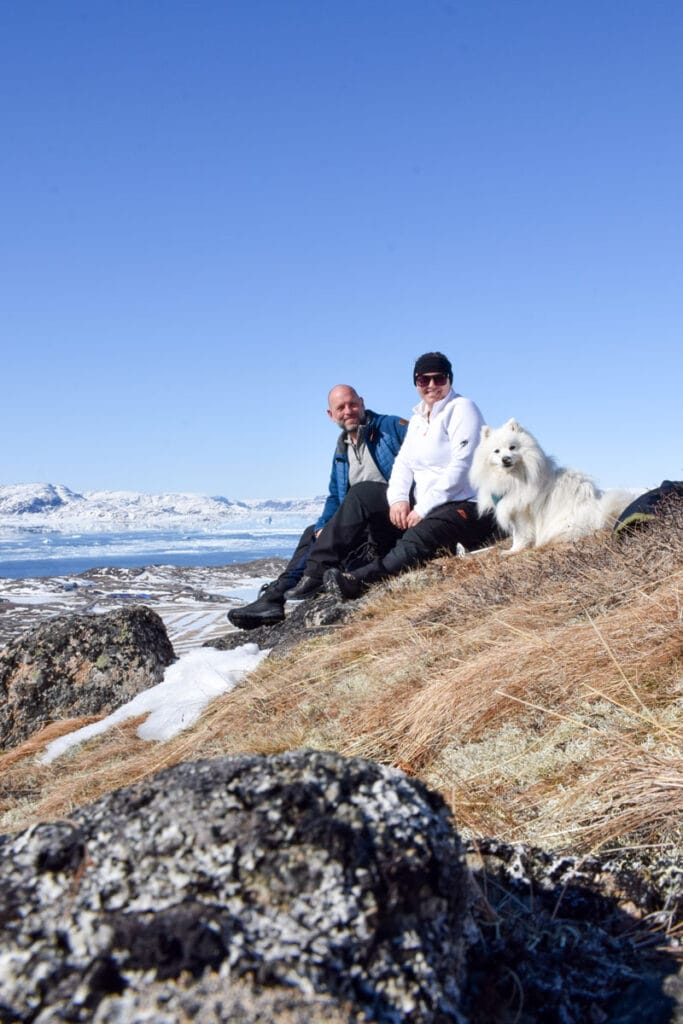
Petsitting in Greenland with TrustedHouseSitters
Petsitting in Australia with TrustedHouseSitters
Petsitting in the UK with TrustedHouseSitters

Pet sitting all over the world with Trusted House Sitters

A Quick Note on Transparency

Using our referral link is a win-win for both of us.

You’ll receive 25% off your first Trusted House Sitters membership, and in return we’ll receive 2 months added to our own membership at no extra cost to you.

We only recommend products and services that we genuinely use ourselves, and Trusted House Sitters has become a huge part of our full-time travels. If you decide to join using our link, thank you for supporting LBSB World while also saving money on your own membership.

Save the pin

July 2, 2026 0 comments
FacebookTwitterPinterestLinkedinRedditStumbleuponWhatsappTelegramThreadsOpenAIChatGPTEmail
Namibia

Chameleon Safaris Promo Code: Get 10% Off Your Namibia Safari

by Sam July 2, 2026
written by Sam

Planning a trip to Namibia?

We’ve partnered with Chameleon Safaris to offer our readers an exclusive 10% discount on any safari or tour booked directly through their website.

Chameleon Safaris Discount Code

Use promo code:

PADDINGTON10

Enter the code when booking through the Chameleon Safaris website to receive 10% off your tour.

👉 Book here: https://www.chameleonsafaris.com/

Why We Recommend Chameleon Safaris

We spent 9 days travelling across Namibia with Chameleon Safaris on their Canyons, Dunes & Wildlife tour, visiting incredible places including Etosha National Park, Swakopmund, Sossusvlei, Dead Vlei, Kolmanskop and Fish River Canyon.

It remains one of the best organised tours we’ve ever been on. The guides were knowledgeable, the food was excellent, the accommodation exceeded our expectations and the itinerary covered many of Namibia’s most spectacular highlights.

You can read our full review, day-by-day itinerary and honest experience here:

Our 9-Day Namibia Tour with Chameleon Safaris: An Honest Review

👉 https://lbsbworld.com/how-to-travel-in-namibia-our-9-day-adventure-with-chameleon-safaris/

Terms

  • Promo code: PADDINGTON10
  • Discount: 10% off
  • Valid on: Tours and safaris booked through the official Chameleon Safaris website.
  • Be sure to enter the code during the booking process to receive your discount.

If you’re planning a Namibia adventure, we genuinely recommend Chameleon Safaris and hope this discount helps you save a little money on an unforgettable trip.

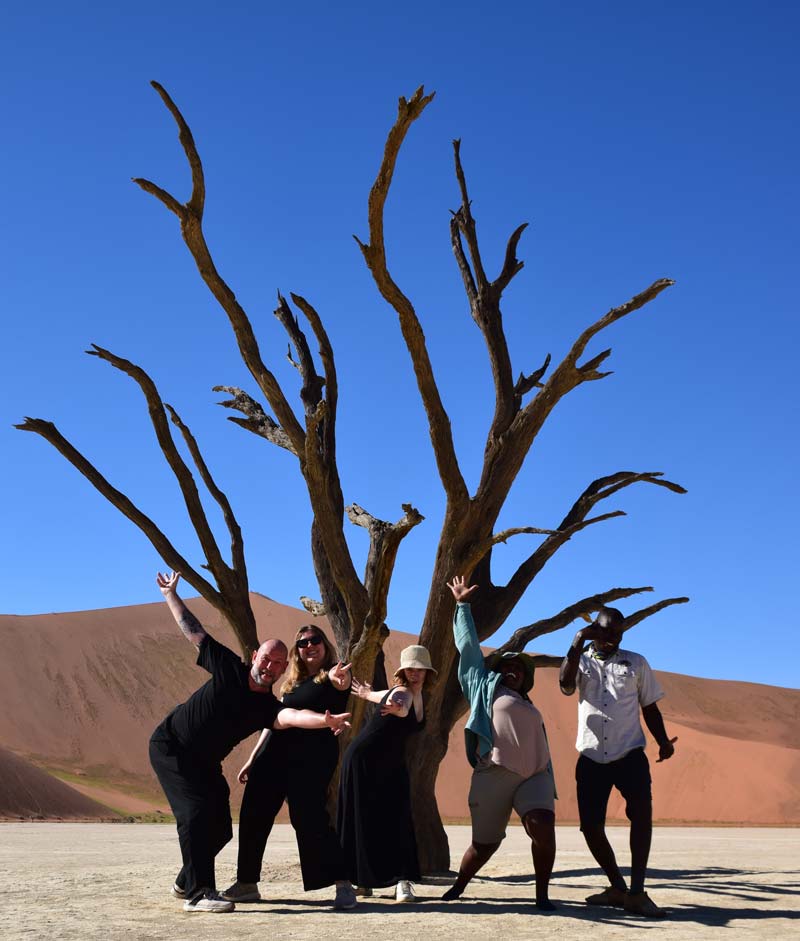
Sam in Deadvlei, Namibia on our Chameleon Safari

Sam in Deadvlei, Namibia on our Chameleon Safari

Save the pin

July 2, 2026 0 comments
FacebookTwitterPinterestLinkedinRedditStumbleuponWhatsappTelegramThreadsOpenAIChatGPTEmail
China

How to Visit the Chengdu Panda Base: Tickets, Tips & Our Experience

by Sam June 24, 2026
written by Sam

Visiting the giant pandas at Chengdu Research Base of Giant Panda Breeding was one of the main reasons we wanted to visit China, so we wanted to plan it properly. If you’re wondering how to visit Chengdu Panda Base independently, it helps to know how tickets work, when to go, how to get there and what to expect once you arrive. We visited during our time in Chengdu, and while it was busy, seeing giant pandas in China was absolutely worth it.

When China introduced visa-free entry for our passports, we finally had the chance to make the trip happen. We only had 10 days in the country, so every stop had to count. After flying into Chengdu from Bangkok, there was one attraction at the very top of our China bucket list: the giant pandas.

And honestly, they didn’t disappoint.

There’s something about pandas that is impossible not to love. They’re goofy, clumsy, surprisingly expressive and seem permanently confused by their own existence. Seeing them up close for the first time was one of the highlights of our entire China trip.

One thing we quickly learned: pandas spend a lot of time eating

One thing we quickly learned: pandas spend a lot of time eating

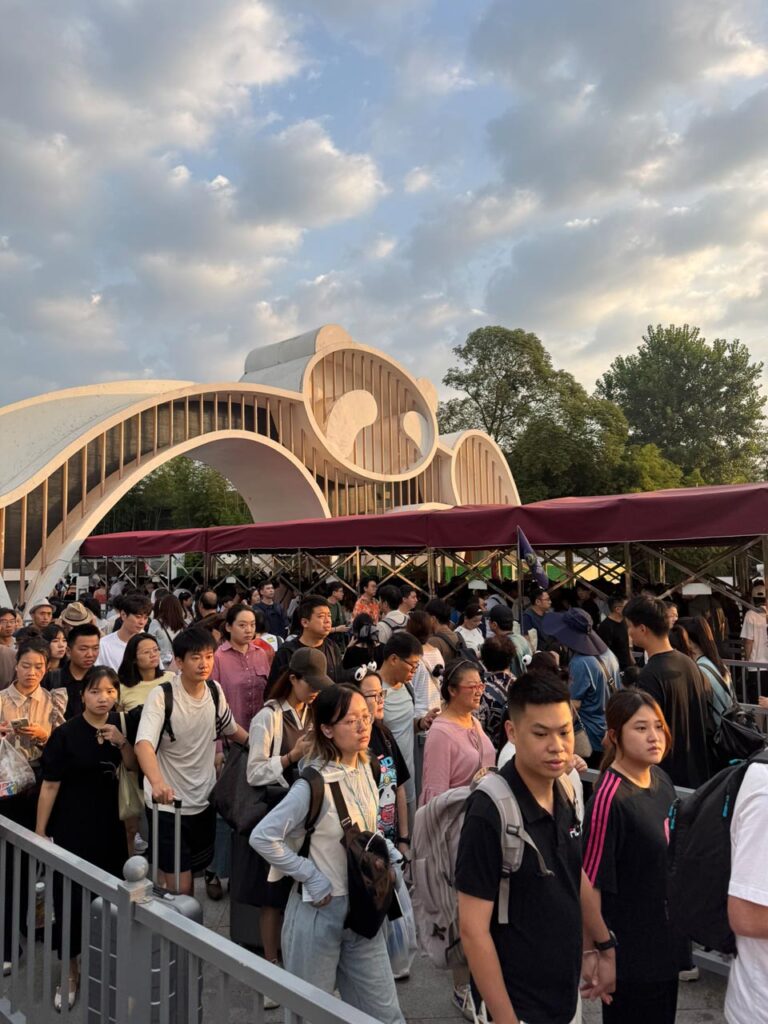
What surprised us most wasn’t the pandas themselves. It was the sheer number of people visiting the Chengdu Research Base of Giant Panda Breeding. The queues to enter were long, the weather was hot and some of the most famous pandas attracted crowds far bigger than we expected.

Fortunately, there are ways to avoid the worst of the crowds and still have a fantastic experience.

The crowds outside the Chengdu Research Base of Giant Panda Breeding surprised us. Arriving before opening time is one of the best ways to beat the queues

The crowds outside the Chengdu Research Base of Giant Panda Breeding surprised us. Arriving before opening time is one of the best ways to beat the queues

Quick Verdict: Is the Chengdu Panda Base Worth Visiting?

Yes. Absolutely.

Chengdu is panda crazy. During our stay it felt like every second shop, billboard, souvenir stand and tourist brochure featured a panda somewhere. The giant panda is the symbol of Chengdu and visiting the Chengdu Research Base of Giant Panda Breeding is one of the most popular things to do in the city.

Unlike many famous attractions around the world, we didn’t leave feeling disappointed.

The enclosures were larger and more natural than we expected, we saw plenty of active pandas and watching the red pandas turned out to be one of the highlights of our visit.

Our biggest piece of advice is simple: arrive early.

By late morning the temperatures had increased significantly, many of the pandas had retreated indoors and the crowds were noticeably larger. Getting there before opening time made a huge difference to our experience.

How to Buy Tickets for the Chengdu Panda Base

We bought our tickets through Trip.com the day before our visit and had no problems at all.

For most international visitors, we think Trip.com is the easiest way to book tickets for the Chengdu Research Base of Giant Panda Breeding. The website and app are available in English, accept international payment methods and make the whole process very straightforward.

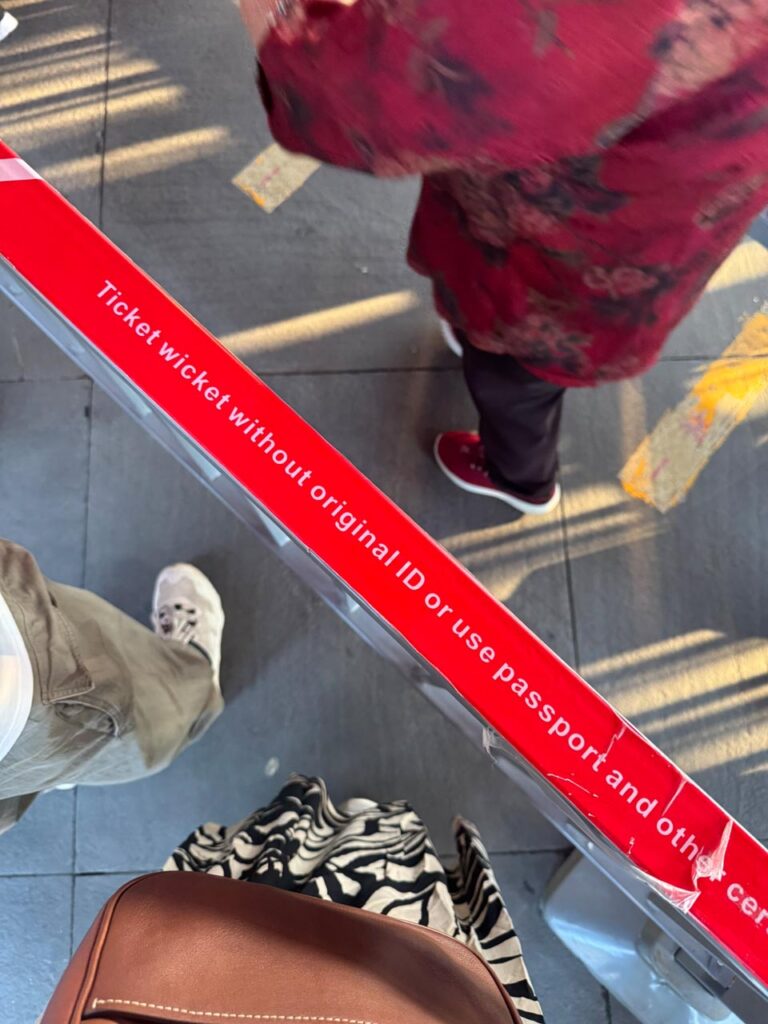
When booking your ticket, you’ll need to enter your passport details. Don’t worry about printing anything afterwards. Your passport effectively becomes your ticket.

Your passport is your ticket. Once you've booked online, simply scan the passport used for the reservation at the entrance.

Your passport is your ticket. Once you’ve booked online, simply scan the passport used for the reservation at the entrance.

When we arrived at the panda base, we simply scanned our passports at the entrance and walked straight in.

👉 Book Chengdu Panda Base tickets on Trip.com here

If you’re travelling independently in China, we would strongly recommend downloading Trip.com before you arrive. We used it for attraction tickets, train bookings and general travel planning throughout our trip.

💡TOP TIP:

Bring the same passport you used when booking your ticket. You’ll need it to enter the Chengdu Research Base of Giant Panda Breeding.

Opening Hours

Opening hours vary depending on the season:

  • March to October: 7:30am to 6:00pm
  • November to February: 8:00am to 5:30pm

While those are the official opening times, our advice is to arrive at least 30 to 60 minutes before the gates open.

It might seem excessive, but you’ll quickly understand why once you see the queues.

Essential Apps for Visiting the Chengdu Panda Base

If this is your first time visiting China, we strongly recommend setting up a few key apps before you arrive.

We booked our panda tickets through Trip.com, ordered taxis using WeChat and used Alipay for payments throughout our trip. Having these apps installed before landing in China made travelling around Chengdu much easier.

If you’re planning a trip to China, make sure to read our guide:

Best Apps for Visiting China in 2026
https://lbsbworld.com/best-apps-for-visiting-china-2026-guide/

It covers everything you need to know about payments, transport, bookings and navigating China as a foreign visitor.

Our Top Tips for Visiting the Chengdu Panda Base

Arrive Before Opening Time

This is by far the most important tip.

The pandas are most active during the cooler morning hours, particularly around feeding time. Arriving early means you’ll see more active pandas and avoid some of the worst crowds.

Enter Through the South Gate

We entered through the South Gate and headed straight towards the Panda Villa area.

This seemed to work well and allowed us to get ahead of many visitors heading towards the most famous enclosures.

Don’t Feel Like You Have to Queue for Hua Hua

Hua Hua is currently one of the most famous giant pandas in China.

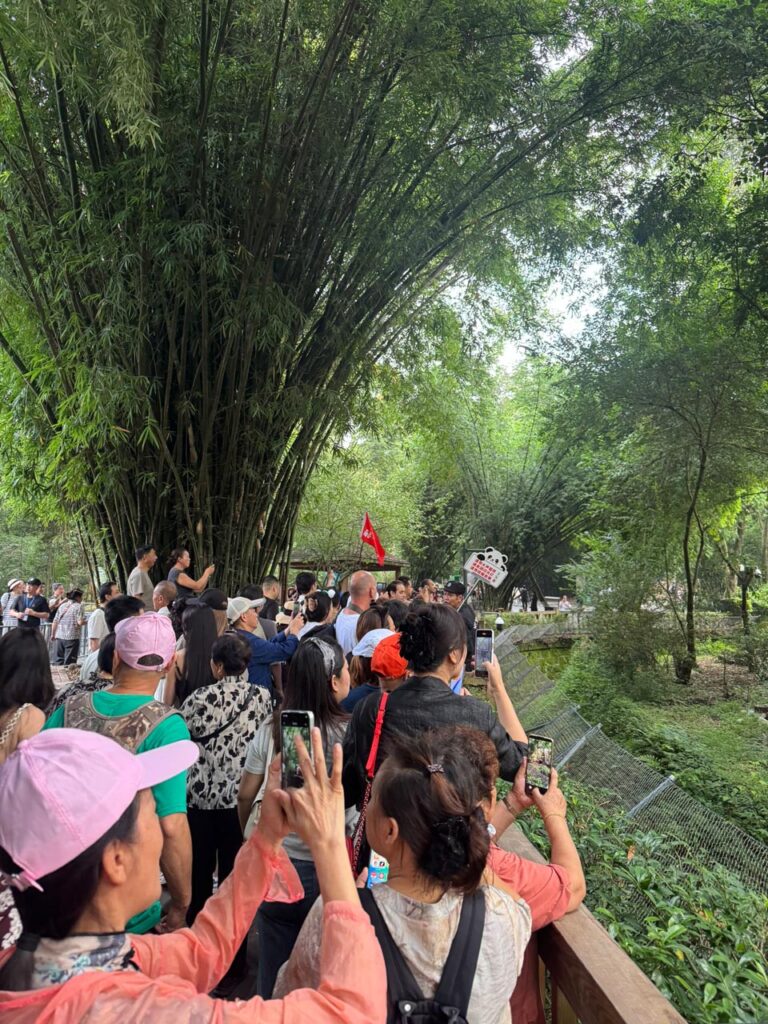
When we visited, the queue was already enormous shortly after opening. We decided not to join it and instead spent our time exploring the quieter enclosures.

Honestly, we don’t regret that decision at all.

There are plenty of pandas throughout the park and we were able to enjoy our visit without spending a huge chunk of the morning standing in line.

Crowds gathered around most of the  panda enclosures, Hua Hua has her own building. We found it much more enjoyable to explore the quieter enclosures instead.

Crowds gathered around most of the panda enclosures, Hua Hua has her own building. We found it much more enjoyable to explore the quieter enclosures instead.

Bring Water and Wear Comfortable Shoes

The panda base is much larger than it looks on a map.

There is a surprising amount of walking involved and by 11am we were definitely feeling it. Comfortable shoes and plenty of water will make the experience much more enjoyable.

Our Experience Visiting the Chengdu Panda Base

We visited the Chengdu Research Base of Giant Panda Breeding on our second day in China.

The evening before, we booked our tickets and planned an early start. At around 6:30am we hailed a taxi using WeChat and headed towards the panda base.

Despite Chengdu being a huge city, the roads were surprisingly quiet at that time of day and the journey took around 30 minutes.

When we arrived, we were immediately surprised by the crowds.

Even before opening time, there were already long queues forming outside the entrance. Vendors lined the streets selling panda hats, panda ears and every other panda-themed souvenir you could imagine.

Once inside, we headed straight for the Panda Villa area.

The queue for Hua Hua was already huge, so we decided to skip it and focus on the less crowded enclosures instead.

For us, this turned out to be the right decision.

We watched pandas eating bamboo, climbing trees, rolling around and generally behaving exactly how you’d expect a panda to behave. Slightly clumsy, completely unbothered and endlessly entertaining.

One of the highlights was seeing the red pandas being fed.

The enclosures themselves were much larger and more natural than we expected. In many places only a low wall separated visitors from the pandas, making it easy to get a good view.

By around 11am, the heat was beginning to build and many of the pandas had retreated indoors. Combined with the amount of walking involved, it felt like the perfect time to leave.

Looking back, arriving early was easily the best decision we made.

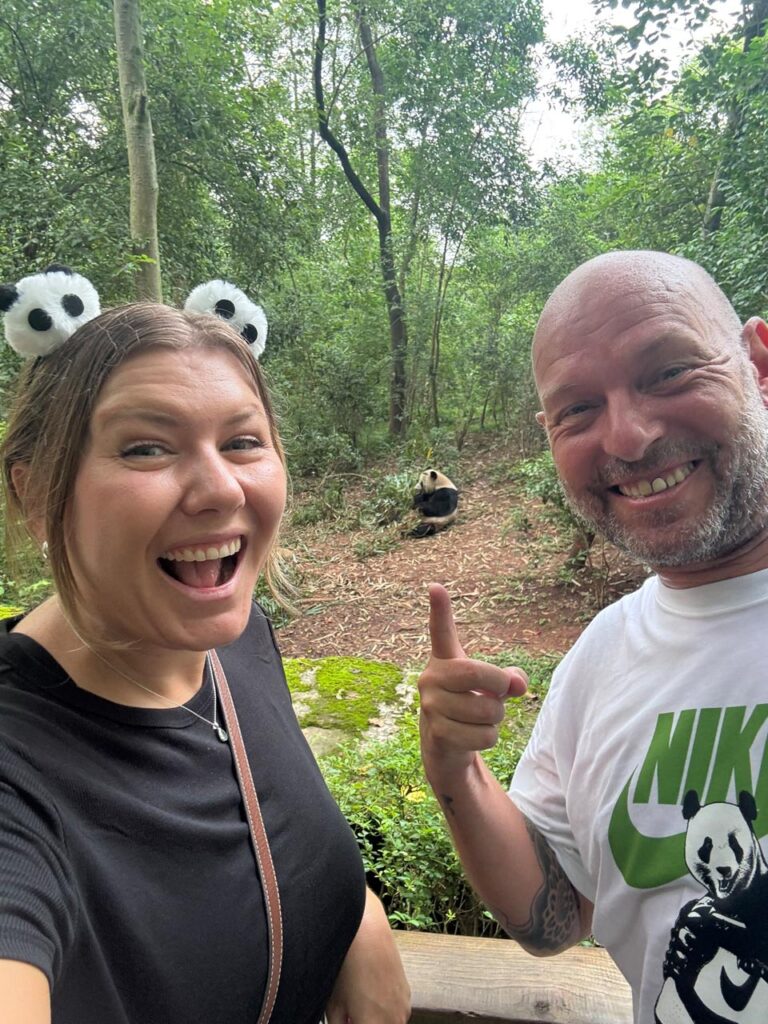
A China bucket-list moment. Visiting the pandas was one of the main reasons we wanted to come to Chengdu

A China bucket-list moment. Visiting the pandas was one of the main reasons we wanted to come to Chengdu

Why Are the Pandas in Chengdu?

The giant panda is native to Sichuan Province, making Chengdu one of the most important places in the world for panda conservation.

The Chengdu Research Base of Giant Panda Breeding was established to help protect and breed giant pandas and has become one of the leading panda conservation centres in the world.

Today, visitors can see giant pandas and red pandas while also supporting important conservation and research programmes.

Can You See Red Pandas in Chengdu?

Yes.

In fact, the red pandas were one of the highlights of our visit.

While most visitors focus on the giant pandas, the red pandas are often more active and playful. We spent far longer watching them than we expected and would strongly recommend making time to visit their enclosure.

The red pandas ended up being one of the highlights of our visit. They were far more active than many of the giant pandas and seemed to have endless energy.

The red pandas ended up being one of the highlights of our visit. They were far more active than many of the giant pandas and seemed to have endless energy.

Is the Chengdu Panda Base Ethical?

From our observations, yes.

The Chengdu Research Base of Giant Panda Breeding is first and foremost a conservation and breeding facility rather than a traditional zoo.

The enclosures were spacious, heavily vegetated and designed to resemble the pandas’ natural environment. The pandas appeared relaxed and had plenty of space to retreat from visitors when they wanted to.

While everyone will have their own views on wildlife attractions, we felt comfortable visiting and were encouraged by the centre’s focus on conservation.

Final Thoughts

Visiting the Chengdu Research Base of Giant Panda Breeding was one of the highlights of our time in China.

If you’re visiting Chengdu, we think it’s an essential stop.

Arrive early, don’t stress about seeing every famous panda, make time for the red pandas and wear comfortable shoes.

Most importantly, enjoy it.

After all, there aren’t many places in the world where you can spend a morning watching giant pandas casually munch bamboo while looking completely unconcerned about the thousands of people who have travelled across the world to see them.

Save the pins

June 24, 2026 0 comments
FacebookTwitterPinterestLinkedinRedditStumbleuponWhatsappTelegramThreadsOpenAIChatGPTEmail
China

Best Apps for Visiting China (2026 Guide)

by Sam June 12, 2026
written by Sam

Traveling in China as a tourist

Before our first trip to China, we spent far too much time reading articles about apps.

Some made it sound like traveling around China would be impossible without downloading twenty different apps, setting up a VPN, opening a Chinese bank account and obtaining a degree in computer science.

The reality was much simpler.

China turned out to be one of the easiest countries we’ve travelled around, but it does work differently from most places. Google services aren’t widely supported, cash is becoming increasingly rare (we never used or even saw cash at all during our stay) and nearly all everyday tasks are handled through local apps.

The good news is that if you install a handful of apps before you arrive, you’ll be absolutely fine.

These are the apps we found most useful during our travels through China.

Get an eSIM Before You Arrive

Before we even talk about apps, let’s talk about internet access.

Our biggest piece of advice is to sort out your mobile data plan before you land in China.

Livia used an eSIM purchased from Trip.com and had very few issues throughout our trip. Alternatively, if you’re coming from a country with affordable roaming charges, that can work just as well. Sam used his AIS physical SIMcard from Thailand (with roaming) and found it very reliable.

One major advantage of using a foreign SIM or eSIM is that many international services continue to work normally. Throughout our trip we could still access Gmail, Google Search, WhatsApp, Instagram and Facebook using mobile data.

The only real problem came when connecting to hotel WiFi, where access to some services became much less reliable, even impossible.

If you rely heavily on Google services, having your own mobile data can make life much easier, ut backing up photos on wifi probably won’t be possible

Android vs iPhone in China

One thing that genuinely surprised us was how different the experience was between Android and iPhone.

Livia used an iPhone and had very few problems. Apple Maps worked well, her photo library continued syncing normally and most of her everyday apps behaved exactly as expected.

Sam’s Android phone was a different story.

Because Android relies heavily on Google’s ecosystem, many built-in services struggled. Google Maps wasn’t particularly reliable, Google Photos didn’t sync at all, Google Docs and Google Calendar were inconsistent and uploading photos became frustrating if not impossible.

Oddly enough, Gmail continued to work perfectly well using my physical Thailand AIS SIMcard.

This isn’t really a China problem. It’s more of a Google problem. Once we started using local apps such as WeChat, Alipay, DiDi and Amap, everything became much easier.

That said, if you’re deeply invested in Google’s ecosystem, expect a few more headaches on Android than you would on an iPhone.

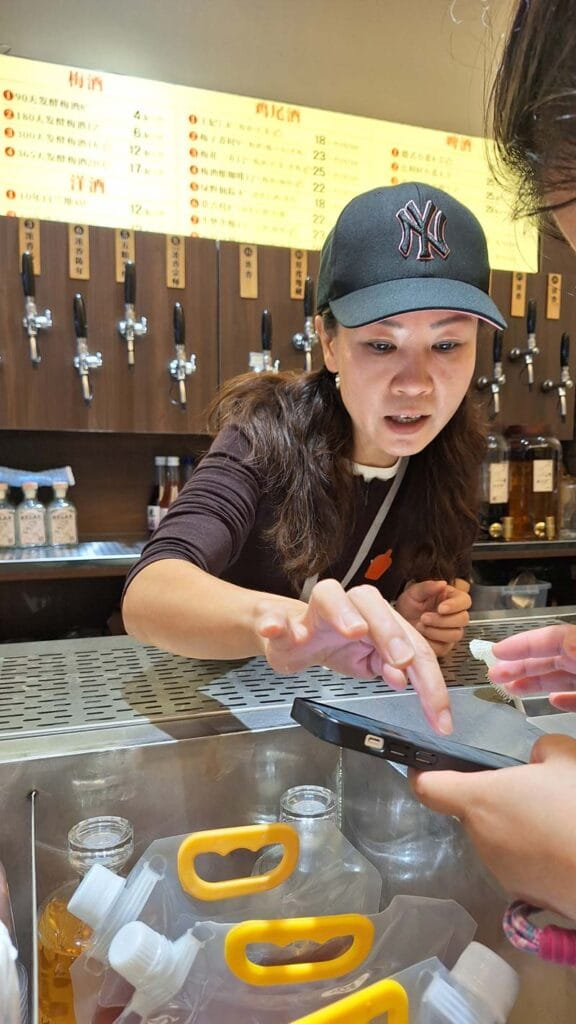
Most stores are happy to help you order and pay through your app if you need help.

Most stores are happy to help you order and pay through your app if you need help.

WeChat and Alipay: The Two Apps You Need

If there’s one thing you should do before arriving in China, it’s setting up WeChat and Alipay.

China is almost entirely cashless.

We arrived in China without any cash, only the apps listed here with our temporary virtual creditcards loaded (more about that later) almost everyone preferred QR code payments.

  • Street food vendors.
  • Coffee shops.
  • Train stations.
  • Restaurants.
  • Convenience stores.
  • Even tiny market stalls.

Everyone seemed to accept WeChat Pay or Alipay.

Alipay

Of the two apps, we found Alipay significantly easier to set up.

Within a few minutes we had linked our card and were ready to start making payments.

Most shops display an Alipay QR code at the checkout. Simply scan the code, confirm the amount and pay.

Easy.

🤖 ALIPAY ANDROID🍏 ALIPAY IOS
Alipay Apps

WeChat

WeChat took a bit more effort.

The setup process felt less intuitive and we encountered a few more verification steps before everything was working properly.

However, once it was set up, it quickly became one of our most-used apps in China.

The biggest advantage wasn’t actually the payments.

It was everything else.

WeChat includes mini-apps, transportation services, messaging features and, most importantly for travellers, built-in translation tools.

We regularly used the translation functions for menus, signs and conversations. It became one of those apps we found ourselves opening multiple times every day.

🤖 WECHAT ANDROID🍏 WECHAT IOS
WeChat Apps
Meeting up with friends is a breeze with WeChat

Which One Should You Use?

Our recommendation is simple.

Set up both.

Alipay was easier to get started with, while WeChat offered more useful features once we were traveling around the country.

Together they handled virtually every payment we made during our trip.

Amap: (Forget about Google Maps)

Before arriving in China, Sam assumed we’d simply use Google Maps, that lasted about five minutes.

While Google Maps occasionally worked, we found locations inaccurate and directions unreliable.

Instead, download Amap (Gaode Maps).

This is what most locals use, and it provides excellent navigation, public transport information, walking directions and business listings.

Once we switched to Amap, getting around became dramatically easier.

🤖 Amap ANDROID🍏 Amap IOS
Amap Apps

Apple Maps

If you’re traveling with an iPhone, Apple Maps was also surprisingly good.

Livia used it regularly throughout the trip and often preferred it over Amap for everyday navigation.

Either option is significantly better than relying on Google Maps.

DiDi: China’s Version of Uber

One of our biggest concerns before visiting China was transport.

How were we supposed to explain where we wanted to go if we didn’t speak Mandarin?

As it turns out, we didn’t need to, DiDi completely solved the problem.

Think of it as China’s version of Uber.

The easiest way to use it is through WeChat Mini App, which means there’s no need to download another app.

Simply enter your destination, choose your vehicle and confirm the booking.

That’s it.

Instead of trying to communicate addresses or directions, everything is handled through the app.

In many ways, we actually found DiDi easier to use than Uber.

Can You Use Uber in China?

No, Uber does not operate in mainland China in the same way it does in many other countries. The app you want instead is DiDi, which is China’s main ride-hailing service and works very much like Uber. We used DiDi through WeChat and Alipay, which meant we could book rides without needing to speak Mandarin or explain addresses to drivers.

And I’d slightly improve the opening line of the post so it hits the search intent faster:

Before our first trip to China, we spent far too much time trying to work out which apps we actually needed. Could we use Uber in China? Would Google Maps work? Did we need WeChat, Alipay, a VPN, Amap, Trip.com, or all of them?

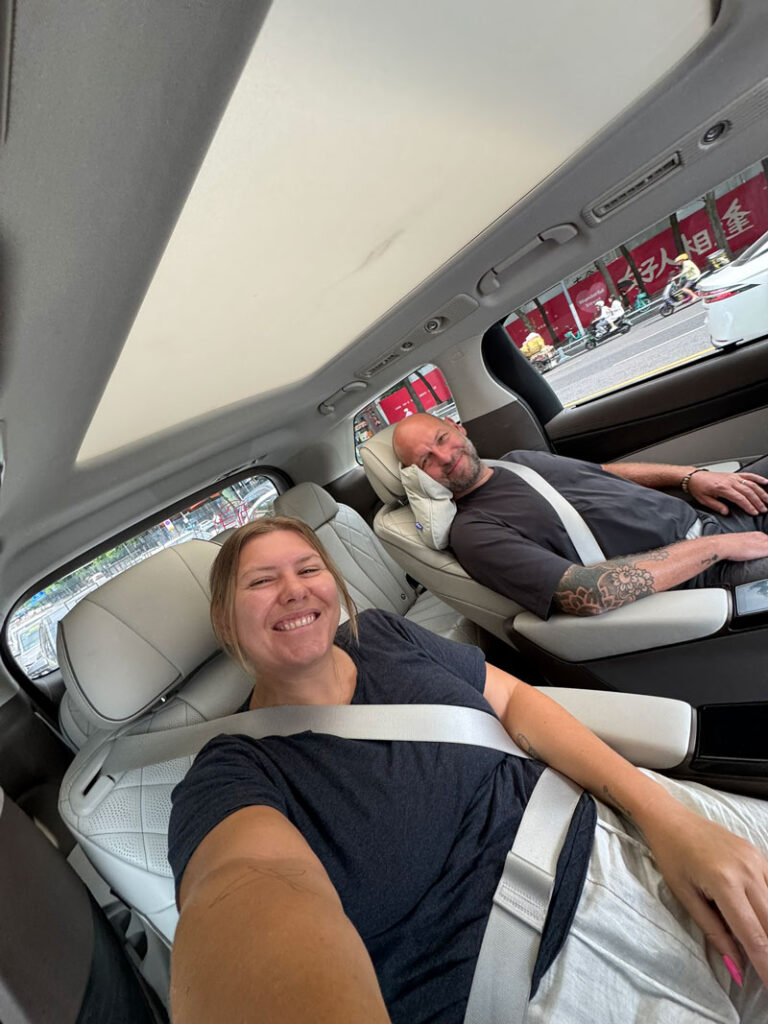
Taxis in China are so luxurious

Taxis in China are so luxurious

🤖 DiDi ANDROID🍏 DiDi IOS
DiDi Apps

Trip.com for Trains, Hotels and Experiences

China’s high-speed rail network is incredible. It’s also enormous.

For booking train tickets, we found Trip.com to be by far the easiest platform available in English. We used it throughout our trip to book trains between cities and found it reliable, straightforward and much easier to navigate than trying to use local booking systems.

We also booked most of our accommodation through Trip.com. Because the platform originated in China, it often has a much wider selection of hotels than international booking websites. We consistently found more options, better prices and occasionally a few extra perks that weren’t available elsewhere.

What surprised us most was how useful Trip.com became for booking attractions and experiences as well. We used it to book our visit to the Chengdu Research Base of Giant Panda Breeding, which saved us the hassle of navigating Chinese-language booking systems. Throughout China, many attractions, day tours and activities can be booked directly through the app, often with English descriptions and straightforward payment options.

If you’re travelling independently through China, Trip.com is one of the most useful apps you can install. By the end of our trip, we were using it for trains, hotels and experiences almost daily.

🤖 Trip ANDROID🍏 Trip IOS
Trip (CHINA) Apps
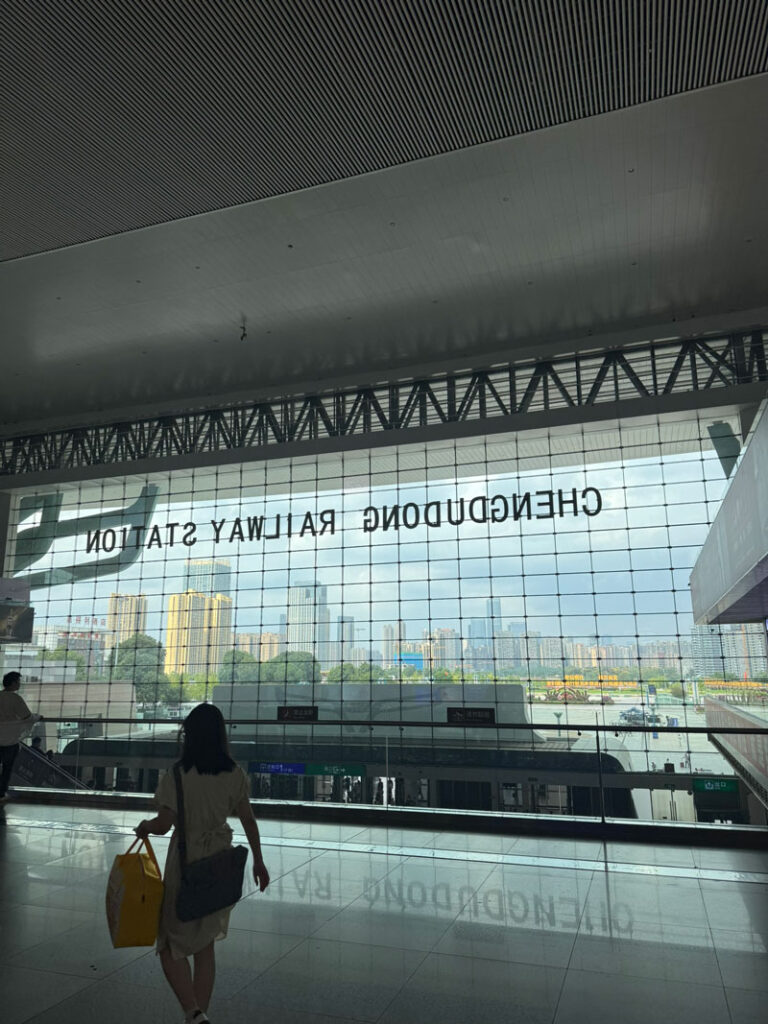
Chengdu Railway Station
Chongqing Sky Hotel

Booking trains and hotels become so easy

Do You Need a VPN in China?

Maybe, but most likely not.

Using our Livia’s eSIM, and Sam’s foreign Physical Thailand SIMcard we were able to access our email, all apple apps, some google apps and most international services without needing a VPN.

If you’re planning to rely heavily on hotel WiFi, just forget about it, VPN or not , you won’t be able to connect.

If you followed this guide, you will be using mobile data through a foreign SIM or eSIM, so you will find you rarely need one.

The Biggest Surprise About Visiting China

The biggest surprise wasn’t WeChat. It wasn’t Alipay. And it certainly wasn’t the high-speed trains.

It was how quickly everything became normal.

Before arriving, QR code payments, local apps and digital wallets all sounded slightly intimidating.

Within two or three days, however, they had become second nature.

By the end of the trip we were paying for meals, booking taxis, buying train tickets and navigating cities almost entirely through our phones.

In fact, returning home and pulling out a physical bank card again felt strangely old-fashioned.

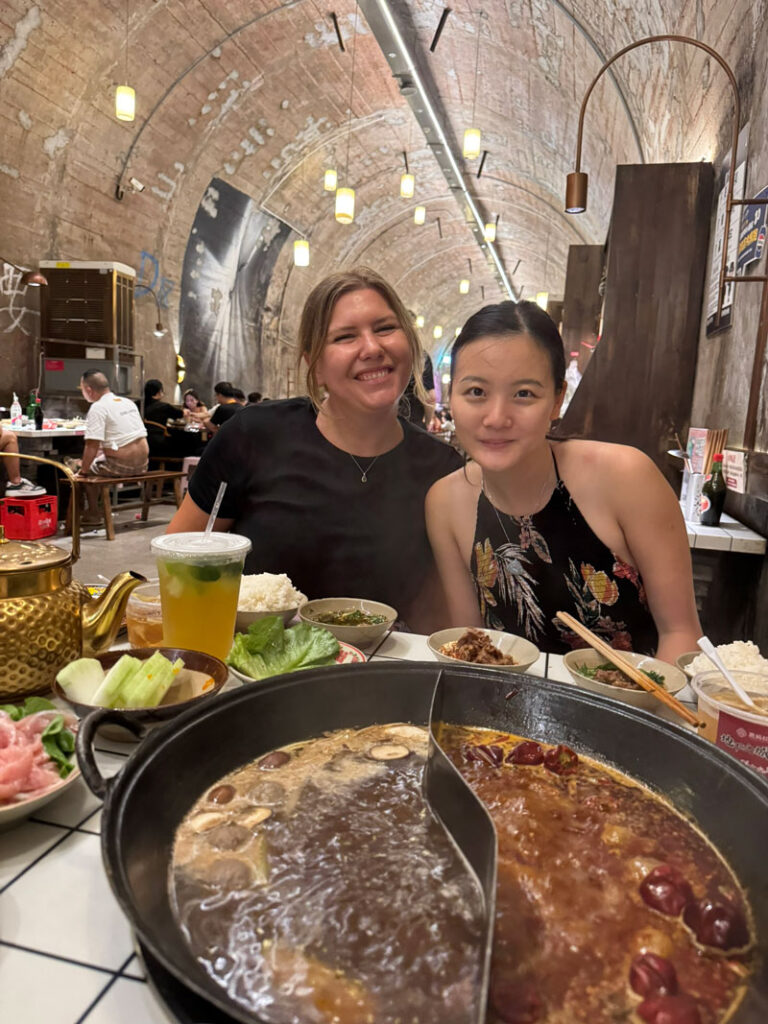
Bomb shelter hotpot in Chongqing

Bomb shelter hotpot in Chongqing (spot the Beijing bikini in the backgound)

Final Tips Before You Fly

Get a virtual CreditCard

We strongly suggest using a virtual Creditcard that you can delete after you visit to China. We use Wise and the app allows creation of unlimited virtual cards you can assign to different services. There’s no need to carry your wallet, and less risk of your card being compromised. Your virtual card has different details to your physical card, and can be frozen after each purchase. That means it’s a safe, smart and simple way to spend no matter where in the world you are.

Do it before you arrive

Before boarding your flight to China, make sure you’ve:

  • Installed WeChat
  • Installed Alipay
  • Linked your virtual payment cards
  • Downloaded Amap
  • Installed Trip.com
  • Purchased and activated your eSIM
  • Tested everything before departure

Trust us, doing this at home is much easier than trying to figure it out after a long-haul flight.

Once you’ve got these apps sorted, traveling around China becomes incredibly straightforward. We arrived expecting a steep learning curve and left wondering what all the fuss was about.

Livia is always happy shopping!

Livia is always happy shopping!

More China guides

If you’re planning a wider China trip, you may also find our other China guides useful. We’ve written a full Chengdu travel guide covering where we stayed, what we ate and why Chengdu felt like such an easy introduction to China, along with a separate guide on how to visit the Chengdu Panda Base if seeing giant pandas is high on your list. We’ve also shared a detailed Chongqing travel guide with our favourite viewpoints, hot pot experiences, transport tips and honest thoughts on visiting China’s extraordinary mountain city. Finally, if you’re heading east, our Shanghai Travel Guide covers the best things to do, where to stay, where to eat and why we think Shanghai makes an excellent starting point for a first trip to China.

June 12, 2026 0 comments
FacebookTwitterPinterestLinkedinRedditStumbleuponWhatsappTelegramThreadsOpenAIChatGPTEmail
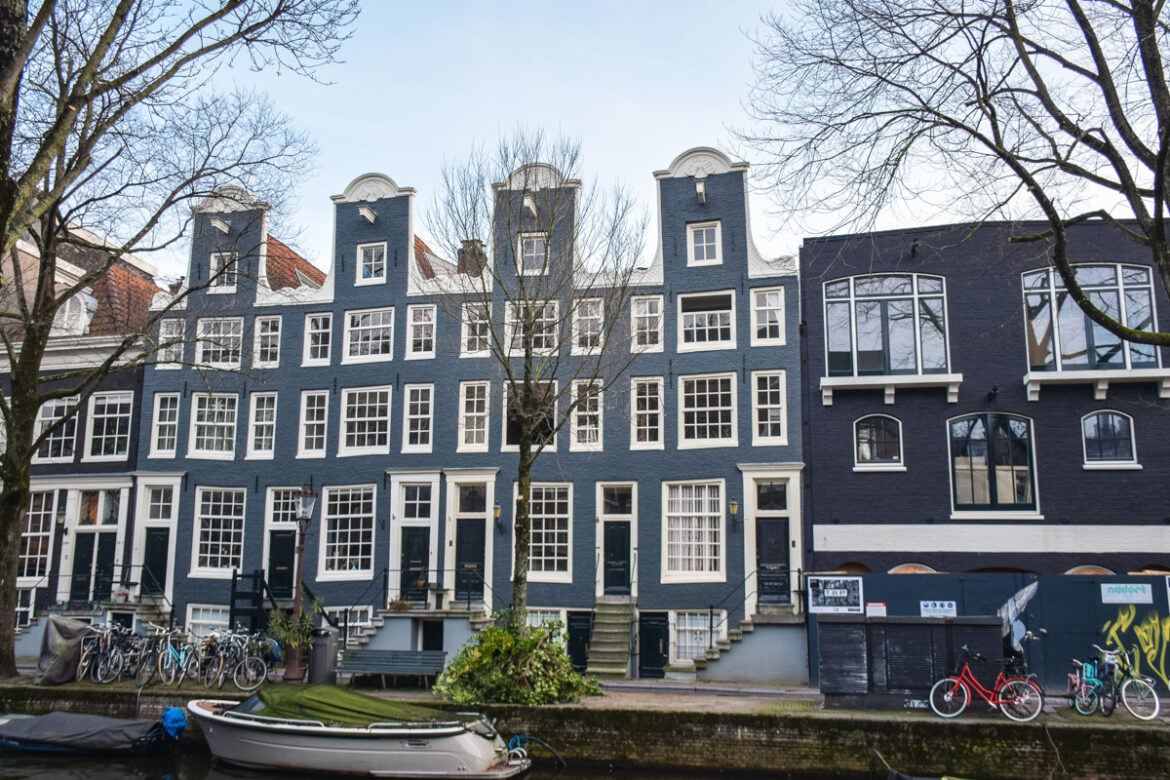
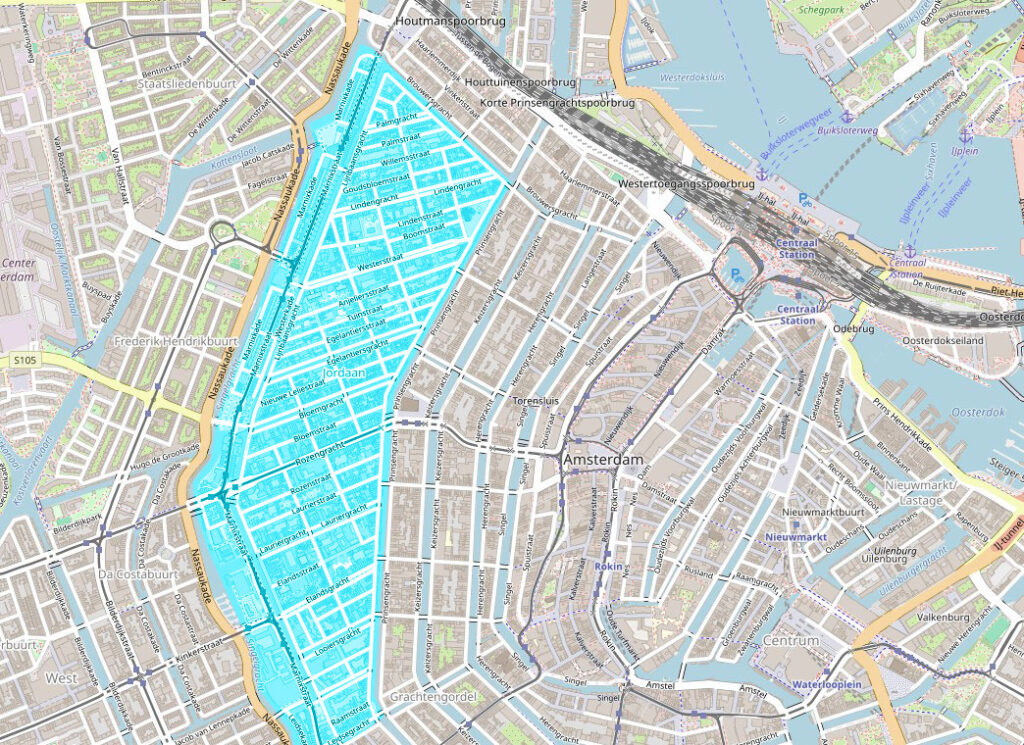
De Jordaan old houses
Netherlands

Visiting the Jordaan: Amsterdam’s Most Beautiful Neighbourhood

by Sam June 11, 2026
written by Sam

When most people think of Amsterdam, they picture canals, bicycles and narrow houses leaning slightly towards the water. What many don’t realise is that some of the city’s most charming streets, best cafés and hidden corners are all tucked away in one neighbourhood: the Jordaan.
Originally built as a working-class district in the 17th century, the Jordaan has transformed into one of Amsterdam’s most desirable neighbourhoods while somehow managing to retain much of its local character. Wander through the area today and you’ll find quiet canals, independent cafés, historic pubs, hidden courtyards and some of the prettiest streets in the city.

If you’re visiting Amsterdam, make sure you set aside at least half a day to explore the Jordaan properly.

Start at the Anne Frank House

No visit to the Jordaan is complete without seeing the Anne Frank House.

Located on the Prinsengracht canal, this is one of Amsterdam’s most important historical sites. The museum tells the story of Anne Frank and her family during the Second World War and includes the famous secret annex where they spent more than two years in hiding.

Tickets often sell out weeks in advance, so book ahead if visiting is a priority.

Even if you don’t go inside, the surrounding canals are worth exploring and provide a good starting point for discovering the rest of the neighbourhood also you can spot the Anne Frank Monument outside the Westerkerk.

Anne Frank Monument

The Anne Frank Monument

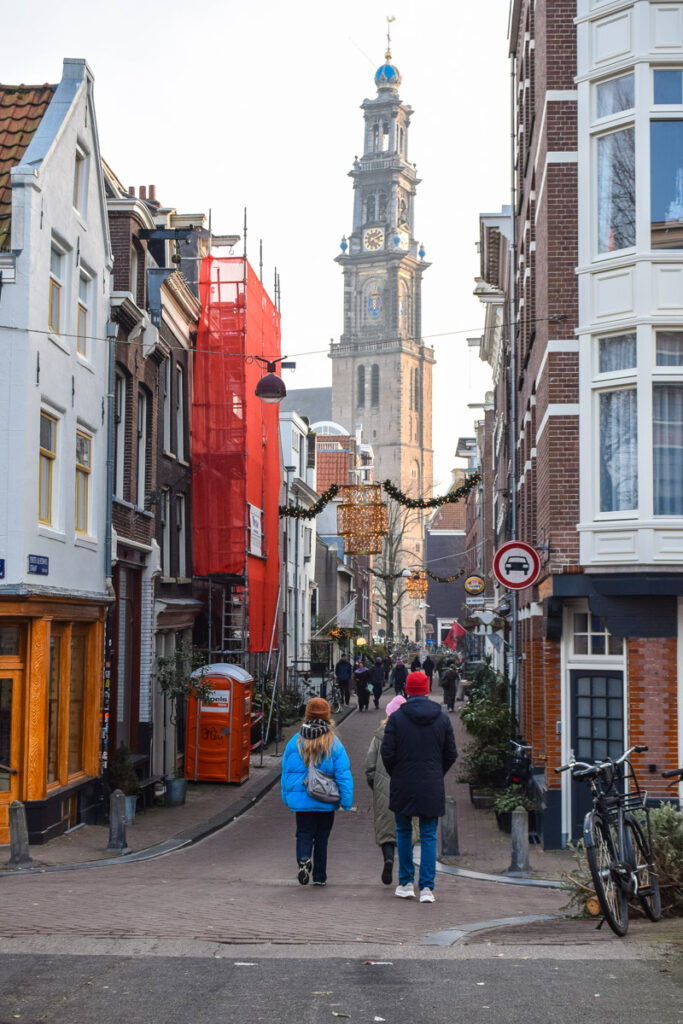
The Westerkerk and One of Amsterdam’s Best Photo Spots

Just around the corner stands the impressive Westerkerk, one of Amsterdam’s most recognisable churches.

The church tower dominates the skyline and can be seen from all over the city. Rembrandt is believed to be buried here, although the exact location of his grave remains unknown.
For photographers, one of our favourite viewpoints is the junction of Eerste Leliedwarsstraat and Nieuwe Leliestraat. Looking towards the church from here creates a classic Amsterdam scene, with bicycles, canal houses and the Westerkerk tower framed perfectly at the end of the street.
It’s one of those places that somehow feels more Amsterdam than Amsterdam itself.

Westerkerk Toren is visible all over the Jordaan

Wander the Canals and Hidden Streets

The best way to experience the Jordaan is simply to get lost.

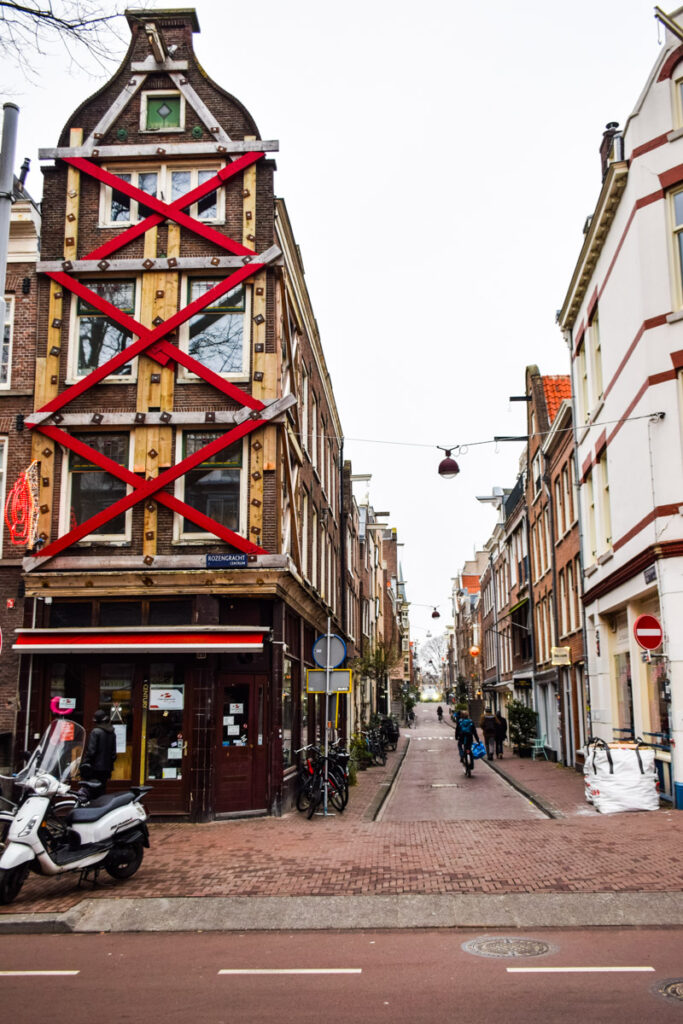
The neighbourhood is packed with narrow streets, tiny bridges and beautiful canals. Around almost every corner you’ll find flower-covered bicycles, historic facades or small cafés tucked into old buildings.

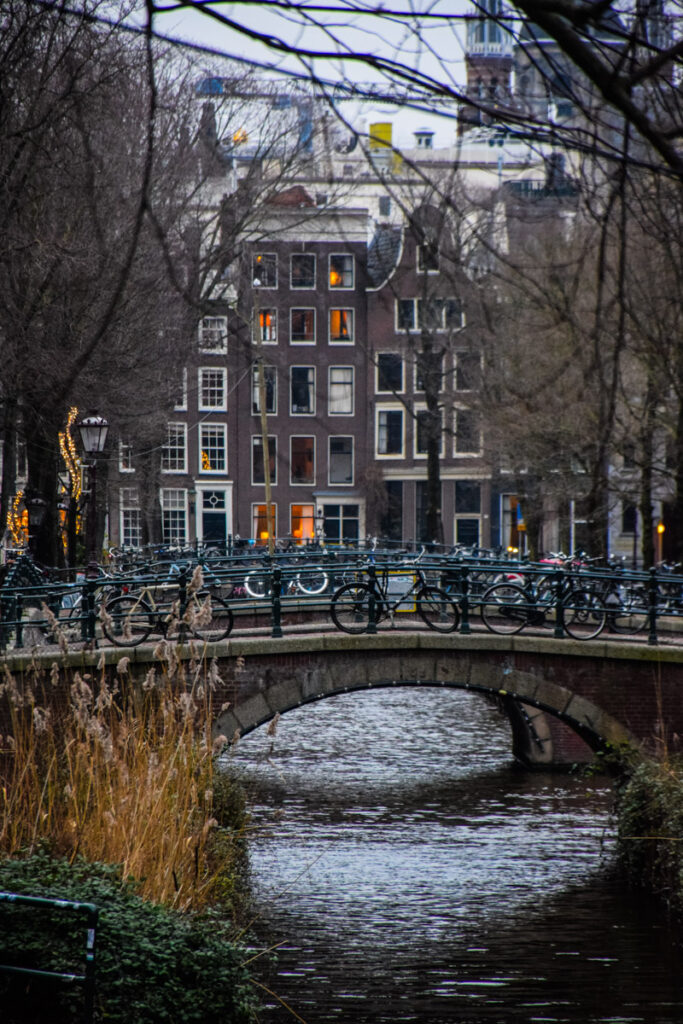
One of our favourite spots is the bridge at the intersection of Bloemgracht and Eerste Bloemdwarsstraat.

The Bloemgracht is often called one of the most beautiful canals in Amsterdam, and standing on the bridge here gives you a perfect view of the canal stretching away between rows of traditional Dutch houses.

If you’re into photography, this is one location you definitely shouldn’t miss.

Keep an eye out for the area’s street art as well. The Jordaan isn’t known as a graffiti district like Amsterdam Noord, but you’ll still find murals, stickers and small pieces of urban art hidden throughout the neighbourhood.

Typical Amsterdam views

Visit Rembrandt’s Final Home

Many visitors know about the famous Rembrandt House Museum in the city centre, but fewer realise that the painter spent the final years of his life in the Jordaan.
After financial difficulties forced him to sell his grand residence, Rembrandt moved to a more modest house on Rozengracht.

Today the building remains a private residence, but a memorial plaque marks the location and offers a small glimpse into the artist’s later years.

It’s an easy stop while exploring the neighbourhood and a nice reminder that some of Amsterdam’s greatest history is hidden in plain sight.

Where to Eat in the Jordaan

One of the best things about the Jordaan is the food.

Unlike some parts of central Amsterdam, the neighbourhood still has plenty of places that cater to locals rather than tourists.

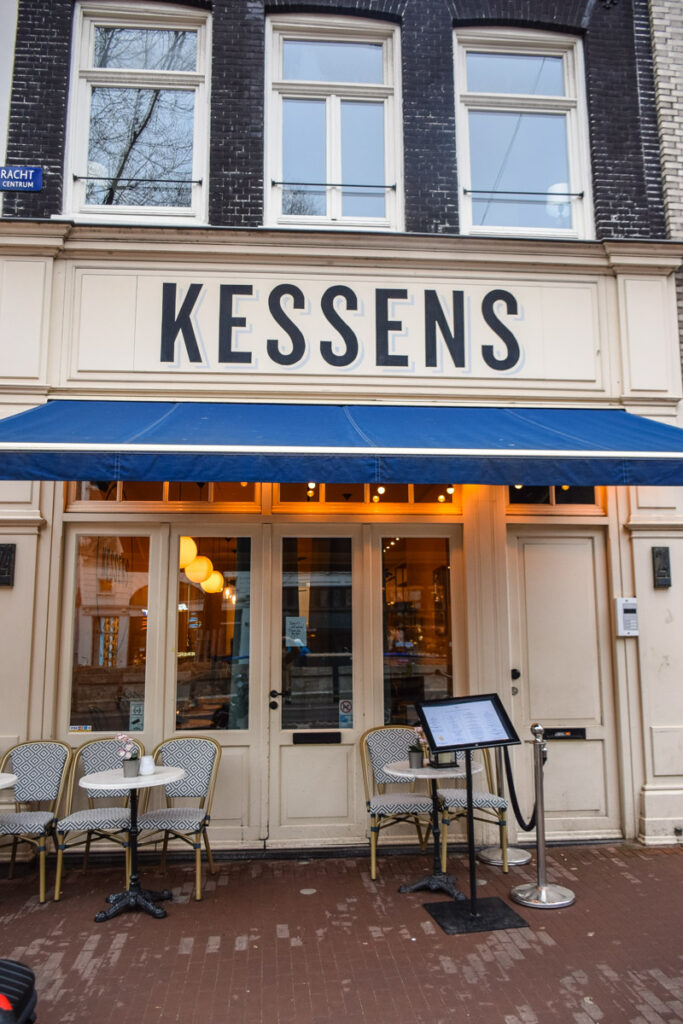
Kessens

If you’re looking for breakfast or lunch, make your way to Kessens.

Known for excellent sandwiches, fresh ingredients and great coffee, it’s one of our favourite places to eat in the area. The atmosphere is relaxed, the food is consistently good and it feels very much like a neighbourhood spot rather than a tourist attraction.
Kafenion

For coffee, head to Kafenion.
This small Greek-inspired café serves excellent coffee and is the kind of place where you can easily lose an hour watching local life drift by outside the window.

Have a Drink at Amsterdam’s Oldest Pub

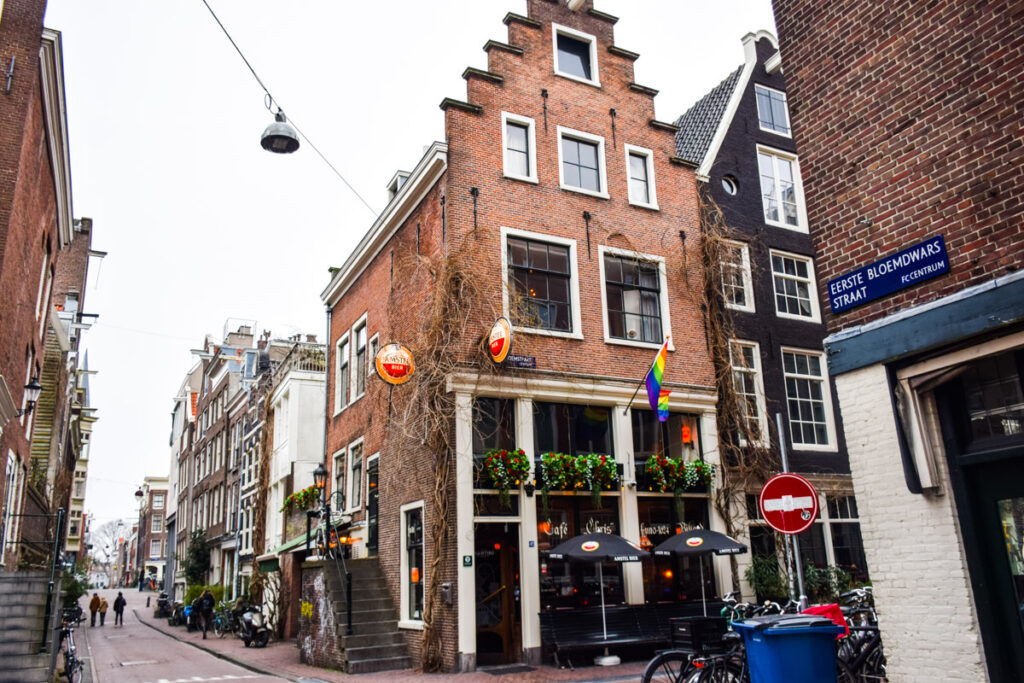
If you’re in the mood for a beer, make your way to Café Chris.

Founded in 1624, it is often considered Amsterdam’s oldest pub.

Despite its age, it remains refreshingly unpretentious. You’ll find locals chatting at the bar, traditional Dutch beers on tap and an atmosphere that feels a world away from the city’s more touristy drinking spots.

It’s one of those places that reminds you Amsterdam was a living city long before it became a popular destination.

Great food and Drink in the Jordaan

Visit One of Amsterdam’s Original Coffeeshops

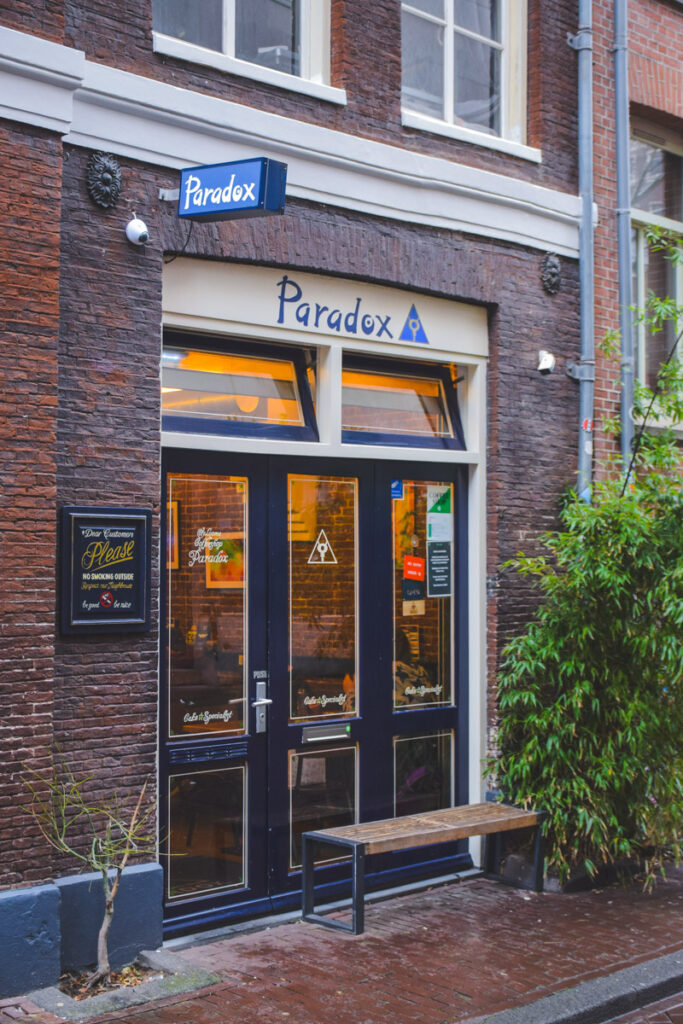
No guide to the Jordaan would be complete without mentioning Paradox Coffeeshop.

Located just a short walk from the canals, Paradox is one of Amsterdam’s original local coffeeshops and has been part of the neighbourhood for decades.

Unlike some of the larger tourist-focused coffeeshops in the city centre, Paradox has always maintained a more local atmosphere.

If you’re lucky, you’ll meet Ludo. He’s a walking encyclopedia of Jordaan history and can tell you stories not only about the coffeeshop itself but also about the building, the surrounding streets and how the neighbourhood has changed over the years.

Even if you’re simply curious about Amsterdam’s coffeeshop culture, it’s worth stopping by for a chat.

The best (and most authentic) Coffeeshop in the Jordaan

Why We Always Return to the Jordaan

The Jordaan isn’t home to Amsterdam’s biggest attractions or busiest shopping streets, and that’s exactly why we love it.

This is where you’ll find the Amsterdam of canals lined with bicycles, hidden courtyards, historic pubs, local cafés and quiet streets that seem untouched by time.

Whether you’re visiting the Anne Frank House, photographing the Westerkerk, enjoying lunch at Kessens or simply wandering along the Bloemgracht, the Jordaan offers a side of Amsterdam that many visitors never properly discover.

If you only have time to explore one neighbourhood in Amsterdam, make it the Jordaan.

June 11, 2026 0 comments
FacebookTwitterPinterestLinkedinRedditStumbleuponWhatsappTelegramThreadsOpenAIChatGPTEmail
Namibia

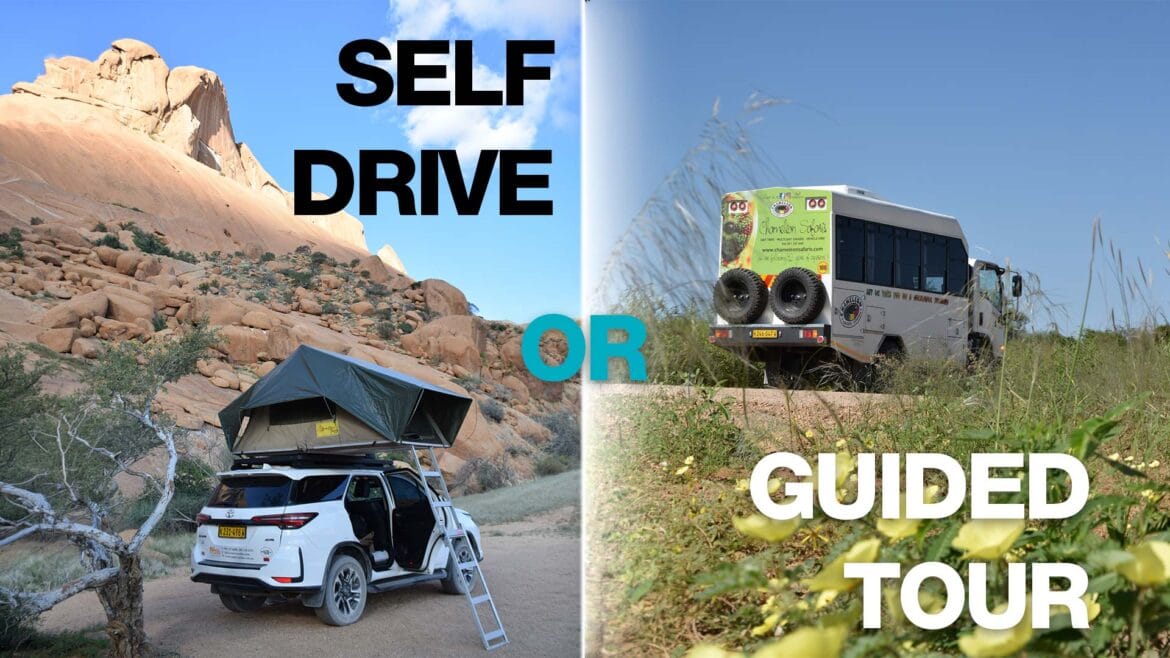
Namibia Self Drive Safari vs Guided Tour: Which Is Better?

by Sam June 2, 2026
written by Sam

What’s the best way to travel around Namibia?

One of the most common questions we get after travelling in Namibia is whether it’s better to join a guided safari tour or rent a 4×4 and drive yourself.

The short answer?

We’ve done both, and honestly, neither is better. They’re just different.

What We Actually Did

Before comparing costs, comfort and flexibility, it’s worth looking at what we actually did on each trip. Although both adventures took place in Namibia, they ended up being very different experiences. The Cameleon Safaris tour covered ALOT of ground and it would be extremely tiring to drive the distances they did, if you want to see as much as possible, we would highly reccommend taking one of their tours.

Our 9-Day Chameleon Safaris Tour

The guided tour focused on many of Namibia’s most famous highlights. Over nine days we visited:

  • Etosha National Park
  • Swakopmund
  • Dune 45
  • Sossusvlei
  • Dead Vlei
  • Sesriem Canyon
  • Klein-Aus Vista
  • Kolmanskop Ghost Town
  • Lüderitz
  • Fish River Canyon
  • Quiver Tree Forest

This trip was very much about seeing Namibia’s headline attractions. The biggest surprise for us was just how much ground we covered in such a short amount of time. Looking back, it’s hard to believe everything that was packed into nine days.

We expected Dead Vlei and Sossusvlei to be impressive, but they completely exceeded our expectations. Dead Vlei in particular is one of the most extraordinary places we’ve ever visited.

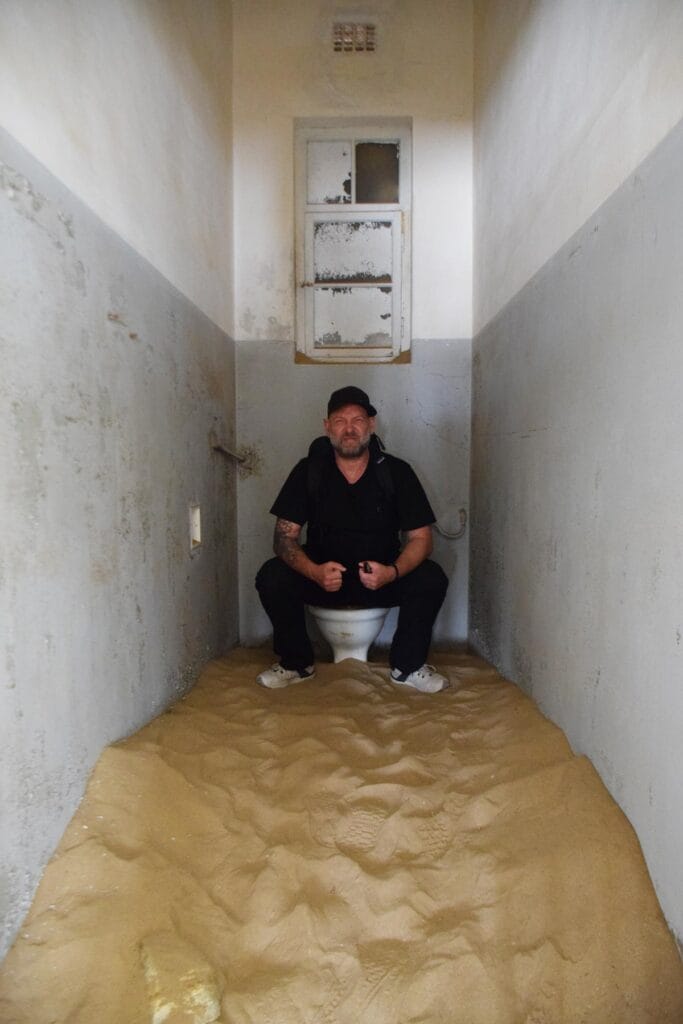
The biggest surprise of the entire guided tour was Kolmanskop. Before arriving, we thought it would be a quick stop to photograph an abandoned town. Instead, it became one of the highlights of our time in Namibia. The combination of history, abandoned buildings and drifting desert sand creates an atmosphere unlike anywhere else we’ve visited. If you’re interested in photography, history or unusual places, Kolmanskop alone is worth the journey.

📌 We booked our Nambia Tour directly with Chameleon Safaris and we think you should too. We even have a discount code you can use if you want 10% off any of their tours, just use code PADDINGTON10 at checkout.

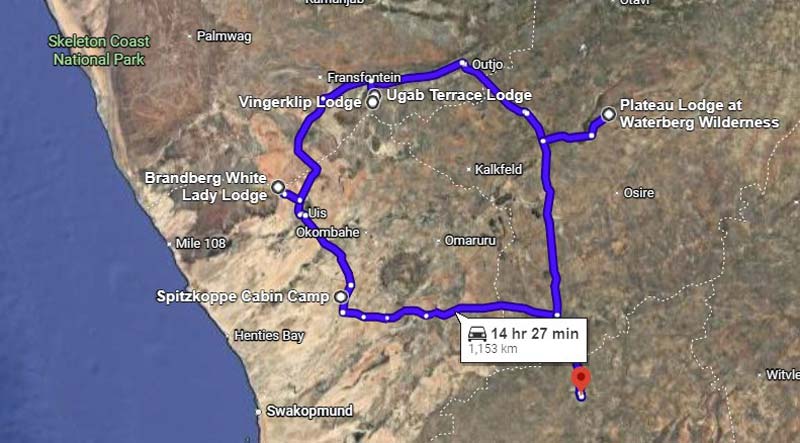
Our 8-Day Namibia Self Drive Safari

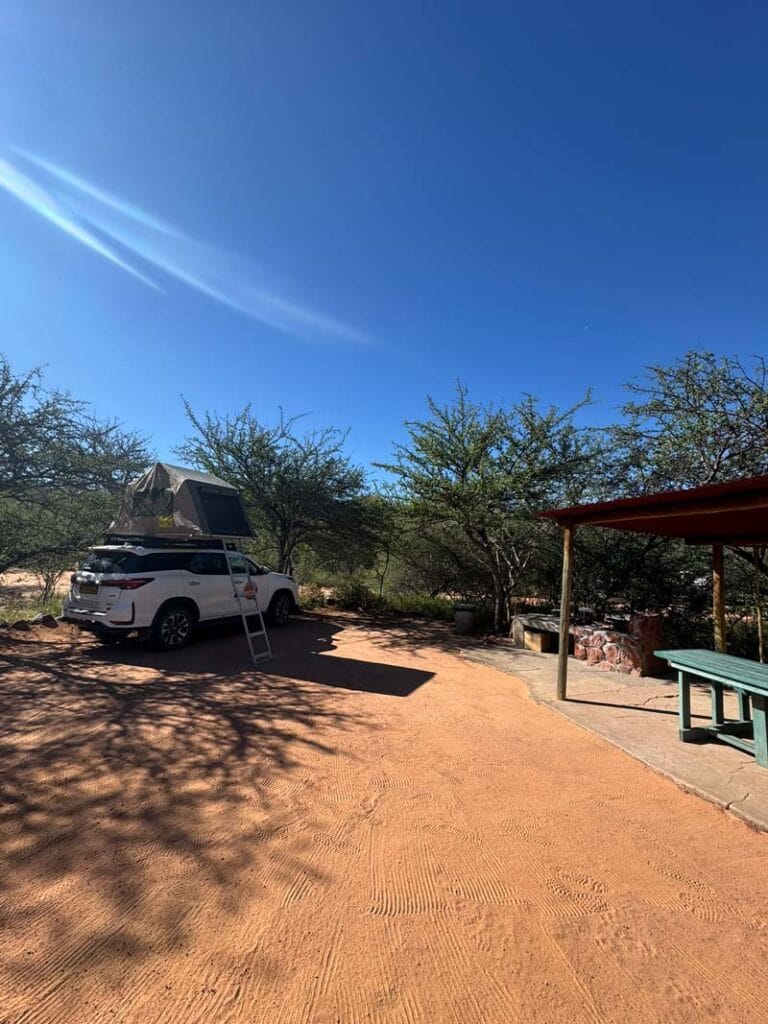
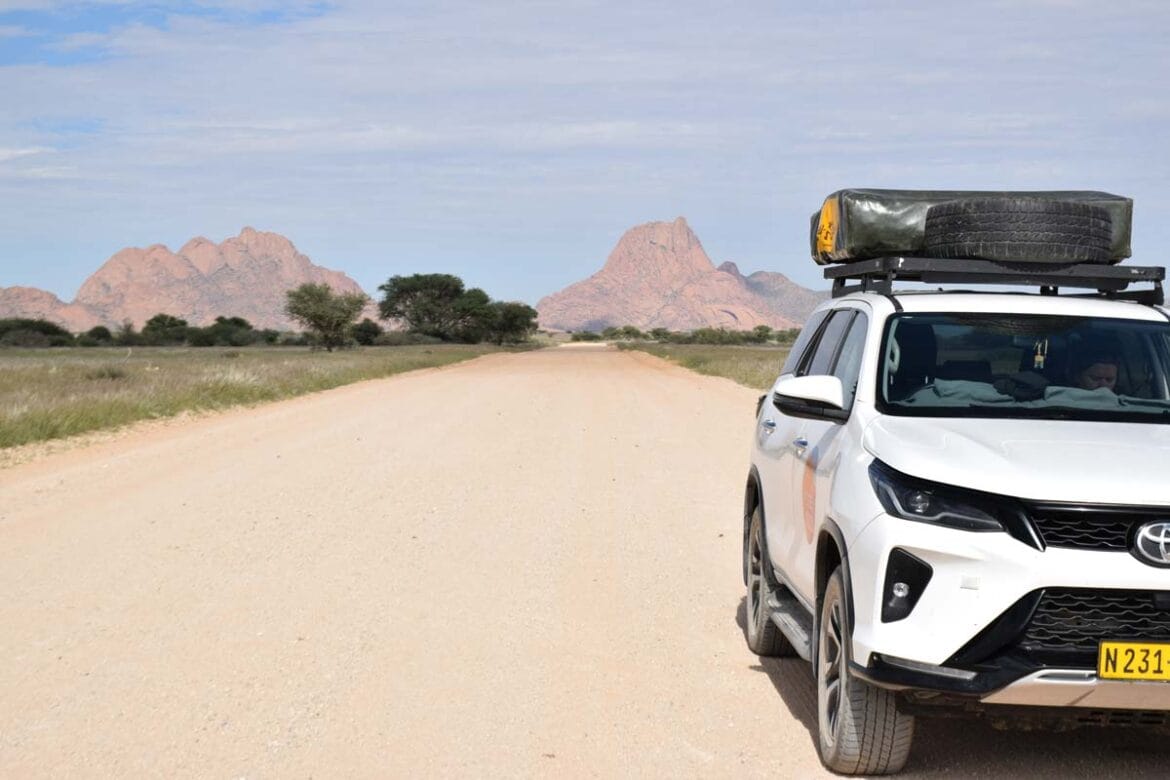
After the guided tour, we rented a fully equipped 4×4 and headed off on our own adventure. Rather than revisiting places we’d already seen, we focused on areas we had missed during the tour:

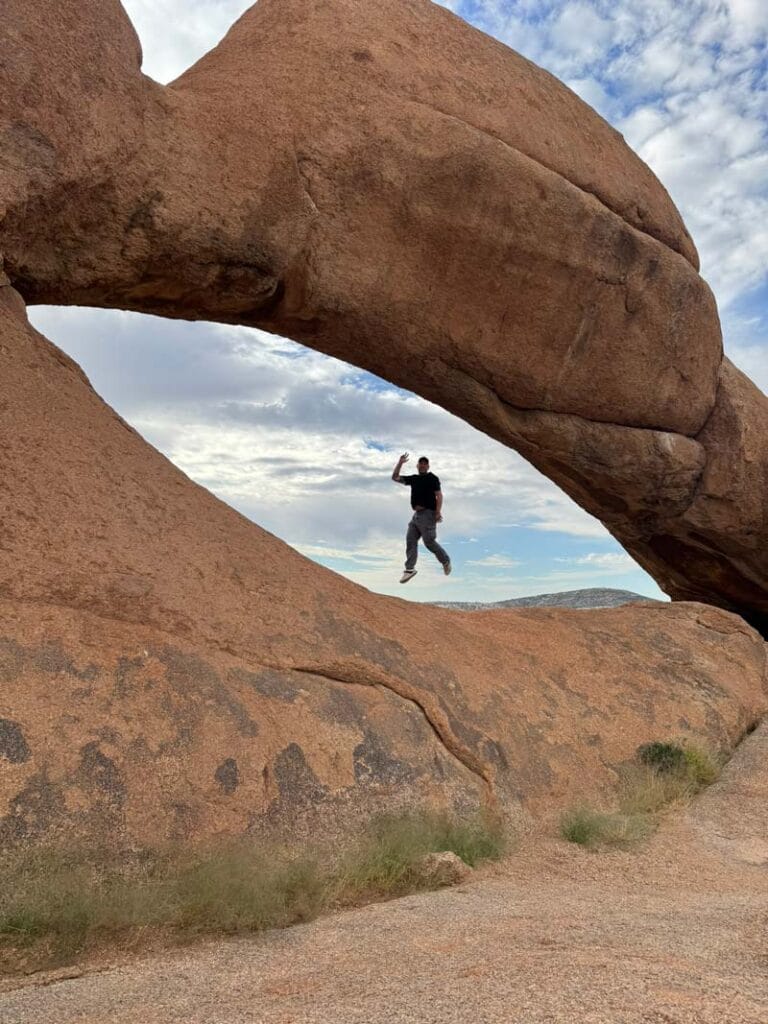
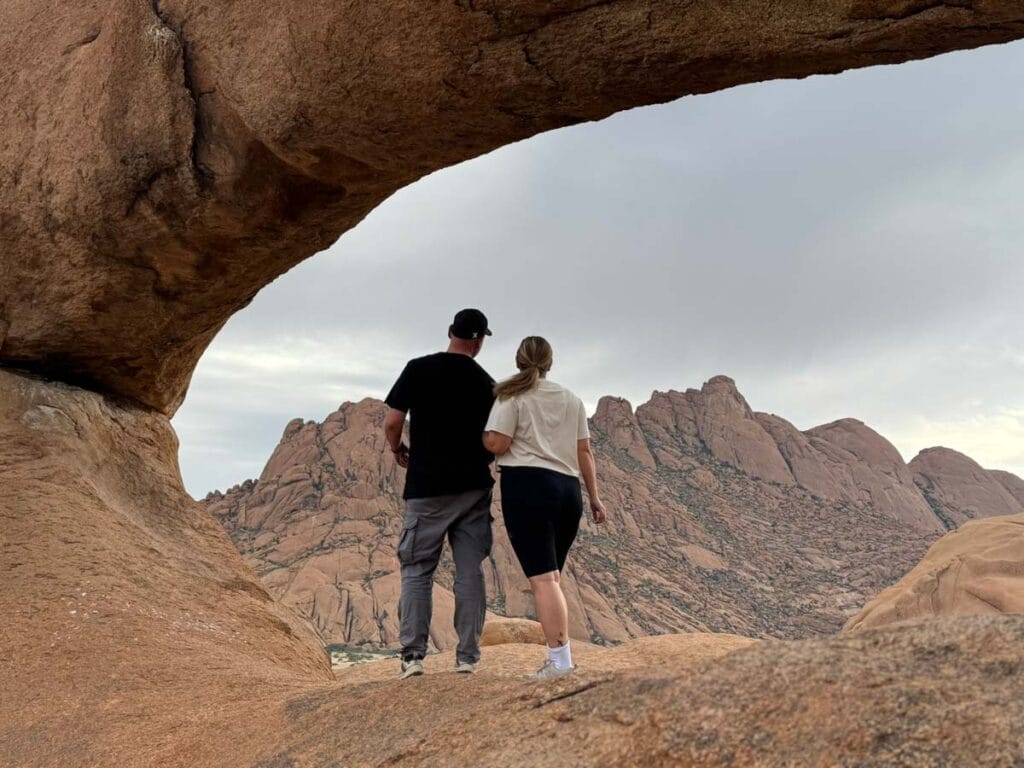
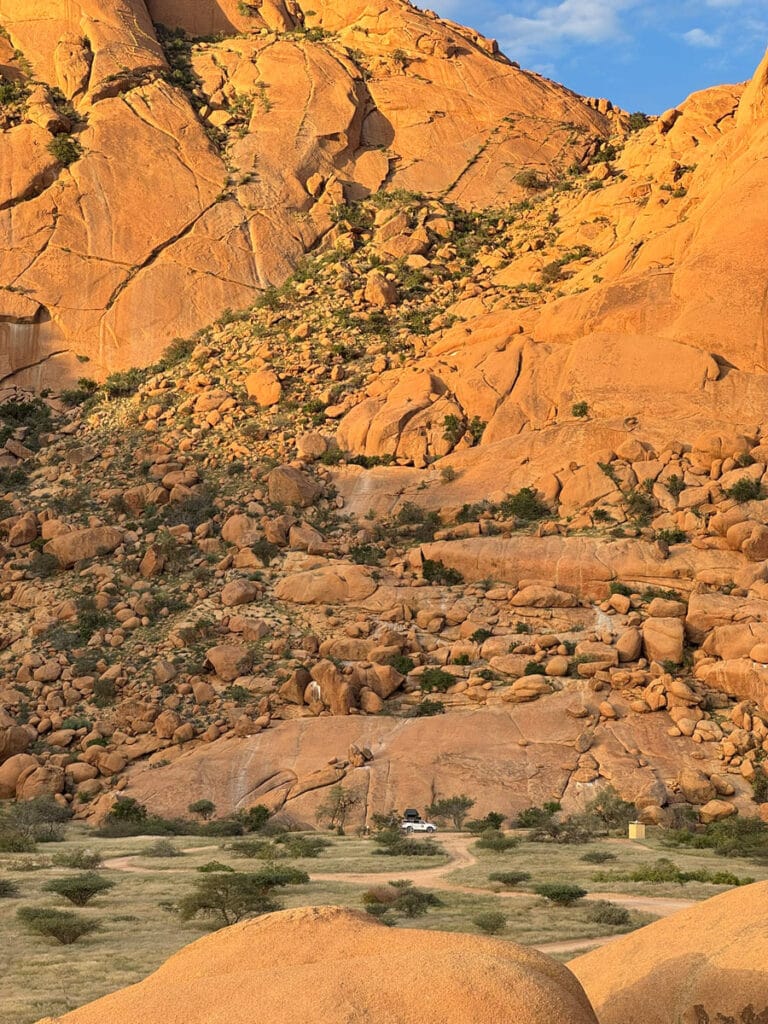
  • Spitzkoppe
  • Brandberg Mountain
  • The White Lady hike
  • Vingerklip
  • Ugab Terraces
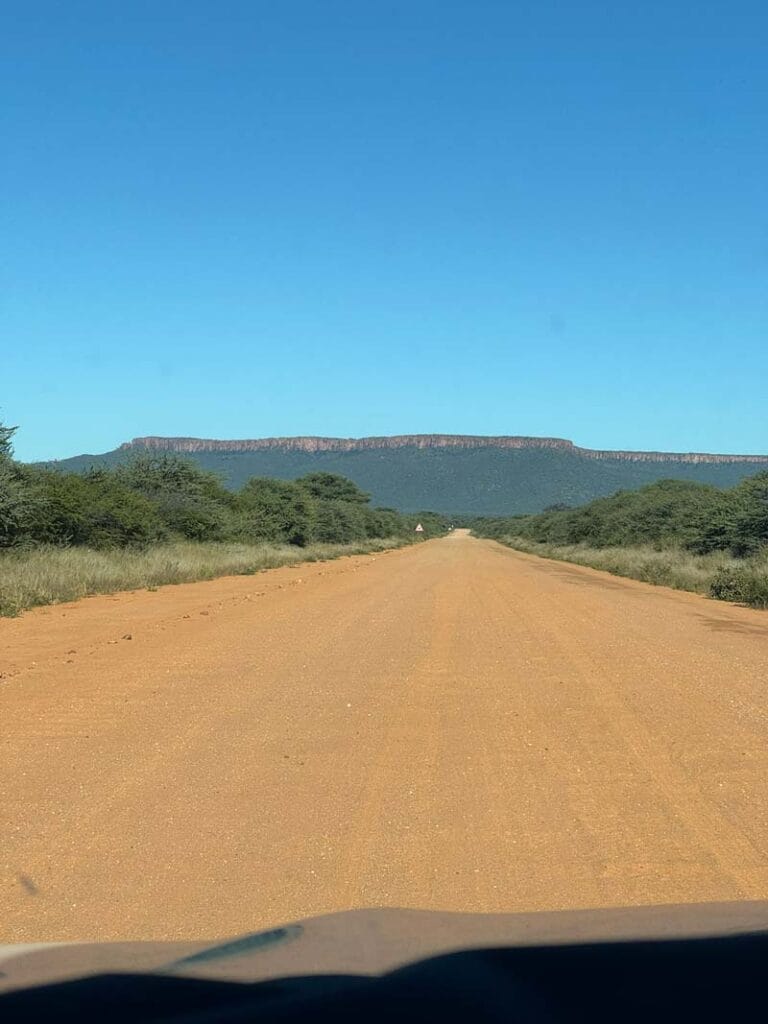
  • Waterberg

This trip felt completely different. Instead of trying to see as much as possible, we slowed down and spent more time in fewer places.

The biggest surprise was Spitzkoppe. We had heard good things about it beforehand, but neither of us expected it to become one of our favourite places in Namibia. The granite peaks, hiking trails, rock formations and night skies were absolutely incredible.

Waterberg was another surprise. We booked the rhino tracking experience hoping to see a few rhinos from a vehicle. We certainly didn’t expect to be walking alongside them only a few metres away.

Here’s our full itinerary of our Namibia Self Drive with all the best tips / do’s and don’t

If you’re trying to decide between a Namibia self drive safari and a guided tour, here’s our honest take.

Cost Comparison

Let’s start with the big one.

The Chameleon Safaris tour cost approximately N$48,000 (€2,592) per person and included transport, accommodation, camping, meals, guides, park fees and activities.

At first glance, that’s a lot of money and our 8-day self drive safari was significantly cheaper. But you are paying for comfort, zero stress and not having to book lodges and camp grounds.

The 4×4 rental cost us approximately N$20,650 (€1,100) for two people. Adding fuel, campsites, food and a couple of lodge stays brought our total to roughly €2,100 for two people, depending on how many restaurant meals and upgrades you choose.

Financially, the self drive option wins comfortably. On first glance for the price of one guided tour, two people can complete a substantial self drive adventure.

Wildlife Viewing: Guided Tour Wins

This one wasn’t even close.

When we visited Etosha National Park with Chameleon Safaris, our guide seemed capable of spotting animals from another continent.

Within minutes, they were finding lions, elephants, giraffes, birds and creatures we would never have noticed ourselves.

Later, while driving around Namibia, we saw plenty of self-drive tourists driving around Etosha looking slightly confused and often stopping randomly in the hope of finding wildlife.

The guides know where animals were last seen, understand behaviour patterns and communicate with other guides throughout the day.

If wildlife is your number one priority, especially in Etosha, we would strongly recommend paying for a local guided safari. They will pick you up at the lodge in an open sided raised 4×4 and take you around the park while you take photos.

You can’t beat sitting in the back of an open sided 4×4 taking photos while the guides do the spotting.

Freedom: Self Drive Wins

The biggest advantage of renting your own 4×4 is freedom.

Want to spend an extra hour photographing a sunset? Go for it.

Found a campsite you love and want to stay another night? No problem.

Fancy stopping every ten minutes for photos? Nobody is going to complain.

With a self drive safari, you completely control the pace.

Some of our favourite moments in Namibia happened simply because we decided to take a random gravel road or stop somewhere unexpected. That being said our Chameleon Safaris guide told us we only have to ask if we want to stop. They also know great photo spots and how far it is to the next toilet.

That spontaneity doesn’t really exist on an organised tour.

Freedom and the open road.

Stress Levels: Guided Tour Wins

Driving in Namibia isn’t difficult, but it does require concentration.

  • Distances are huge.
  • Fuel stations can be hundreds of kilometres apart.
  • Gravel roads demand attention.
  • Tyres puncture.
  • Equipment breaks.
  • Water containers leak.

Trust us, we experienced some of these ourselves.

On the guided tour, somebody else handled all of that. We could sit back, watch the scenery and enjoy the experience without worrying about navigation, campsite bookings or whether we had enough fuel to reach the next town.

For many travellers, particularly first-time visitors to Africa, that’s worth paying for.

With a guided tour everything is organized, your food, tours and accommodation.

Accommodation and Comfort

This one depends on your travel style.

On the guided tour, we stayed in a mix of lodges, hotels and campsites. Everything was organised for us and meals were prepared by our guides.

The self drive trip required more effort.

We had to set up camp, cook, clean and organise ourselves every day.

That said, we also had complete freedom to choose where we stayed.

Some nights we camped under spectacular star-filled skies, while other nights we upgraded ourselves into comfortable lodges.

Call this one a draw.

Cooking for youself can be a pain if the BBQ doesn’t get hot enough, but having a nice hotel with a pool has a lot going for it.

Which Trip Saw More of Namibia?

For us the Chameleon Safaris Guided tour covered more ground and our Self Drive was a much slower pace.

In just nine days, we visited Etosha, Swakopmund, Sossusvlei, Dead Vlei, Sesriem Canyon, Fish River Canyon, Kolmanskop and the Quiver Tree Forest.

That’s an enormous amount of Namibia packed into a relatively short time and personally I wouldn’t want to drive those distances AND have the energy to hike up dunes, worry about toilets and gas stations. It’s nice to sit back and relax and have someone else do the work for you.

Our self drive trip was slower and more focused. Instead of trying to see everything, we concentrated on Spitzkoppe, Brandberg, Vingerklip and Waterberg.

The result was a deeper experience in fewer places.

Neither approach is wrong. It simply depends on whether you prefer breadth or depth.

Out on your own, or enjoying a group trip, it’s really down to your own travel style.

Who Should Choose a Guided Tour?

We would recommend a guided tour if:

  • It’s your first visit to Namibia
  • Wildlife is your main priority
  • You don’t want to drive long distances
  • You enjoy meeting other travellers
  • You want everything organised for you
  • You have limited time

The Chameleon tour showed us some of the most spectacular places we’ve ever visited and removed virtually all of the planning and logistics. It’s also more social, so for solo travelers that can be really nice if you want to meet other people.

Who Should Choose a Self Drive Safari?

A self drive safari is probably better if:

  • You enjoy road trips
  • You like travelling independently
  • You want maximum flexibility
  • You want to choose your own accommodation
  • You’re travelling on a tighter budget

There is something incredibly satisfying about driving your own vehicle across Namibia’s vast landscapes and creating your own adventure.

What We’d Change Next Time

Having now experienced both a guided safari and a self-drive adventure in Namibia, there are a few things we’d do differently.

If we were booking the guided tour again, we’d probably choose one with an extra day in Etosha or Swakopmund and perhaps skip Fish River Canyon. While it was certainly impressive, the long detour didn’t quite justify the time investment for us. We’d happily trade that day for more time exploring the coast or the desert landscapes around Sossusvlei. That being said, Chameleon Safaris offers a broad spectrum of safari experiences, someting for everyone if you like.

📌 We booked our Nambia Tour directly with Chameleon Safaris and we think you should too. We even have a discount code you can use if you want 10% off any of their tours, just use code PADDINGTON10 at checkout.

For the self-drive safari, we’d definitely allow more time. Eight days was enough to see some incredible places, but we often felt like we were arriving somewhere just as it was time to leave again. Namibia is enormous, and the distances between destinations are much greater than they appear on a map.

We’d also book our vehicle and accommodation earlier. Leaving things until the last minute limited our options and meant we had to be more flexible with our route than we’d originally planned.

If someone asked us how to travel Namibia, we’d recommend exactly what we ended up doing. Start with a guided safari to visit places like Etosha, Sossusvlei and Dead Vlei, where local knowledge makes a huge difference. Then rent a 4×4 and spend a week exploring some of the country’s quieter corners at your own pace.

Looking back, the guided tour and self-drive safari weren’t competing experiences. They complemented each other perfectly and together gave us a much more complete picture of Namibia than either trip could have done on its own.

Our Verdict

If we had to choose just one?

We honestly couldn’t. The guided safari gave us access to incredible wildlife encounters, expert local knowledge and many of Namibia’s most famous attractions. The self drive safari gave us freedom, flexibility and some of our most memorable moments on the open road.

If your budget allows, we genuinely think the perfect Namibia itinerary combines both.

Use a guided tour to experience places like Etosha and Sossusvlei, then rent a 4×4 afterwards and explore some of the country’s quieter corners at your own pace.

That’s exactly what we did.

And looking back, we wouldn’t change a thing.

June 2, 2026 0 comments
FacebookTwitterPinterestLinkedinRedditStumbleuponWhatsappTelegramThreadsOpenAIChatGPTEmail
NamibiaTravel Itineraries

Namibia Self Drive: Everything We Learned Driving a 4×4 Across Namibia

by Sam June 1, 2026
written by Sam

Why We Decided to Do a Namibia Self Drive

After completing an incredible guided tour with Chameleon Safaris, we still felt there was more of Namibia we wanted to explore. Rather than joining another organised trip, we decided to rent a fully equipped 4×4 and spend eight days exploring independently.

It was one of the most memorable road trips we’ve ever done.

That said, if we were planning the trip again, there are a few things we would do differently. This guide covers everything we learned about renting a 4×4 in Namibia, where we stayed, how much it cost and whether we think a self drive safari is worth it.

Renting a 4×4 in Namibia

The first lesson we learned is simple. Book early!

We booked far later than we should have and quickly discovered that most of the best rental companies were already sold out. We eventually ended up with our third choice of rental company, which worked out fine, but it wasn’t ideal.

If you’re planning a Namibia self drive safari, try to reserve your vehicle at least three to six months in advance, especially if you’re travelling during peak season.

Picking Up Your Vehicle

Whether you’re collecting your vehicle at Windhoek Airport or in the city itself, take your time before driving away.

We always recommend:

  • Filming a complete walk-around video
  • Photographing any scratches or dents
  • Checking the condition of the tyres
  • Testing the fridge
  • Checking the water container for leaks
  • Confirming all camping equipment is present
  • Learning how to set up the rooftop tent

Our water container leaked and our fridge wasn’t working correctly. Neither issue was discovered until we were already on the road, which caused much unnecessary stress.

Read the Insurance Terms Carefully

Many rental companies track vehicle location and speed electronically. That means they know exactly where you’ve driven and how fast you’ve been travelling. If your rental agreement says no river crossings or no off-road driving, don’t ignore it. Breaking those conditions could invalidate your insurance immediately.

Understanding Namibia’s Roads

Namibia has three main road types:

B Roads (Trunk Roads)
The major tarred highways connecting cities and regions. These are generally in excellent condition and easy to drive.

C Roads (District Roads)
Well-maintained gravel roads connecting towns, campsites and tourist attractions. You’ll likely spend most of your trip on these.

D Roads (Rural Roads)
Smaller, rougher gravel or dirt roads that often require a high-clearance vehicle or 4×4, especially after rain.

The “Namibian Massage”

Sooner or later you’ll experience the famous Namibian Massage. This is what travellers call the constant vibration caused by corrugated gravel roads. Your vehicle rattles, everything shakes, and after a few hours you’ll understand exactly why it got its nickname. Slow down, stay alert and enjoy it. It’s all part of the Namibia self-drive experience.

Stock Up Before Leaving Windhoek

Before heading into the wilderness, make your first stop a supermarket.

You’ll need:

  • Drinking water
  • Breakfast supplies
  • Lunches and dinners
  • Road snacks
  • Fire starters
  • Braai wood
  • Ice
  • Drinks

We found it easiest to buy enough supplies for at least three or four days at a time.

Sam’s top Tip: don’t leave Namibia without trying biltong, it makes a great energy booster when driving.

Our Namibia Self Drive Route

Because we had already visited Etosha National Park during our Chameleon Safaris tour, we decided to focus on areas we had previously missed.

Our route included:

  • Spitzkoppe
  • Brandberg
  • Vingerklip
  • Waterberg

Looking back, it was the perfect combination of landscapes, hiking, camping and wildlife.

Our Namibia Self drive route

Spitzkoppe: Namibia’s Most Beautiful Mountain Landscape

If you only add one stop to your Namibia self drive itinerary, make it Spitzkoppe. Rising dramatically from the desert floor, these granite peaks create one of the most photogenic landscapes in the entire country.

We spent our time:

Hiking Around the Granite Formations

There are countless trails winding between the rocks, offering fantastic viewpoints and opportunities for photography.

Visiting the Famous Rock Arch

One of Namibia’s most iconic photography locations.

Stargazing

Like many places in Namibia, Spitzkoppe offers exceptionally dark skies. The Milky Way here was absolutely spectacular.

Where We Stayed

We stayed at Spitzkoppe Rest Camp on the sunset side which provided an incredible location right among the rocks. One important thing to know is that all campsites share access to restrooms and showers located near the reception area (although there are dry toilets at campsites), there are no supermarkets nearby, so bring all your food, drinking water and firewood with you. Internet access is practically non-existent. Something we found alittle stressful was you are not assigned a campsite, you drive around and choose your own from the empty looking ones. The area is huge, and reading the map and finding a spot is a little confusing, so arrive early and definately book in advance.

Namibia sunsets are to die for
Sam working out what works and what doesn't
Our Namibia 4x4 with roof tent
Namibia milkyway almost every night
Spitzkoppe stone arch

Brandberg Mountain and the White Lady Hike

Our next stop was Brandberg, Namibia’s highest mountain. The name means “Fire Mountain”, and it quickly becomes obvious why. At sunset, the mountain glows a deep red colour that appears almost unreal.

Hiking to the White Lady

One of the main attractions here is the famous White Lady rock painting.

The hike is approximately 2.5 kilometres each way and can be surprisingly demanding in the heat.

We strongly recommend:

  • Starting early
  • Carrying plenty of water
  • Wearing a hat
  • Bringing sunscreen

The hike is guided and well worth doing. Here is a google map location to the starting point called ‘White Lady Felszeichnungen‘

Where We Stayed

We stayed at White Lady Lodge near Brandberg. The facilities were excellent, the staff were incredibly friendly and the resident meerkats quickly became a highlight. Sadly, we missed the desert elephants, which had moved elsewhere due to the rainy season.

Now this is a 4x4!
When you have wifi in Namibia
Setting off on our White Lady walk
It's tiring being a local wildlife star

Vingerklip and the Ugab Terraces

After Brandberg, we continued towards the fascinating landscapes around Vingerklip. The scenery here reminded us of Arizona, with huge plateaus, dramatic rock formations and endless views across the Ugab Valley.

Ugab Terrace Lodge

Our first night inthe area was spent at Ugab Terrace Lodge Campsite. The campsite offered private showers, toilets and plenty of camping/vehicle space, there are only 3 campsites here so it’s nice and private. You can also walk up to the lodge for sundowners and the take advantage of the lodge restaurant and pool.

Pickybits and wine with a view

Vingerklip Lodge

If like us you are also looking to mix and match your camping with lodge stays and you’re looking for something more luxurious, Vingerklip Lodge is exceptional. We stayed here for one night and it was amazing (not to mention they had wifi!) The restaurant sits high above the valley and offers some of the most spectacular sunset views we experienced in Namibia. Make sure you reserve dinner in advance.

Vingerklip from afar
Vingerklip up close
Sunsets in Namibia!
Dinner on the cliff edge
Ugab Terraces of northwestern Namibia

Rhino Tracking at Waterberg

The final stop of our Namibia self drive safari was Waterberg Wilderness. And what a way to finish. The camp site was great, lots of space, private shower and toilet and of course the obligatory concrete BBQ pit. It was super nice and each spot is surrounded by bush. While we there there we booked their rhino tracking experience without really knowing what to expect. It turned out to be one of the most incredible wildlife experiences we’ve ever had.

After spotting several rhinos from the vehicle, our guide suddenly stopped and told everyone to get out. A few minutes later, we were walking alongside wild rhinos. Not viewing them from a vehicle. Walking with them.

Each rhino is protected by dedicated anti-poaching guards who monitor them constantly. Later we encountered a mother and calf, which required considerably more caution, but the experience was unforgettable. The evening ended with drinks and snacks in the bush while watching the sun disappear over the Namibian landscape.

It was the perfect ending to our road trip.

walking with rhinos in Waterberg
Mother Rhino and calf, walking with rhinos in Waterberg
Rooftop tents are awesome!

Namibia Self Drive Safari Safety Tips

Namibia is one of the safest countries we’ve travelled in, but there are still some important things to remember.

Do:

  • Carry 10-15 litres of drinking water
  • Fuel up whenever possible
  • Carry a spare tyre
  • Bring a first aid kit
  • Take a head torch
  • Keep shoes inside your tent
  • Drive with headlights on all the time

Don’t:

  • Drive after dark
  • Pick up hitchhikers
  • Ignore fuel levels
  • Wild camp outside designated areas

How Much Does a Namibia Self Drive Safari Cost?

Our costs for two people were approximately:

4×4 Vehicle Rental in Namibia

20,650 NAD (€1,100)

Including:

  • Insurance
  • Taxes
  • Camping equipment
  • Cleaning fees

Fuel

Approximately €120-150

Food

Around €100

Campsites

€15-30 per person per night

Lodges

Starting around €100 per night

Is Namibia Safe for a Self Drive Safari?

In our experience, yes.

The roads can be challenging, distances are huge and you’ll spend long periods far from major towns, but with sensible preparation Namibia is an excellent self drive destination.

We never felt unsafe.

The biggest risks are usually mechanical problems, wildlife on roads after dark and simple lack of preparation.

What We’d Change Next Time

As much as we loved our Namibia self drive safari, there are a few things we’d do differently if we were planning it again.

First, we’d book much earlier. Leaving it until the last minute meant many of the best rental companies and some of our preferred campsites were already fully booked. A little more planning would have given us more options and probably saved some money too.

We’d also allow more time. Eight days was enough to experience some incredible places, but Namibia is much bigger than it looks on a map. We spent a lot of time driving between destinations and often wished we had an extra day or two at Spitzkoppe.

Finally, we’d probably skip Etosha as a self-drive destination. Having experienced both a guided safari and independent travel, we genuinely think a good guide is worth the money in Etosha. The guides know where to find wildlife, can spot animals we’d never see ourselves and make the whole experience far more rewarding.

Other than that, we wouldn’t change much. The route worked well, the campsites were excellent and the mix of mountains, desert landscapes and wildlife gave us a side of Namibia that perfectly complemented our guided tour.

Final Thoughts

We absolutely loved our Namibia self drive safari.

There’s something incredibly satisfying about turning off the tarmac and heading down a gravel road towards somewhere you’ve never been before. Camping under the stars, cooking dinner over a braai, waking up to sunrise over the desert and having complete freedom to explore at your own pace made this one of our favourite road trips anywhere in the world.

Would we do it again?

Without hesitation. Next time, we’d simply book earlier.

📌 If you don’t want to do the self drive we booked a Nambia Tour directly with Chameleon Safaris and we think you should too. We even have a discount code you can use if you want 10% off any of their tours, just use code PADDINGTON10 at checkout.

June 1, 2026 0 comments
FacebookTwitterPinterestLinkedinRedditStumbleuponWhatsappTelegramThreadsOpenAIChatGPTEmail
Newer Posts
Older Posts

Recent Posts

  • 3 Days in Doha: Things to Do, See & Eat

  • Qatar Airways Stopover in Doha: How It Works & Our Experience

  • Best Day trips from Sendai

We use Safetywing

We use THS

Trusted House Sitters

Here’s 25% off your annual membership to TrustedHousesitters - thanks to your pet loving pals at LBSBWorld.

Join now with 25% Off!

We use NordVPN

NordVPN

Get 3 months of NordVPN right now!


The best VPN service for a free, open internet

Get NordVPN!

We use Wise

Wise

Get Zero Fees on a transfer up to €500


Spend in 150+ countries like a local with Wise card

Get Wise!

Follow us on Instagram

A Bear Called Paddington abearcalledpaddington 🌍 7 years full-time travel
Follow on Instagram
©2026 LBSBWorld - All Right Reserved - Designed and Developed by Livia & Sam
LBSB World
  • Home
  • Destinations
    • Africa
      • Namibia
      • Rwanda
    • Asia
      • China
      • Indonesia
      • Japan
      • Qatar
    • Europe
      • Albania
      • Bosnia-Herzegovina
      • Croatia
      • Montenegro
      • Netherlands
      • North Macedonia
      • Serbia
    • North America
      • Dominican Republic
  • Travel itineraries
  • Plan your trip
  • About Us
    • About Sam & Livia
    • The Story Behind Our Full-Time Travel Life
    • abearcalledpaddington