We’ve visited Japan four times now, but on this trip we wanted something different. Instead of racing between the classic first-time stops, we slowed everything down and followed a quieter route through western Japan by regional train.
This 23 day Japan slow travel itinerary took us from Fukuoka on Kyushu, across to Mojiko, then along the San-Yo Line and changing to the San-In Line through Masuda, Izumo, Matsue, Kurayoshi and Tottori, before heading south to Okayama on the Imbi Line . It was one of the most rewarding trips we’ve done in Japan: quiet towns, friendly people, beautiful train journeys, excellent food and barely any international tourists.
If you’re looking for a Japan slow train route that goes beyond Tokyo, Kyoto and Osaka, this itinerary is a lovely way to see a different side of the country.

Our Japan Route
We travelled between towns and cities entirely by regional train, with a few local buses and metro journeys used to reach sights along the way.
Our route looked like this:
Fukuoka → Mojiko → Masuda → Izumo → Matsue → Kurayoshi → Tottori → Okayama
This is not a fast Japan itinerary. It is a slow travel route built around regional trains, smaller cities, coastal scenery, old towns, shrines, castles and quiet everyday moments.
Fukuoka 福岡市 — 7 Nights
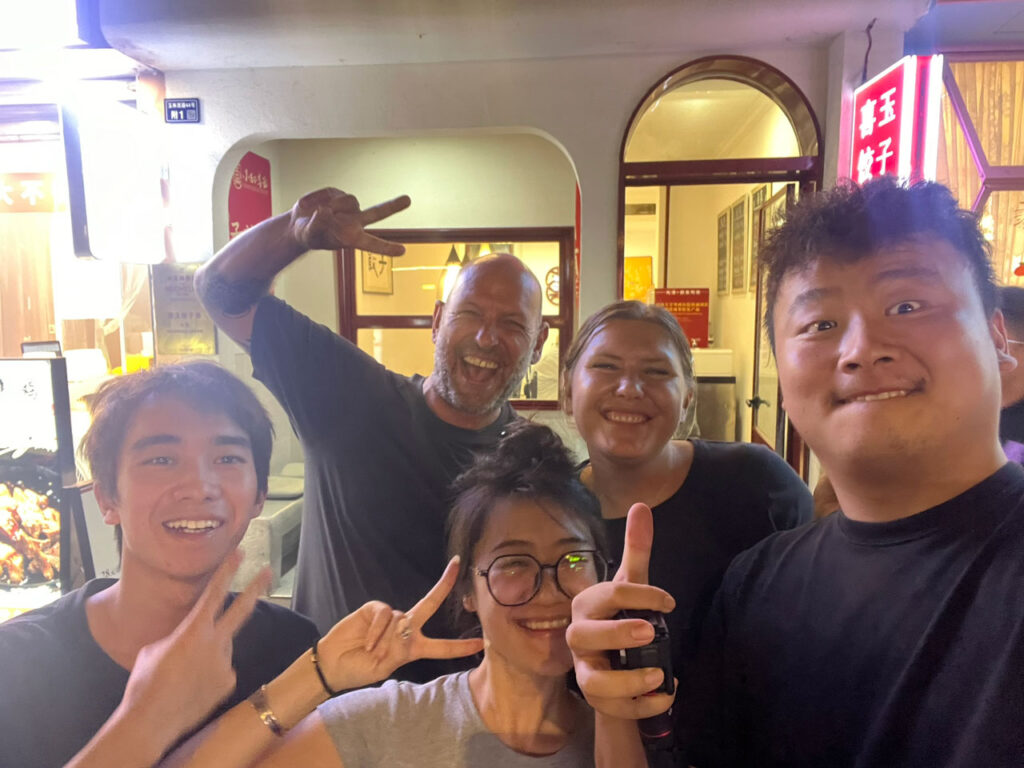
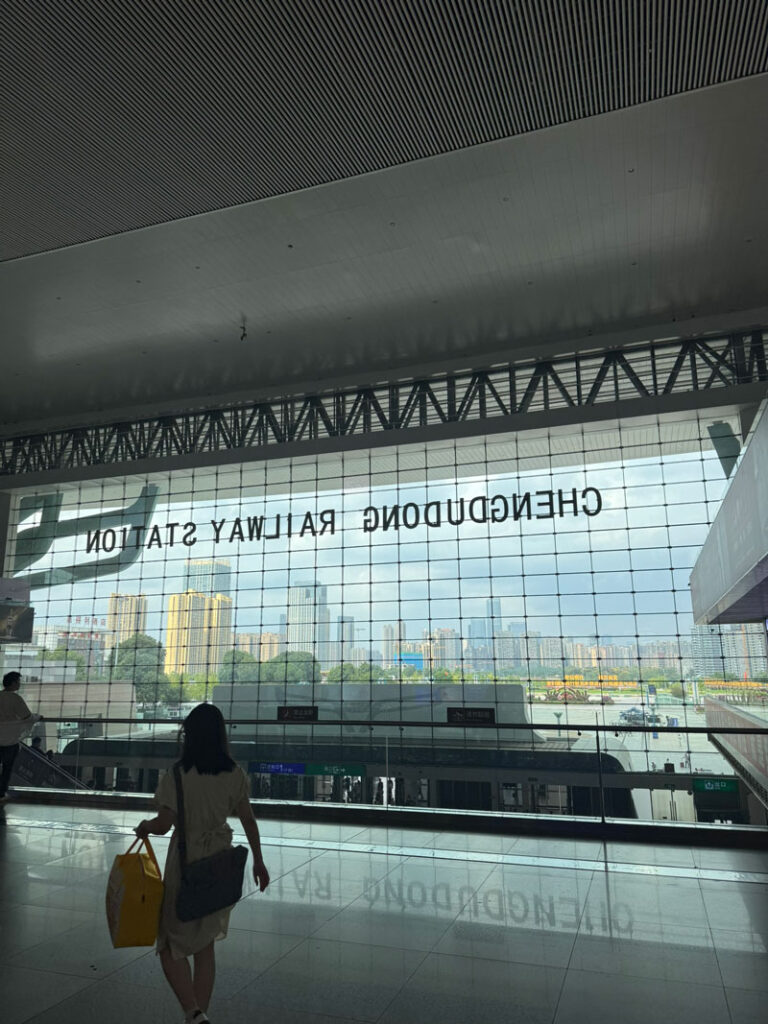
Fukuoka was our arrival point after flying in from Shanghai, and it gave us time to settle back into Japan at an easy pace. At first glance it feels like a modern Japanese city of grey buildings, convenience stores and endless places to eat, but it also has great coffee, castle ruins, shrines and some brilliant food.
We visited the original Ippudo Ramen shop and also took a boat out to Nokonoshima, where we rented electric bikes and explored the island. Seven nights was longer than most people would need, but we used the time to catch up on work and reset before starting the train journey properly.
We stayed at APA Hotel Fukuoka Tenjin Nishi which was in a great area with lots of food places and easy access to the center by metro.
Read our full Fukuoka guide here. (coming soon)
Mojiko 門司港 — 2 Nights
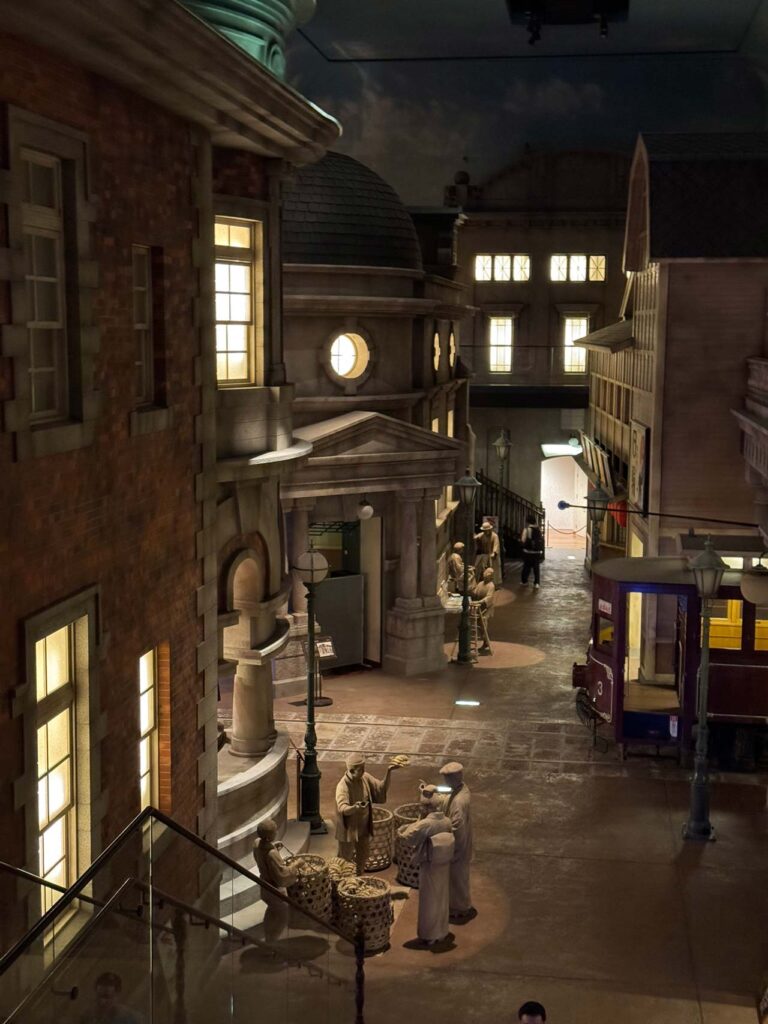
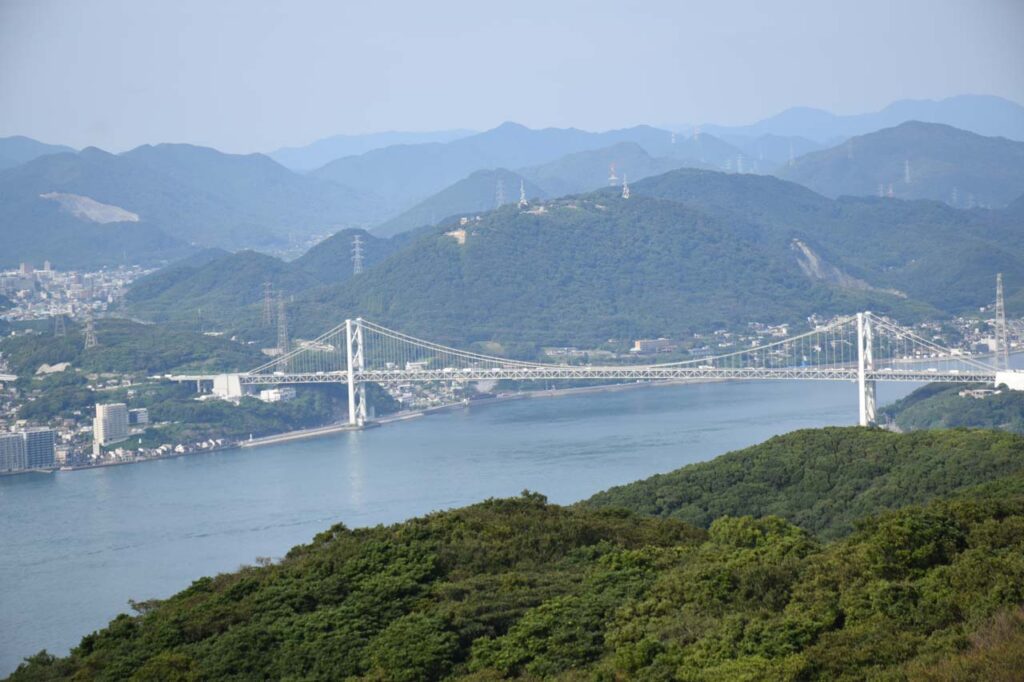
Mojiko or ‘Retro Mojiko’ is a charming little port city with a slightly odd banana theme, a beautiful old station and a peaceful waterfront. We tried banana curry, visited the observation deck, wandered through the free old street museum and hiked up to Mt. Kazagashira Observatory for views over the strait.
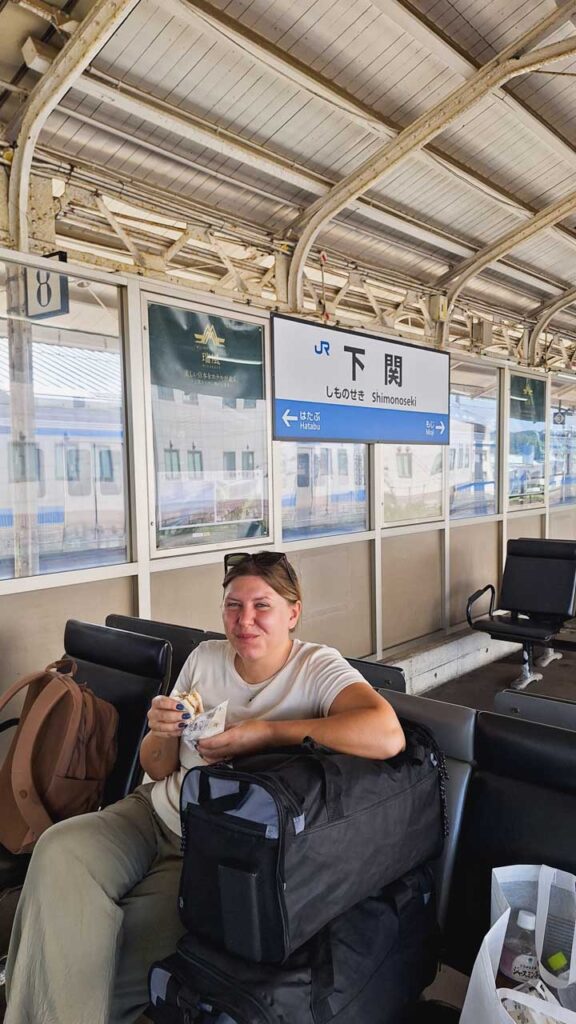
The town has a quiet, nostalgic feel and made a gentle transition between city travel and the slower route ahead. From here, we crossed towards Shimonoseki and began following the San-Yo and San-In Line west to east.
We stayed at the Premier Hotel Mojiko one of our favorite hotels on this trip, it had a huge room (for Japanese standards) and pretty views over the port and the bananaman statue.
Read our full Mojiko guide here. (coming soon)

Masuda 益田市 — 2 Nights
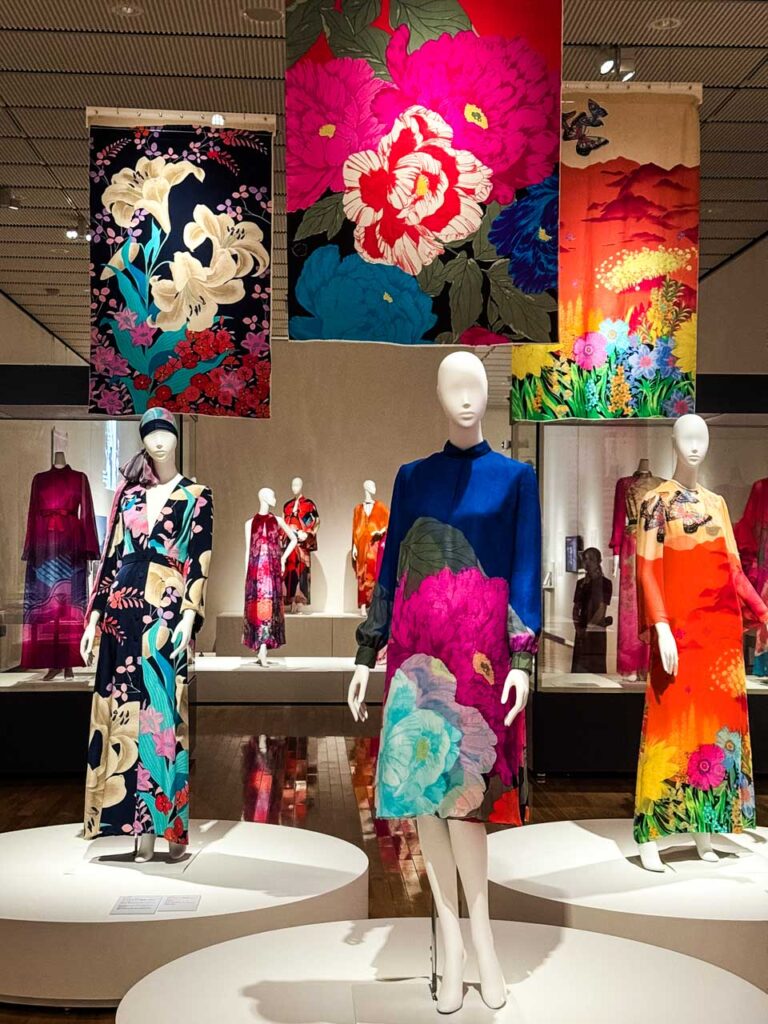
Masuda is the kind of stop that made people ask why we were going there, but it turned out to be one of the warmest places on the trip. We saw no tourists and everyone we met was friendly, patient and curious, including the staff at our hotel onsen, where tattoos were not an issue as we were foreign visitors.
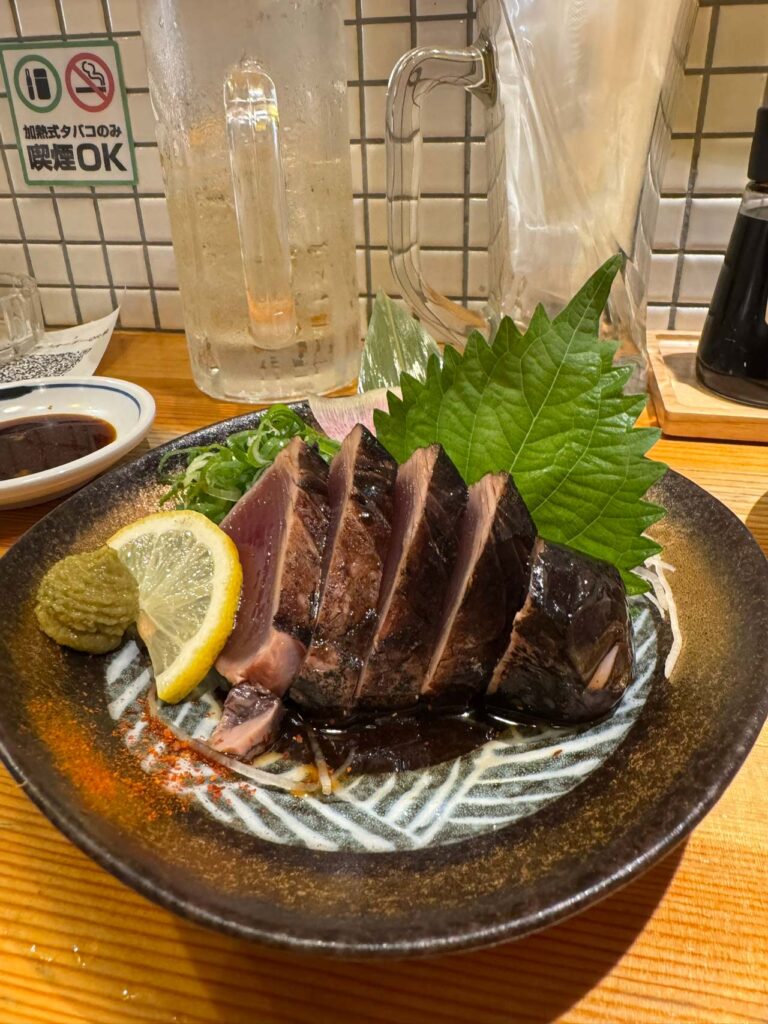
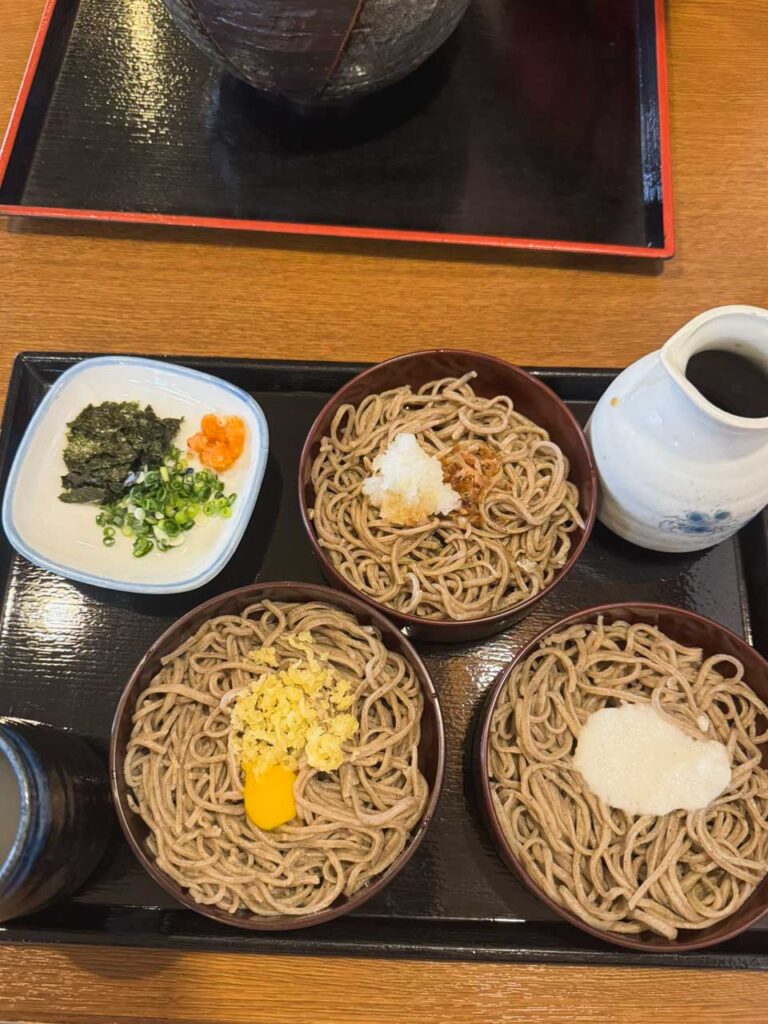
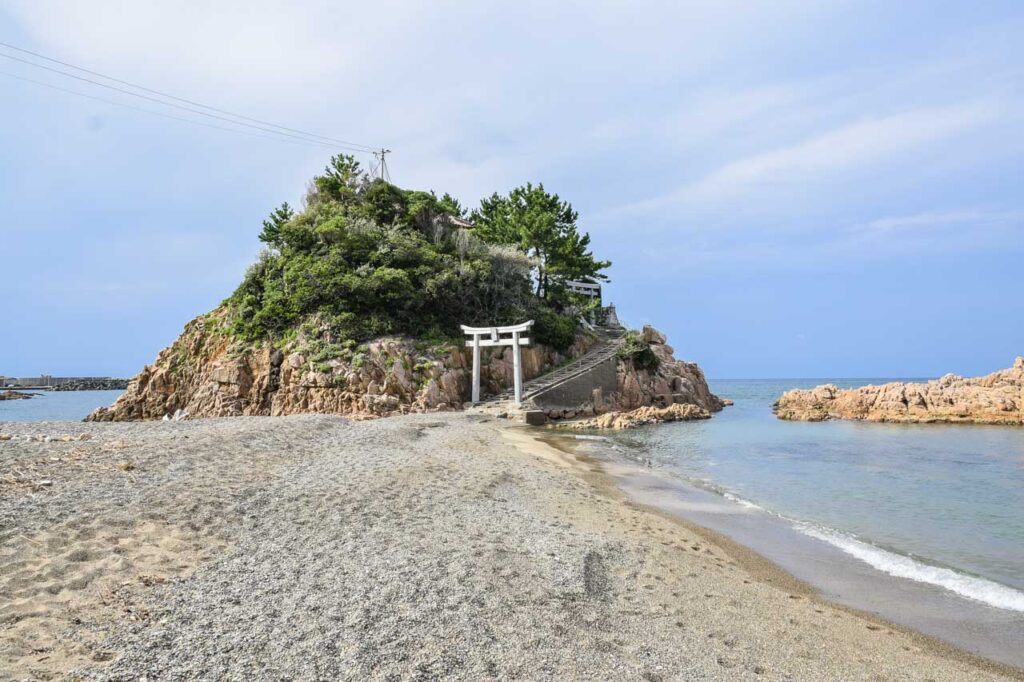
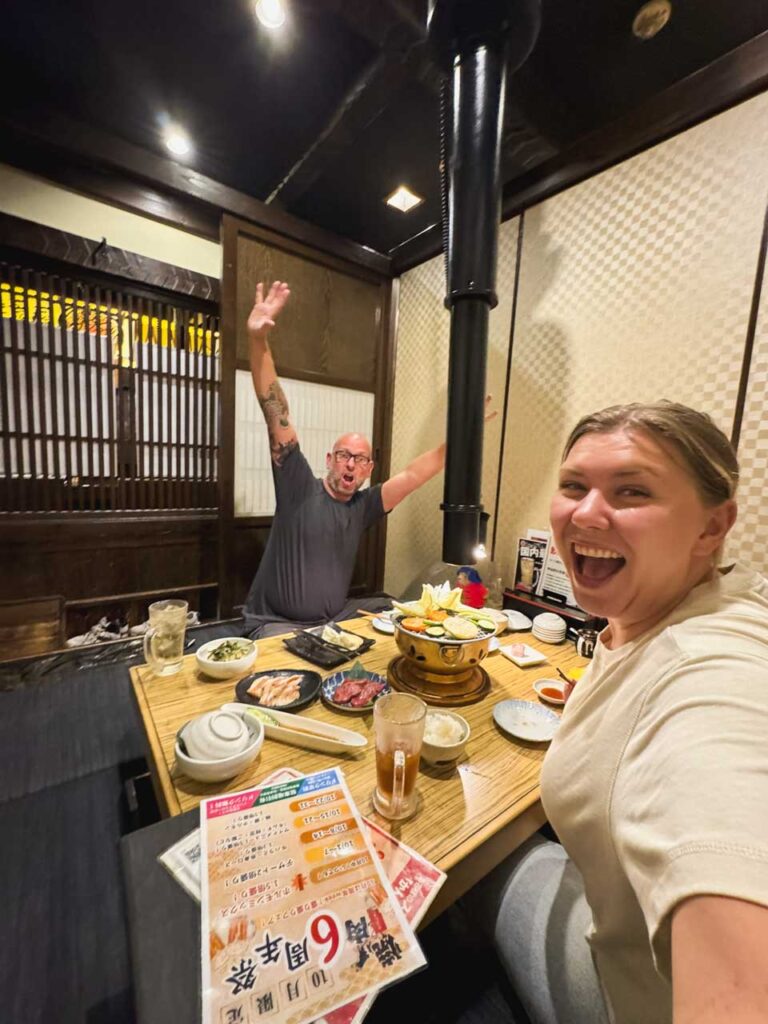
We visited the Iwami Art Museum, ate cold soba for the first time and had one of those memorable izakaya meals where the menu was handwritten in Japanese and Google Translate struggled hugely. A local woman Livia met in the onsen even drove us to a small coastal Ebisu shrine that would have been difficult to reach by public transport.
We stayed at the Mascos Hotel which was modern with a large room and tattoo friendly onsen.
Read our full Masuda guide here. (coming soon)
Izumo 出雲市 — 1 Night
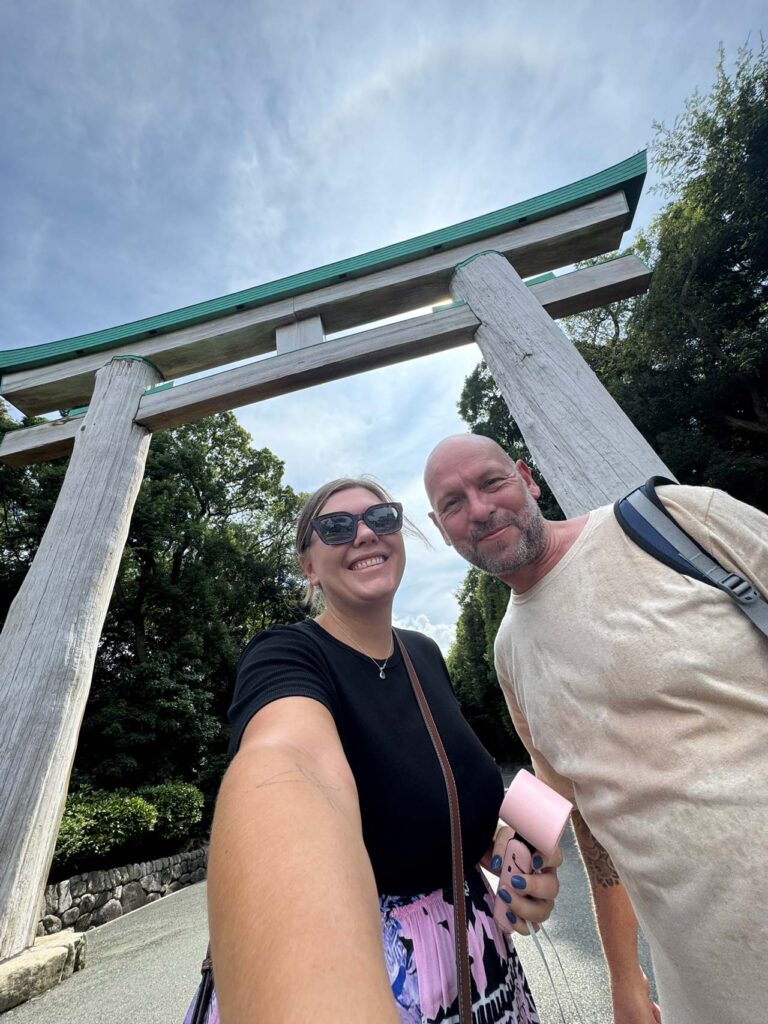
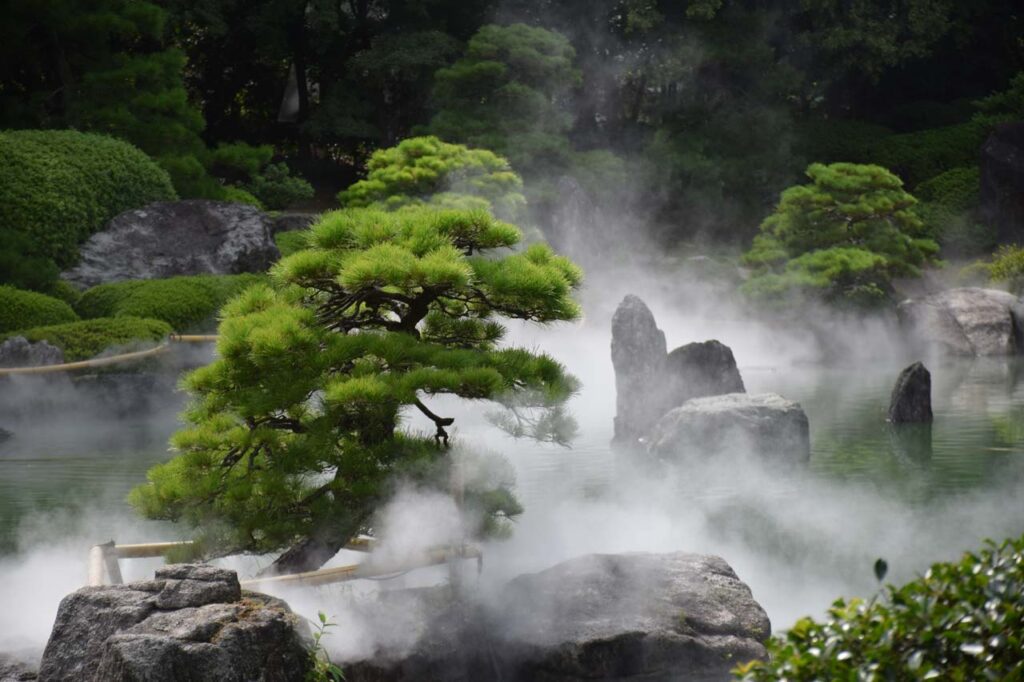
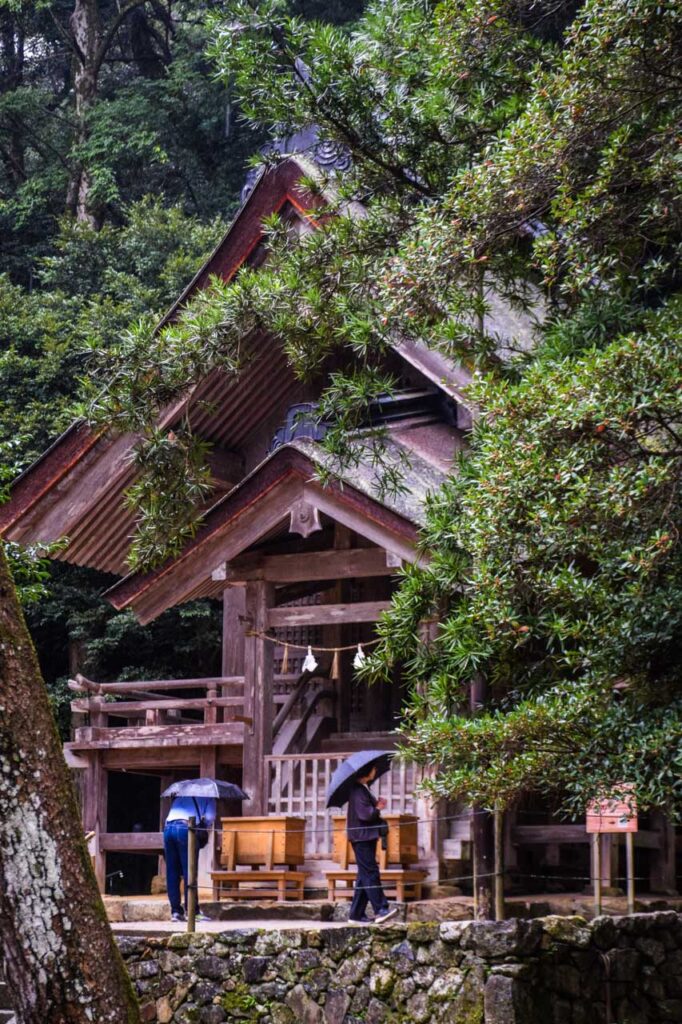
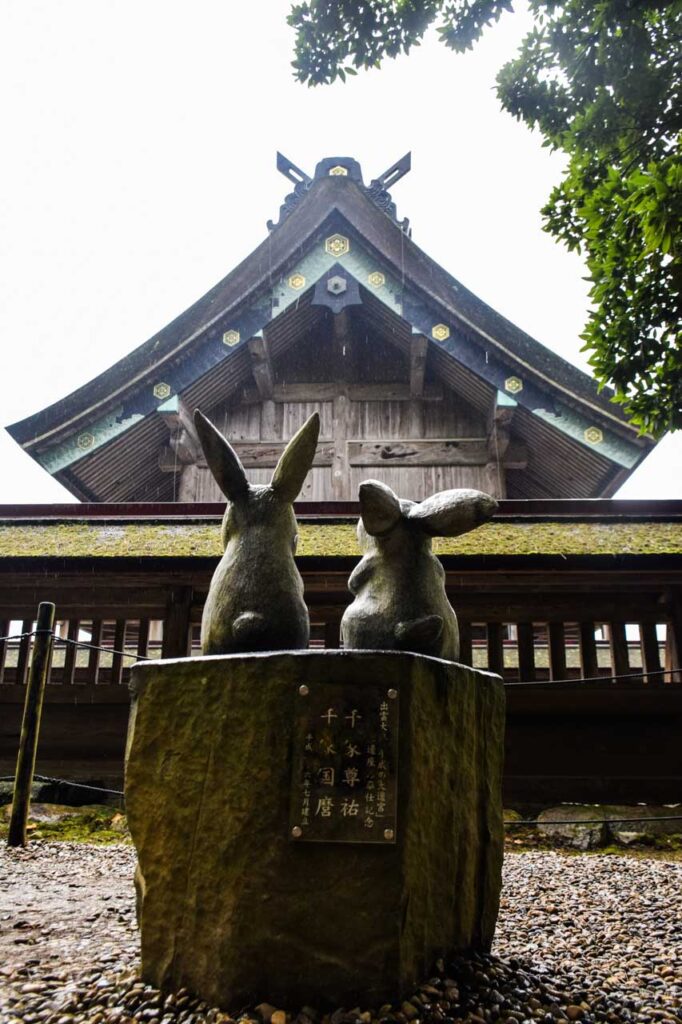
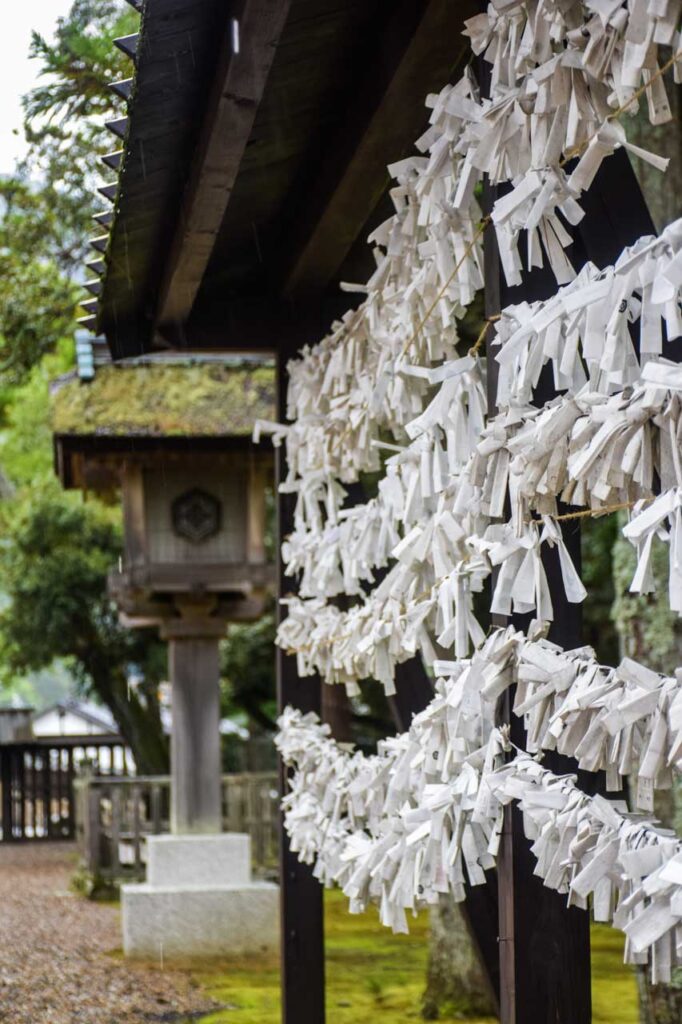
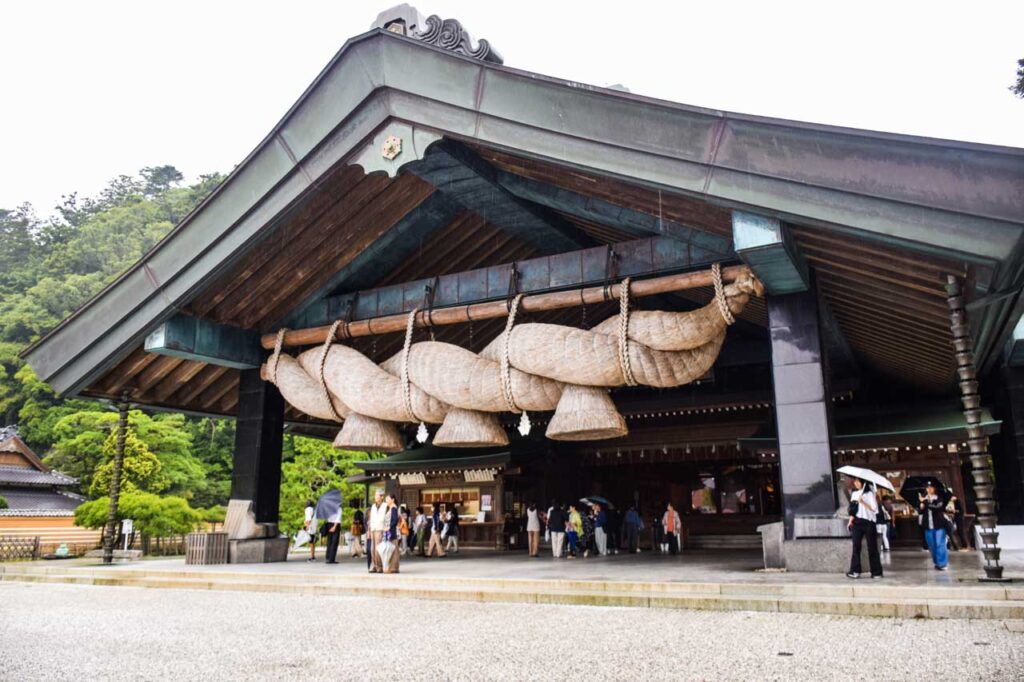
Izumo is mainly known for Izumo Taisha, one of the most important shrines in Japan. The huge shimenawa rope is the famous image, but the whole shrine complex felt atmospheric, especially in the drizzle and forested surroundings. It was busy with Japanese visitors, but nothing like the crowded shrine experiences you get in the bigger tourist cities.
One night was enough for us, but it was a worthwhile stop on this slow travel route through western Japan. Many Japanese people are stil shocked we made it there, as many haven’t been themselves.
We stayed at the Super Hotel Izumo Ekimae a standard business Japanese hotel but with a 2 hour free bar every evening.
Read our full Izumo guide here. (coming soon)
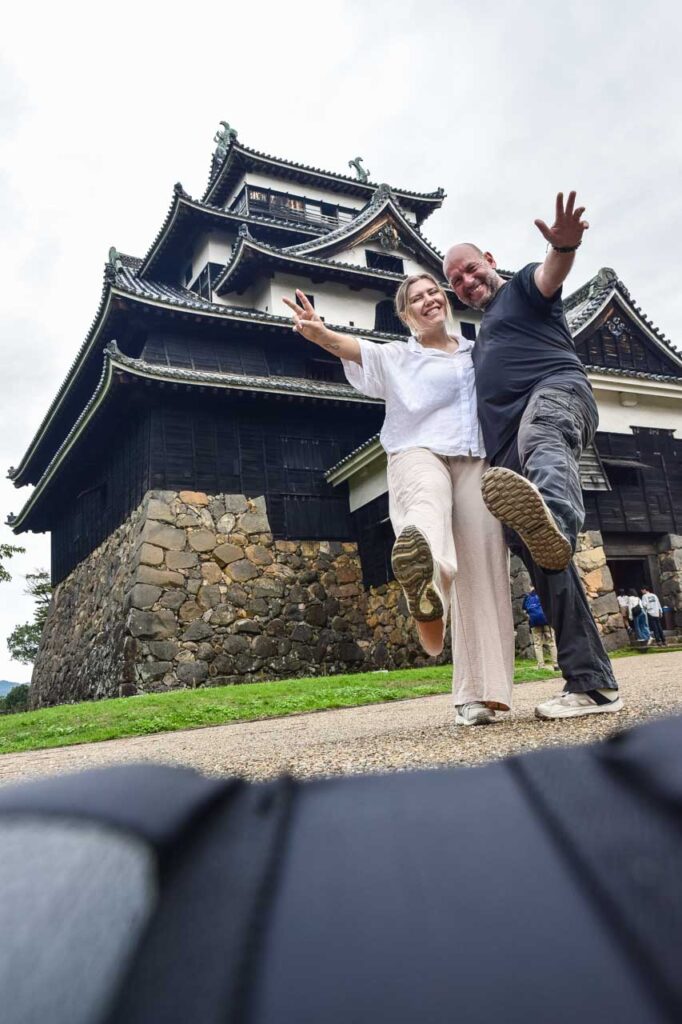
Matsue 松江市 — 2 Nights
Matsue was a more substantial city with a strong sense of Edo-period history. We visited the castle, explored the samurai house area, saw the fox shrine, ate more cold soba and enjoyed sunset views over the lake. Staying near Matsue-Shinjiko-Onsen Station meant we were in a more appealing part of the city, even if it required a bus ride back to the main station when we left.
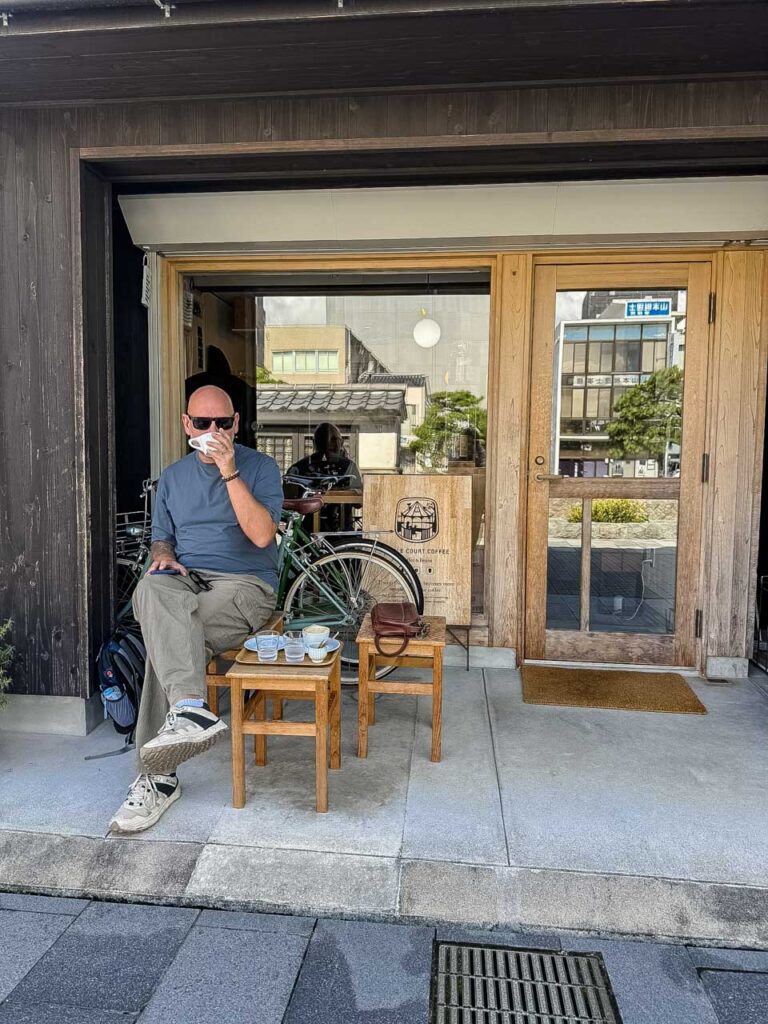
Good coffee, a great lunchtime BBQ deal and a fun evening in a local izakaya made Matsue one of the easiest stops to enjoy.
We stayed at Matsue New Urban Hotel it was close to the Castle and had a tattoo friendly onsen.
Read our full Matsue guide here. (coming soon)
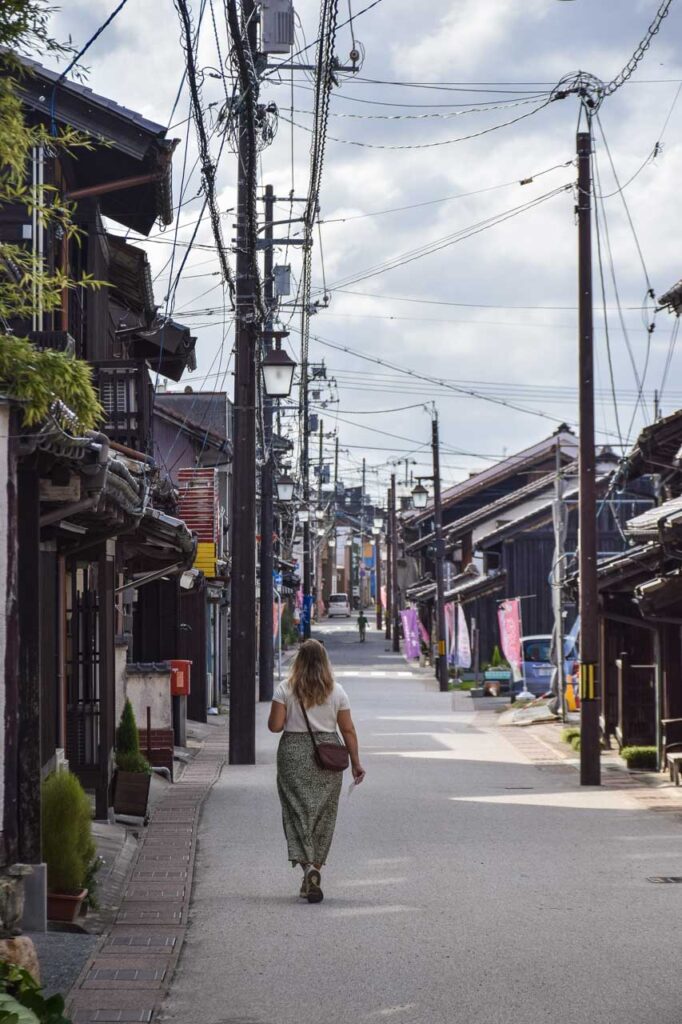
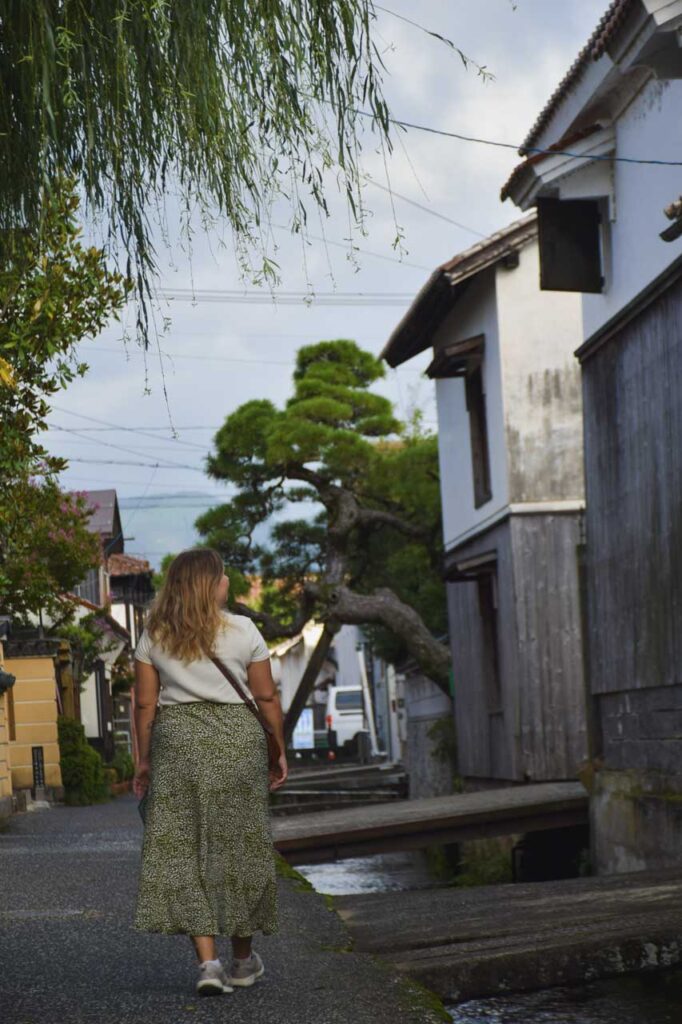
Kurayoshi 倉吉市 — 2 Nights
Kurayoshi gave us old-town charm without the crowds. We stayed near the main station and took the bus into the White Wall Warehouses district, where we found traditional buildings, small museums, good coffee and a much slower pace. We also visited the surprisingly fun Tottori Nijisseiki Pear Museum, which was far better than a pear museum has any right to be.
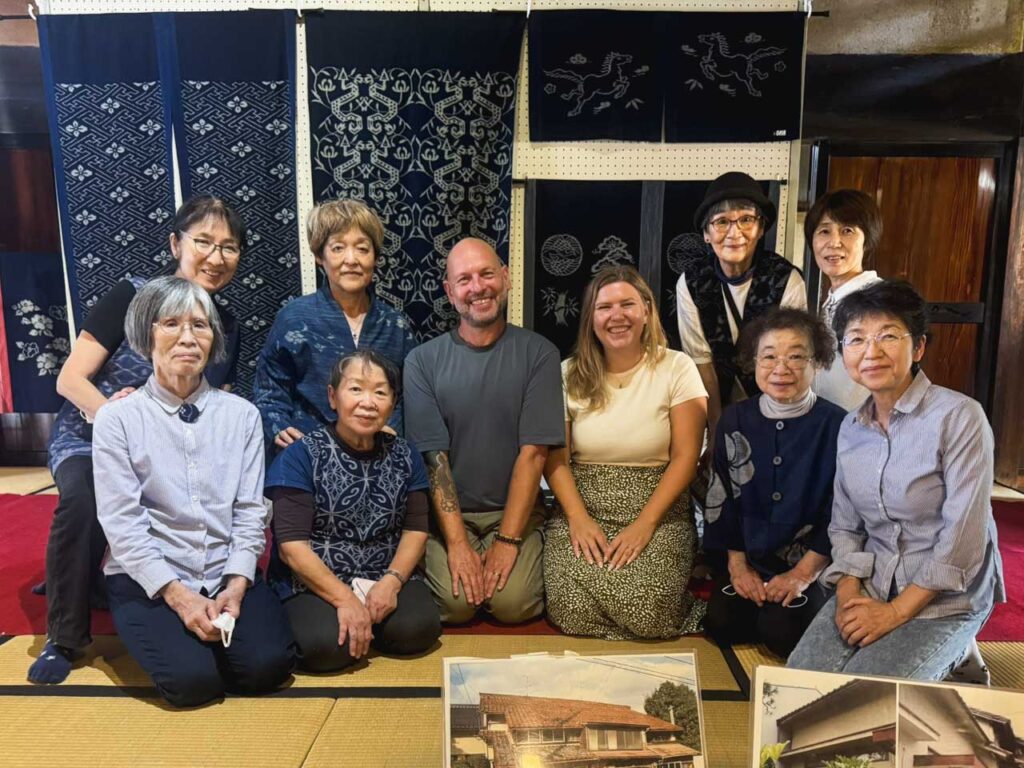
At Kurayoshi Yodoya, the former Makita Family Residence, we met a group of lovely volunteer ladies who didn’t speak English, but somehow, with smiles, gestures and a little translation help, we still managed to have a wonderful conversation.
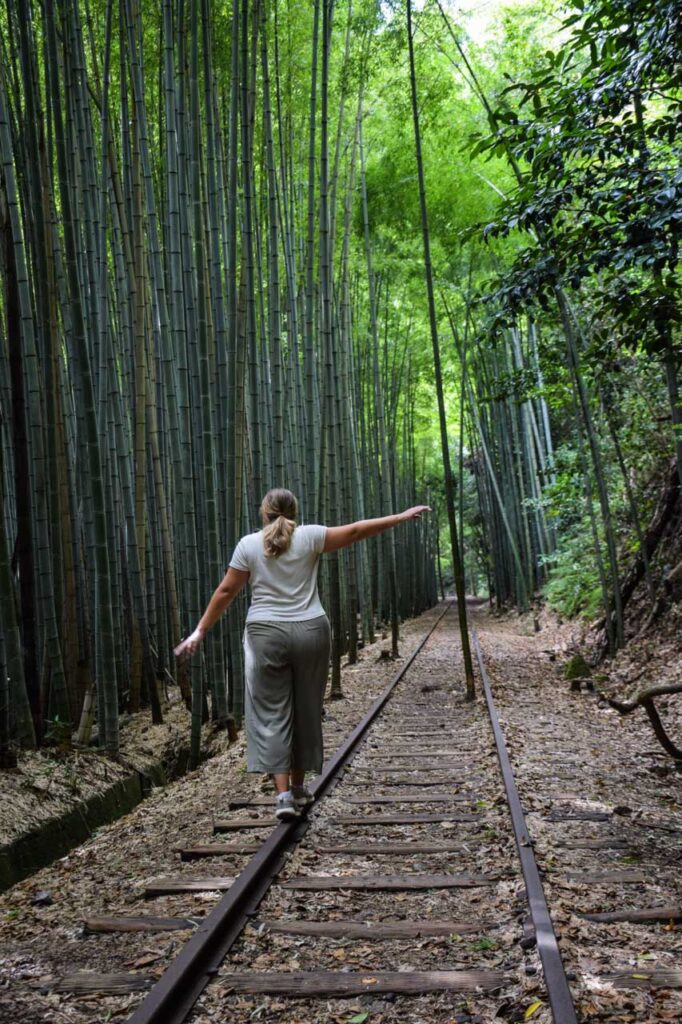
Our favourite side trip was finding the abandoned Yamamori railway line, a quiet, overgrown place that felt like something from a Studio Ghibli scene.
We stayed at Hotel St Palace Kurayoshi which was conveniently close to the railway station.
Read our full Kurayoshi guide here. (coming soon)
Tottori 鳥取市 — 2 Nights
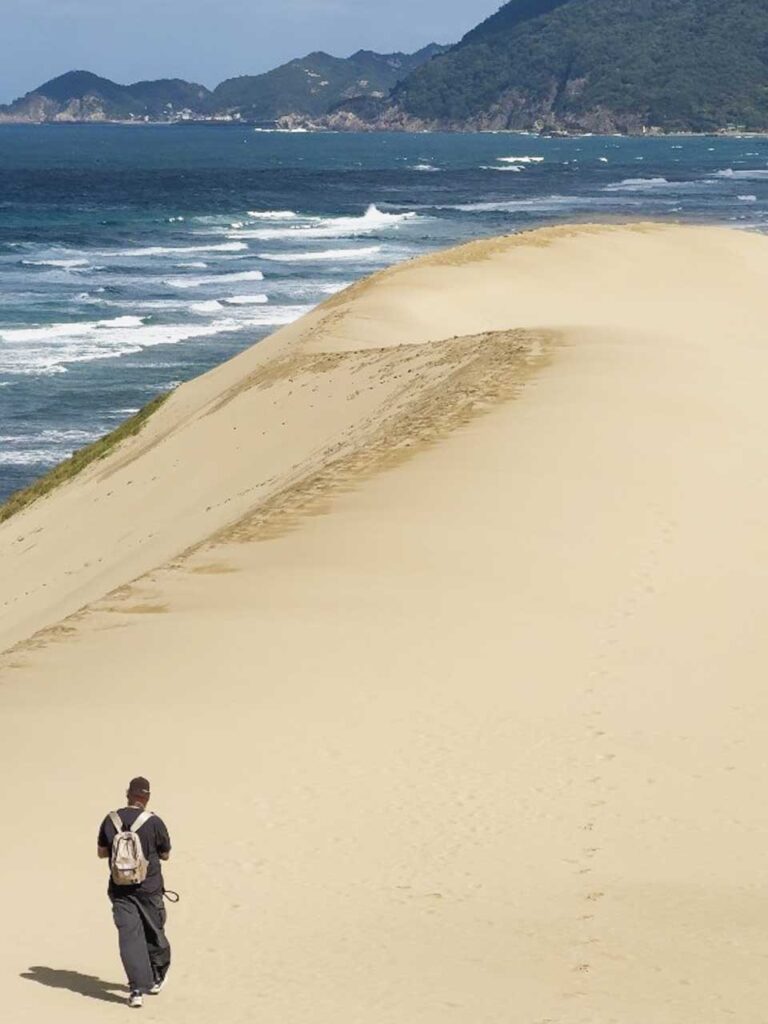
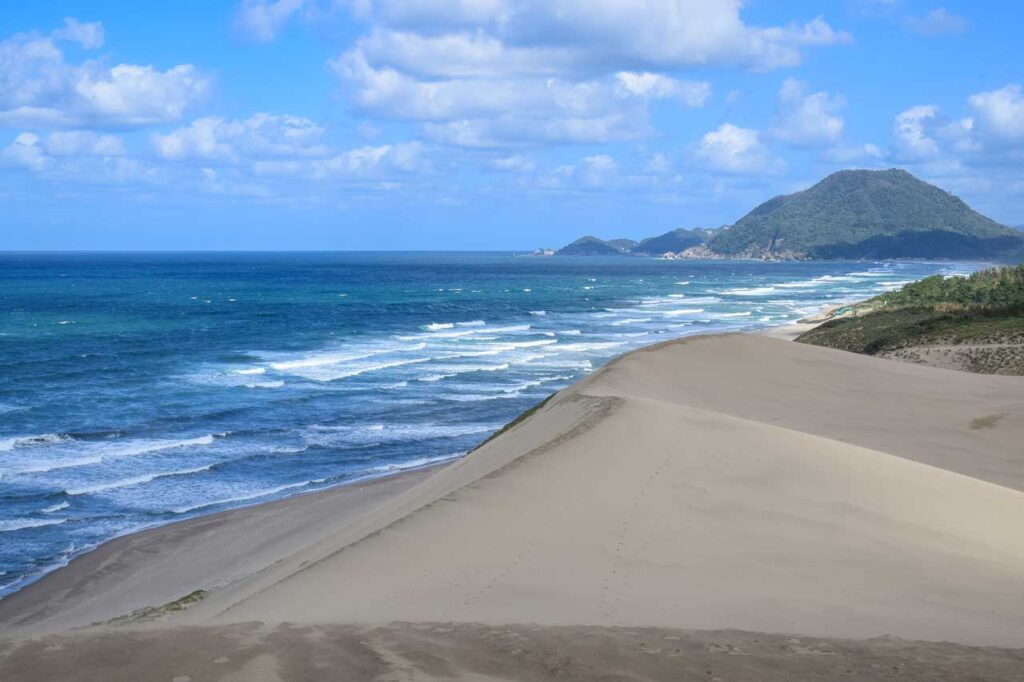
Tottori is famous for its sand dunes, where the desert-like landscape meets the sea. It is one of the more unusual natural sights in Japan and definitely one of the best places to visit in Japan if you want something different from temples, castles and city streets. That said, it was also our least favourite stop on the San-In Line because it felt more touristy than the other places on this route.
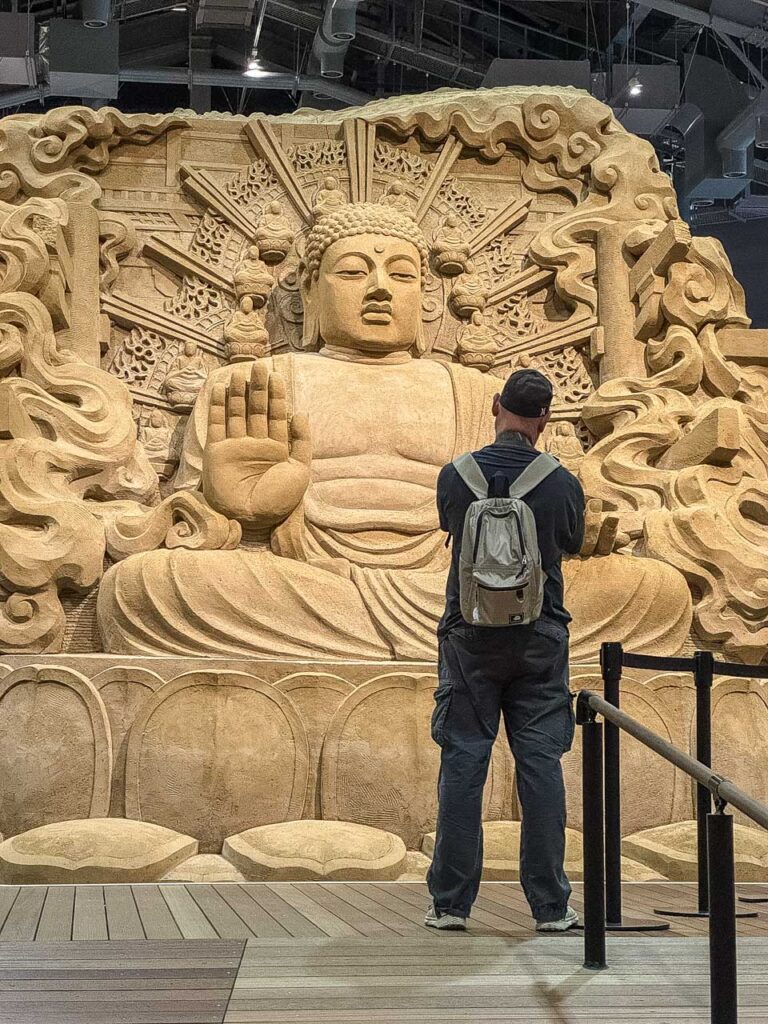
The Sand Museum was strange but impressive, with huge sand sculptures that change regularly.
Wee stayed: Tottori Washington Hotel Plaza which was pretty close to the train station.
Read our full Tottori guide here. (coming soon)
Okayama 岡山市 — 4 Nights
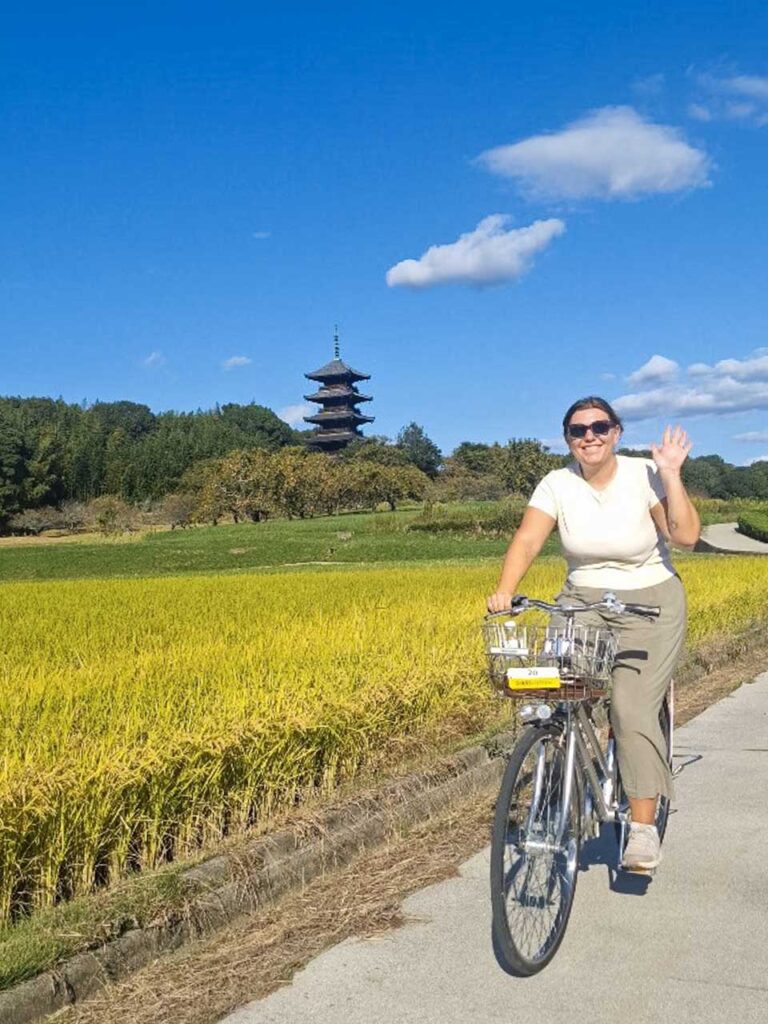
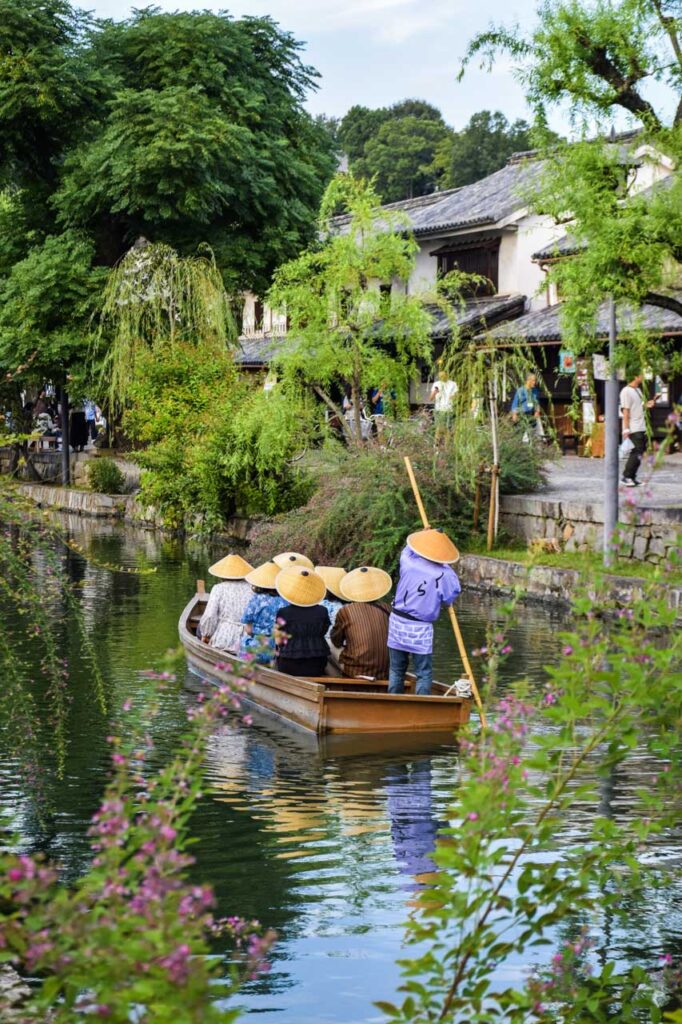
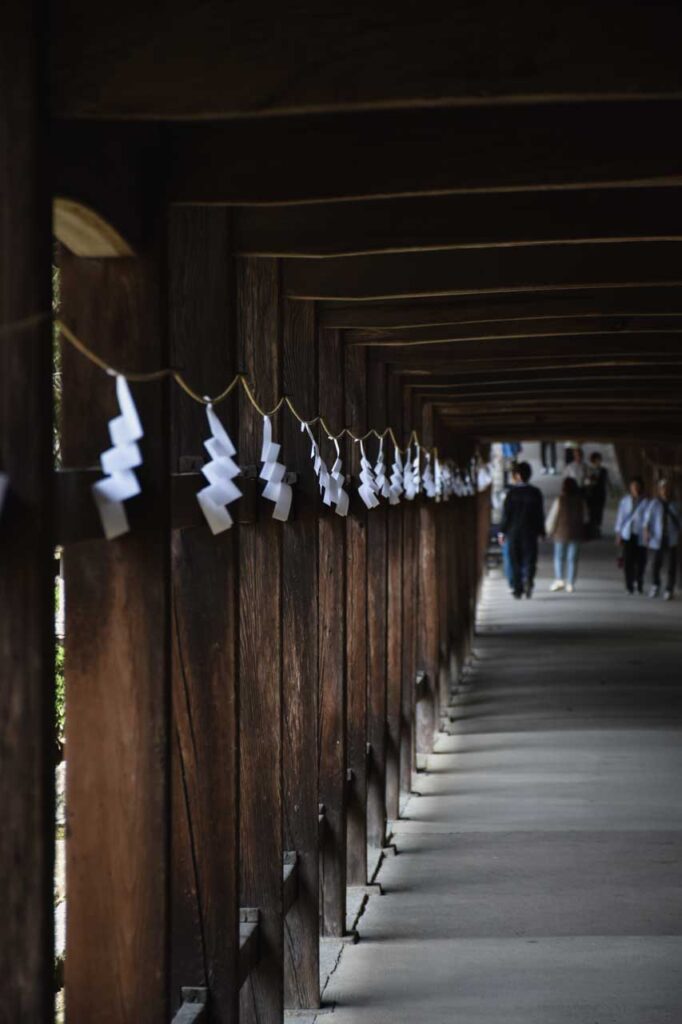
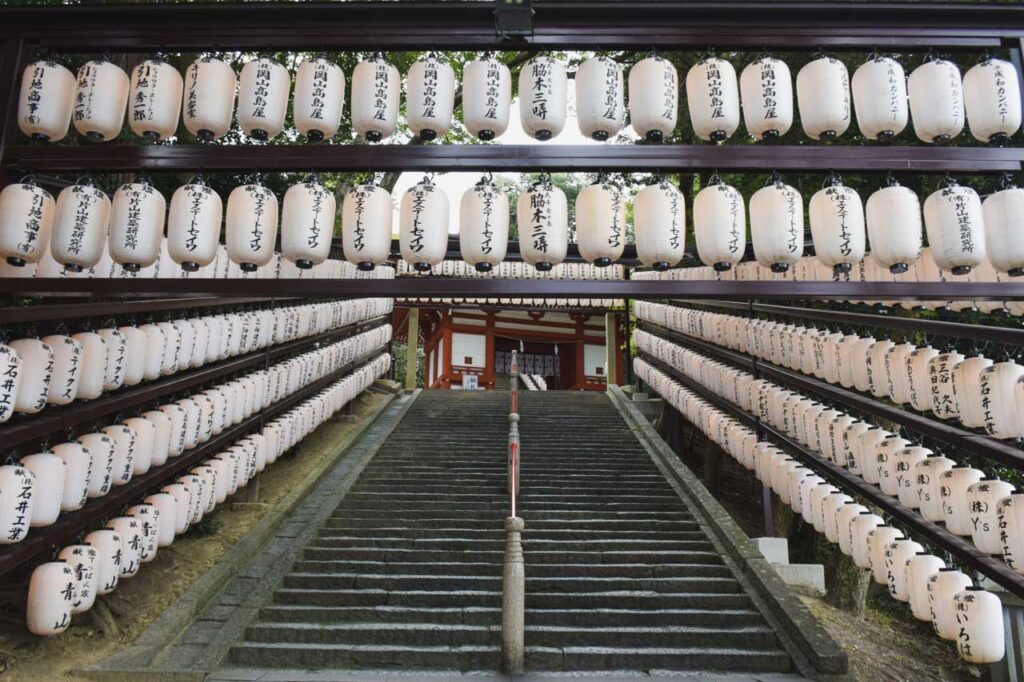
Okayama marked the end of our regional train journey and felt like a return to a larger, more connected city. At first it seemed like another grey urban stop, but it opened up once we explored beyond the centre. We visited Kibitsu Jinja with its long covered walkway, cycled out to a five-storey pagoda and took a trip to Kurashiki for denim shopping and a beautiful old canal district.
After so many smaller towns, Okayama was a comfortable place to slow down, reflect and ease back into civilisation.
We stayed: HOTEL LiVEMAX Okayama West was was small, but very clean and close to the train station.
Read our full Okayama guide here. (coming soon)
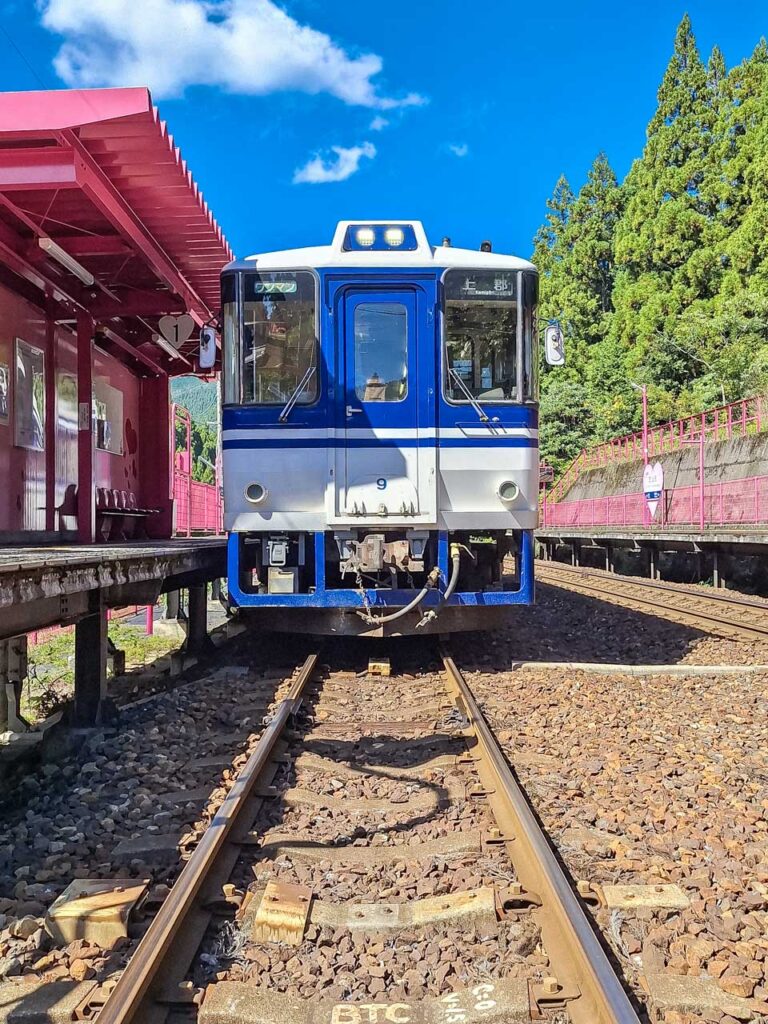
Travelling Japan by Local Train
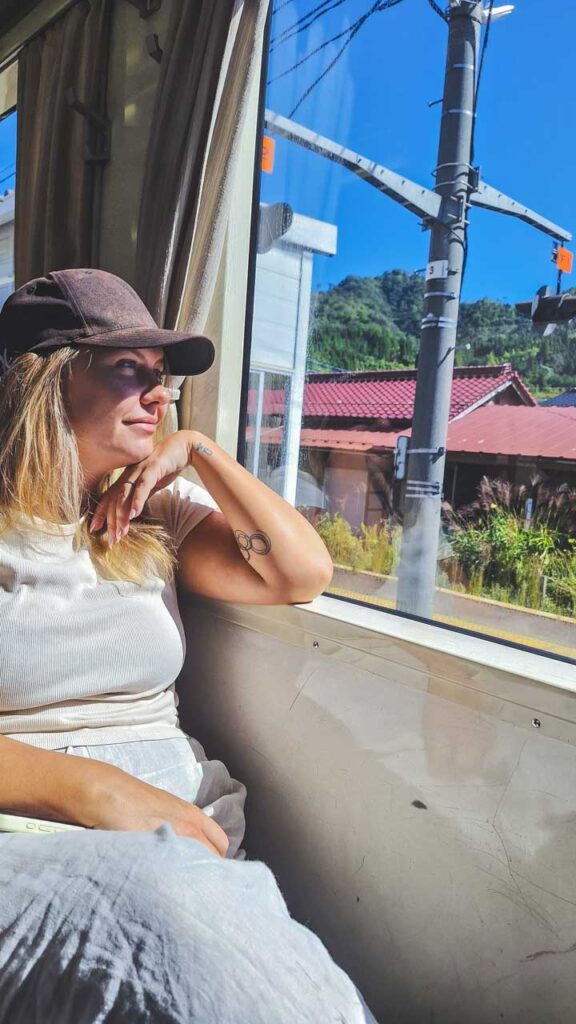
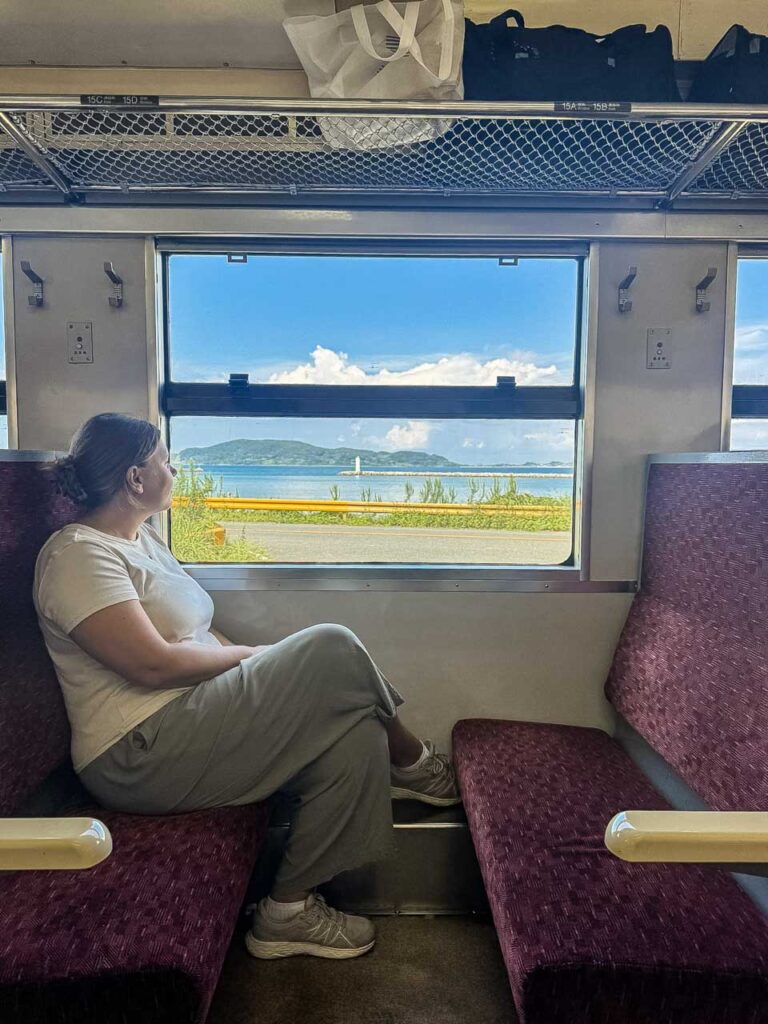
This route is not about bullet trains or rushing between major cities. It is about small local trains, two-carriage services, coastal views, quiet stations and the kind of journeys where the train itself becomes part of the experience.
For this itinerary, we would not bother with a nationwide or Regional JR Rail Pass. Local tickets were easy enough to buy, the journeys were flexible, and this route was much better suited to slow independent travel than a high-speed pass-based itinerary.
One important thing to know is that IC cards such as Suica or ICOCA may not work properly on some rural sections of the San-In Line. We tapped in at Shimonoseki and could not tap out at Masuda, which eventually froze our cards until station staff helped us fix the fare at Izumo.
If we did this again, we would buy paper tickets for the rural sections instead of relying on an IC card.
What We’d Change
We probably did not need seven nights in Fukuoka. That was useful for us because we had work to catch up on and photo backups to sort after travelling in China, but most travellers could spend three or four nights there and use the extra time elsewhere.
We also considered continuing further along the coast towards Obama, but by Tottori we were getting tired from planning each small stop, checking transport and figuring out where to stay and eat. Heading south to Okayama felt like the right decision at that point.
Is This Japan Itinerary Right for You?
This Japan slow travel itinerary is best if you have already visited the major tourist route and want to see a quieter side of the country. It is not the best route for a first trip if your dream is Tokyo, Kyoto, Osaka, Mount Fuji and the classic highlights.
But if you like small cities, local trains, ordinary neighbourhoods, regional food, shrines, castles, coastal scenery and slower travel days, this route is a lovely alternative. It reminded us why we keep coming back to Japan.
Final Thoughts
This was one of the most rewarding trips we’ve taken in Japan. By avoiding the busiest places and travelling slowly by regional train, we found a version of the country that felt calmer, friendlier and more personal.
The San-In Line gave us those perfect slow train moments: small stations, sea views, countryside, local food and quiet towns and beautiful shrines where people seemed genuinely surprised to see us. We would absolutely travel through Japan this way again.