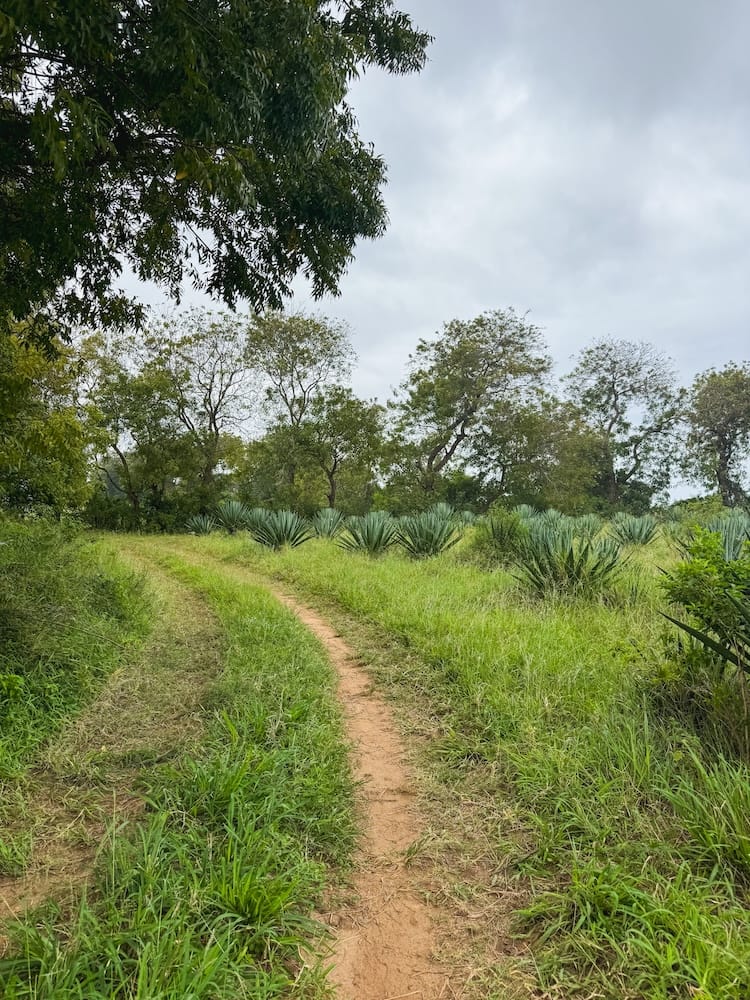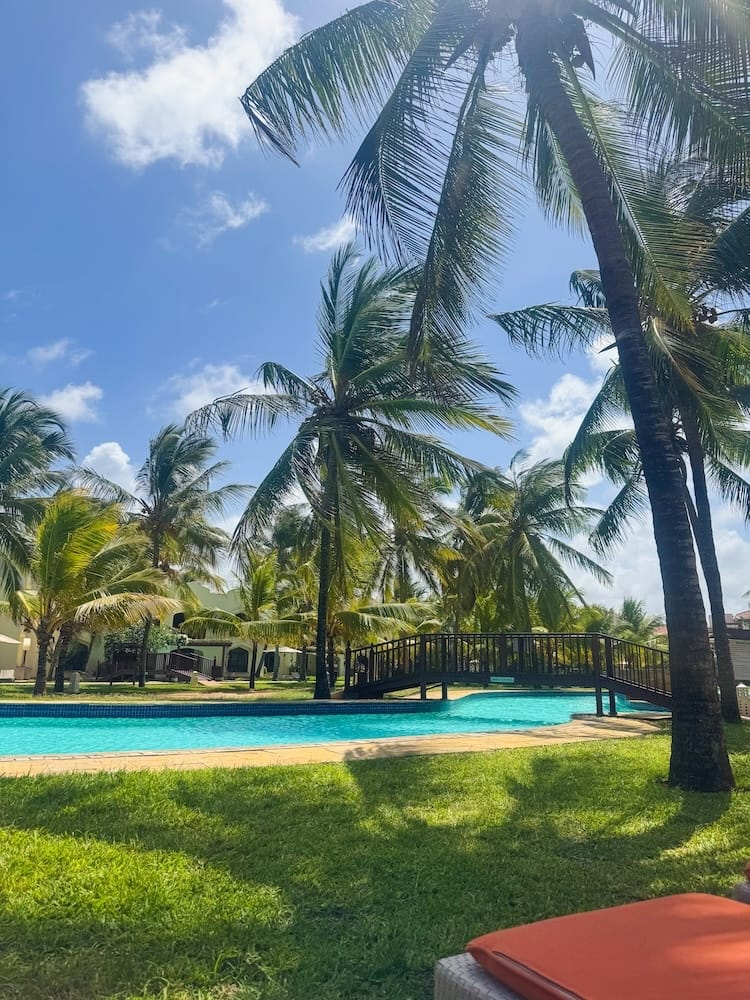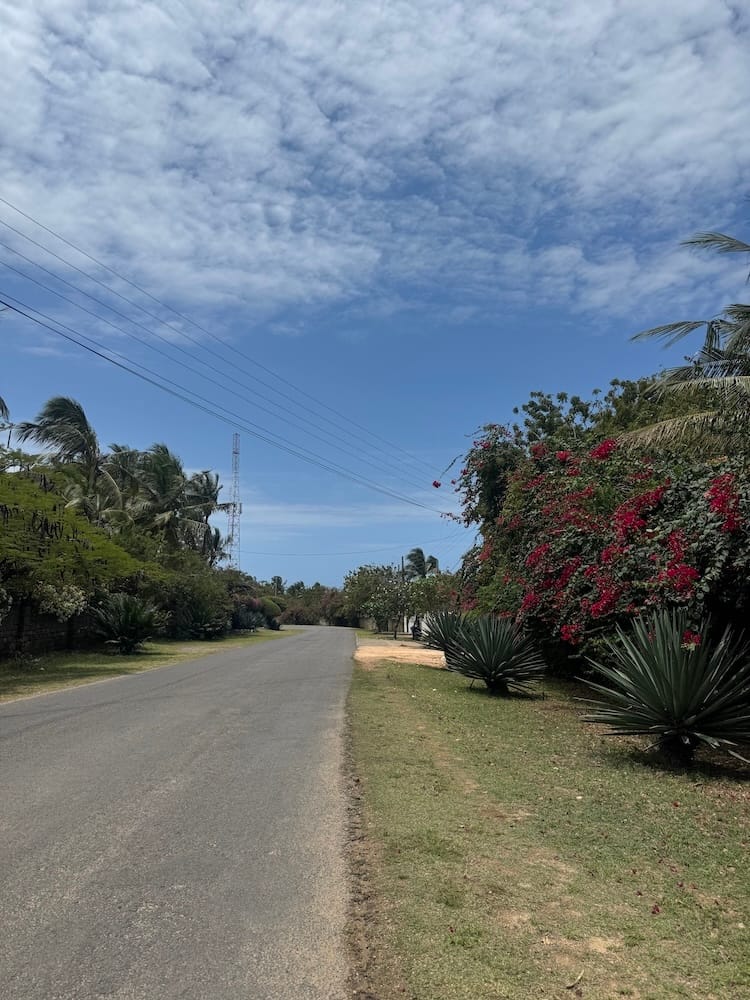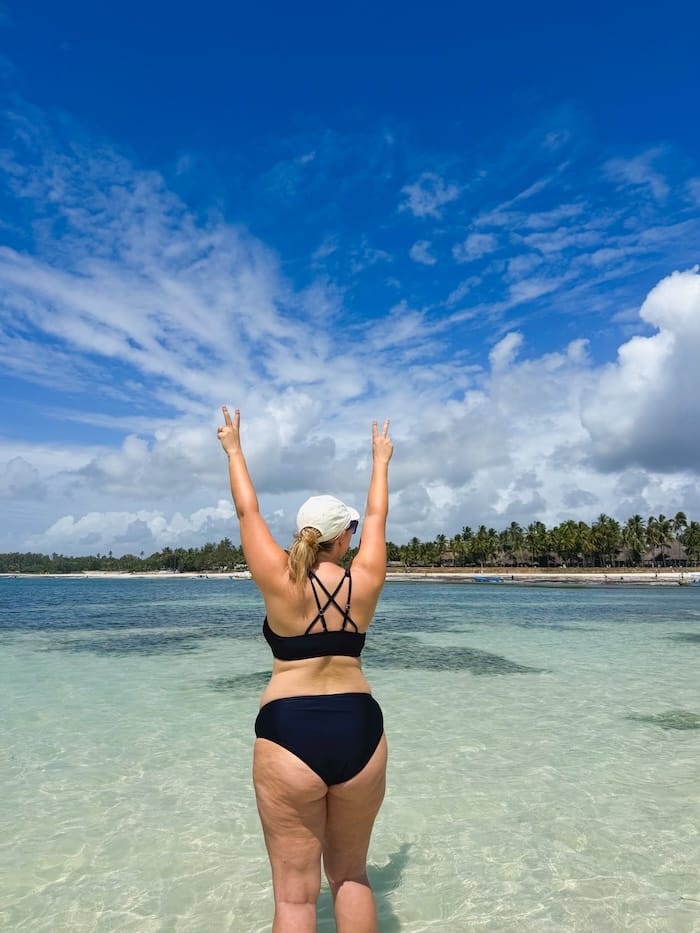
Top Posts
Kilifi, Kenya: A Laid-Back Coastal Gem Worth Visiting
How to Spend 7 Days in Kathmandu. Temples, Momos and Tattoos
Diani Beach: 4 Days on Kenya’s South Coast
2 Days in Mombasa, Kenya: Our Experience & Self-Guided Old Town Walk
How to Use M-PESA in Kenya: A Guide for Tourists
How to Visit Risshaku-ji Temple, Yamadera from Sendai
How to Visit Nikka Whisky Miyagikyo Distillery from Sendai
Matsushima Travel Guide: Boat Trips, Bay Views and Onsen
Kigali Travel Guide: Two Weeks in Kimihurura
3 Days in Doha: Things to Do, See & Eat
LBSB World
  • Home
  • Destinations
    • Africa
      • Kenya
      • Namibia
      • Rwanda
    • Asia
      • China
      • Indonesia
      • Japan
      • Nepal
      • Qatar
    • Europe
      • Albania
      • Bosnia-Herzegovina
      • Croatia
      • Montenegro
      • Netherlands
      • North Macedonia
      • Serbia
    • North America
      • Dominican Republic
  • Travel itineraries
  • Plan your trip
  • About Us
    • About Sam & Livia
    • The Story Behind Our Full-Time Travel Life
    • abearcalledpaddington
Category:

Africa

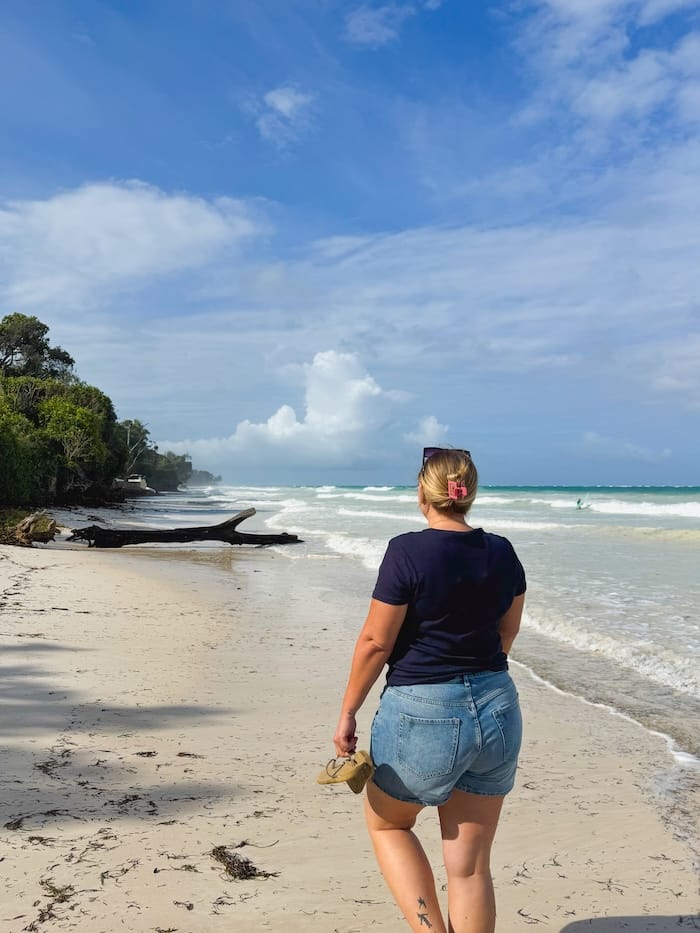
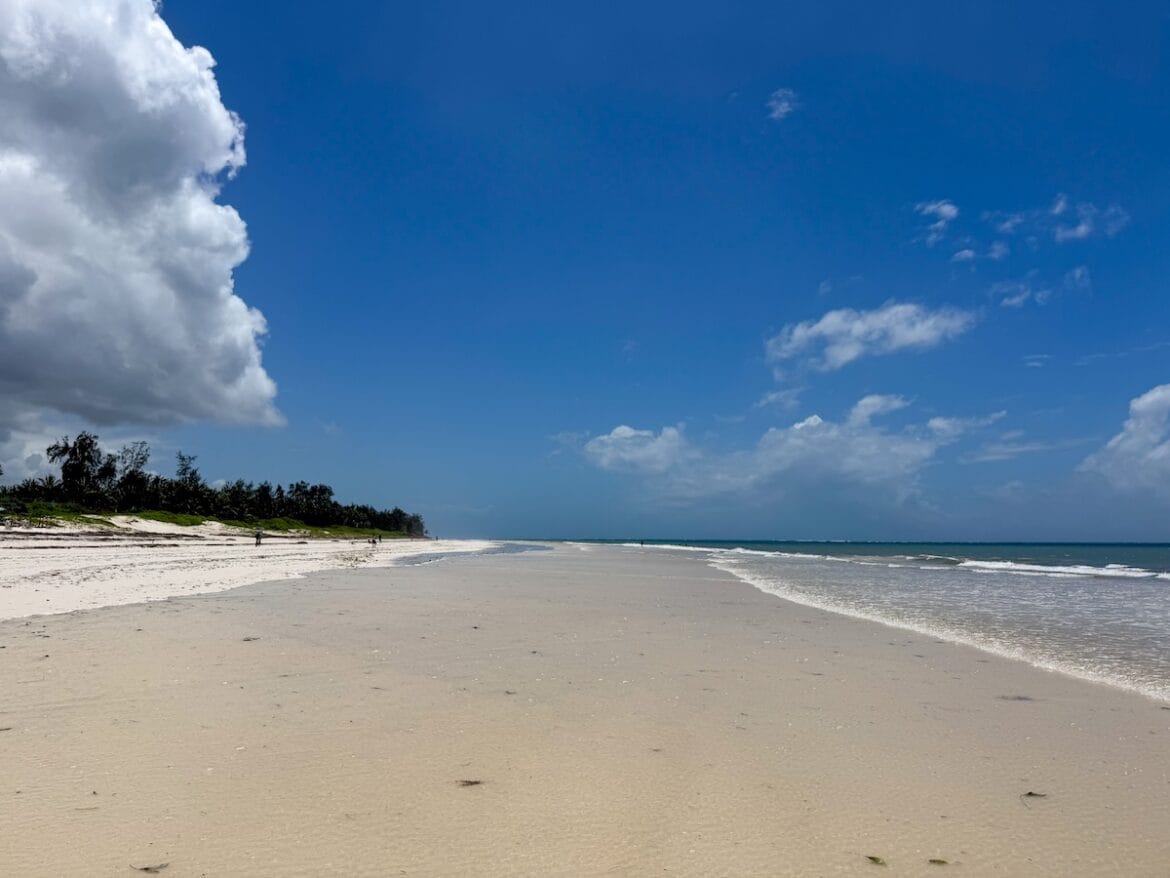
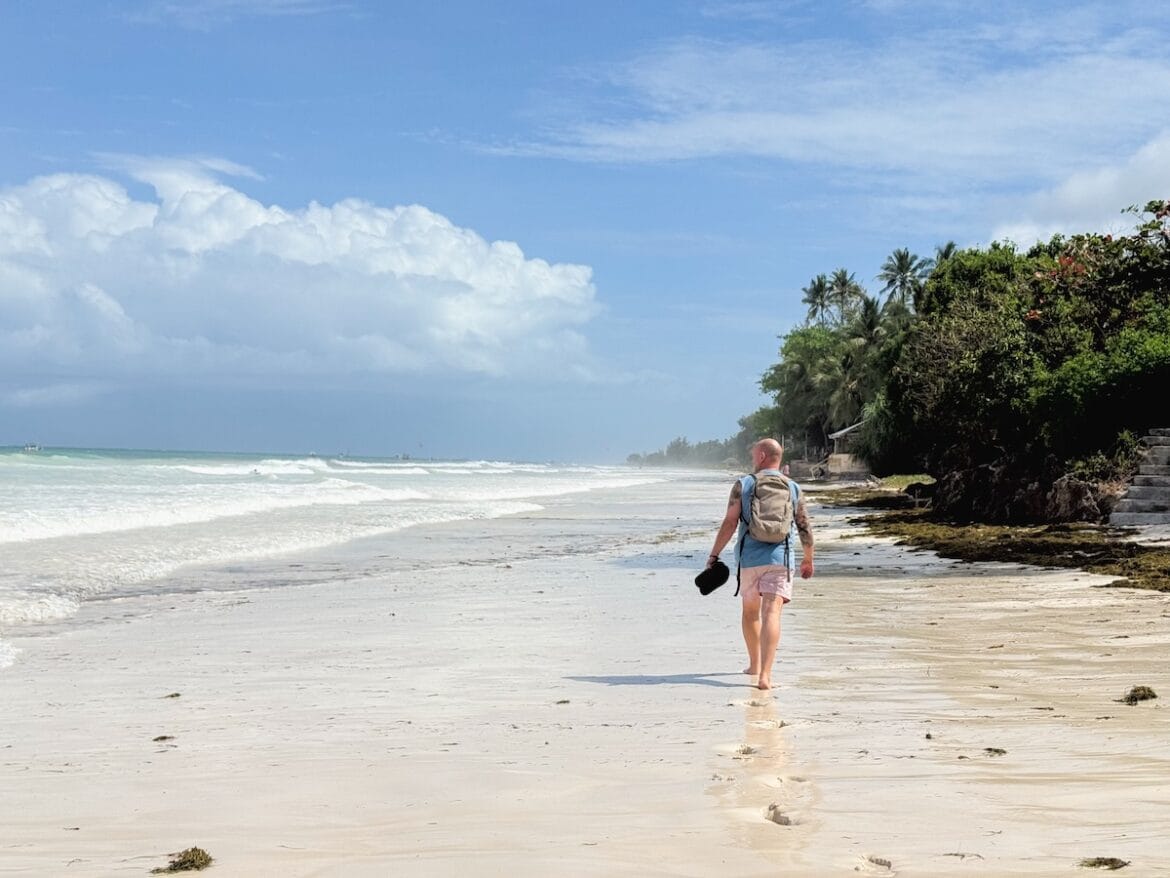
Long, almost empty stretch of Bofa Beach in Kilifi, Kenya, at low tide
Kenya

Kilifi, Kenya: A Laid-Back Coastal Gem Worth Visiting

by Livia October 21, 2026
written by Livia

Kilifi was love at first sight. Well, almost.

When we first arrived, we weren’t entirely convinced. The town didn’t seem particularly exciting, everything was quite spread out, and we weren’t sure what we’d find here. But it didn’t take long for Kilifi to win us over.

After spending two weeks here, it became one of our favourite places along the Kenyan coast. Beautiful, almost empty beaches, a wonderfully relaxed atmosphere, friendly people and some really lovely places to eat and hang out.

Unlike some of Kenya’s more popular beach destinations, Kilifi doesn’t feel particularly touristy. It’s a real, working town rather than somewhere built around tourism, and that’s part of its charm.

The town itself doesn’t have much in the way of tourist attractions, but that’s not really why you come to Kilifi. You come for the beaches, the creek, the peaceful surroundings and the chance to slow down for a while.

Getting to Know Kilifi

One thing worth knowing before visiting Kilifi is that it’s quite spread out, with several different areas offering slightly different experiences.

Bofa Beach is where you’ll find the long stretch of beautiful sandy beach, a handful of resorts and accommodation options. It’s peaceful and a great choice if you’re looking for a relaxing beach stay.

Kilifi Creek offers a different setting, with calm water, waterfront restaurants, sailing and sunset dhow cruises.

The Plantation area is greener and more rural, with some lovely restaurants, creative spaces and quiet countryside roads.

Then there’s Kilifi town, which is a normal Kenyan town with local shops, markets and everyday life. It’s useful for shopping and getting things done, but there’s not much specifically aimed at tourists.

Although the different areas are spread out, getting around is fairly easy. There are plenty of motos (motorbike taxis) and tuk-tuks, and we never had trouble finding transport.

We also walked quite a bit, particularly around Bofa Beach and the Plantation area.

Where to Stay in Kilifi

Where you stay in Kilifi really depends on what kind of experience you’re looking for.

If you want long beach walks, beautiful sea views and a peaceful atmosphere, we’d recommend looking around Bofa Beach. If you’d rather be closer to water sports, restaurants and the creek, the Kilifi Creek area might suit you better.

We spent two weeks in Kilifi, staying in two different apartments in the same building along Bofa Road. The building itself was a little dated, but both apartments were comfortable and offered really good value for money.

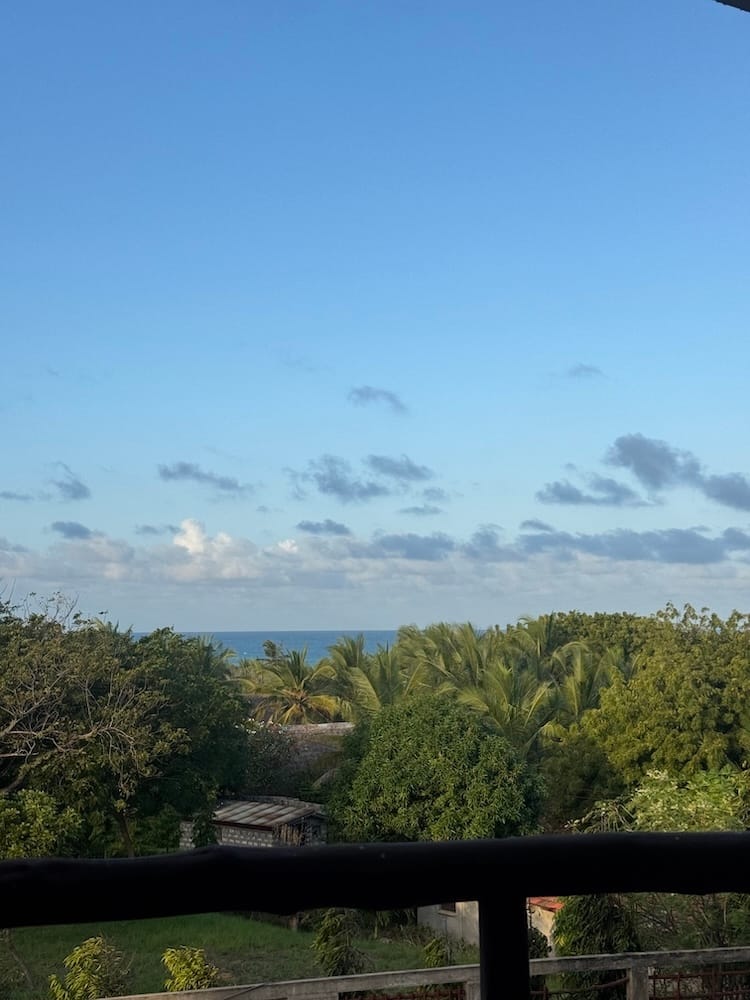
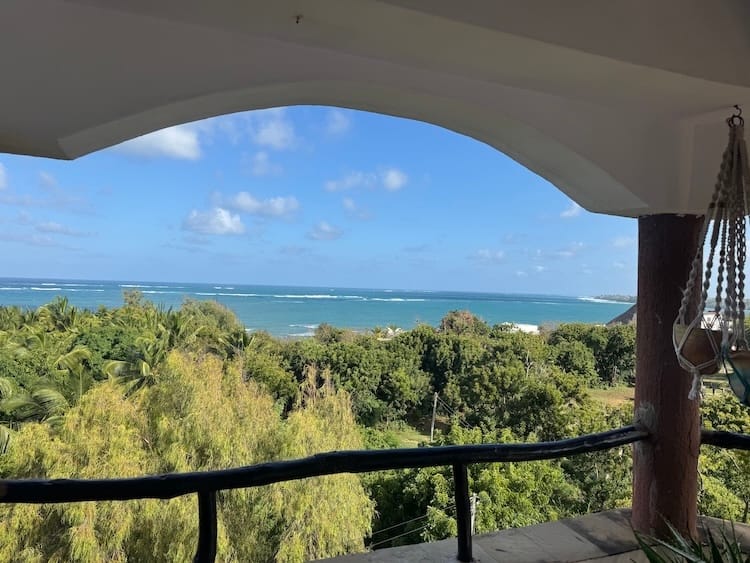
The second apartment was particularly lovely, with absolutely beautiful sea views. We spent a lot of time working and relaxing while looking out over the ocean, which was pretty hard to beat.

The area was quiet, with not a huge amount within immediate walking distance. But that wasn’t really a problem. We could walk to a few places, and there were always motos available when we wanted to go further.

For us, it was a great base, especially since we were staying for two weeks rather than just a couple of nights.
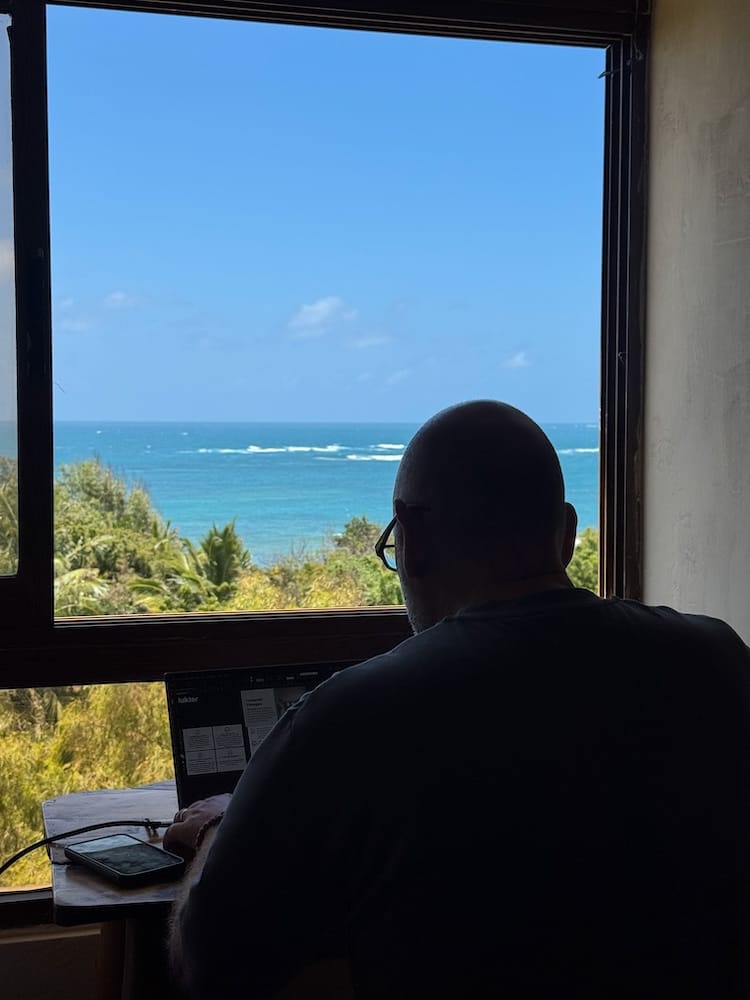
Working remotely with beautiful Indian Ocean views in Kilifi, Kenya.
Views from airbnb in Kilifi
Views from second Airbnb
Views from airbnb in Kilifi
Views from first Airbnb

Best Places to Eat in Kilifi

We found some really lovely places to eat in Kilifi, from casual beach restaurants to more unusual spots tucked away in the countryside.

Here are the places we tried, including a few that we kept returning to.

Indigo Vibe Café

If there’s one place we could recommend in Kilifi, it’s Indigo Vibe.

We went there multiple times during our two-week stay!

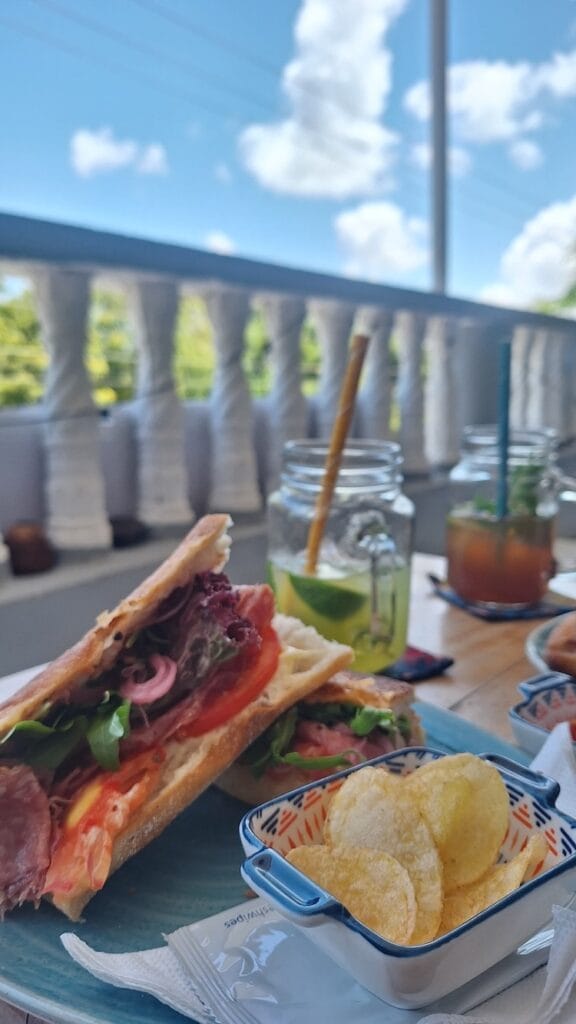
It’s a lovely, relaxed café with excellent coffee, lighter meals and some seriously good sandwiches. After weeks of travelling, a really good sandwich was exactly what we wanted.

The service was always fantastic, and the owner, Seb, was incredibly kind and helpful. He even helped us organise our sunset dhow cruise.

They also have happy hour drinks on Fridays, making it a nice place to spend an afternoon or early evening.

Definitely one of our favourite spots in Kilifi.
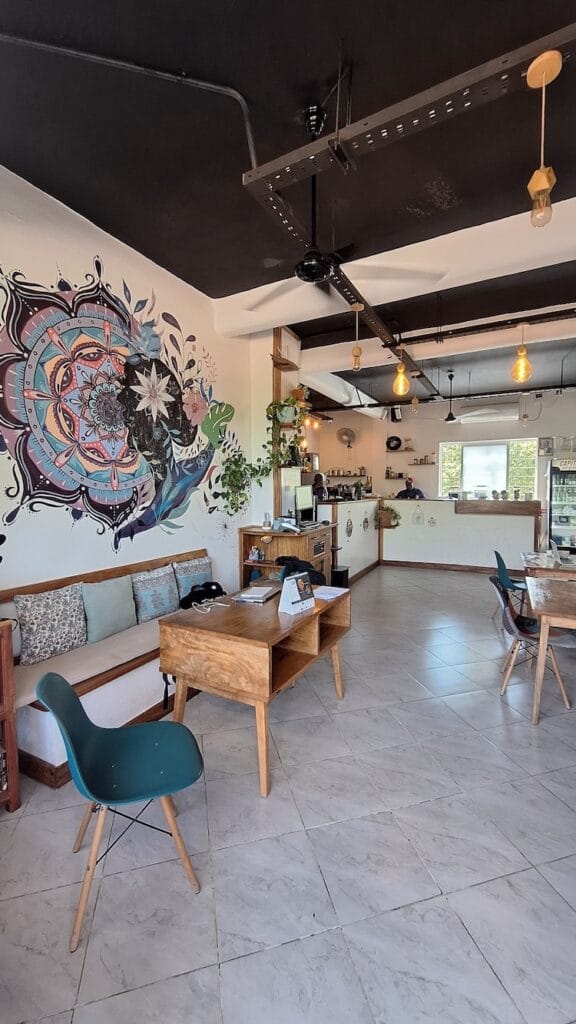
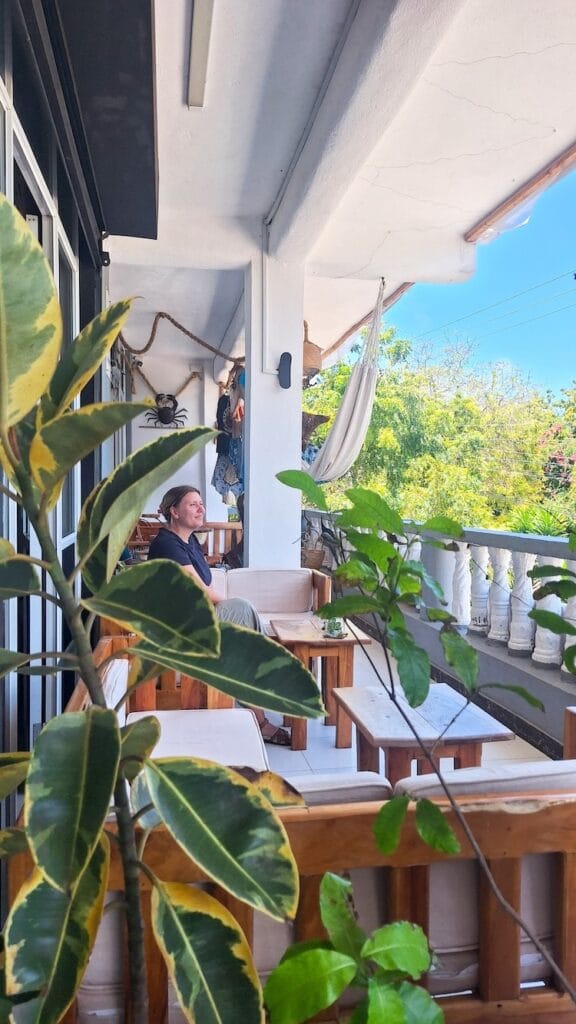
Indigo Vibe Café in Kilifi, Kenya, a relaxed spot for coffee and sandwiches.
Relaxed outdoor seating at Indigo Vibe Café near Bofa Beach in Kilifi.
Sandwiches served at Indigo Vibe Café in Kilifi, Kenya.

Salty’s on the beach

Salty’s is a lovely beachfront restaurant with a relaxed atmosphere, good food and super friendly staff. Located within Salty’s Kitesurf Village

It’s a great place to stop for lunch or drinks while spending the day at Bofa Beach. We really liked the vibe here, and the beachfront setting makes it an easy place to spend a few hours.

They also have a floating restaurant on the creek, but we didn’t get a chance to try it.
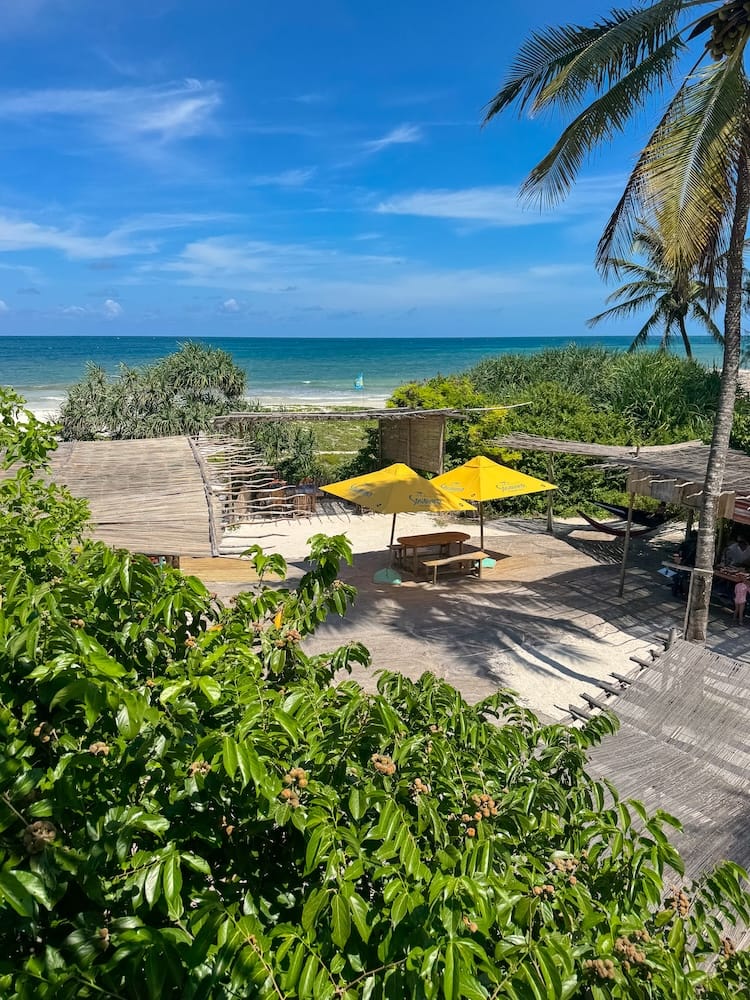
Salty’s Restaurant in Kilifi, Kenya, with its relaxed coastal atmosphere.
Outdoor dining at Salty’s Restaurant, a laid-back spot on the Kenyan coast.
Salty’s Restaurant in Kilifi, Kenya, with its relaxed coastal atmosphere.

Salt and Smoke

If you’re in the mood for something a little different, Salt and Smoke is an Argentinian restaurant specialising in grilled meats and steaks. The steaks were really good, and it made a nice change from the seafood and Swahili dishes we’d been eating along the coast.

We did find it a little overpriced for what it was, but it’s worth considering if you’re craving a good steak.
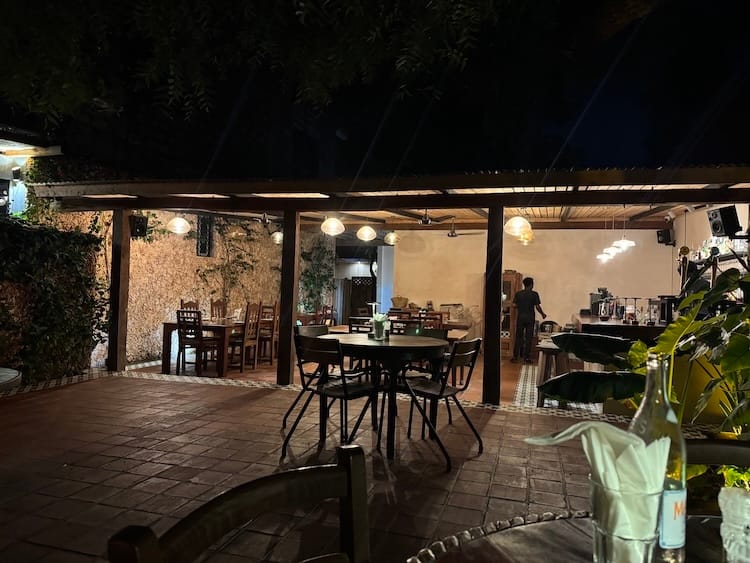
Outdoor seating area at Salt and smoke in Kilifi, Kenya.

White Star

White Star is a relaxed restaurant right by Kilifi Creek.

The food was reasonably priced, with plenty of seafood options and other grilled dishes. I ordered the grilled chicken, which came in a huge portion!

It’s a nice, casual place to enjoy a meal overlooking the creek, particularly after a sunset dhow cruise. The dhow can even drop you off right at the restaurant.
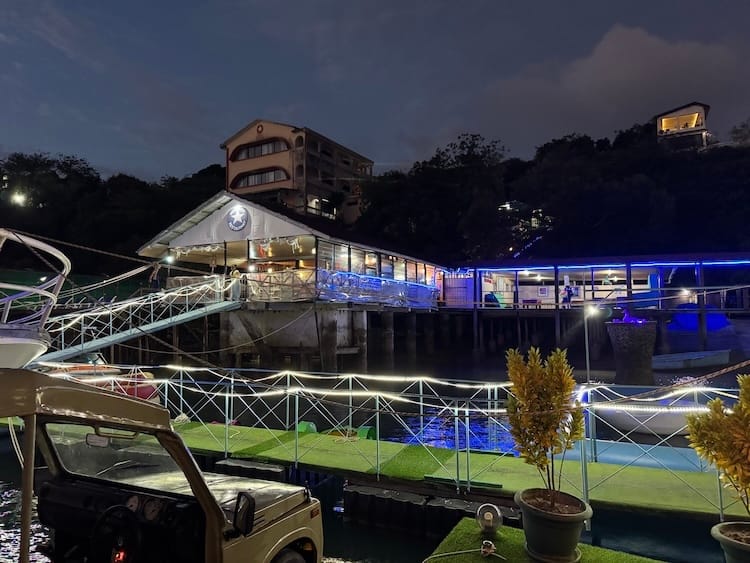
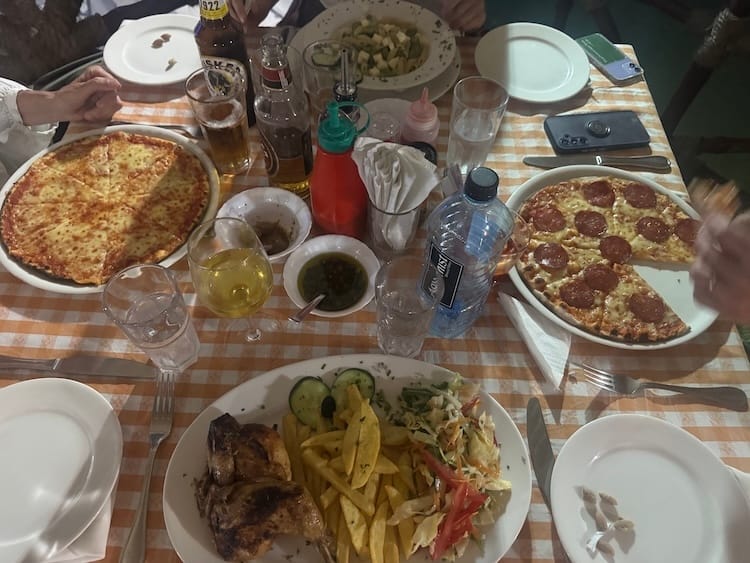
White Star restaurant in Kilifi, Kenya
Food at White Star in Kilifi, Kenya

Local Beach Restaurants Near Salty’s

Along the beach near Salty’s, you’ll find a few small local restaurants serving food right by the ocean. They’re simple places with a lovely atmosphere, and we’d definitely recommend trying one.

However, we did have one slightly frustrating experience here.

A guy approached us on the beach and convinced us to eat at one of the restaurants. We were tired, hungry and clearly not thinking straight, because we ended up paying far more than we should have. The food itself was okay, but we were massively overcharged. We’re also pretty sure it wasn’t even his restaurant, as the food appeared to come from somewhere else nearby.

Our advice? Absolutely try one of the local restaurants, but choose the place yourself, ask to see a menu and confirm the prices before ordering. And be cautious about following someone who approaches you on the beach.
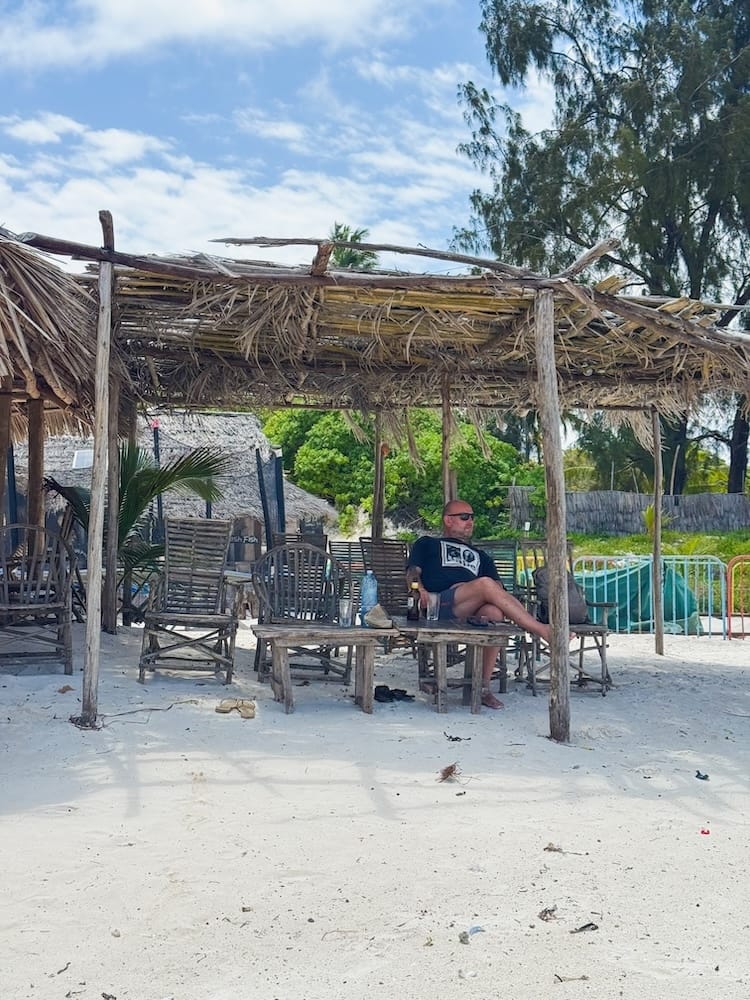
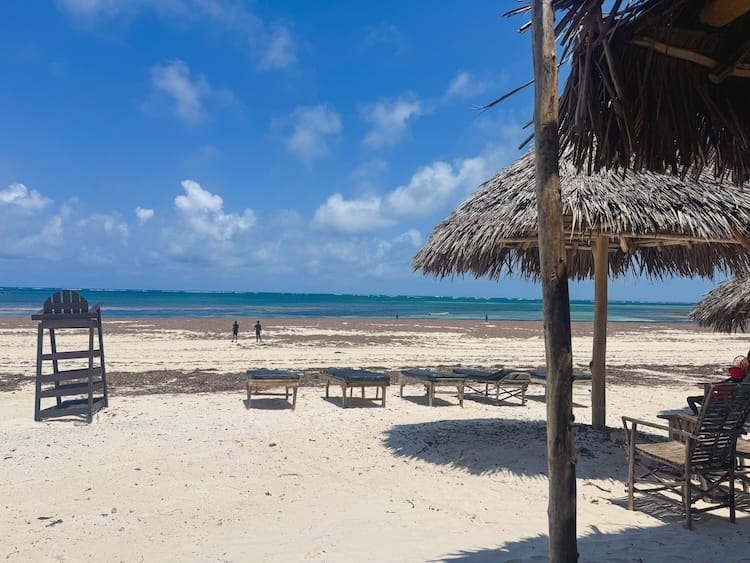
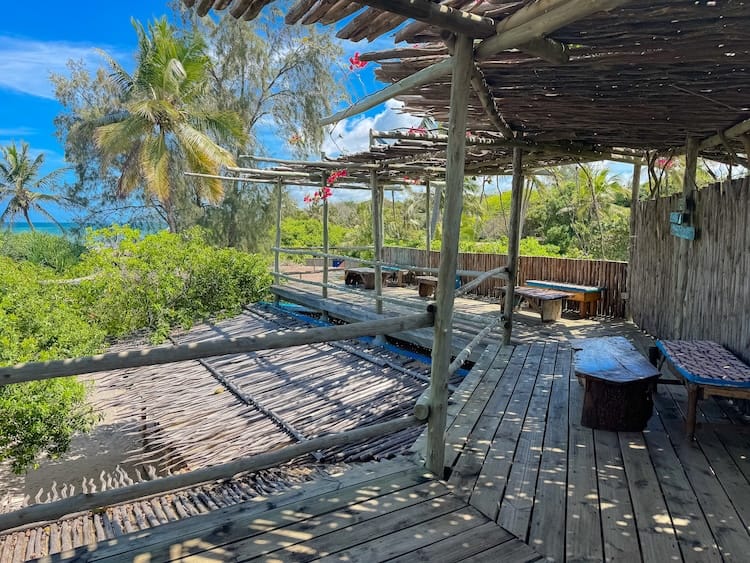
Relaxed seating at Bofa Beach, Kilifi Kenya
Bofa Beach views Kilifi Kenya
Local food on Bofa Beach in Kilifi, Kenya

The Food Movement

We didn’t actually eat at The Food Movement, but we stopped by for coffee and really liked the place.

It’s a creative little space in the Plantation area, with food, shops and a relaxed atmosphere.

Even if you’re not planning to eat here, it’s worth stopping by for a look around, particularly if you’re exploring this part of Kilifi.
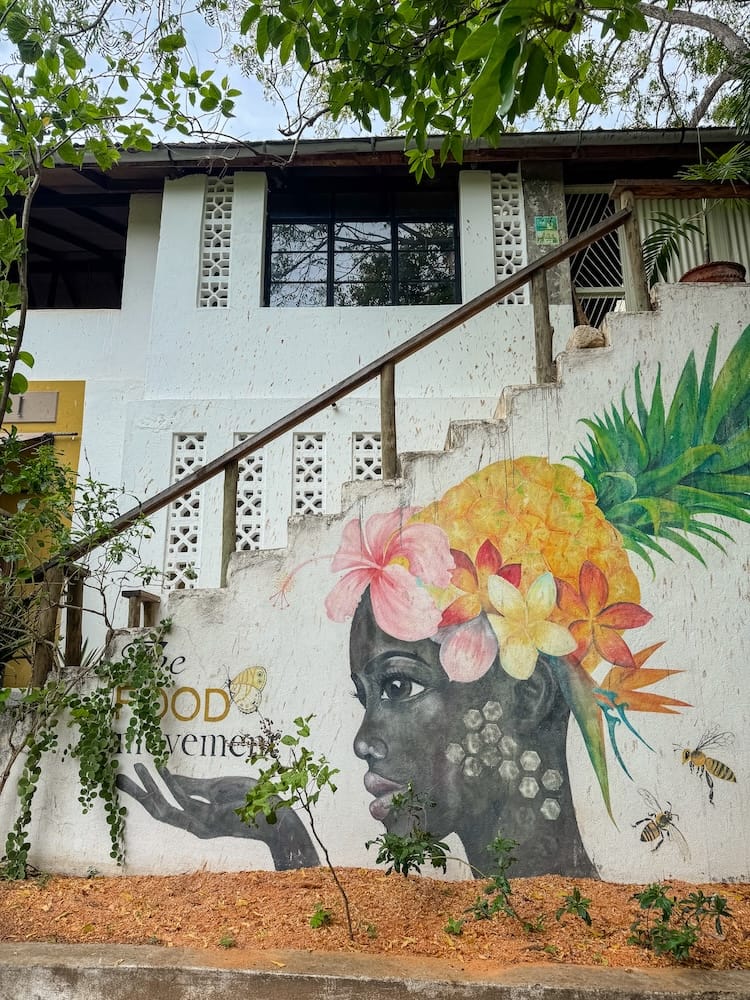
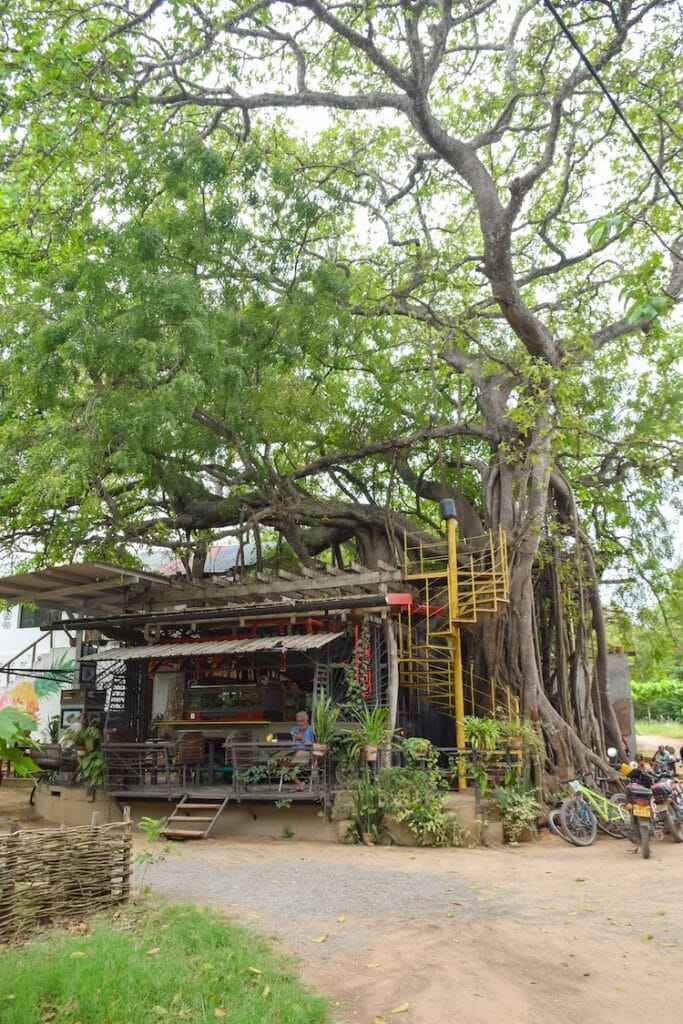
The Food Movement in the Plantation area of Kilifi, Kenya, with cafés and small shops.
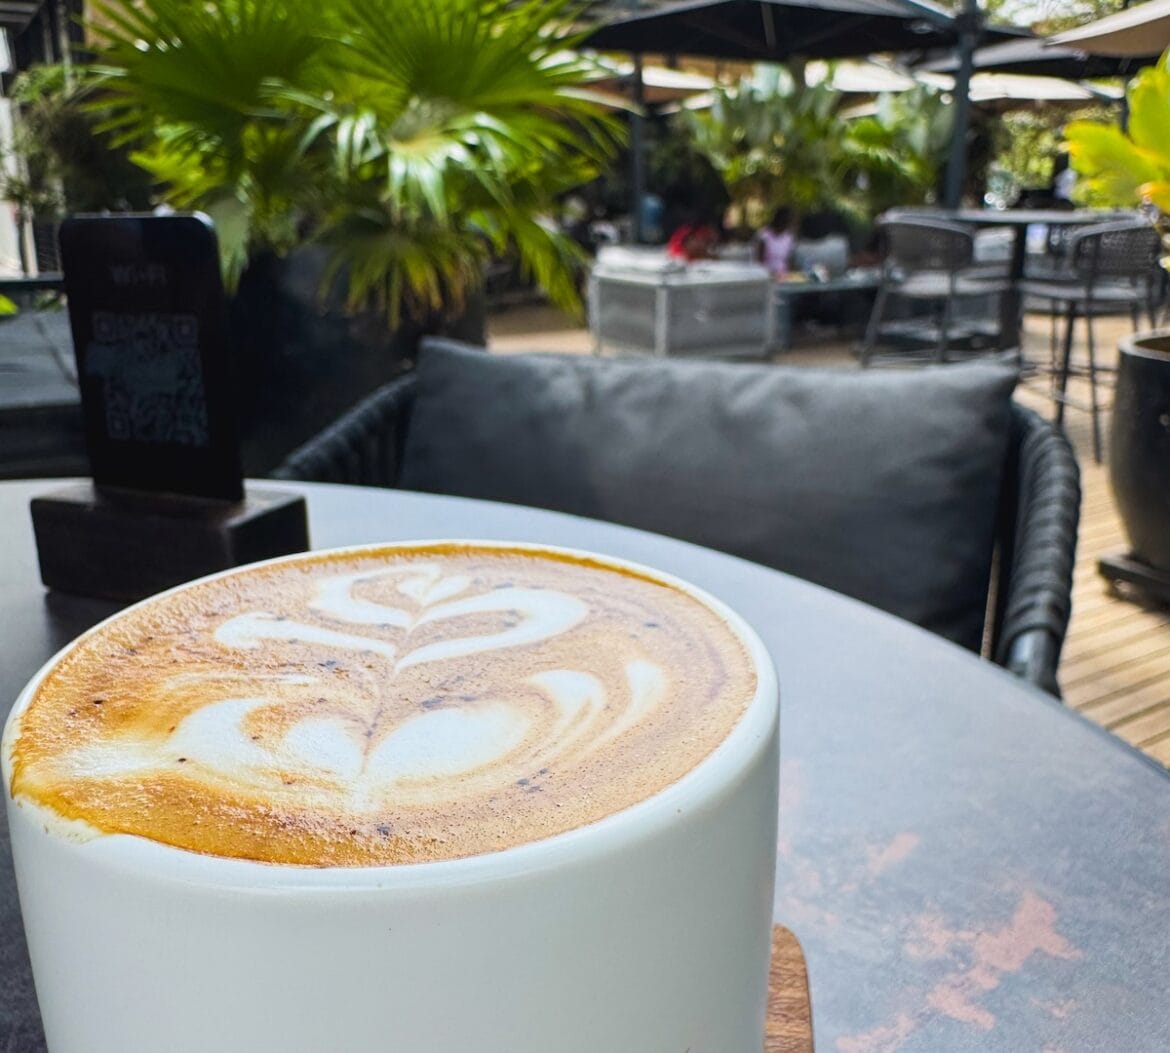
Café at The Food Movement in Kilifi, Kenya.

Twisted Fig / Underneath the Baobab

This is one of the most unusual restaurant settings we visited along the Kenyan coast.

The restaurant sits beneath an enormous baobab tree, overlooking a beautiful green valley. It’s a really impressive setting, and the atmosphere alone makes it worth visiting.

We thought the food was okay rather than amazing, but the surroundings more than made up for it.

And if you’re coming from the Plantation side, you get to enter via a drawbridge, which makes the whole experience even more memorable.

We combined our visit with a walk through the countryside from The Food Movement, which we’d highly recommend.

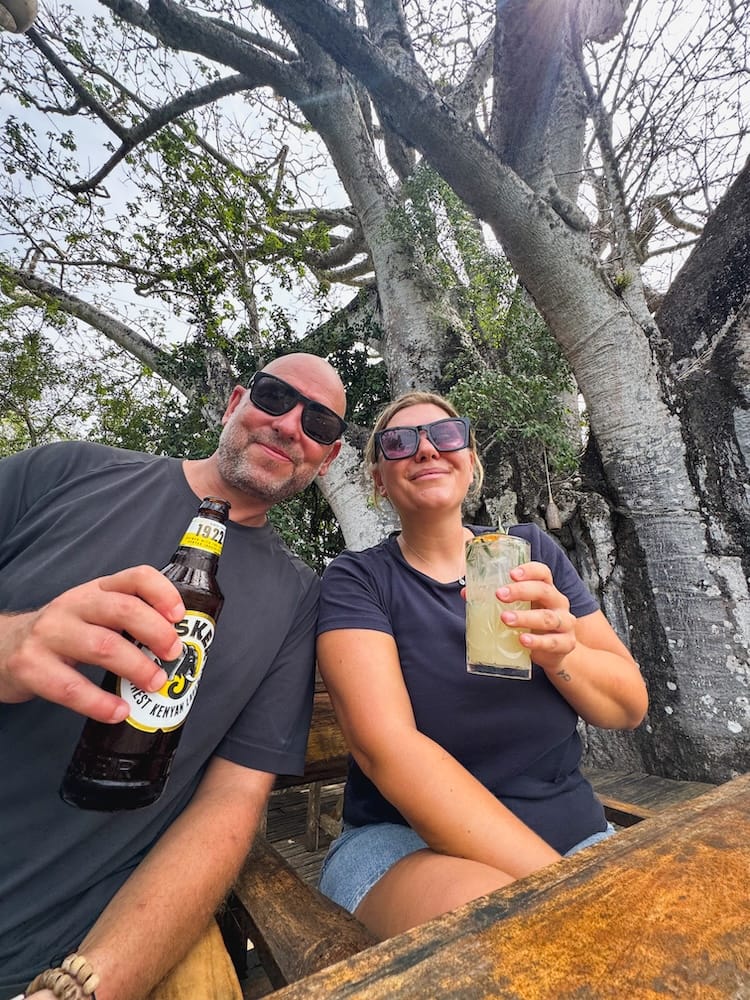
Wooden drawbridge leading to a restaurant in Kilifi's Plantation area.
Restaurant seating beneath a huge baobab tree in the Plantation area of Kilifi, Kenya.
Views from Twisted Fig, beneath a huge baobab tree in the Plantation area of Kilifi, Kenya.
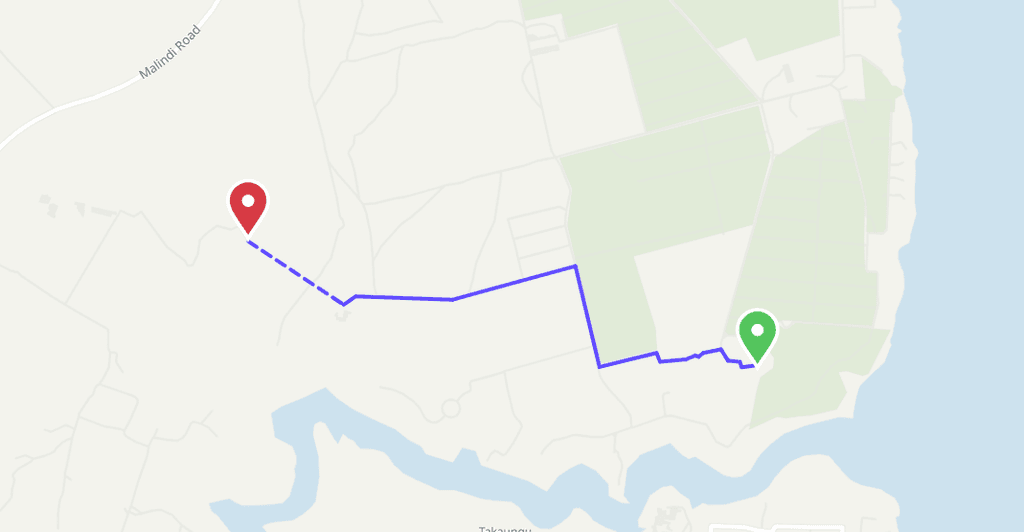
Walking route from The Food Movement, Plantation Road to The Twisted Fig

Things to Do in Kilifi

Kilifi isn’t a destination packed with major tourist attractions, and that’s exactly what we liked about it.

Most of our time was spent enjoying the beaches, trying different restaurants, working with beautiful sea views and generally taking things slowly.

But there are still some lovely things to do if you feel like exploring.

Spend a Day at Bofa Beach

Bofa Beach is easily one of the highlights of Kilifi.

It’s a long, beautiful stretch of sand, and during our visit in September, it was almost completely empty. We could walk for ages without seeing many other people.

There were a handful of beach boys around, but nowhere near as many as we’d encountered elsewhere along the coast. For the most part, we could enjoy our walks without being approached constantly.

Our favourite section of the beach was around The Palm House, which you can find on Google Maps. The beach was particularly beautiful here during our visit, although conditions naturally change with the tides and seasons.

You can simply walk along the sand until you find a spot you like, or take a moto to one of the public beach access points.

If you’re looking for a peaceful beach without crowds, Bofa is a fantastic choice.
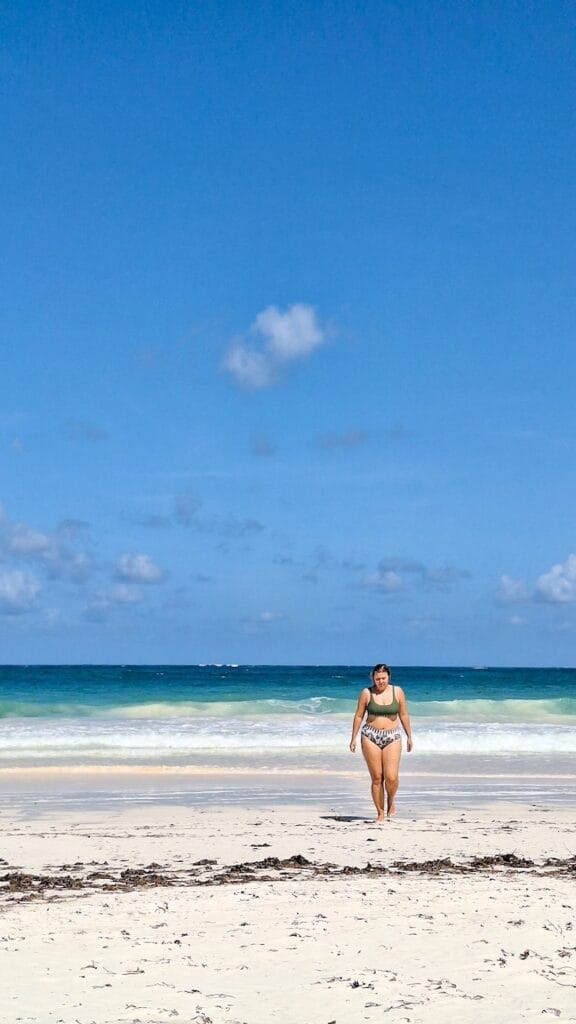
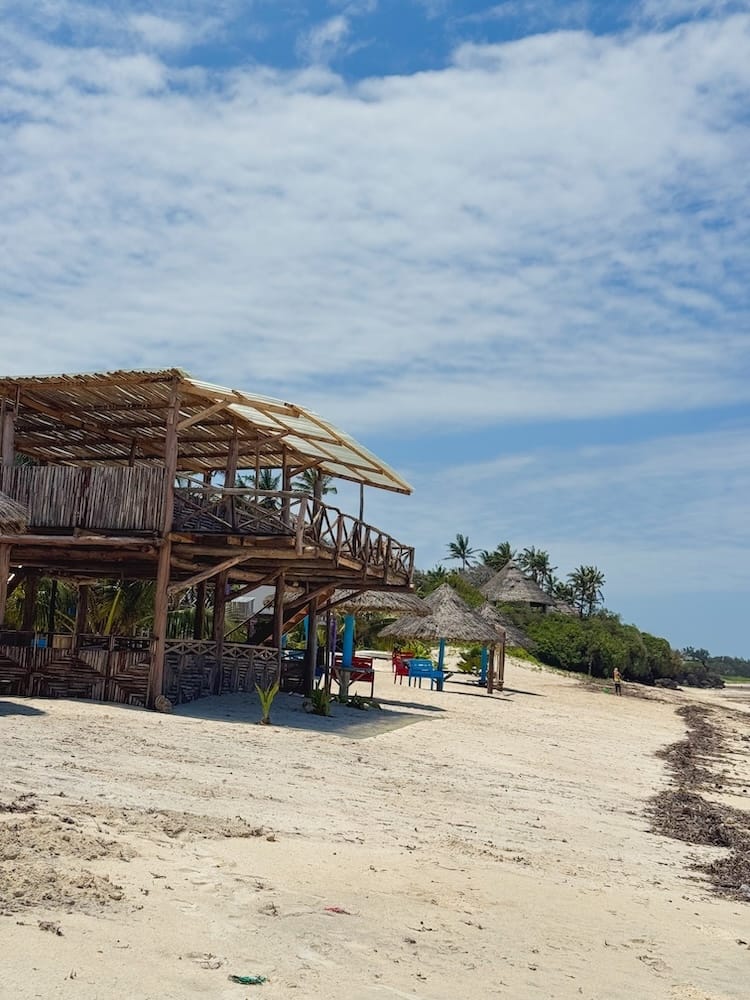
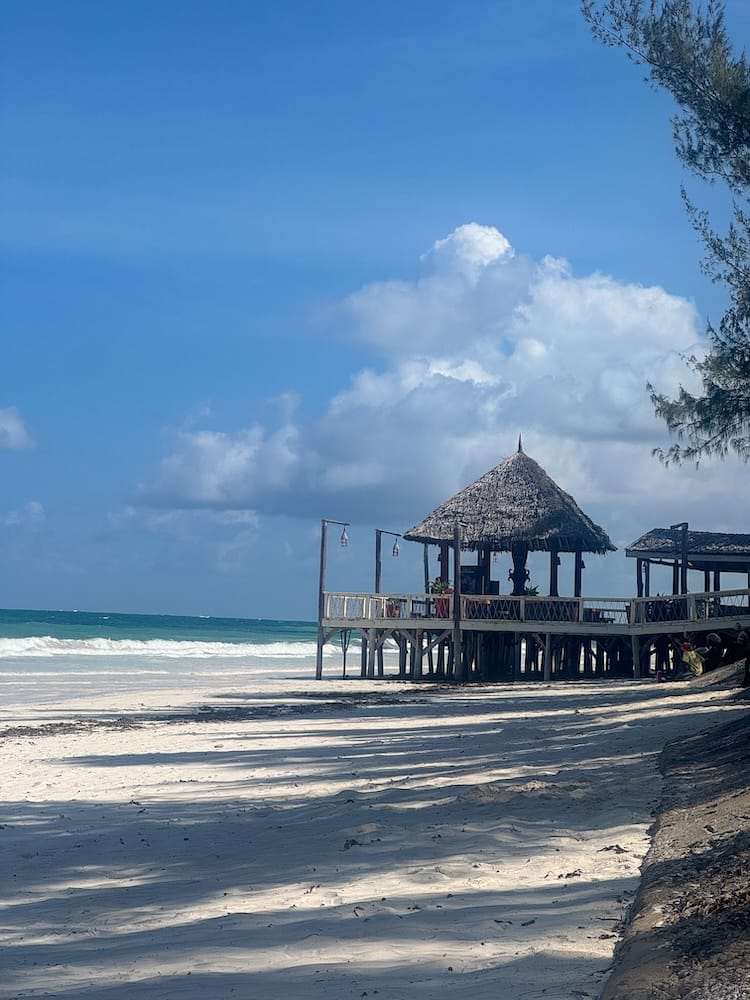
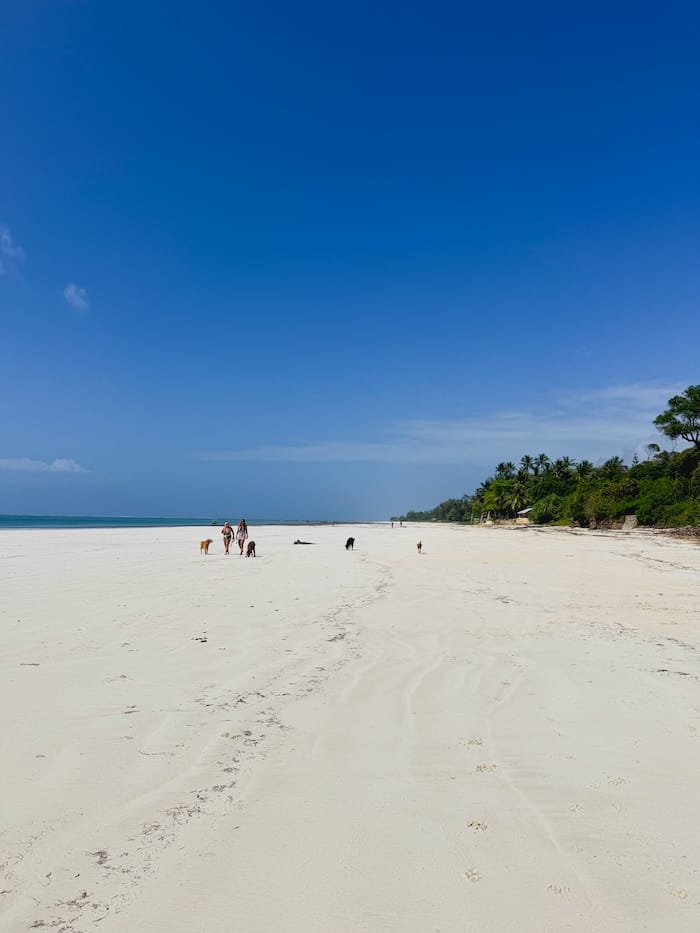
Bofa Beach in Kilifi, Kenya, with its long stretch of white sand and peaceful atmosphere.
Quiet section of Bofa Beach in Kilifi, with palm trees and hardly anyone around.
Bofa Beach in Kilifi, Kenya, with its long stretch of white sand and peaceful atmosphere.

High Tide, Low Tide and Seagrass at Bofa Beach

Like much of the Kenyan coast, Bofa Beach changes quite dramatically with the tides.

At low tide, the water retreats and exposes a huge stretch of sand, making it a lovely time for long beach walks. At high tide, the water comes much closer to shore, and the beach can look completely different.

If you’re planning a beach day, it’s worth checking the local tide times beforehand, especially if you want to swim or go for a long walk.

Another thing to be aware of is seagrass and seaweed. During our visit in September, some sections of Bofa Beach had quite a lot of washed-up seagrass, while others were almost completely clear.

The difference was quite noticeable, even along the same beach. So if you arrive somewhere with lots of seagrass, don’t be put off! Walk a little further or try another section of the beach, and you might find a much clearer stretch.

Seagrass is a natural and important part of the coastal ecosystem, and conditions vary depending on the tides, currents and time of year.
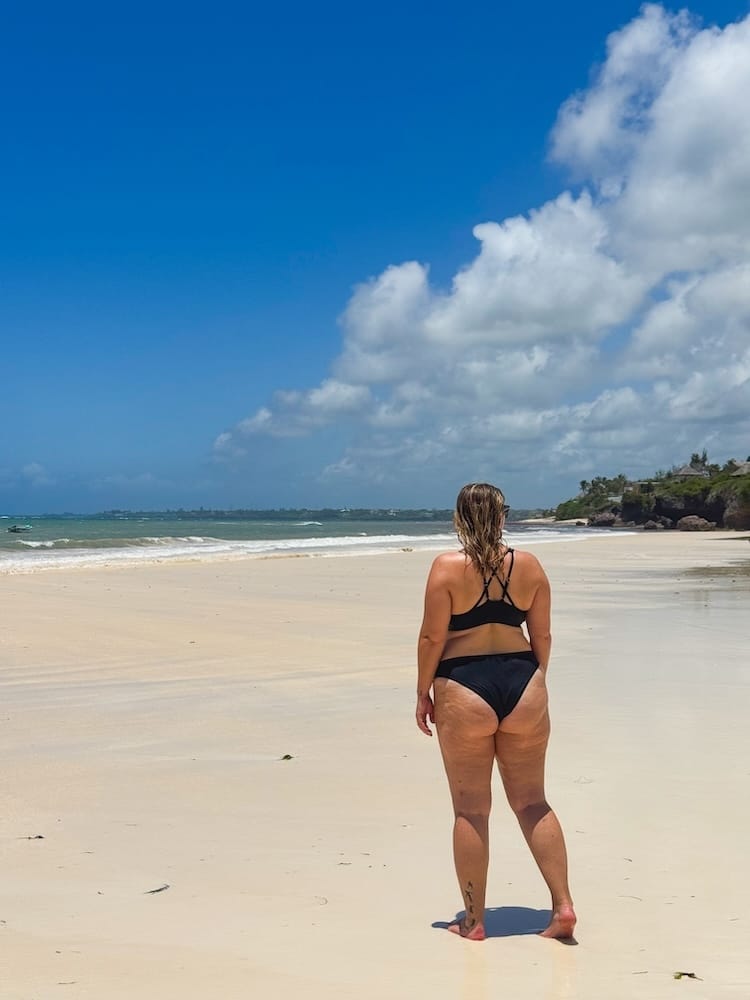
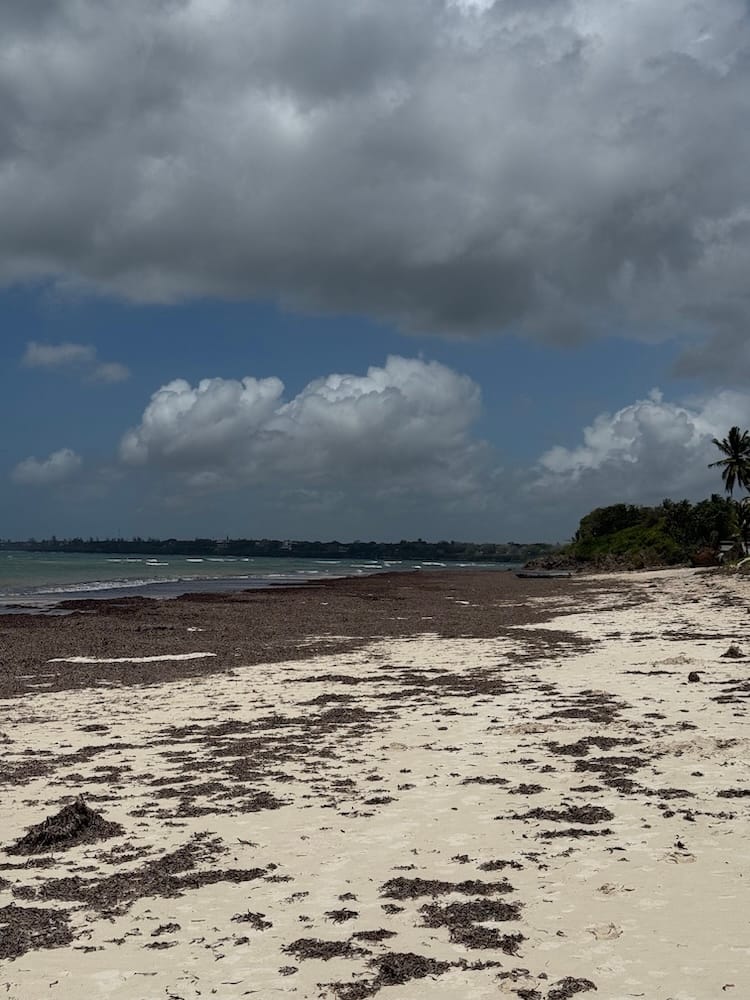
Clear sandy section of Bofa Beach in Kilifi, Kenya, with little seagrass.
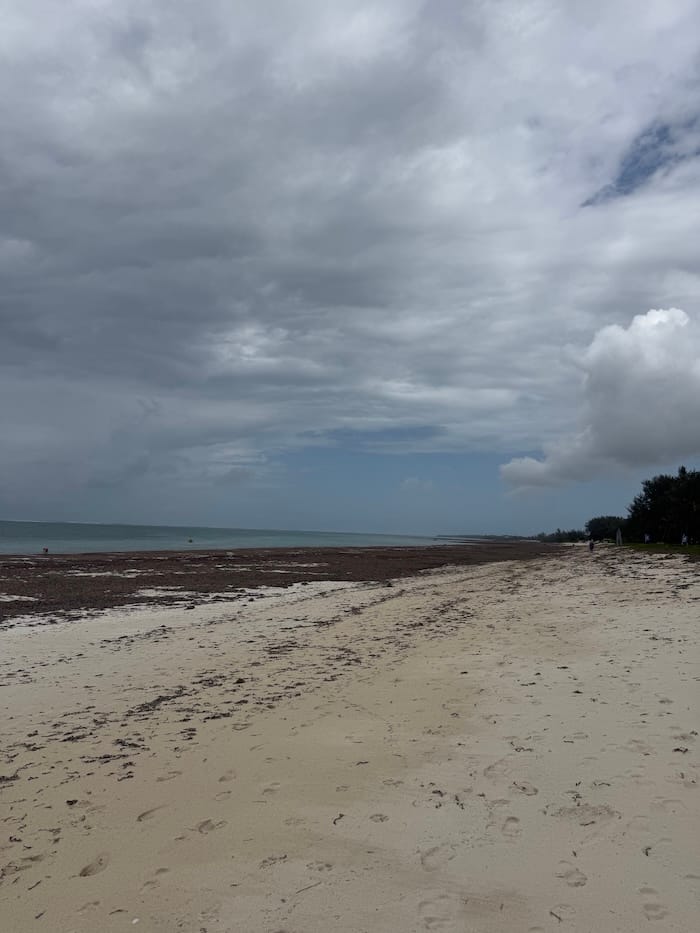
Seagrass washed up along parts of Bofa Beach on the Kenyan coast.

Take a Sunset Dhow Cruise on Kilifi Creek

One of our favourite experiences in Kilifi was taking a sunset dhow cruise on the creek.

The creek is a beautiful place to explore, with calm water, green surroundings and lovely views as the sun begins to set. It’s a completely different atmosphere from the open beaches around Bofa.

We arranged our cruise with help from Seb at Indigo Vibe Café.

If you’re spending a few days in Kilifi, we’d definitely recommend making time for a sunset cruise.
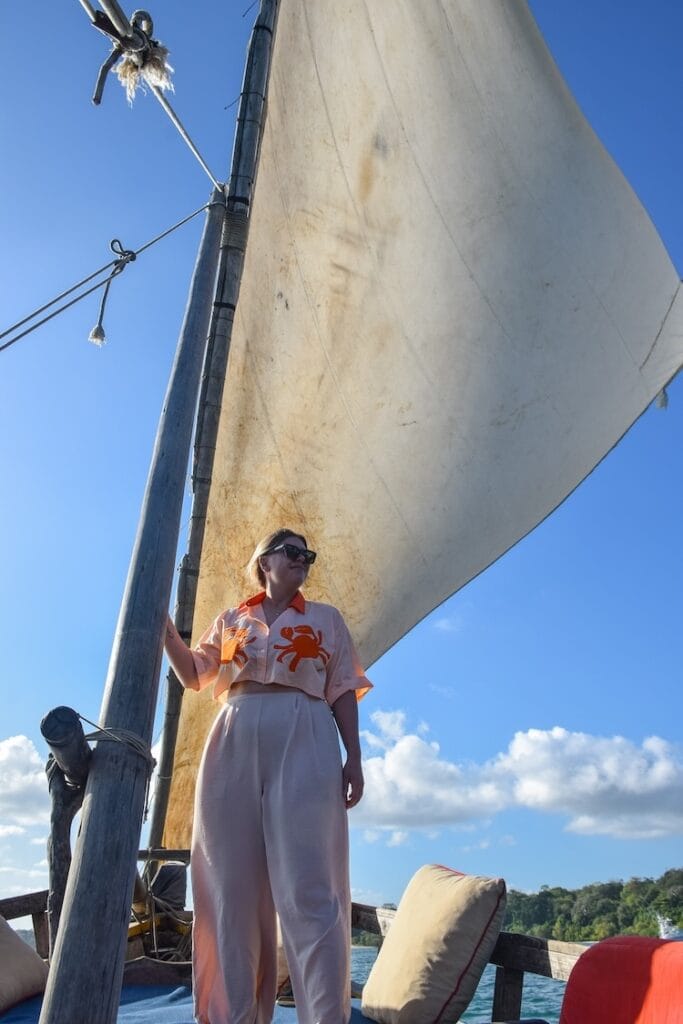
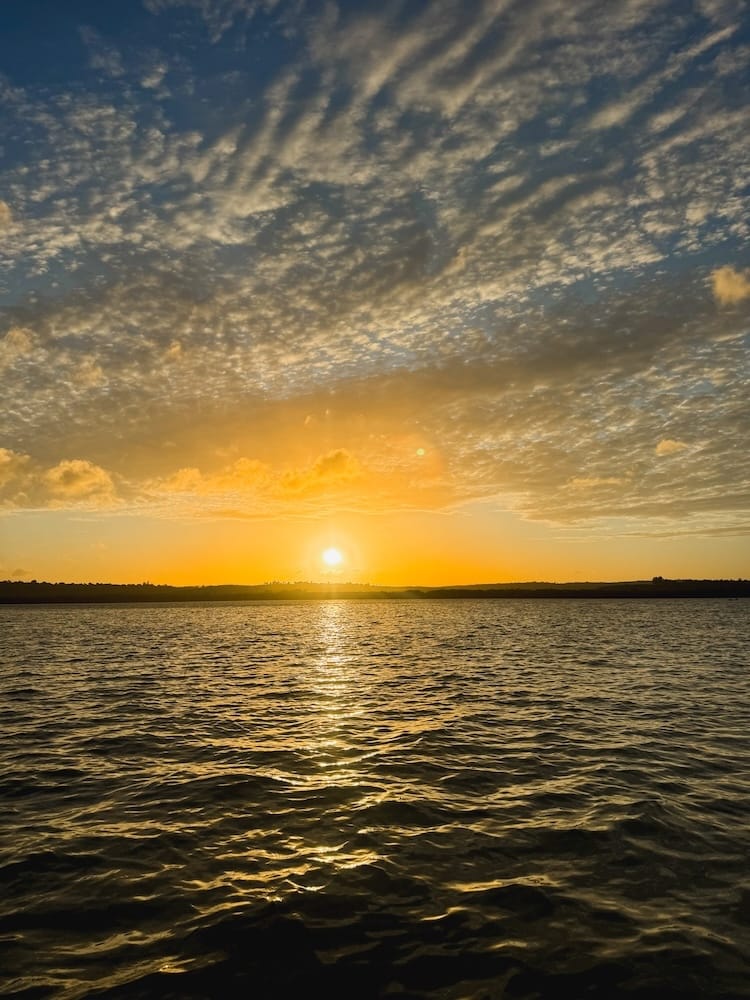
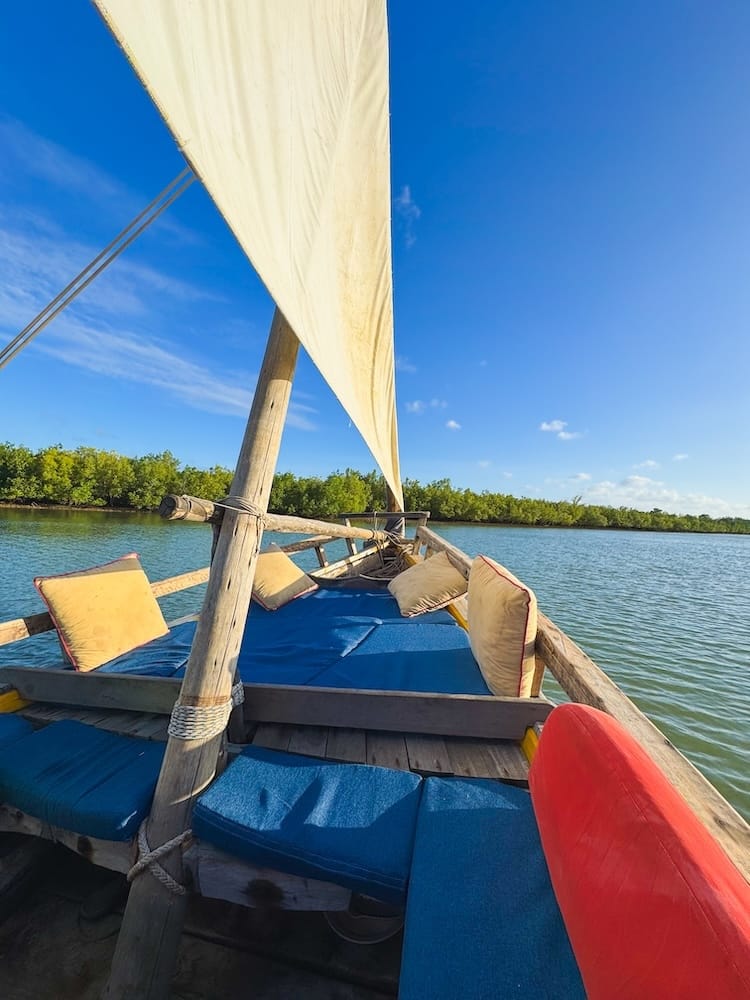
Sunset dhow cruise on Kilifi Creek, Kilifi, Kenya.
Beautiful golden-hour views across Kilifi Creek during a sunset dhow ride.
Traditional wooden dhow sailing along Kilifi Creek in Kenya at sunset.

Explore the Plantation Area

One afternoon, we decided to walk from The Food Movement to Twisted Fig through the Plantation area. It turned out to be one of our favourite little adventures in Kilifi.

The scenery was beautiful, with quiet countryside paths, lots of greenery and a completely different feel from the beachfront.

We did manage to get a little lost at one point, so we knocked on someone’s door to ask for directions.

A lovely man came out to help us, and rather than simply pointing us in the right direction, he walked with us for about ten minutes to make sure we found the correct path.

Such a kind gesture, and one of those little travel moments that stays with you.

We walked more or less straight from The Food Movement towards Twisted Fig, but this route eventually reaches a dead end where you need to find your way through some smaller paths. It’s a beautiful walk, but not particularly straightforward.

If you’d prefer an easier route, follow the map below, which takes you along roads and larger paths towards the drawbridge entrance.

Either way, it’s a lovely area to explore if you enjoy walking and seeing a different side of Kilifi.

Exploring the Plantation neighbourhood in Kilifi, Kenya.
Baobao tree in Kilifi's Plantation area.
Tropical paths and lush greenery in Kilifi's Plantation area.

Enjoy a Pool Day at Silver Palm Spa & Resort

If you fancy a change from the beach, there are a few resorts around Kilifi where you can pay to visit as a day guest.

We spent a day at Silver Palm Spa & Resort on Bofa Beach.

The resort has a beautiful, large swimming pool, and it was a really nice place to relax for the day.

During our visit, day access cost KES 2,000 per person, which we thought was a little pricey. The food wasn’t particularly impressive either, but we still enjoyed our day there.

The beachfront area also looked lovely, so it’s worth considering if you want to combine a pool day with some beach time.

Check the current day-pass price and conditions before visiting.
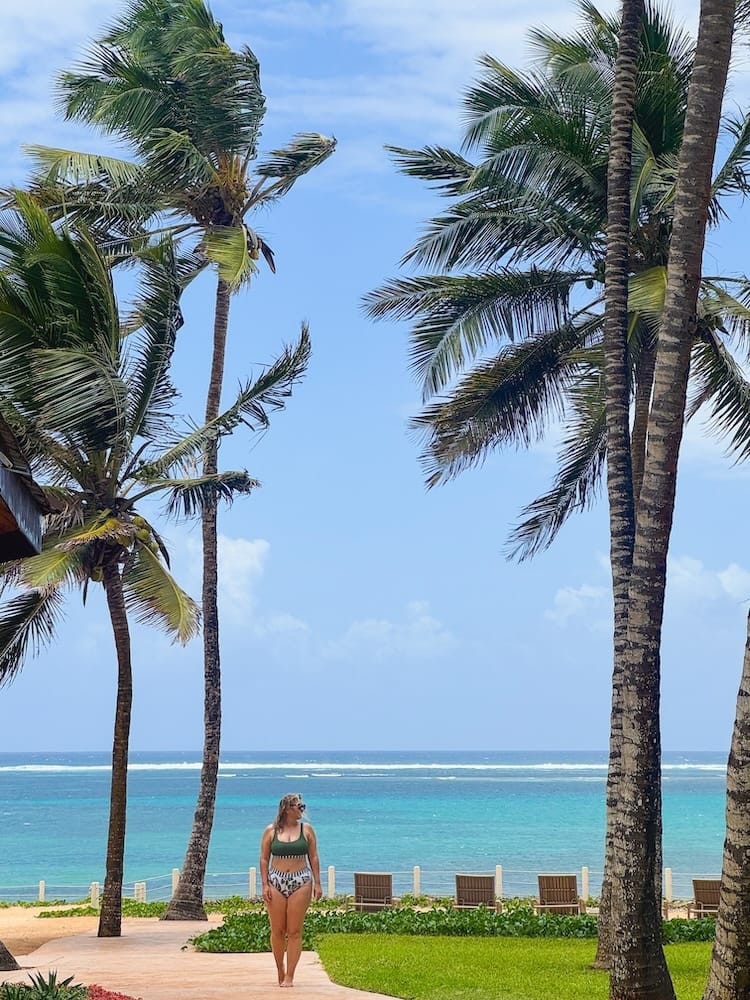
Views from Silver Resort in Kilifi, Kenya, enjoying the sunshine and relaxed atmosphere.
Pool day at Silver Resort in Kilifi, Kenya, enjoying the sunshine and relaxed atmosphere.
Swimming pool at Silver Resort in Kilifi, Kenya, surrounded by tropical greenery.

Relax by the Creek at Mnarani Beach Club

Another lovely spot for a relaxing day is the beach area around Mnarani Beach Club and 3 Degrees South.

Unlike Bofa Beach, this beach is on Kilifi Creek, so the water can be much calmer when the open sea is rough.

It’s a cute, peaceful little spot where you can spend a few hours swimming, relaxing or enjoying the views.

You don’t need to be staying at the resort to visit the beach area, and there are options to pay for pool access.

During our visit, beach chairs cost KES 300 per person, even if you were ordering food.

We also found the food rather expensive and not particularly good, so we wouldn’t come here specifically for a meal.

But the setting is lovely, and it’s a nice place to spend a quiet afternoon.
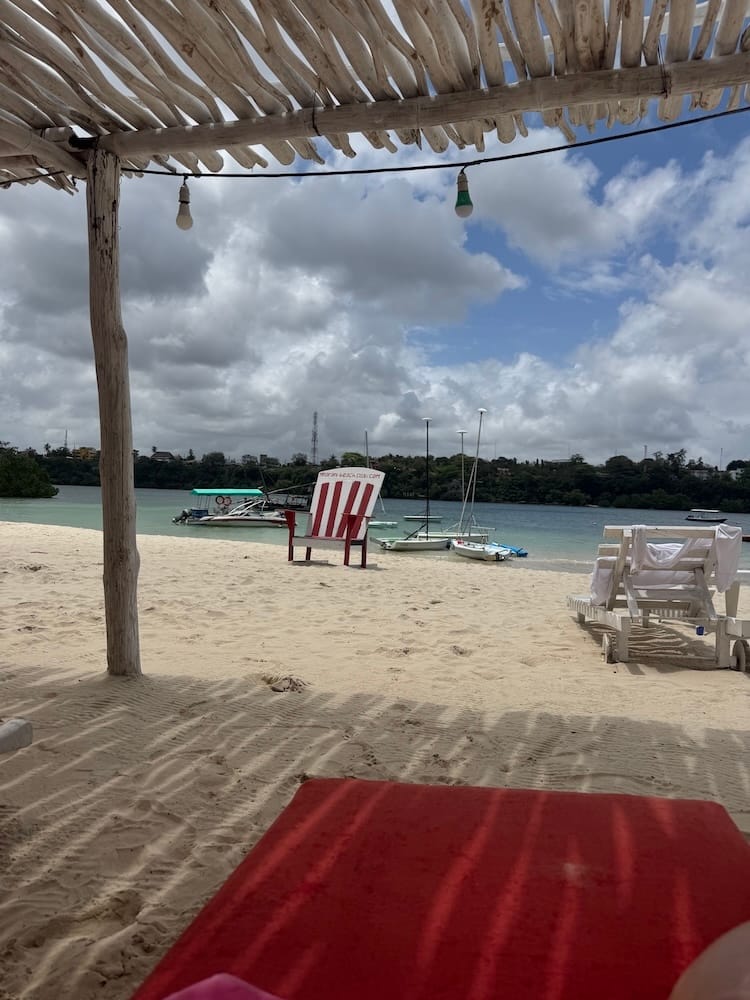
Mnari Beach in Kilifi, Kenya, with beautiful views of the Indian Ocean.

Try Water Sports at 3 Degrees South

If you’re looking for something more active, 3 Degrees South is a sailing and water sports centre on Kilifi Creek.

They offer a range of water-based activities, making it a good option if you’d rather be out on the water than lying on the beach.

We were quite happy taking it easy, but it’s worth checking out if you enjoy sailing or other water sports.

How Long Should You Stay in Kilifi?

We spent two weeks in Kilifi and could easily have stayed longer.

Of course, you don’t need that much time to explore the area.

If you’re travelling along the Kenyan coast, three to five days would give you enough time to enjoy Bofa Beach, explore the creek, take a sunset dhow cruise and try a few of the restaurants.

But if you’re travelling slowly, working remotely or simply looking for somewhere peaceful to spend a little longer, Kilifi is a great choice.

We loved having time to settle into a routine, find our favourite cafés and enjoy the beautiful surroundings without feeling like we needed to do something every day.

In fact, we could easily see ourselves coming back for a month or two while working online.

How to Get to Kilifi

Kilifi is located along the Kenyan coast, north of Mombasa, and there are several ways to get here depending on your budget and where you’re travelling from.

The easiest option is to arrange a private taxi or drive yourself if you have a rental car.

For a more affordable option, there are also shared minibuses running from Mombasa SGR train station to Kilifi. These are a great choice for tourists, especially if you’re travelling with luggage.

They drop you off in Kilifi town, near Naivas supermarket, from where you can easily grab a moto or tuk-tuk to your accommodation.

Alternatively, you can travel by local matatu, which is generally the cheapest option.

How we got to Kilifi: We travelled from Diani by shared minibus to Mombasa SGR train station, where we changed to another shared minibus heading to Kilifi.

It was a convenient way to make the journey without paying for a private transfer all the way. It did take a little longer, as we had to wait at the station for about an hour before continuing to Kilifi.

How to Get Around Kilifi

Kilifi is quite spread out, so unless you’re staying somewhere with everything you need nearby, you’ll probably want to use local transport occasionally.

We mostly got around by moto (motorbike taxi), simply flagging one down outside our apartment on Bofa Road. They were easy to find and a convenient way to get between the beach, town and restaurants.

Tuk-tuks are another option, particularly if you’re travelling with someone or don’t fancy getting on a motorbike. We noticed more tuk-tuks around Kilifi town than along Bofa Road.

Whichever you choose, make sure to agree on the price before getting on, so there are no surprises when you arrive.

Bolt is also available in Kilifi, giving you another option for arranging transport.

We also did quite a bit of walking, particularly along Bofa Beach and around the Plantation area. However, distances between the different parts of Kilifi can be quite long, so it’s worth checking the location of your accommodation before booking.
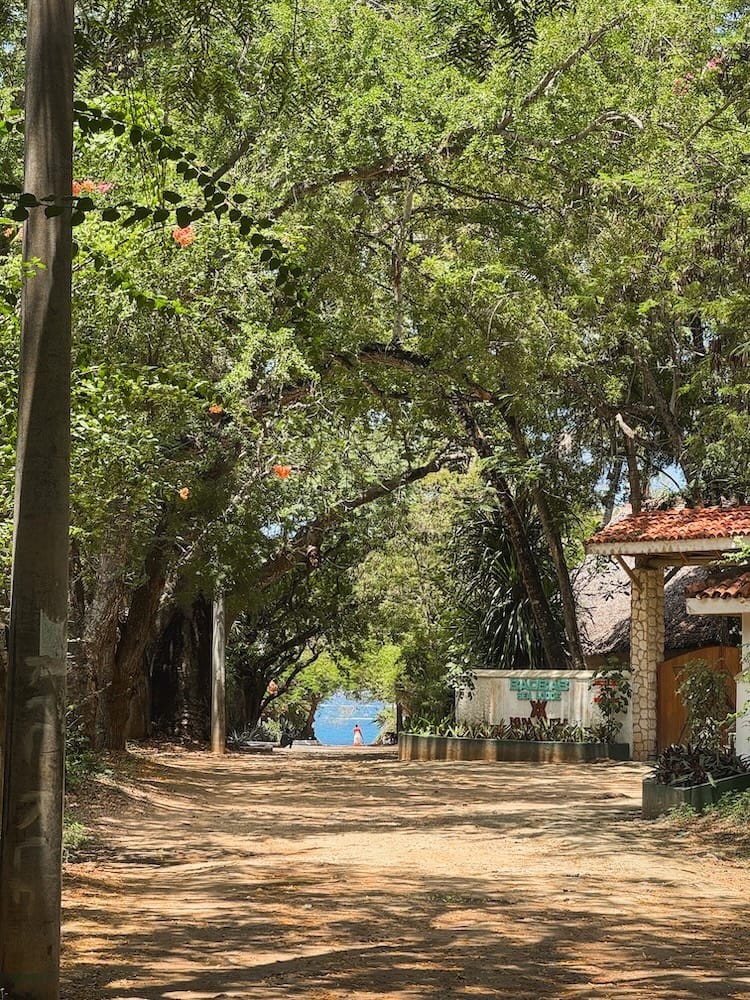
Public beach access in Kilifi, Kenya
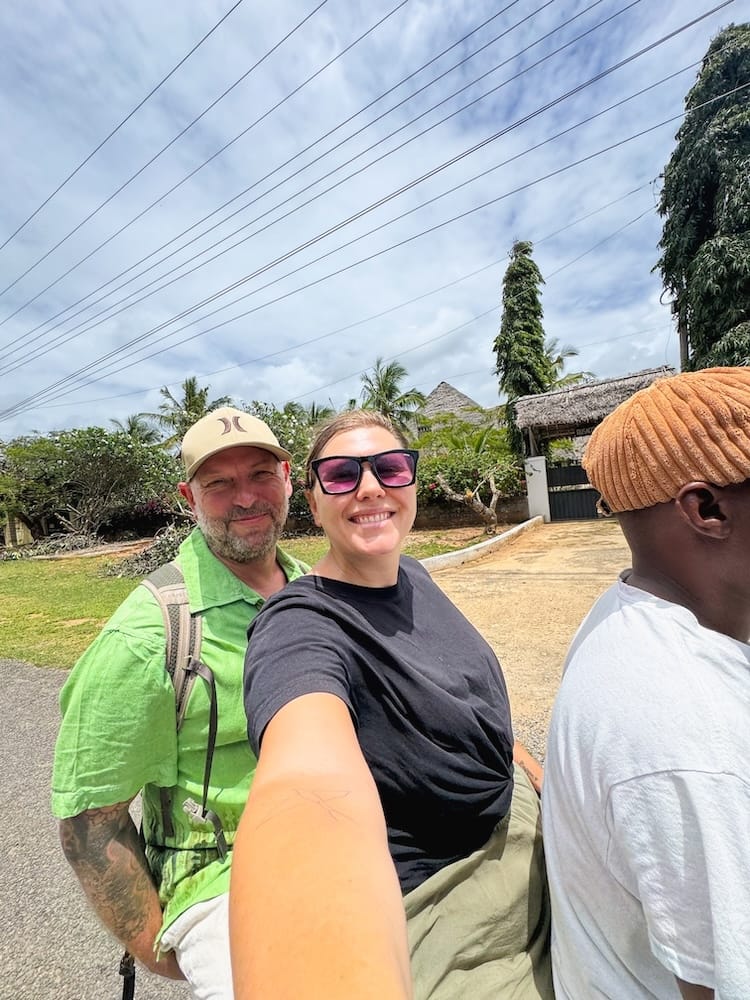
Motorcycle taxis, known locally as motos, used to get around Kilifi.
Bofa Beach road in Kilifi Kenya

Is Kilifi Worth Visiting?

Absolutely!

Kilifi really surprised us. It feels like a bit of a hidden gem, without the mass tourism you’ll find in some other destinations along the Kenyan coast.

It might not make the strongest first impression, especially if you’re expecting a lively beach resort town with lots of shops, restaurants and tourist attractions.

But give it a little time, and you’ll discover what makes it special.

The beautiful, largely empty beach, the lovely creek, the friendly people and the fact that it still feels like a normal Kenyan town rather than a destination built entirely for tourists.

We spent two wonderful weeks here, and it turned out to be one of our favourite stops along the Kenyan coast.

If you love quiet beaches, slow travel and places that haven’t been completely taken over by tourism, Kilifi might just win you over too.
October 21, 2026 0 comments
FacebookTwitterPinterestLinkedinRedditStumbleuponWhatsappTelegramThreadsOpenAIChatGPTEmail
Palm trees lining Diani Beach in Kenya
Kenya

Diani Beach: 4 Days on Kenya’s South Coast

by Livia October 2, 2026
written by Livia

After two nights in Mombasa, we headed south to Diani Beach for the next stop on our journey along the Kenyan coast.

We spent four nights here, staying in a quiet gated community between the beach and the main road, with private access directly onto Diani Beach. Unfortunately, we had quite a lot of rain during our stay, so we didn’t explore as much as we’d originally planned.

Our first impression of Diani was a little mixed. It felt quite touristy and prices were higher than we’d expected, but the beaches were beautiful, we ate well and we really liked the quiet area where we stayed.

Here’s what we found during our four days in Diani Beach.

Diani Beach during our September visit
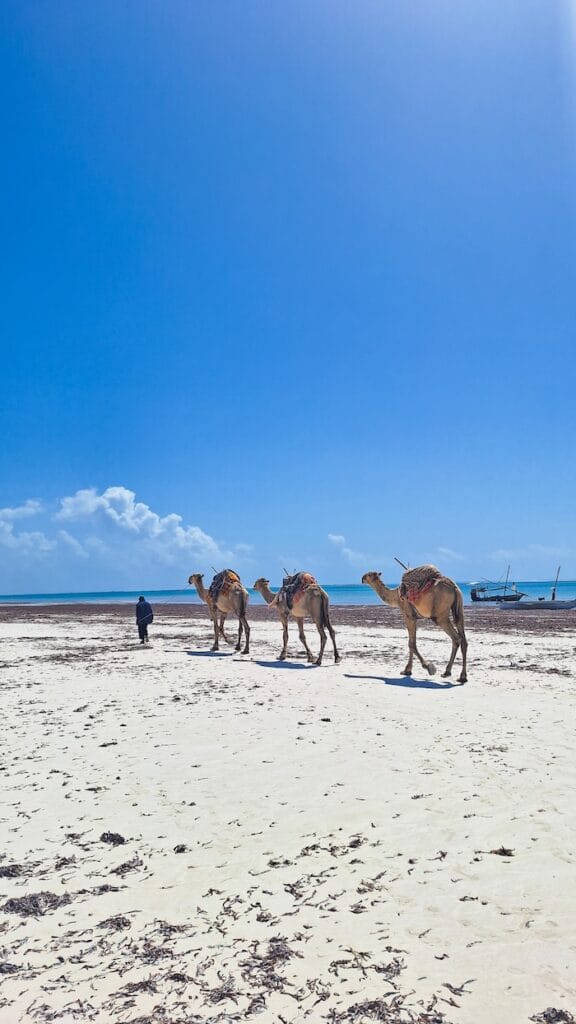
Camels on Diani beach

How to Get to Diani Beach

If you’re coming from further away, you’ll most likely arrive via Mombasa by plane or train. Diani also has its own small airport, Ukunda Airport, with domestic flights.

We travelled from Mombasa to Diani by private car.

If you’re travelling between Diani and the SGR train station in Mombasa, another option is SGR Shuttle. The station is outside central Mombasa, and the shuttle takes you from the station directly to your accommodation in Diani.

You can book the shuttle in advance, although when we were at the station, there also seemed to be drivers holding SGR Shuttle signs for passengers who hadn’t pre-booked.

The service runs according to the train timetable, so it won’t work for every journey, but it’s a useful and affordable alternative to arranging a private transfer.

Self-driving is another option if you’re travelling around Kenya with your own vehicle.

Where We Stayed in Diani

There is a huge range of accommodation in Diani, with options across pretty much every price range.

We stayed in an Airbnb towards the southern end of Diani Beach and not far from Galu Beach. For us, this was a great part of Diani to stay in.

The Airbnb was inside a quiet, green gated community between the main road and the beach, with private beach access for the properties inside. We could be on the sand within a few minutes, without staying in one of the large beachfront resorts.

The main road was also close by, so getting around was easy. There were always plenty of tuk-tuks passing, and we could walk to several restaurants and other places nearby.

We really liked the balance of the location: quiet and residential, very close to the beach, but still well connected to the rest of Diani.

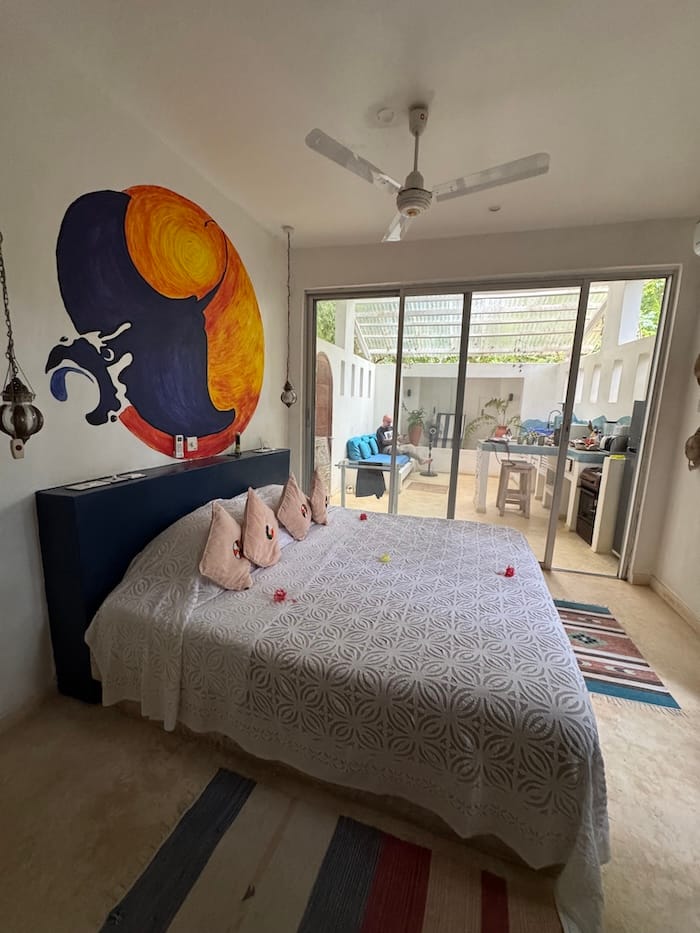
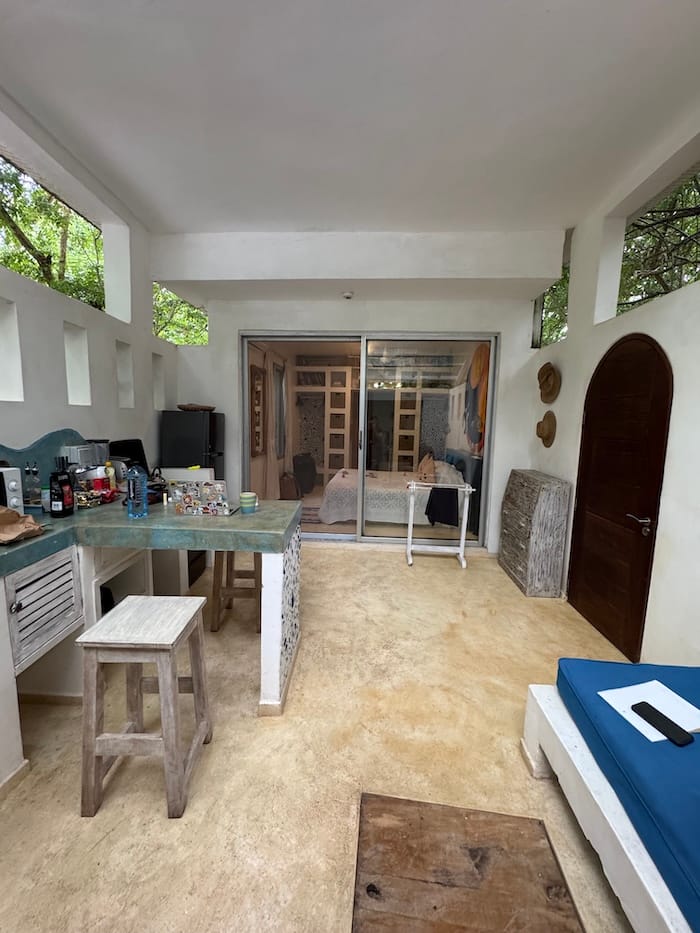
Airbnb IN Diani beach
Airbnb in Diani beach
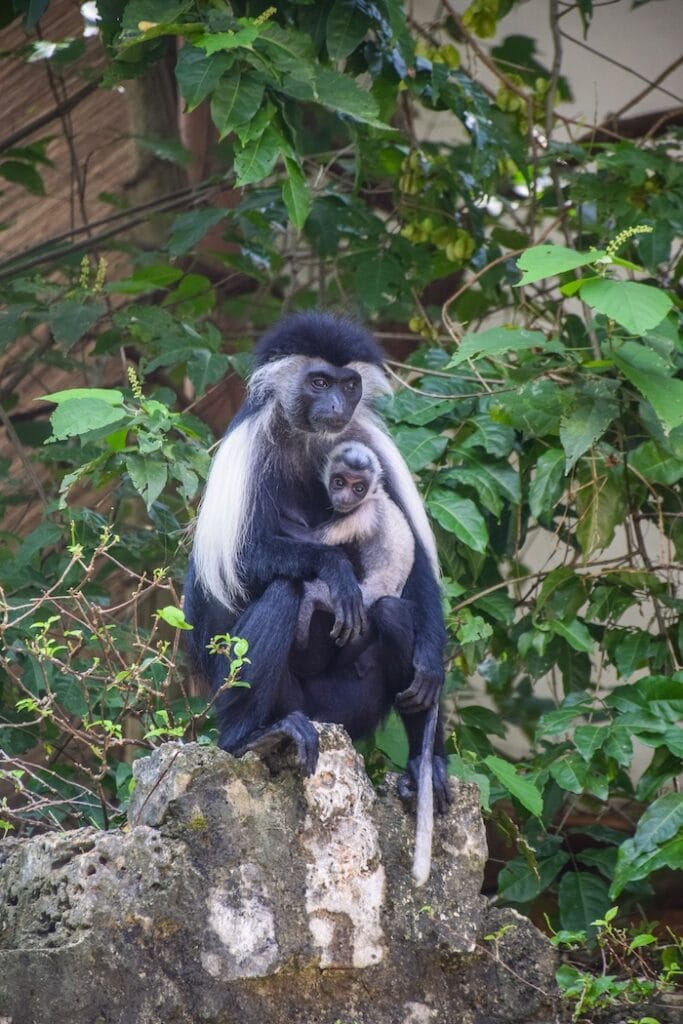
Monkeys in Diani beach

Getting Around Diani

We mainly got around by walking and tuk-tuk. Tuk-tuks are everywhere in Diani, and you can easily flag one down from the side of the road. However, we found that drivers often quoted us higher prices when we did this. Most of the time, we ordered tuk-tuks through Bolt instead. We could see the fare before booking and didn’t have to negotiate every journey. The only downside was that we sometimes had to wait a little longer, particularly when there were already plenty of empty tuk-tuks driving past us. Read our guide on how to use M-PESA in Kenya for small expenses like tuk-tuks.

What Is Diani Beach Like in September?

The beach itself was one of the highlights of Diani for us. It’s a long stretch of white sand backed by palm trees, and even with the less-than-perfect weather during our stay, it was easy to see why Diani is one of Kenya’s best-known beach destinations.

That said, it didn’t look quite like the perfectly clear, turquoise water you often see in photos.

We visited in September, and there was a lot of seagrass washed up along parts of the beach, and other parts were clean. This could also change from day to day. The water was also quite cloudy rather than crystal clear, particularly with the rain and rougher weather we’d been having.

This didn’t make the beach any less beautiful, but conditions can look very different depending on the weather, season and tide.

You will also encounter beach boys and vendors along the beach. We were regularly approached by people selling things, offering excursions or starting conversations. It is a bit annoying, not being able to just walk without being approached by someone.

Once we were sitting at a beachfront cafe or bar, we were generally left alone, so these were good places to spend some uninterrupted time by the water.

Palm trees lining Diani Beach in Kenya
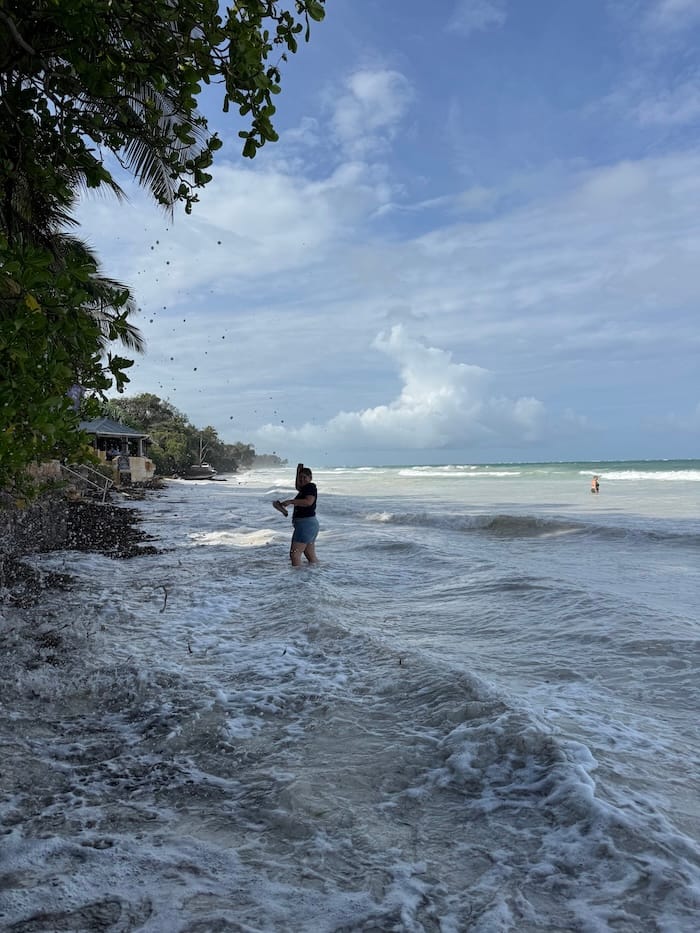
Walking across the exposed shoreline at low tide in Diani

High Tide vs Low Tide in Diani

One thing worth knowing before visiting the Kenyan coast is just how much the tide changes the beaches.

At low tide, the water retreats a long way, leaving large areas of shallow water, sand and exposed rock. This can make it difficult to simply walk into the sea and swim as there are reefs and sea urchins.

Around mid tide, there is much more water close to shore and swimming is generally easier, in high tide the sea could be a little rough.

We quickly got into the habit of checking the tide times before deciding when to head to the beach. If you specifically want to swim, we’d recommend doing the same.

Low tide isn’t necessarily a bad time to visit, though. It completely changes the landscape and gives you a chance to explore areas that are underwater at high tide.

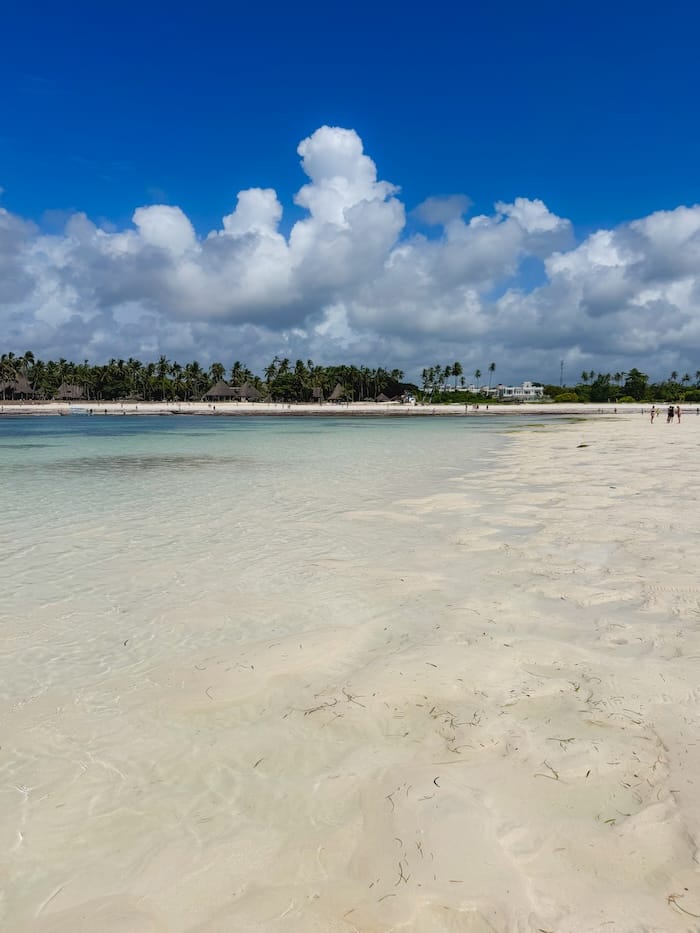
Near the Neptune resorts, we found sand bar area that you could walk out to at low tide. Where there was a small natural pool where enough seawater remained to sit and cool off, even when the ocean had retreated much further out.

We really liked this spot, particularly when the tide was too low for swimming directly from the beach. There were quite a few beach boys around this area, though, so expect to be approached.

Water shoes can also be useful if you’re planning to walk across rocky or exposed areas at low tide.

Walking across the exposed shoreline at low tide in Diani
Low tide
Diani Beach around high tide
High tide
Walking across the exposed shoreline at low tide in Diani
The sandbar outside Neptune

Where to Eat in Diani

There are many restaurants on and off the beach in Diani, so you will never have an issue finding somewhere to eat.

Pallet Cafe The Beach

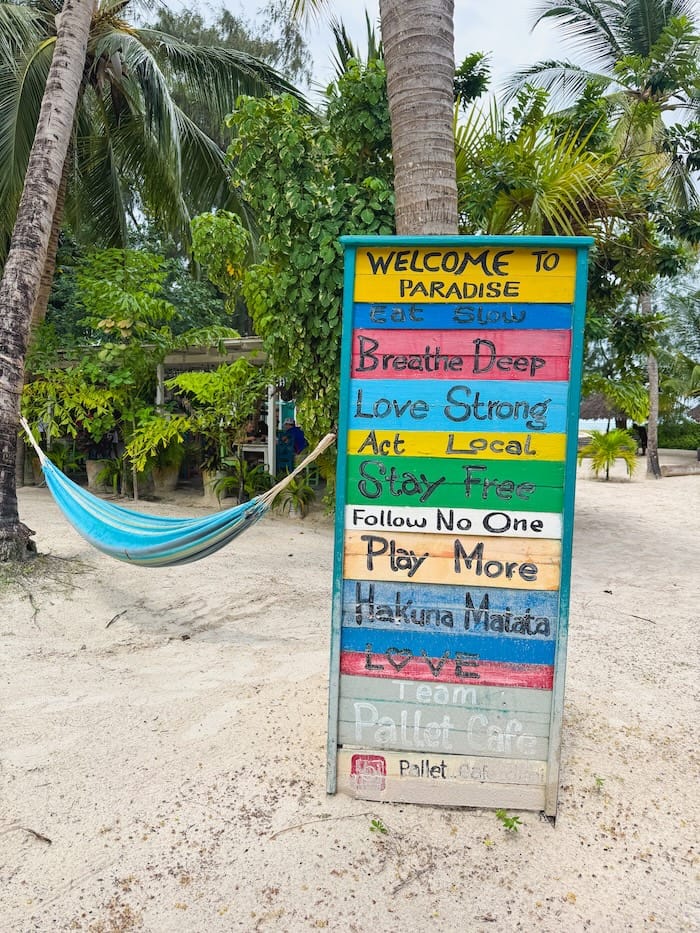
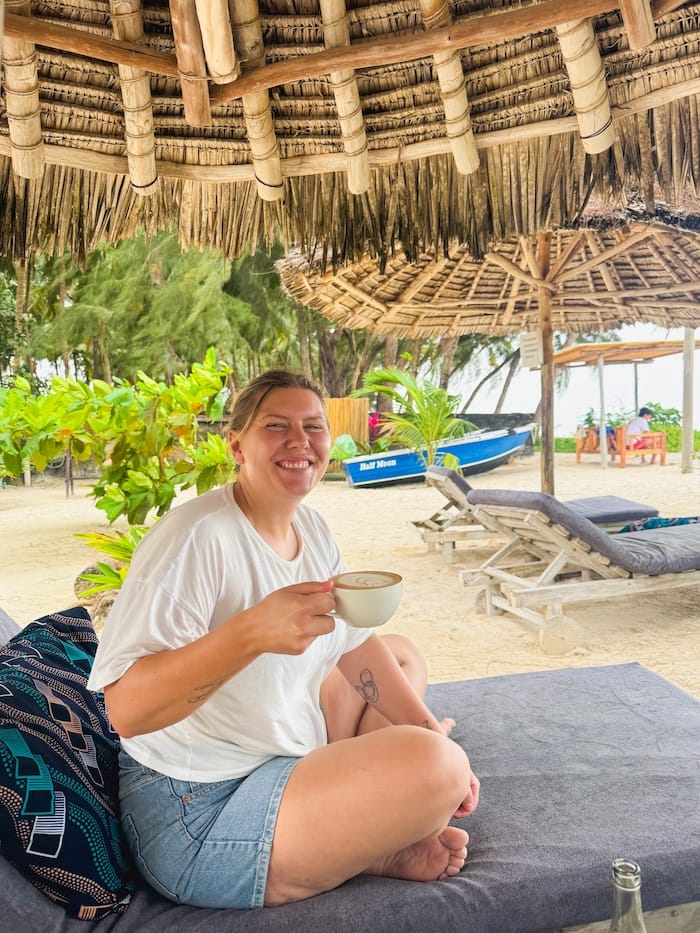
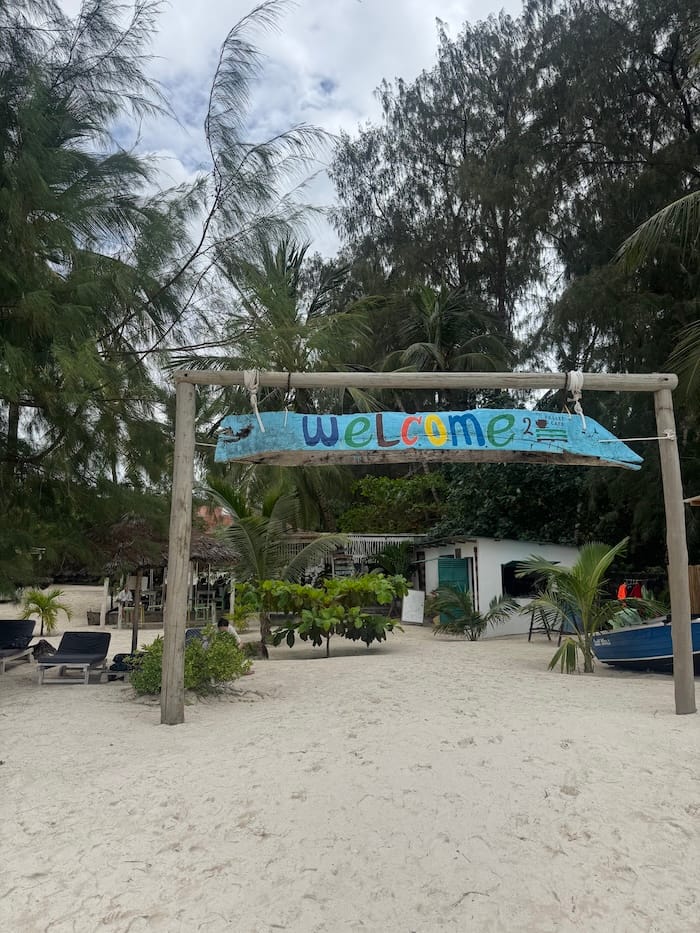
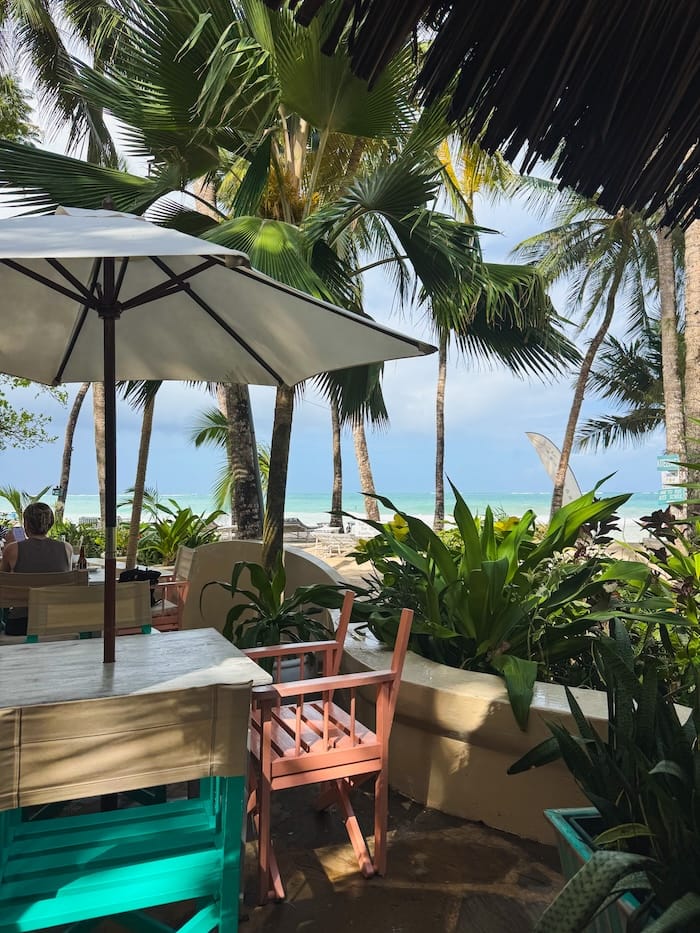
We really liked Pallet Cafe The Beach, which sits right by the ocean and has beach chairs where you can relax by the water.

Pallet Cafe was created to provide great food and service while promoting the training and employment of deaf people in the hospitality industry. Depending on who serves you, you may communicate using signs, gestures or by writing things down.

We loved the concept, and the service was excellent.

Beach seating at Pallet Cafe The Beach in Diani

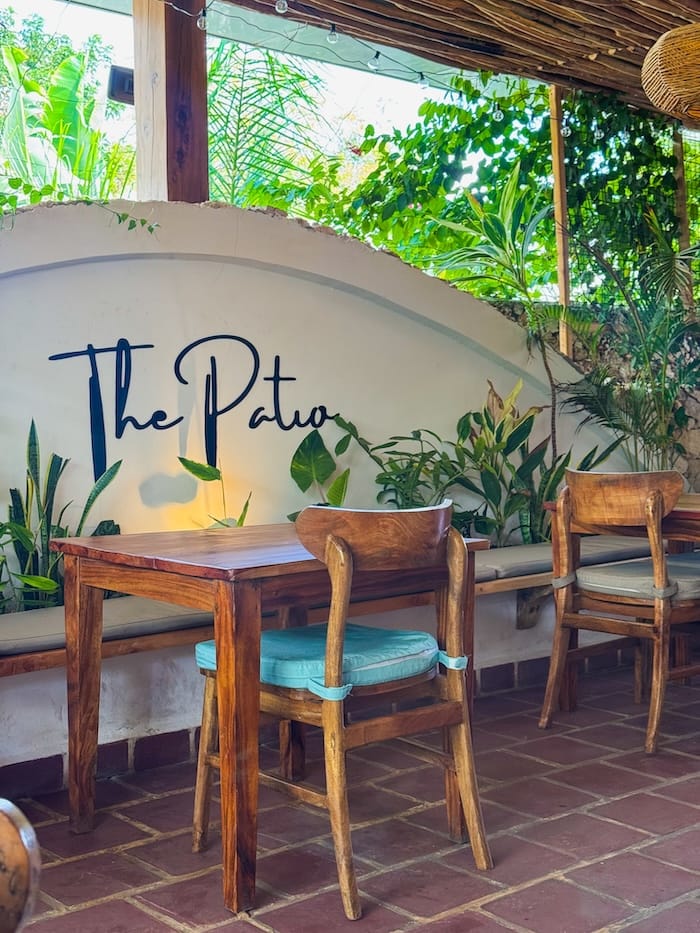
Pallet Cafe The Patio

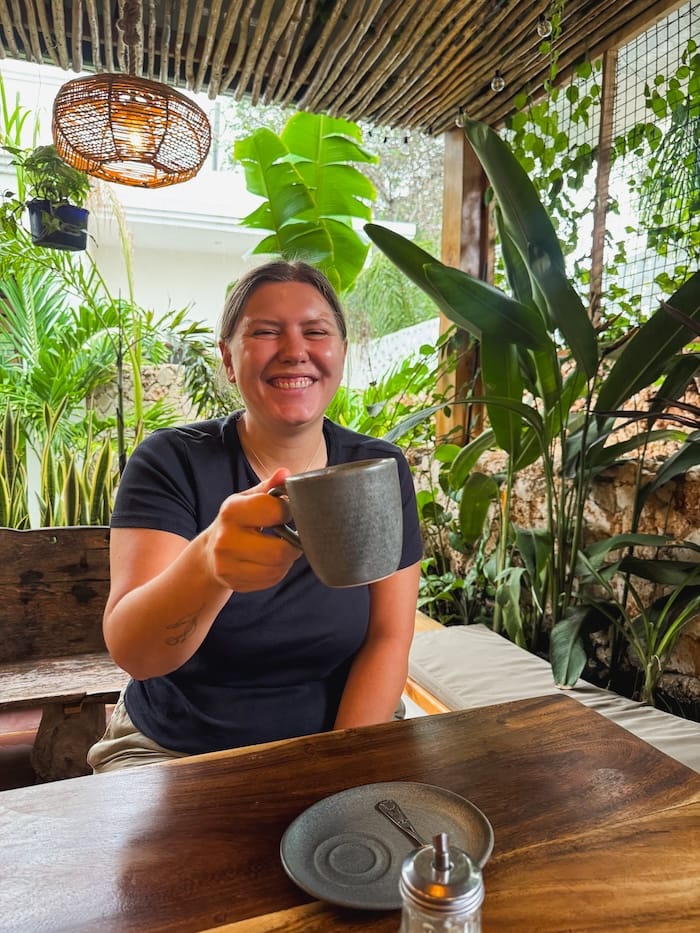
We also visited Pallet Cafe The Patio, which has the same owner but in a completely different setting. Rather than being on the beach, it’s located in a small shopping area with some cute shops around it.

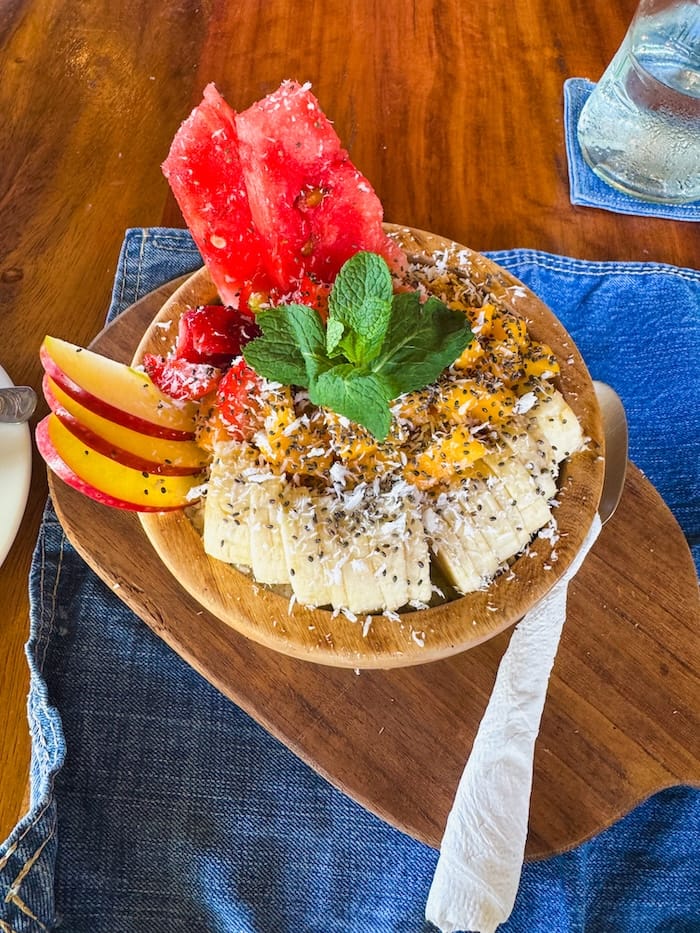
The menus at the two Pallet Cafe locations are slightly different, but we really enjoyed the food at both.

We wouldn’t necessarily choose one over the other. The Beach is great if you want to combine lunch with some time by the ocean, while The Patio is a nice option on a rainy day or if you want to have a look around the shops too.
Pallet Cafe The Patio in Diani
Food at Pallet Cafe The Patio in Diani
Pallet Cafe The Patio in Diani

Salty Squid

Salty Squid was another favourite. The food was really good, although it was a little pricier than some of the other places we visited.

It’s also very popular, so booking a table may be a good idea, particularly for dinner or at the weekend.

We arrived at around 2 pm on a Monday without a reservation and had no problem getting a table.

Salty Squid restaurant on Diani Beach
Meal at Salty Squid in Diani

Jolly Pizzeria

We also had a really good meal at Jolly Pizzeria. The Italian food was great, particularly the pasta. It’s located in central Diani on the Main Street, so it might not be the most atmospheric place, but we enjoyed it.

Italian food at Jolly Pizzeria in Diani

Madafoo’s Beach Bar

We were less impressed by the food at Madafoo’s Beach Bar, but we liked it as somewhere to spend a relaxed day by the beach.

When we visited, the pool was available for 500 KES per person, while you could use the beach chairs if you ordered food or drinks.

It was very relaxed. We never felt pressured to keep ordering just because we were using the beach chairs. If anything, sometimes it was quite difficult to get the staff’s attention when we actually wanted something.

We probably wouldn’t return specifically for the food, but we’d happily come back for a relaxed afternoon by the beach.

Beach chairs at Madafoo's Beach Bar in Diani

Was 4 Days in Diani Enough?

For us, yes, although the rain definitely affected what we managed to do.

With better weather, we probably would have spent more time swimming and exploring different parts of the beach.

If you’re coming primarily for a beach holiday, you could easily stay for a week or longer. There’s a huge choice of accommodation and restaurants, and plenty of places where you can settle in for a day by the ocean.

As part of a longer journey along the Kenyan coast, four nights worked well for us.

What We Thought of Diani

We had slightly mixed feelings about Diani when we left, but looking back, we think we were probably a little hard on it.

It felt quite touristy, and being approached regularly while walking along the beach could get tiring. 

Our timing didn’t help either. We visited in September and had quite a lot of rain, quite a bit of seagrass along the beach and rough sea with water that wasn’t particularly clear during our stay.

But the beaches themselves are beautiful, we ate some good food and we loved the quiet, green area where we stayed.

It did end up being our least favourite of the places we visited along the Kenyan coast, but that doesn’t mean we didn’t enjoy our time here. Diani simply didn’t click with us in quite the same way as some of our later stops.

We’re glad we included it in our trip, and four nights felt about right for us.

From Diani, we headed back north and continued our journey along the Kenyan coast to Kilifi, where we’d be staying for the next two weeks.

October 2, 2026 0 comments
FacebookTwitterPinterestLinkedinRedditStumbleuponWhatsappTelegramThreadsOpenAIChatGPTEmail
Mombasa Tusks over Moi Avenue in central Mombasa, Kenya
Kenya

2 Days in Mombasa, Kenya: Our Experience & Self-Guided Old Town Walk

by Livia October 2, 2026
written by Livia

After two weeks in Rwanda, we flew from Kigali to Mombasa to start our journey along the Kenyan coast.

We only spent two nights here before continuing to Diani Beach. We weren’t planning to see everything Mombasa has to offer. Instead, we wanted a day to explore the Old Town and get our first taste of coastal Kenya.

Two nights turned out to be just about right for us.

How to Get to Mombasa

We flew from Kigali to Mombasa, via Nairobi, arriving at Moi International Airport. We had arranged an airport transfer with our hotel in advance, so a driver was waiting to take us directly to Nyali.

If you have some flexibility with your arrival time, we’d recommend trying to avoid rush hour. We arrived right in the middle of it, and the heavy traffic meant it took us much longer than expected to reach our hotel in Nyali.

If you’re travelling from Nairobi, you can also reach Mombasa by train on the Madaraka Express, which connects Nairobi with the coast. Buses also operate between Nairobi, Mombasa and other destinations around Kenya.

Where to Stay in Mombasa

We decided to stay in the area of Nyali, rather than central Mombasa, and we’re glad we did.

It’s a much greener and quieter area, while still being close enough to head into the city for the day. Mombasa can be pretty hectic and the traffic can be intense, so we personally wouldn’t have wanted to stay right in the centre.

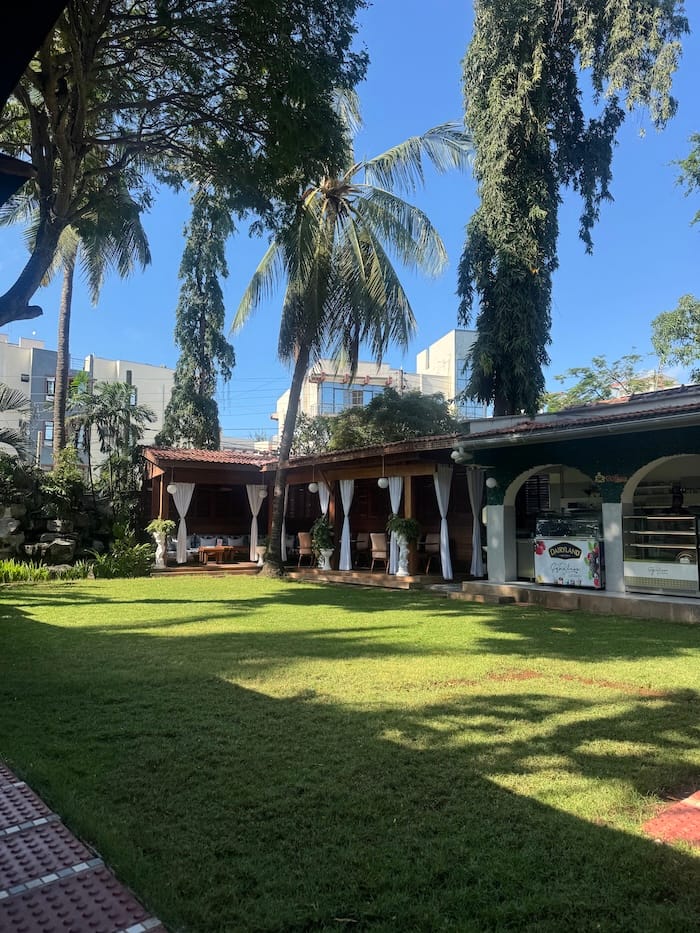
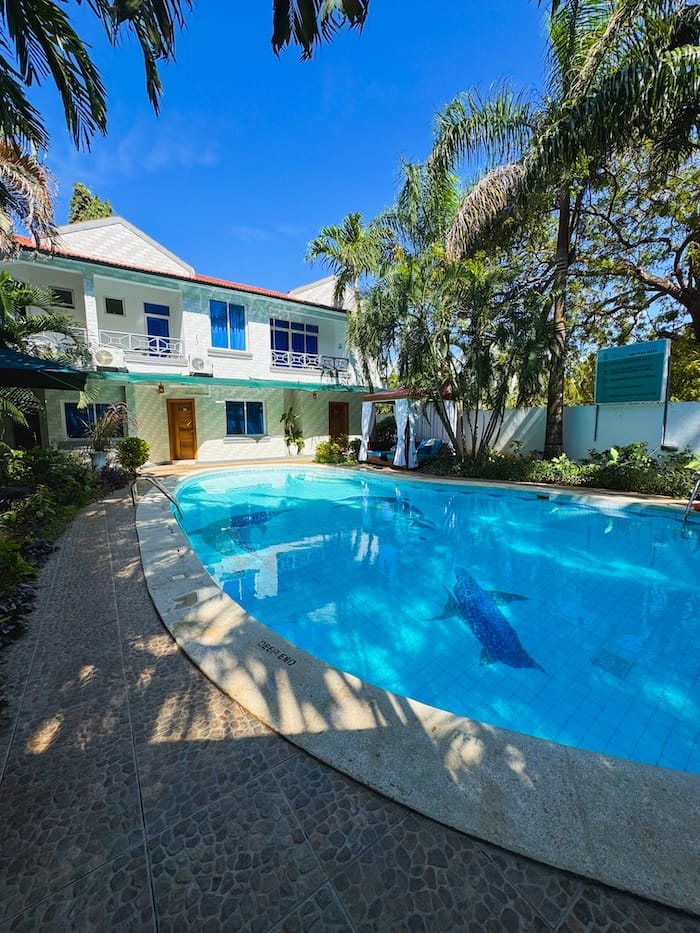
We stayed at La Fattoria Resort for our two nights. It was a nice, peaceful base with a good pool area. The rooms were a little tired and the food was fairly average, but overall it was an okay place to stay. We did think it was a little pricey for what it offered. For a couple of nights, though, it worked well, particularly as we wanted somewhere quiet and clean to come back to after exploring the city.

Restaurant area at La Fattoria Resort in Nyali, Mombasa
Swimming pool at La Fattoria Resort in Nyali

Getting Around Mombasa

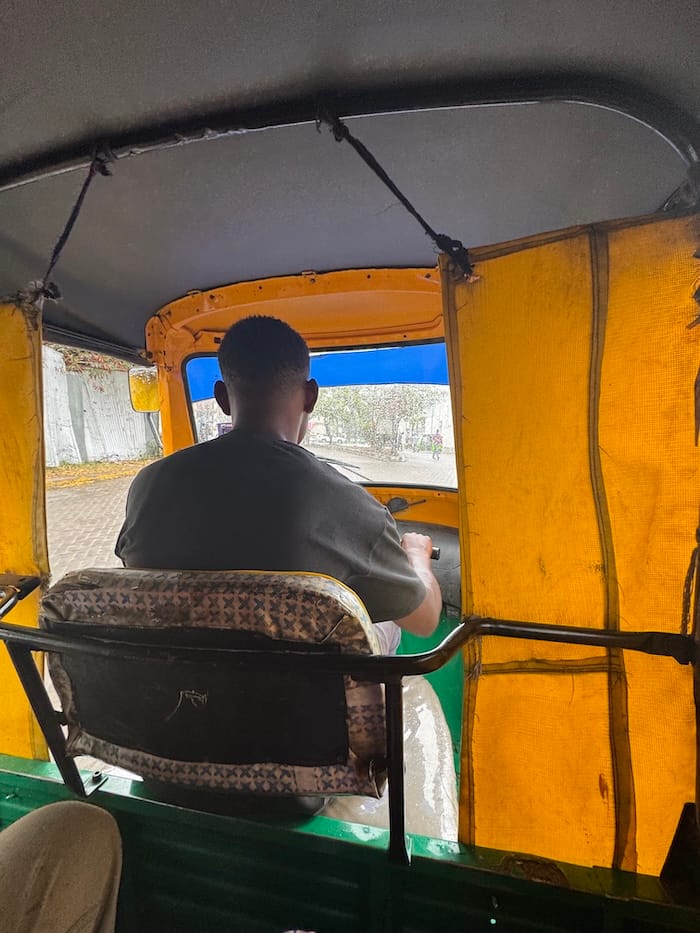
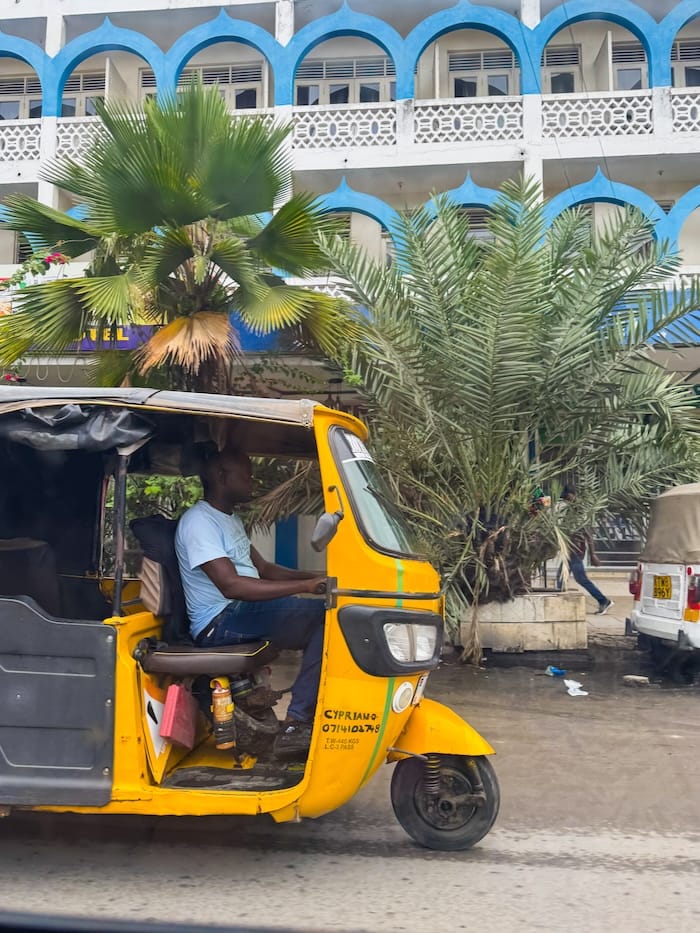
We used a mixture of Bolt, tuk-tuks and walking to get around Mombasa.

For longer journeys, such as travelling between Nyali and the city centre, we used Bolt cars. For shorter trips, we simply hailed tuk-tuks from the street and agreed on a price with the driver before setting off. Read our guide on how to use M-PESA in Kenya for small expenses like tuk-tuks.

Once we reached central Mombasa and the Old Town, we explored almost entirely on foot. The main sights are fairly close together, making it easy to create your own walking route.

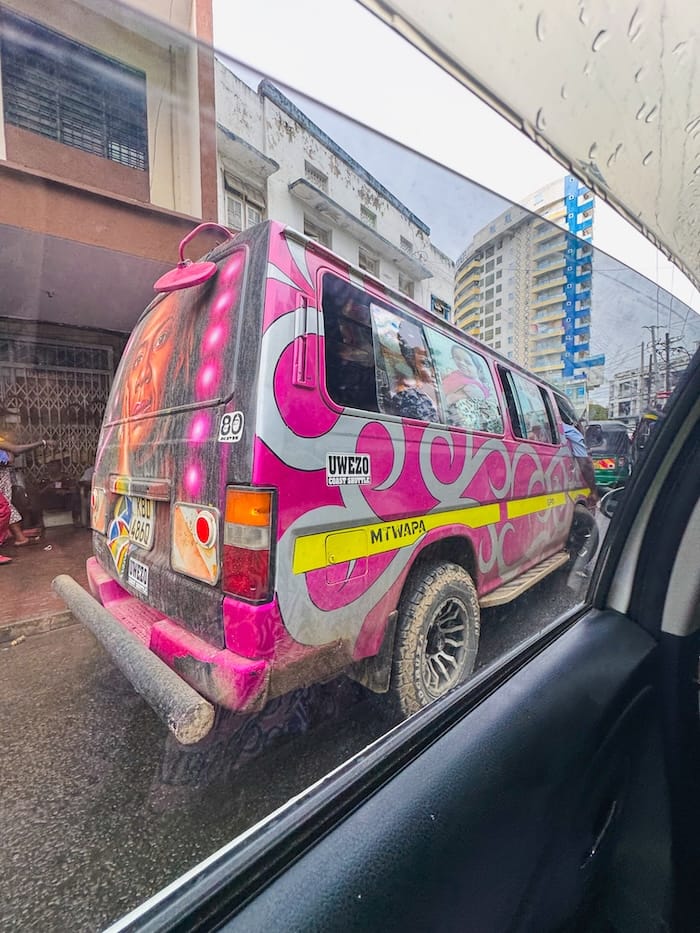
Even if you don’t take one, keep an eye out for Mombasa’s colourful matatus as you travel around the city. These minibuses are often covered in elaborate paintwork and bold designs, and spotting the different ones became a fun part of simply watching the city go by.

Traffic can be heavy, particularly when travelling between different parts of the city, so it’s worth allowing some extra time for longer journeys.

Tuk-tuk driving through the streets of Mombasa
street in central Mombasa, Kenya
Colourfully painted matatu minibus in Mombasa

Our Self-Guided Mombasa Walking Route

We dedicated our full day in Mombasa to exploring the centre and Old Town.

You can easily do this independently, and for what we wanted from the day, we didn’t feel the need to book a guide. If you’re particularly interested in Mombasa’s history and architecture, however, a local guide could add much more context to what you’re seeing.

We felt safe walking around during the day and had no issues. A couple of guides approached us around Fort Jesus to offer their services, but there weren’t many and nobody was particularly persistent.

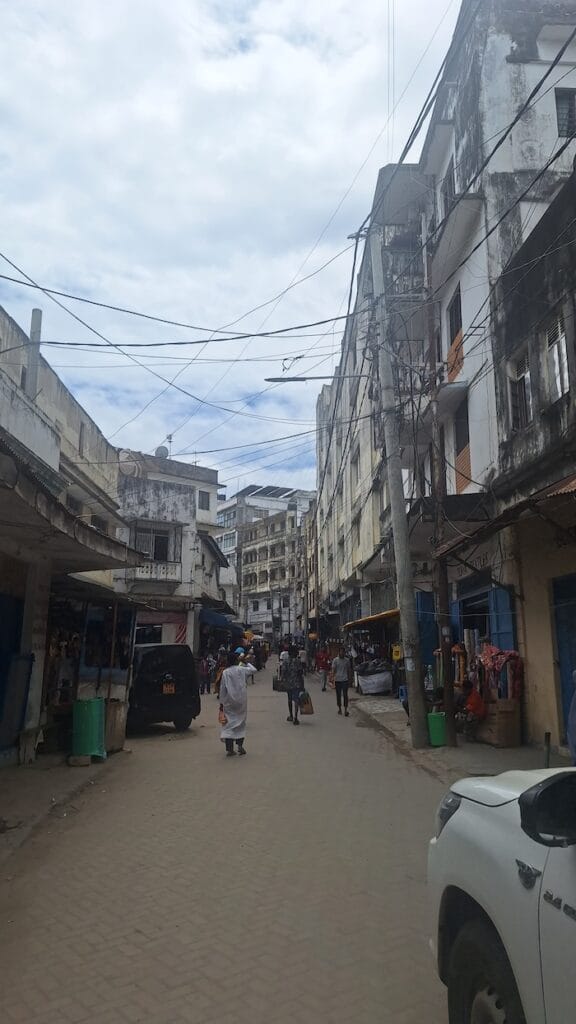
Shops and street activity along Nehru Road in Mombasa
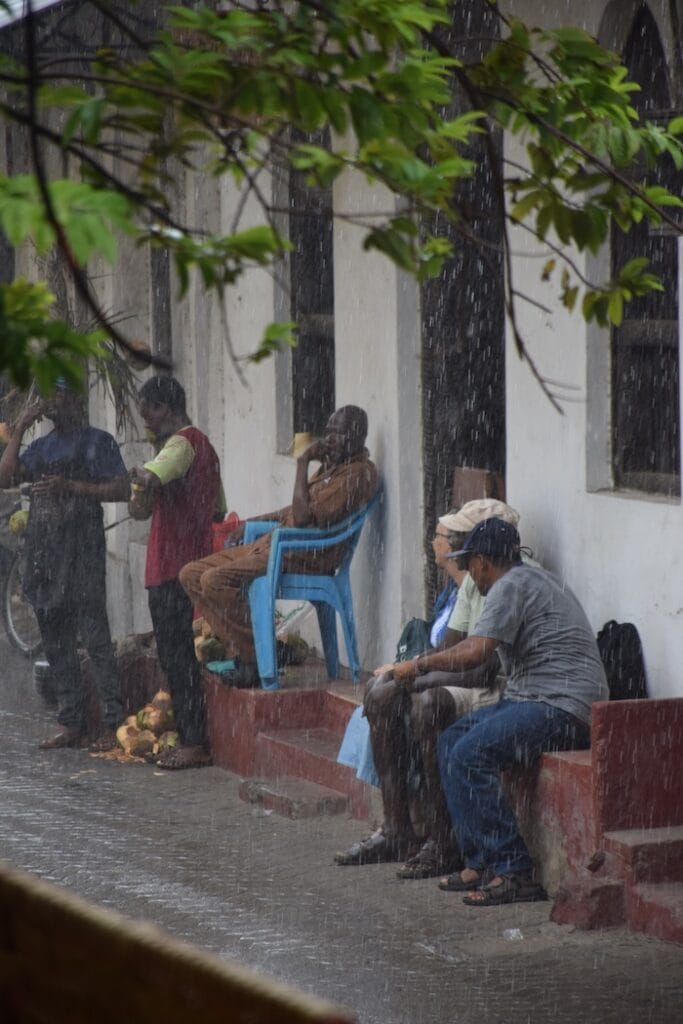
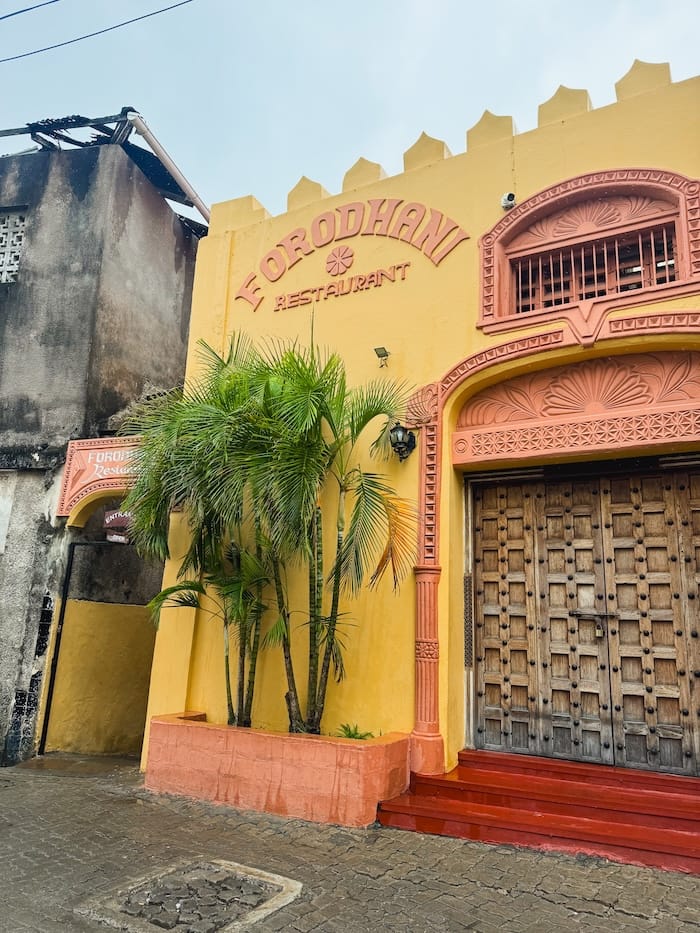
rainy day Mombasa old town
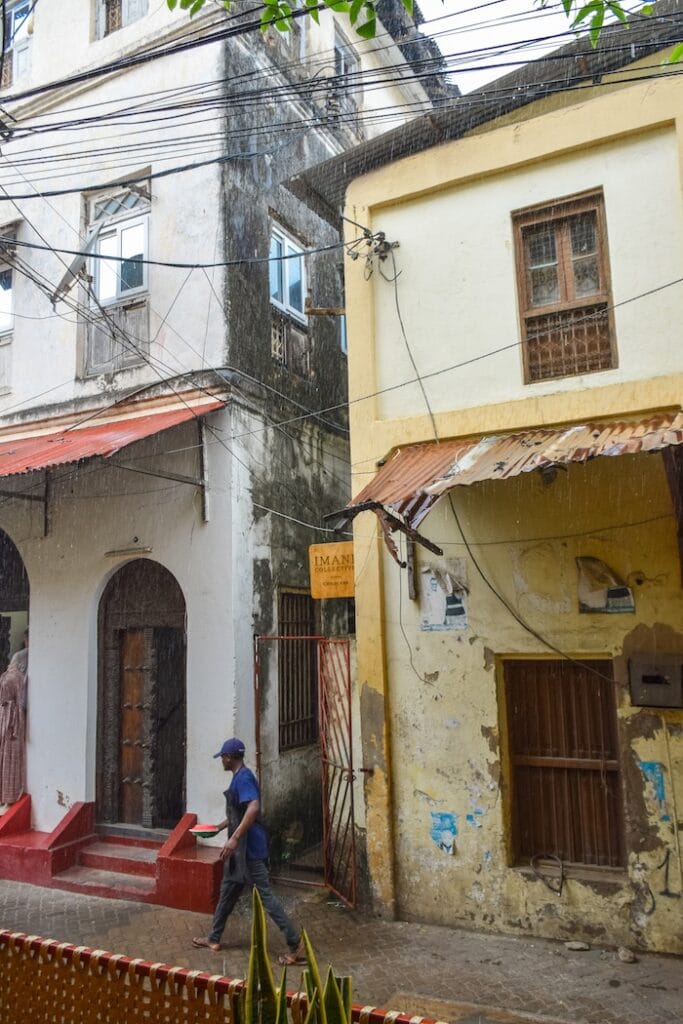
Colourful historic buildings in Mombasa Old Town

Starting at the Mombasa Tusks

We took a Bolt from our hotel to the Mombasa Tusks on Moi Avenue, where we started our walk.

The giant aluminium tusks are one of the city’s most recognisable landmarks and mark a convenient starting point for exploring central Mombasa on foot.

From here, we walked down Moi Avenue before turning left onto Digo Road towards the spice market.

This part of the walk isn’t particularly scenic, but it gives you a glimpse of everyday Mombasa. Expect plenty of traffic, people and activity.

Mombasa Tusks over Moi Avenue in central Mombasa, Kenya

Mombasa Spice Market

Our next stop was the spice market, where you’ll find stalls packed with spices alongside fruit, vegetables and other goods.

This was one of the few places where we experienced a little more attention, with vendors trying to get us to stop and look at their products. It wasn’t a major issue, but it was noticeably more persistent than elsewhere on our walk.

From the market, we continued towards the Old Town via Nehru Road, passing shops and street stalls along the way.

We turned down Samburu Road towards Treasury Square, although in hindsight we probably should have continued along Nehru Road and turned down Ndia Kuu Road instead. Our route meant we ended up going back and forth a little more than necessary.

Outside Mombasa spice market in central Mombasa

Exploring Mombasa Old Town

Once you reach the Old Town, the streets become narrower and the architecture starts to change.

Mombasa has been shaped by centuries of trade and different cultural influences, and you can see elements of Swahili, Arab, Indian and European architecture throughout this part of the city.

We enjoyed walking around, although if we’re being completely honest, we found the Old Town itself a little underwhelming. We’ve visited quite a few historic and colonial-era towns during our travels, so perhaps our expectations were a little high. There are some attractive streets and interesting buildings, but it wasn’t somewhere we felt we needed hours and hours to explore.

That said, we’re still glad we went.

historic buildings in Mombasa Old Town
Colourful historic buildings in Mombasa Old Town

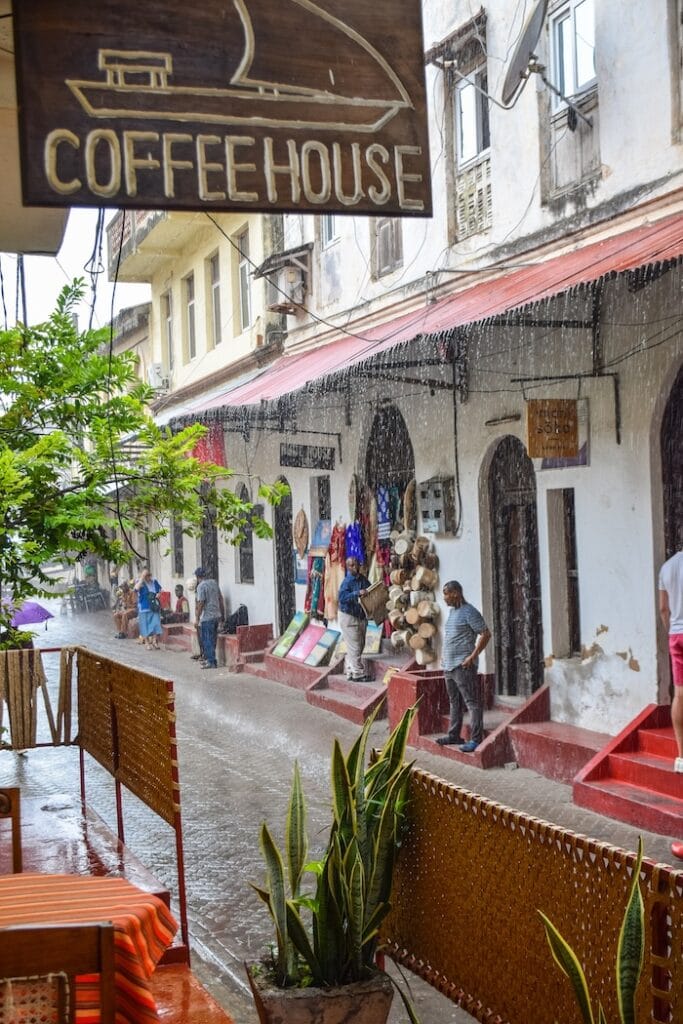
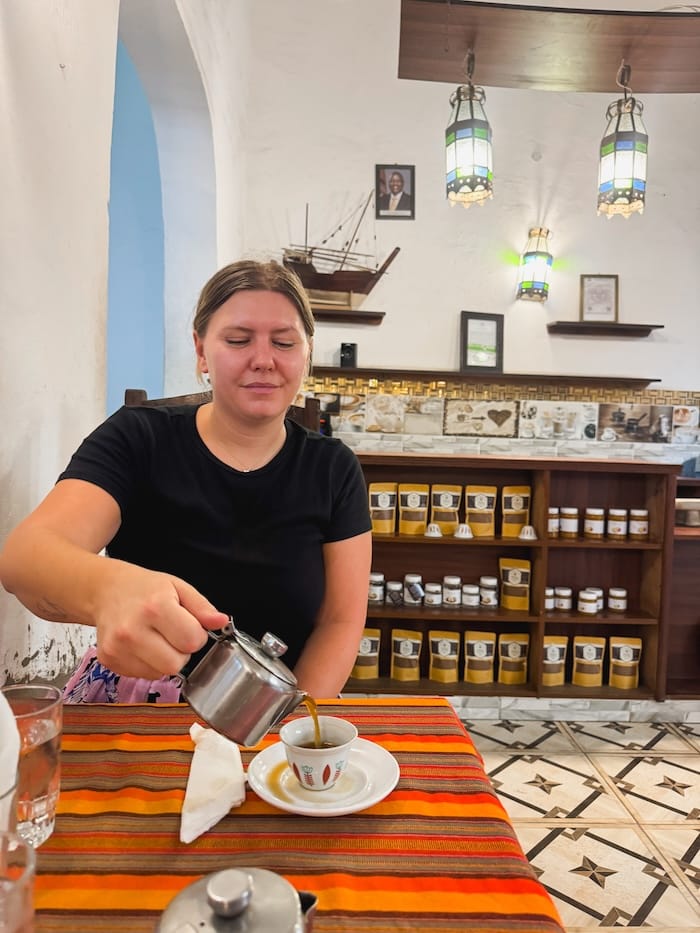
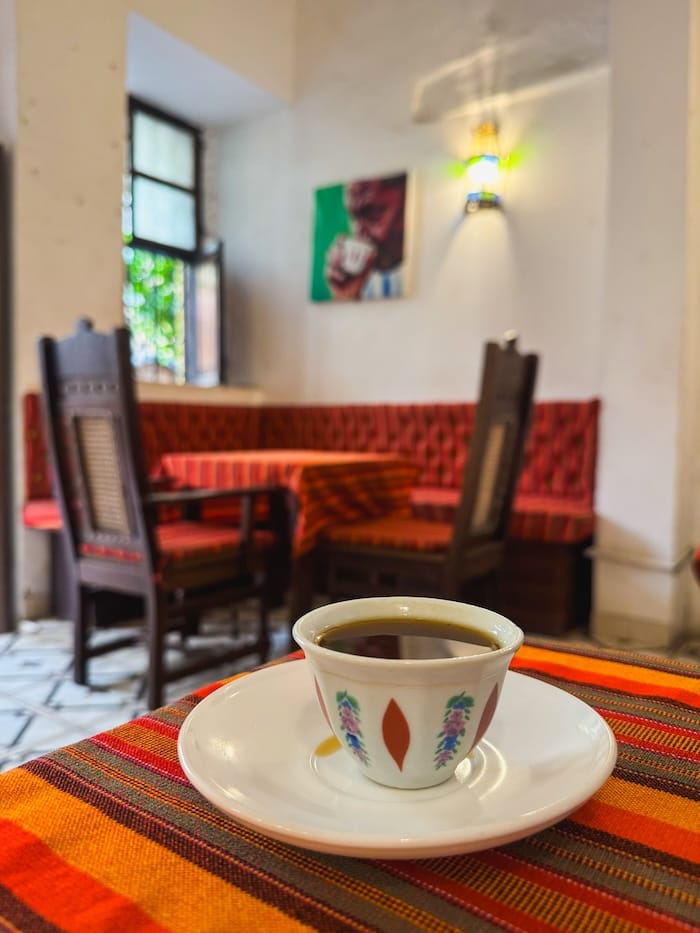
Jahazi Coffee House

One of the nicest parts of our walk was around Jahazi Coffee House.

The street here is particularly pretty, and the coffee house makes an easy stop while exploring the Old Town.

We were also unlucky with the weather, and a big rainstorm rolled in while we were exploring. Jahazi turned out to be a very convenient place to wait it out with a coffee.

Rather than rushing between individual sights, we’d recommend leaving some time simply to wander around the surrounding streets.

Jahazi Coffee House in Mombasa Old Town

Fort Jesus

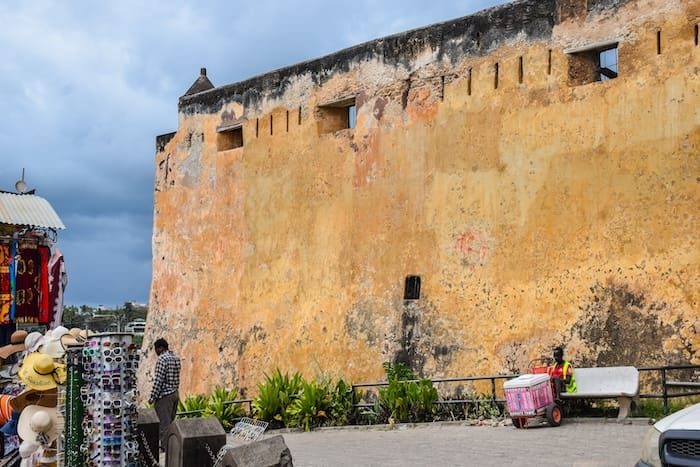
We also stopped outside Fort Jesus, which sits right on the edge of the Old Town. Built by the Portuguese at the end of the 16th century, the fort is one of Mombasa’s best-known historic landmarks.

You can pay to go inside, but we decided to skip it and continued exploring instead.

Exterior walls of Fort Jesus in Mombasa, Kenya

Treasury Square, English Garden & the Lighthouse

We also passed Treasury Square, and had planned to stop at the English Garden for a coffee. Unfortunately, it rained a lot during our time in Mombasa, so we ended up skipping the English Garden. Another stop you could add is the Mombasa Lighthouse. Again, we skipped it because of the weather, but it looks like a nice spot by the sea, with street food stalls nearby.

If the weather is on your side, both are easy additions to your day.

Lunch at Tarboosh Restaurant

Once we’d finished exploring the Old Town, we took a tuk-tuk from around Fort Jesus to Tarboosh Restaurant.

It’s a casual local restaurant and was a good place to stop for food before heading back to Nyali.

Taking a tuk-tuk also meant we didn’t have to retrace our entire walking route. However, if you continue along Nehru Road rather than turning down Samburu Road as we did, you could turn this into a fairly convenient circular route ending around Tarboosh.

Tarboosh Restaurant in central Mombasa
Local food served at Tarboosh Restaurant in Mombasa

One Thing We Wish We’d Done: A Mombasa Food Tour

One thing we’d planned to do during our stay was a Mombasa Food Tour with Travel4Purpose.

The tour takes you around Mombasa with a local guide, stopping to try different local foods and drinks along the way. It sounded like a great way to experience another side of the city and try some things we probably wouldn’t have known to order ourselves.

We’d been in touch with Chaqula about joining the tour, but unfortunately our travel dates changed and we couldn’t make it happen during our short stay.

It’s definitely something we would have liked to add to our two days in Mombasa, and one we’d keep on the list if we return.

Did We Feel Safe in Mombasa?

During the day, yes.

We walked independently from the Mombasa Tusks through the market area and Old Town and didn’t have any problems.

We were approached by a couple of people offering guiding services around Fort Jesus, and vendors were a little more persistent around the spice market, but that was about it.

As always, we kept an eye on our belongings, particularly around the busy market and central streets, but we never felt uncomfortable during our walk.

We didn’t walk around central Mombasa after dark and were advised not to do so. We can’t comment from our own experience, however, as we returned to Nyali before evening.

Was 2 Nights in Mombasa Enough?

For us, yes.

We had enough time to settle in after flying from Kigali, spend a full day exploring central Mombasa and the Old Town, and then continue down the coast.

If you’re particularly interested in Mombasa’s history, museums or beaches, you could easily stay longer. But if, like us, you’re mainly stopping to see the Old Town before travelling elsewhere along the Kenyan coast, two nights worked well.

We were also happy with our decision to stay in Nyali. Central Mombasa was interesting to explore for the day, but between the traffic and general bustle, we preferred having a quieter base on the other side of the water.

Our Thoughts on Mombasa

Mombasa wasn’t one of those places where we immediately wished we’d booked another week.

The Old Town was a little underwhelming compared with some of the historic towns we’ve visited elsewhere, and the traffic in the centre is intense. But we’re still glad we stopped.

We enjoyed wandering through the spice market and Old Town, stopping for coffee and getting our first introduction to life on the Kenyan coast.

For us, two nights was enough, and then it was time to continue south to Diani Beach.

October 2, 2026 0 comments
FacebookTwitterPinterestLinkedinRedditStumbleuponWhatsappTelegramThreadsOpenAIChatGPTEmail
How to Use M-PESA in Kenya
Kenya

How to Use M-PESA in Kenya: A Guide for Tourists

by Sam October 2, 2026
written by Sam

At the time of writing, we have been travelling independently around Kenya for a month, with six weeks planned in total. During that time, we have not used cash once.

Not occasionally. Not just in Nairobi. Not at all.

We have paid for supermarkets, restaurants, small shops, taxis, boda-bodas and everyday purchases using M-PESA. In our experience, everyone accepts it. Once we had a Safaricom number and M-PESA account, paying for things became remarkably easy.

If you are planning a trip to Kenya, setting up M-PESA should be one of the first things you do after arriving. This guide explains how tourists can register for M-PESA, add Kenyan shillings directly from Wise, pay businesses and individuals, and avoid making expensive mistakes. We know this is a long post, but it covers everything about buying, setting up and using M-PESA, including dangers and pit falls. In the end it’s very easy to use and you should use it!

What Is M-PESA?

M-PESA is a mobile money service operated in Kenya by Safaricom. Your account is connected to your Kenyan mobile number and works like a digital wallet.

You can use M-PESA to:

  • Pay in shops and restaurants
  • Send money to another person
  • Pay taxi and boda-boda drivers
  • Pay bills and business accounts
  • Buy airtime and mobile data
  • Receive money
  • Check your balance and transaction history

No more paying extra for taxi because you don’t have small change, this app allows exact amounts.

You do not need a Kenyan bank account. Once your M-PESA account has been registered and money has been added to it, you can make payments directly from your phone.

Who Uses M-PESA in Kenya?

Almost everyone.

M-PESA is not a specialist travel payment system or something used only in large cities. It is part of everyday life in Kenya.

We have used it with supermarkets, cafés, restaurants, accommodation providers, taxi drivers, boda-boda riders and small independent businesses. Even when someone does not have a business till number, they can usually accept a direct payment to their personal mobile number.

During our independent journey around Kenya, we have not encountered anyone who could not accept M-PESA.

Why Use M-PESA Instead of Cash?

Before arriving, we expected to use a mixture of cash, bank cards and mobile payments. In reality, M-PESA has handled everything.

There is no need to search for an ATM, carry large amounts of Kenyan shillings or worry about receiving change. Payments happen immediately, and both you and the recipient receive confirmation.

Other advantages include:

  • You have a record of every payment.
  • You can see the recipient’s registered name before sending money.
  • You do not need to expose your bank card in unfamiliar places.
  • You can transfer Kenyan shillings into your wallet using Wise.
  • You can pay individuals as easily as established businesses.
  • It works for very small everyday transactions.

Most importantly, M-PESA is what people in Kenya already use. You are not asking a business to accommodate an unusual foreign payment method.

Is M-PESA Safe?

We have found M-PESA very safe and straightforward to use, but you still need to pay attention.

Every transaction must be authorised with your M-PESA PIN or biometrics. Before completing a personal transfer, the recipient’s registered name is shown on the screen. This gives you an important opportunity to catch an incorrect phone number.

The greatest risk is not normally the system itself. It is sending money to the wrong person, entering an incorrect till number or allowing someone else to handle your phone.

Used carefully, M-PESA is one of the most convenient payment methods we have encountered while travelling.

Getting a Safaricom SIM Card in Kenya

You can buy a Safaricom physical SIM card or arrange an eSIM at the airport when you arrive in Kenya. This is the easiest option because you can register your number and activate M-PESA before leaving the airport.

Visit the official Safaricom counter rather than buying a SIM from an unofficial seller. Take your original passport, as it is required to register the number and M-PESA account in your name.

Tell the member of staff that you want:

  1. A Safaricom prepaid physical SIM or eSIM
  2. A suitable mobile data package
  3. M-PESA activated on the number

If you choose an eSIM, check that your phone supports eSIMs and is not locked to your home network. It is also useful if you want to keep your usual physical SIM active for calls, messages or banking verification.

Do not assume that buying a Safaricom SIM or eSIM automatically activates M-PESA. Ask the member of staff to set up the M-PESA wallet and confirm that everything is working before you leave the counter.

You will be asked to create an M-PESA PIN during registration. Enter this yourself and do not share it with the person helping you.

Once the number is active, install My OneApp and complete the first login while connected to Safaricom mobile data. Doing this at the airport means you can start using M-PESA immediately for your taxi, accommodation and other expenses..

Physical SIM or eSIM?

Safaricom offers physical SIM cards and eSIM services. If your phone supports eSIM, ask the Safaricom staff whether they can set it up for you when registering your number.

An eSIM is useful if you want to keep your usual SIM active for calls, messages or banking verification. A physical SIM is equally suitable for M-PESA.

Whichever option you choose, make sure the Safaricom line is active on your phone and registered to the same name shown in your passport.

Setting Your M-PESA PIN

During registration, you will be asked to create an M-PESA PIN. This PIN protects your wallet and authorises transactions.

Choose a number that you can remember but that is not easy for someone else to guess. Do not use your birthday, part of your phone number or a sequence such as 1234.

Enter the PIN yourself. Do not tell it to the person helping you, and do not allow anyone to choose it for you.

Safaricom employees, drivers, hotel staff and shopkeepers do not need your M-PESA PIN or verification code.

Where to Download My OneApp

Safaricom’s main consumer application is currently called My OneApp. It brings together M-PESA, airtime, data bundles and other Safaricom services.

Download it only from an official app store and confirm that the developer is Safaricom:

My OneApp from SafaricomDownload My OneApp for iPhone
Download My OneApp for Android

The name has changed from the former M-PESA app, so older instructions and screenshots may still refer to the M-PESA Super App.

You can also access some Safaricom account functions through My OneApp Lite in a browser, but the mobile app is the easiest option for everyday payments.

Setting Up My OneApp

Install the app after your Safaricom number and M-PESA account have been activated.

For the initial registration:

  1. Make sure the Safaricom SIM or eSIM is active in your phone.
  2. Turn on Safaricom mobile data.
  3. Temporarily turn off Wi-Fi if the app cannot verify your number.
  4. Open My OneApp.
  5. Enter your Safaricom mobile number.
  6. Follow the verification instructions.
  7. Enter your M-PESA PIN when requested.
  8. Enable fingerprint or facial recognition.

Safaricom advises using mobile data for the first secure login. Once registration is complete, the app can normally be used over mobile data or Wi-Fi.

Enabling biometrics makes everyday payments quicker while still preventing someone else from opening the app and accessing your wallet.

How to Add Money to M-PESA Using Wise

We use Wise to transfer Kenyan shillings directly to our M-PESA account. It means we can add money from our existing bank account without finding an ATM, withdrawing cash or visiting an M-PESA agent.

We already use Wise when travelling because it lets us hold and exchange different currencies in one account, clearly displays the exchange rate and transfer fee before we confirm, and makes it easy to send money internationally. In Kenya, being able to transfer money directly into M-PESA has made it particularly useful.

If you do not already have an account, you can sign up for Wise using our referral link. We may receive a referral benefit if you join through this link, at no additional cost to you.

Transferring money from Wise to your M-PESA wallet

You will need:

  • The full name registered to your M-PESA account
  • Safaricom as your mobile provider
  • Your Kenyan mobile number in international format

If your Safaricom number is 0712 345 678, enter it as:

+254 712 345 678

Remove the first zero and replace it with Kenya’s +254 country code.

The exact wording in Wise may change slightly, but the process is generally:

  1. Open Wise and select Send.
  2. Choose Kenyan shillings as the receiving currency.
  3. Add yourself as the recipient.
  4. Select the mobile wallet or M-PESA option.
  5. Enter your full name exactly as it was registered by Safaricom.
  6. Select Safaricom as the mobile provider.
  7. Enter your mobile number beginning with +254.
  8. Enter the amount you want to transfer.
  9. Review the exchange rate, transfer fee and recipient details.
  10. Confirm the transfer.

Check the name and phone number carefully before sending. They must match the information registered to your M-PESA account.

In our experience, money sent from Wise usually appears in our M-PESA balance within five minutes. You will receive SMS confirmation once it arrives, and Wise also provides an estimated delivery time before you approve the transfer. We recommend topping up before you need to make a payment rather than waiting until you are standing at the counter.

Wise currently supports transfers of up to KES 250,000 per transaction and KES 500,000 per day to an M-PESA wallet, although limits can change. You can check the current Wise guidance for Kenyan shilling transfers before transferring a large amount.

Wise Transfer Fees

Wise shows the exchange rate, transfer fee and amount arriving in your M-PESA wallet before you approve the transfer.

As a real example from our trip, it cost us around €3 to send €100, with KES 14,452 arriving in our M-PESA balance. The transfer took no more than five minutes.

Fees and exchange rates change, so your result may be different. Always check the final fee and the amount of Kenyan shillings due to arrive before confirming the transfer. For us, the convenience of transferring money directly to M-PESA was easily worth the fee. We did not need to find an ATM, pay withdrawal charges or carry cash around Kenya.

How to Pay with M-PESA

There are several ways to pay, depending on whether you are paying a business or an individual.

Ask the recipient which option they use. They will usually give you a till number, Paybill number or mobile phone number.

Paying Shops and Restaurants with Lipa na M-PESA

Businesses commonly accept payments through Lipa na M-PESA.

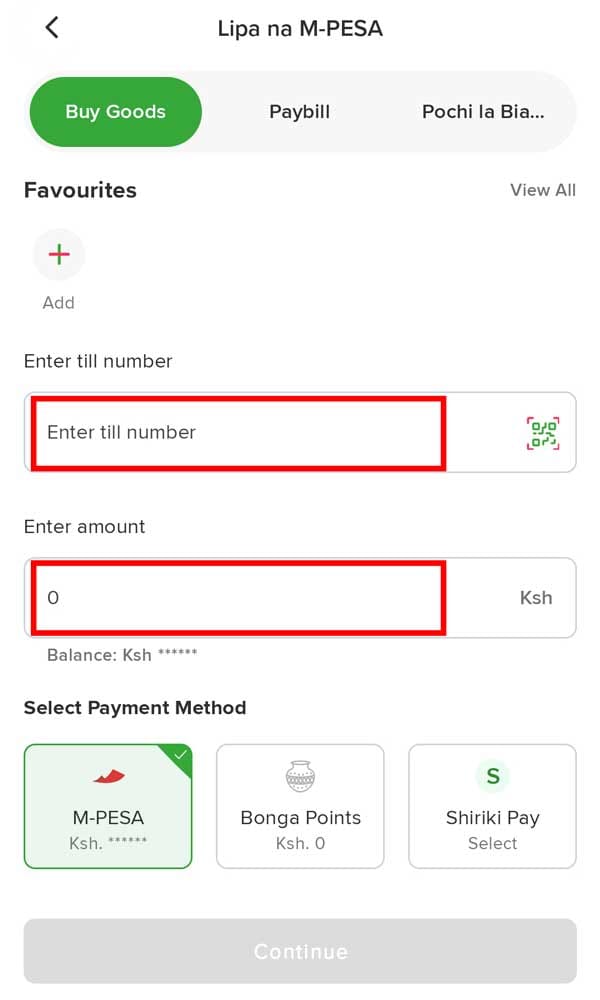
The most common option in shops, cafés and restaurants is Buy Goods, which uses a business till number.

To make a payment:

  1. Open My OneApp.
  2. Enter the M-PESA section.
  3. Select Pay or Lipa na M-PESA.
  4. Select Buy Goods.
  5. Enter the business till number.
  6. Enter the amount.
  7. Review the business name and payment details.
  8. Confirm using your PIN or biometrics.

Till numbers are often displayed beside the counter, printed on the bill or provided by a member of staff.

Check that the business name displayed in the app looks correct before confirming the payment. If it does not, stop and ask the member of staff to check the number.

Paying a Paybill Number

Some hotels, transport companies, utilities and larger organisations use a Paybill number rather than a Buy Goods till.

For a Paybill payment, you will normally need:

  • The business number
  • An account or reference number
  • The amount

Select Paybill in the M-PESA payment menu, then enter the information supplied by the business.

The account number matters. It tells the company which booking, bill or customer the payment belongs to.

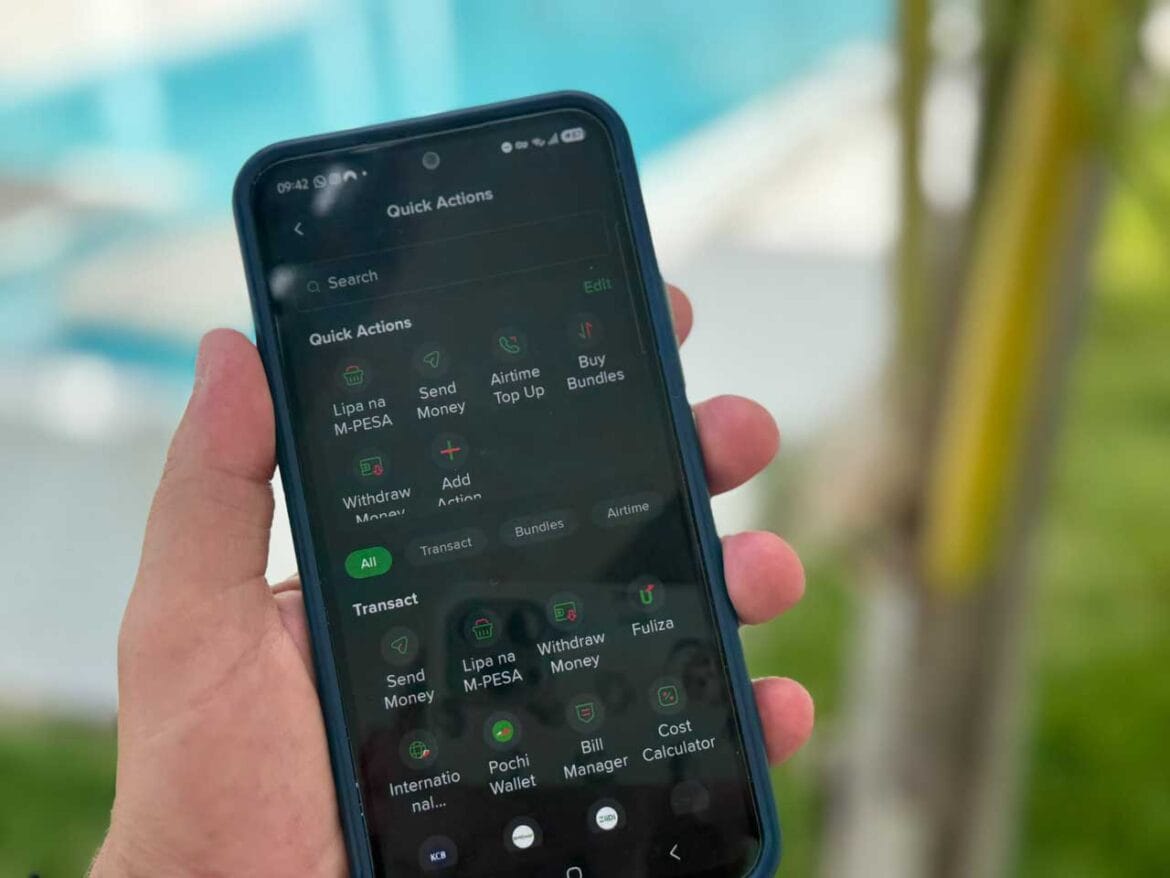
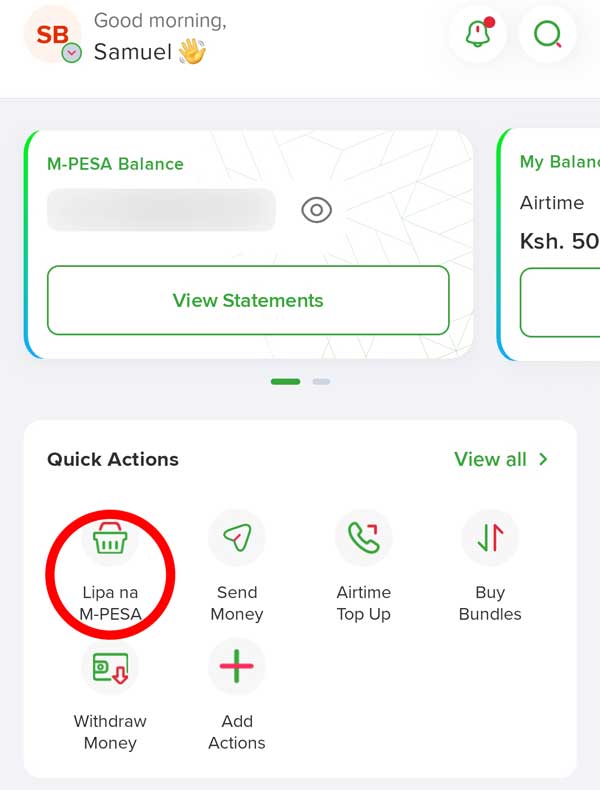
Lipa na M-PESA
Lipa na M-PESA
Lipa na M-PESA
Lipa na M-PESA

Paying Taxis, Boda-Bodas and Individuals

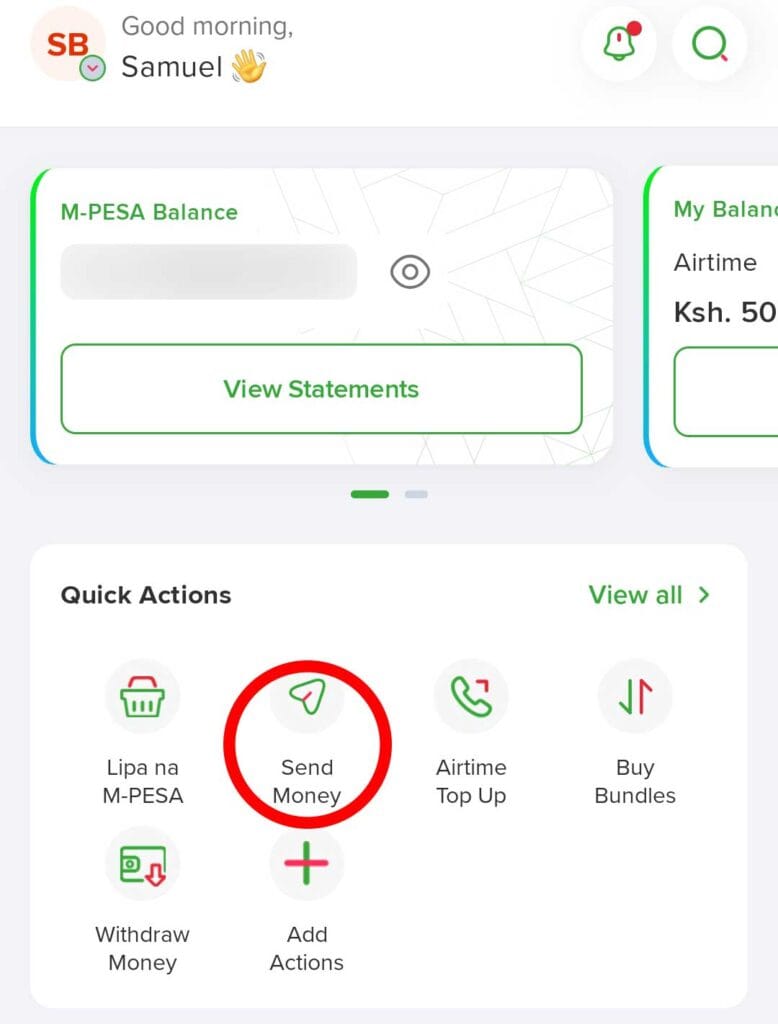
Taxi drivers, boda-boda riders and individuals will often ask you to use Send Money.

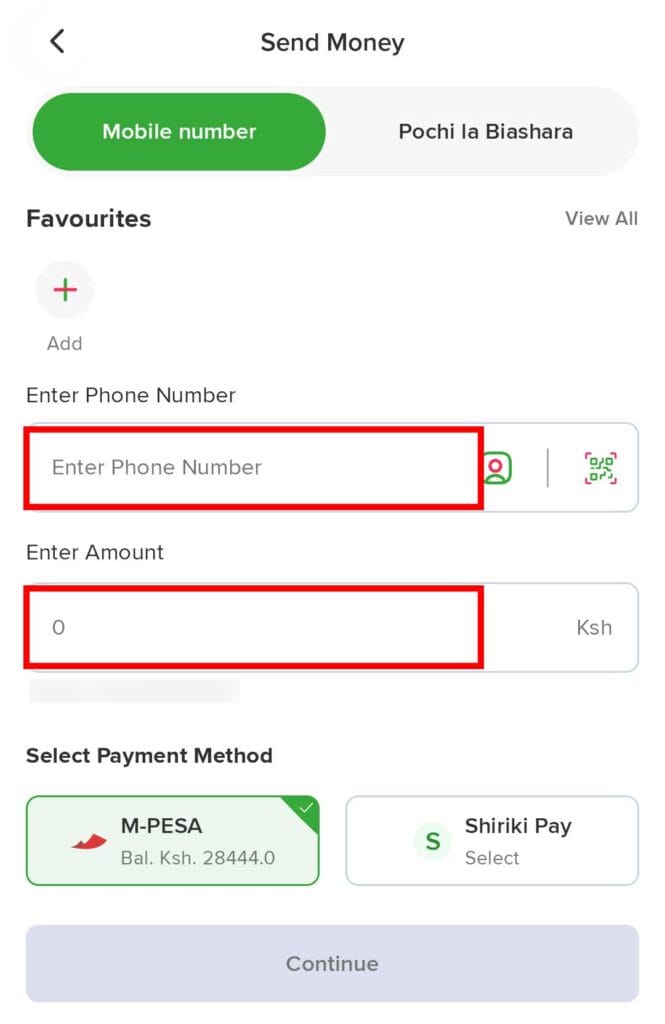
To send money to someone:

  1. Open My OneApp.
  2. Select Send Money.
  3. Enter the recipient’s Kenyan mobile number.
  4. Enter the amount.
  5. Check the recipient’s name!!!
  6. Confirm the transaction using biometrics or your M-PESA PIN.
  7. Wait for the confirmation message.

The registered name is one of the most useful security features in M-PESA.

Before getting into a taxi or starting a boda-boda ride, ask the driver’s name. When you enter their phone number, that same name should appear in the app before you send the money.

If the name is different, do not continue until the driver has confirmed that you have the correct number.

Some small businesses and drivers may use Pochi la Biashara, which allows them to receive business payments through their mobile number. Follow the payment method requested, but always check the displayed name before confirming.

Send Money M-PESA
Send Money M-PESA
Send Money M-PESA
Send Money M-PESA

Always Check the Recipient’s Name

This is the most important rule when using M-PESA:

Never confirm a transaction until you have checked the recipient’s name.

A single incorrect digit can send your money to somebody else. The app displays the registered recipient or business name so that you can verify it before payment.

For an individual payment:

  • Ask the recipient’s name.
  • Enter the number yourself.
  • Read the displayed name.
  • Confirm the amount.
  • Only then authorise the payment.

For a business payment:

  • Check the till or Paybill number.
  • Check the displayed business name.
  • Check the amount.
  • Confirm the payment yourself.

Do not rush just because someone is waiting behind you.

What Happens if You Send Money to the Wrong Person?

Act immediately.

Safaricom has a reversal process for payments sent in error. One documented method is to forward the transaction code from the confirmation message to 456. You can also look for the reversal option in the app or contact Safaricom customer support.

However, you should not assume that every mistaken payment will be recovered. A completed M-PESA transaction may be treated as final, and reversals can require Safaricom to contact the recipient and investigate what happened.

That is why checking the recipient’s name before pressing send is so important. Preventing the mistake is considerably easier than trying to recover the money afterwards.

M-PESA Security Tips for Travellers

Use biometrics

Enable fingerprint or facial recognition in My OneApp. This prevents someone from accessing your M-PESA wallet simply because they have your unlocked phone.

Keep your PIN private

Never tell anyone your M-PESA PIN. Safaricom staff, shopkeepers and drivers do not need it.

Never share a verification code

Do not give an OTP or verification code to anyone who calls or messages you. Safaricom warns customers about fake calls, messages and reversal requests.

Enter the payment details yourself

Do not hand your unlocked phone to a stranger so they can enter their number or till information. Ask them to read the number to you or show it to you while you type it.

Check the name and amount

Read the entire confirmation screen. Make sure both the recipient and amount are correct.

Verify the payment on your own phone

After paying, check the confirmation inside your app or in the SMS sent to your Safaricom number. Do not rely on a message displayed on someone else’s phone.

Keep your Safaricom line secure

Protect your phone with a strong passcode and report a lost device or SIM to Safaricom immediately.

Can You Use M-PESA Without the App?

Yes. M-PESA can also be accessed through the Safaricom SIM Toolkit or by dialling *334# from your registered Safaricom number.

This is useful if:

  • The app is temporarily unavailable
  • Your phone cannot run My OneApp
  • You have a poor data connection
  • You need an alternative way to complete a payment

The app is easier and provides a clearer confirmation screen, but it is reassuring to have another way to access your money.

Do Tourists Still Need Cash in Kenya?

Based on our own experience, no.

We are travelling independently in Kenya for six weeks. After our first month, we had not used cash once. Everyone we needed to pay accepted M-PESA, from established shops and restaurants to taxi drivers and individuals.

M-PESA has not felt like a backup payment method. It has been our main and only way of paying for everyday life in Kenya.

Setting it up takes a little effort when you first arrive, but once your Safaricom number, M-PESA wallet and My OneApp are working, travelling without cash becomes remarkably simple.

Final Thoughts on Using M-PESA in Kenya

M-PESA is one of the first things we would recommend setting up for an independent trip around Kenya.

Get a Safaricom number, register the M-PESA wallet with your passport, install My OneApp and transfer Kenyan shillings directly into the account using Wise. From that point, you can pay almost anyone directly from your phone.

The system is fast, widely accepted and easy to use. Just remember the golden rule: check the recipient’s name, check the amount and only then press send.

After travelling around Kenya for a month without using cash once, we cannot imagine doing the trip any other way.

October 2, 2026 0 comments
FacebookTwitterPinterestLinkedinRedditStumbleuponWhatsappTelegramThreadsOpenAIChatGPTEmail
Rwanda

Kigali Travel Guide: Two Weeks in Kimihurura

by Livia September 18, 2026
written by Livia

After an intense two weeks travelling around Uganda, we arrived in Kigali ready to slow things down.

We had spent the previous weeks on safari, trekking through the forest to see chimpanzees and gorillas, moving between different places and generally packing a lot into each day. By the time we crossed into Rwanda, we needed somewhere to catch up on work, laundry and life. Kigali turned out to be a great place to do exactly that.

We spent two weeks in the city, mostly based in Kimihurura, a leafy, hilly neighbourhood with plenty of cafés, restaurants and places to work. We didn’t try to see everything Kigali has to offer. Instead, we settled into the neighbourhood, worked during the week and explored when we felt like it.

If you’re travelling slowly through East Africa or looking for somewhere to base yourself for a week or two, Kigali works really well.

Where to stay in Kigali

We stayed in Kimihurura and would happily choose the same area again. It’s a pleasant and walkable neighbourhood with loads of cafés and restaurants, which meant we didn’t really need to leave the area unless we wanted to explore somewhere else.

There are plenty of Airbnbs and guesthouses around Kimihurura. We stayed in two different Airbnbs during our two weeks and found it easy to find reasonably priced options.

For us, the biggest advantage was having so much within walking distance. When you’re staying somewhere for longer and working at the same time, being able to walk out for coffee, lunch or dinner makes a big difference.

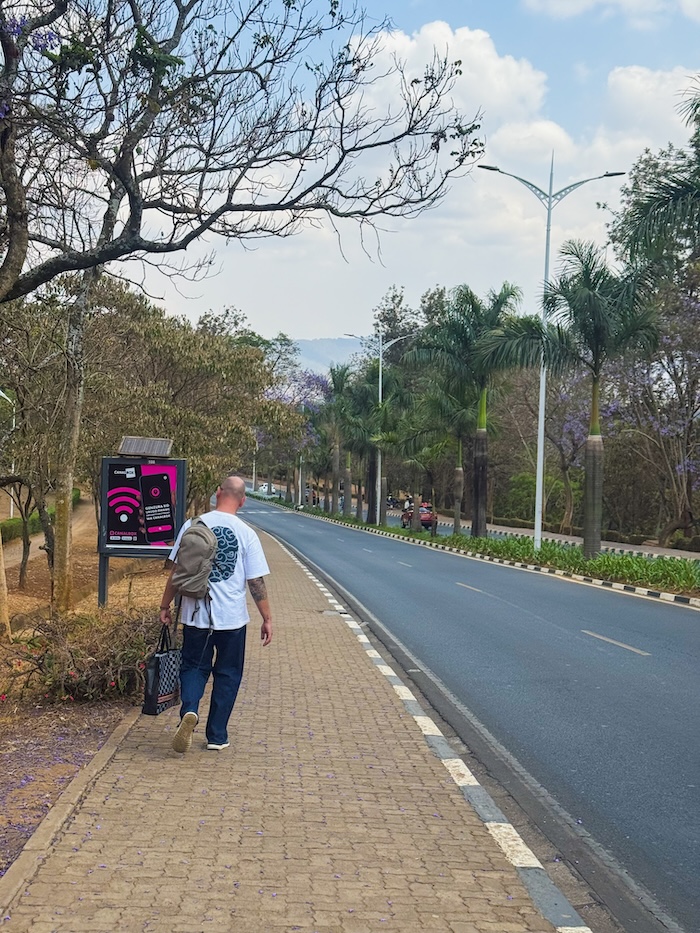
Street in Kigali, Rwanda
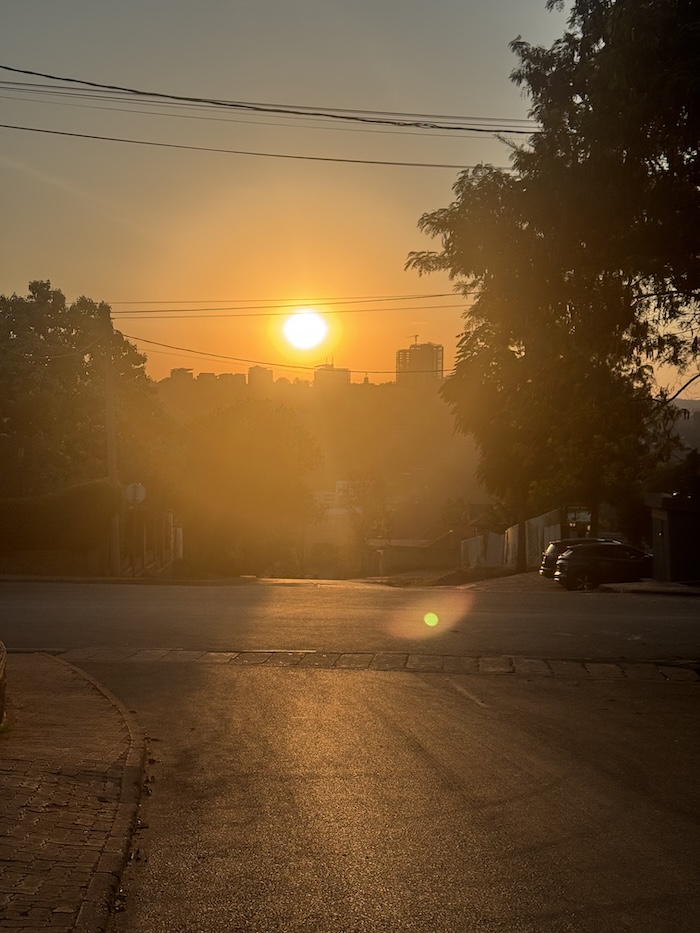
sunset on street in the Kimihurura neighbourhood of Kigali

Things to do in Kigali

We spent much more time simply enjoying the city than ticking off attractions, but there are a few things we’d definitely recommend.

Do a Self-Guided Kigali Art Walk

Kigali has a surprisingly lively contemporary art scene, with several galleries and creative spaces around Kacyiru, just north of Kimihurura.

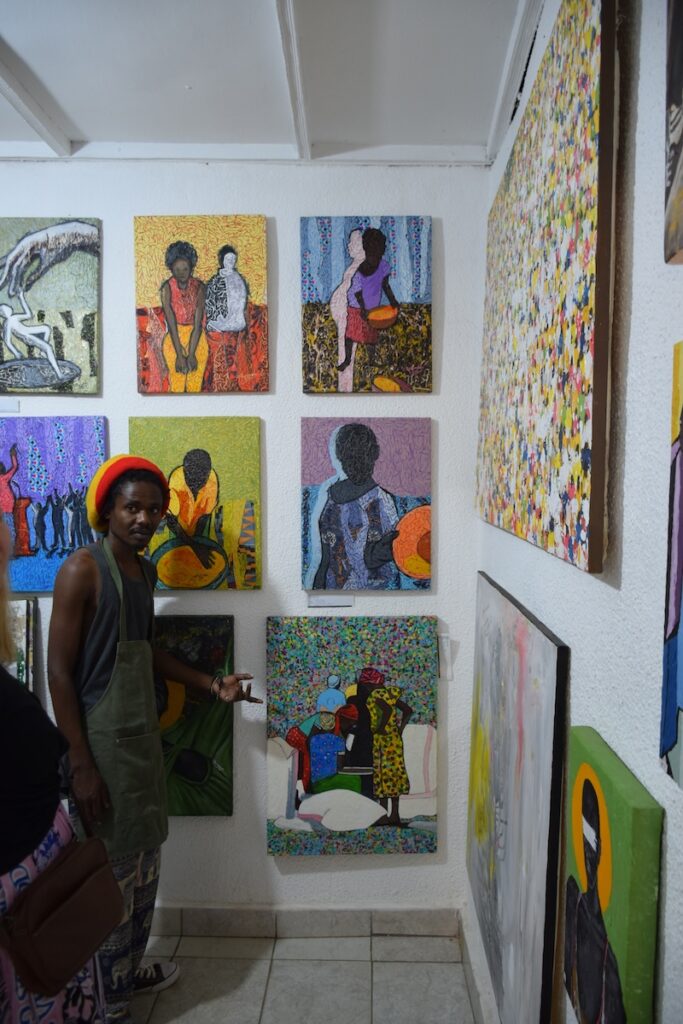
We put together our own self-guided Kigali art walk, walking between several different galleries and art spaces before heading back towards Kimihurura. It was a very nice way to spend a few hours and see a different side of the city.

Read our full Kigali Art Walk guide here.

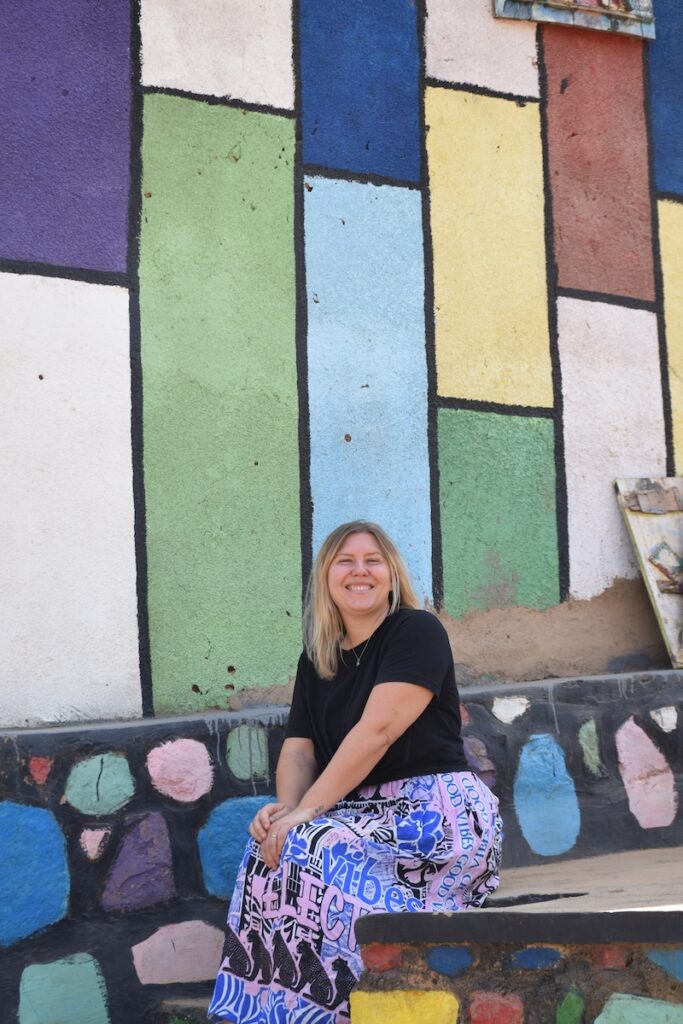
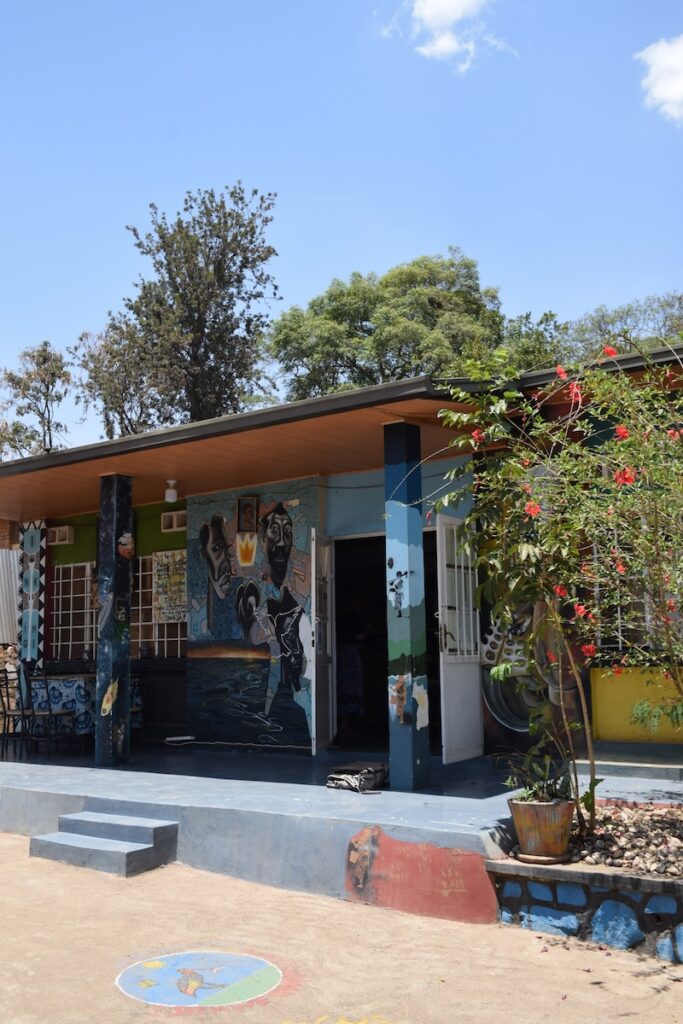
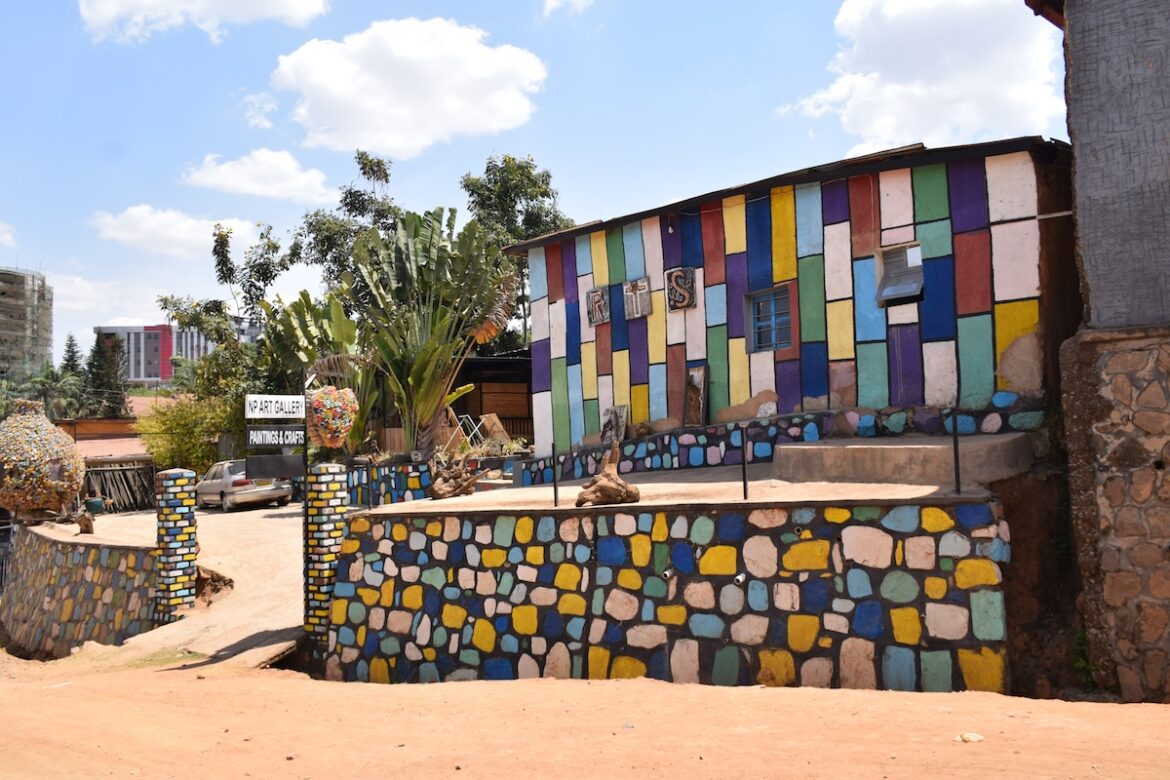
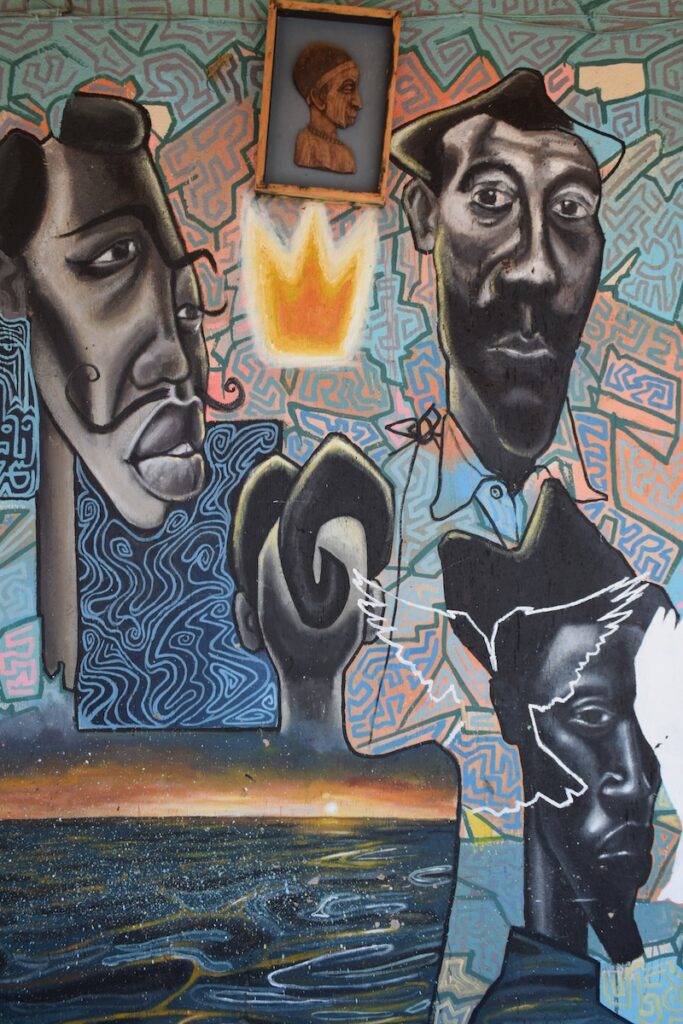
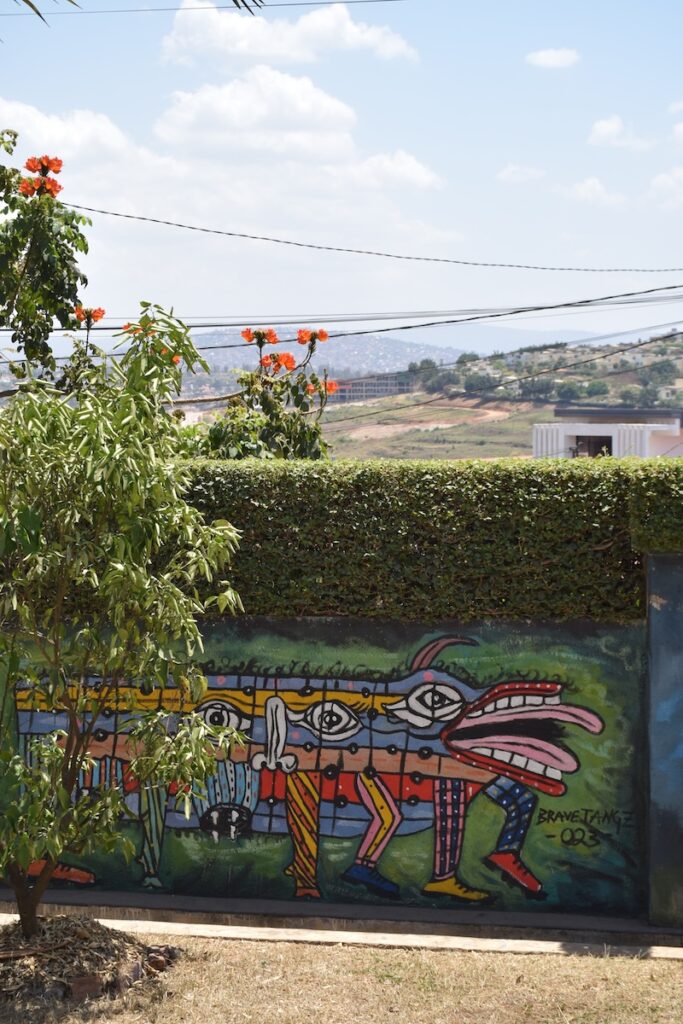
colorful wall at NP art center
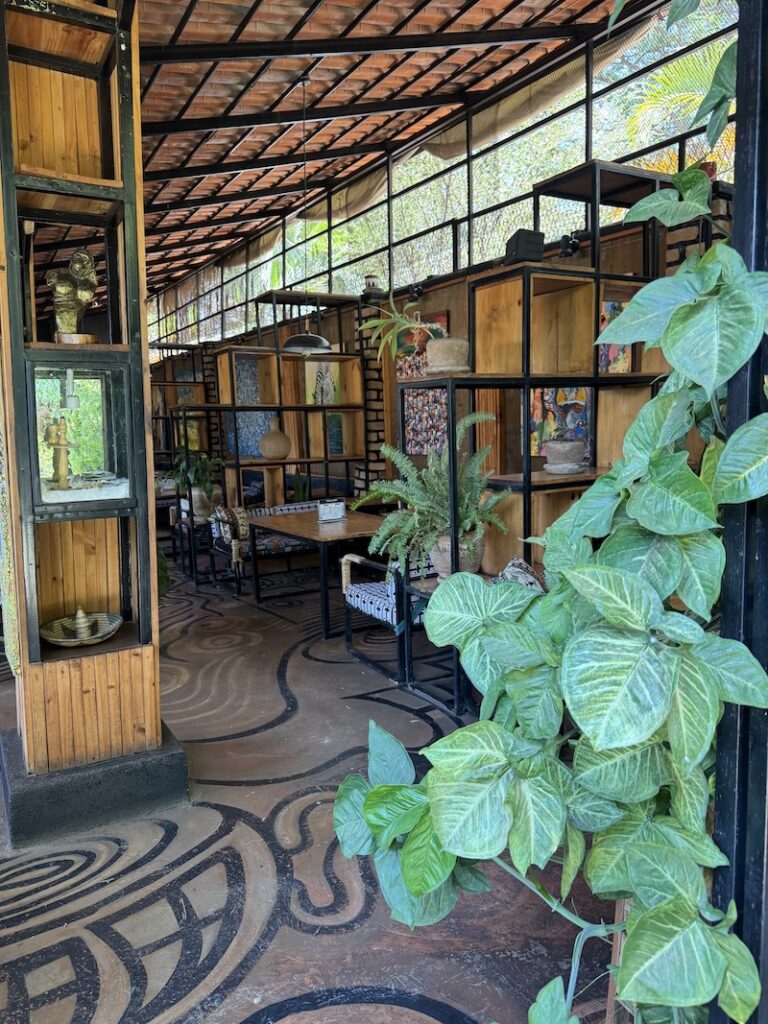
Entrance to Niyo Arts Center in Kacyiru, Kigali
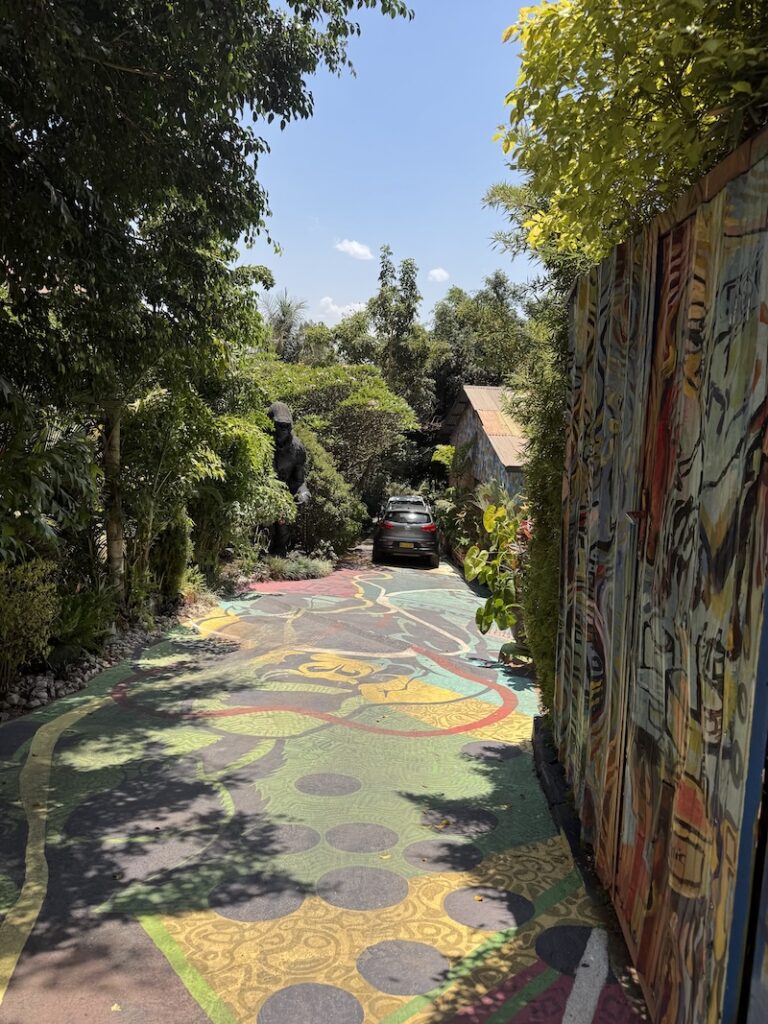
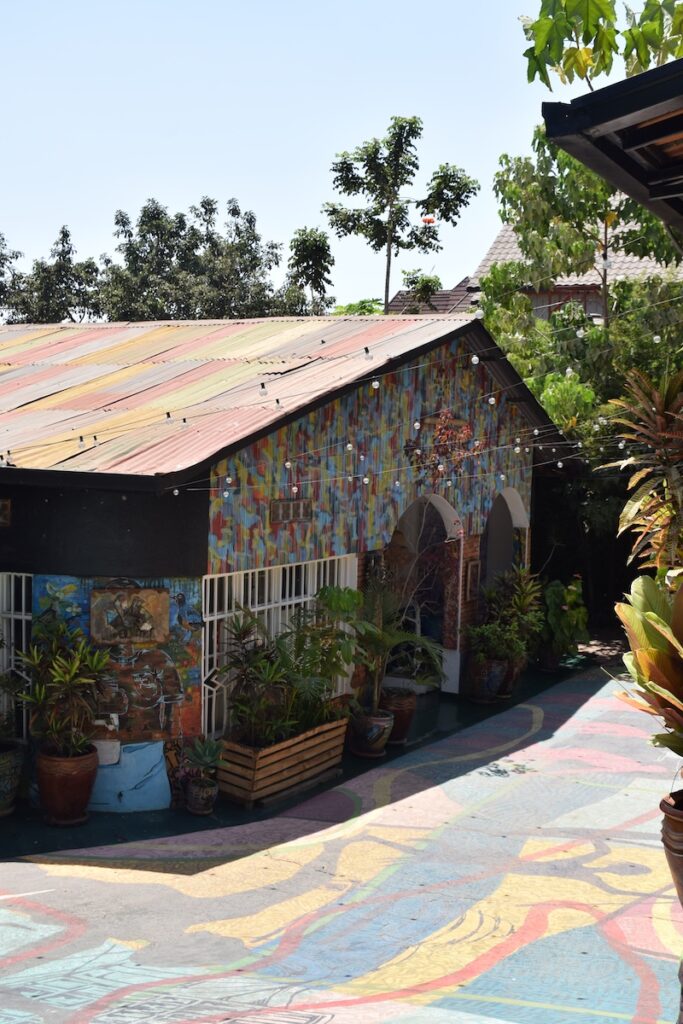
Entrance to Inkingi Arts Space in Kacyiru, Kigali

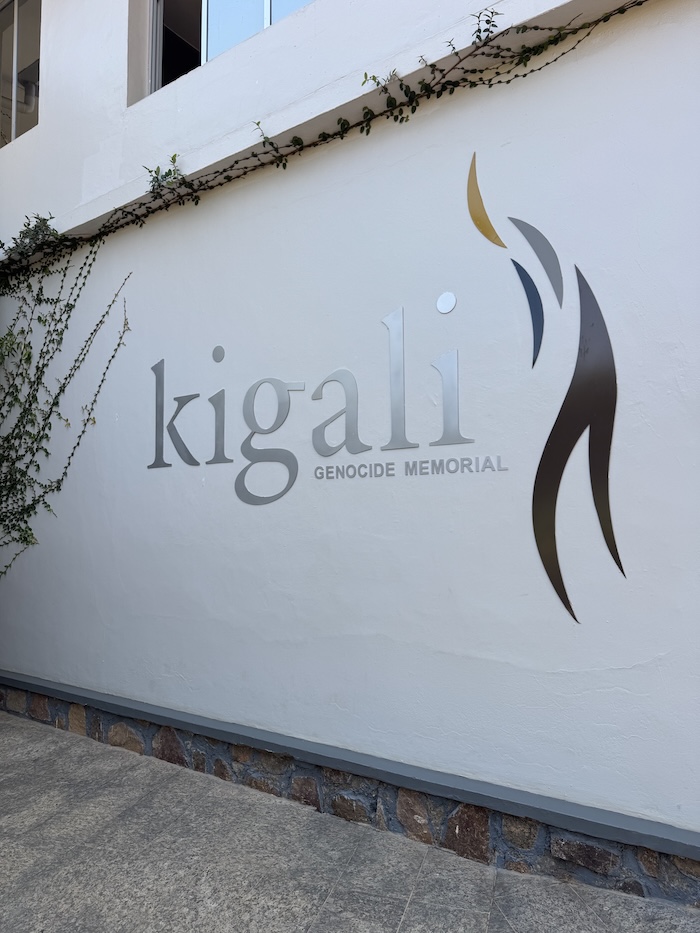
Visit the Kigali Genocide Memorial

The Kigali Genocide Memorial is a difficult but important place to visit.

The exhibitions tell the story of the 1994 Genocide, as well as providing a wider historical context. Some sections contain very graphic photographs and video footage, and we found parts of the museum extremely difficult to see.

Entry was free when we visited, with the option to leave a donation. We simply showed up on a weekend and were able to enter without booking in advance.

Give yourself enough time and don’t plan to rush through it.

Exterior of the Kigali Genocide Memorial
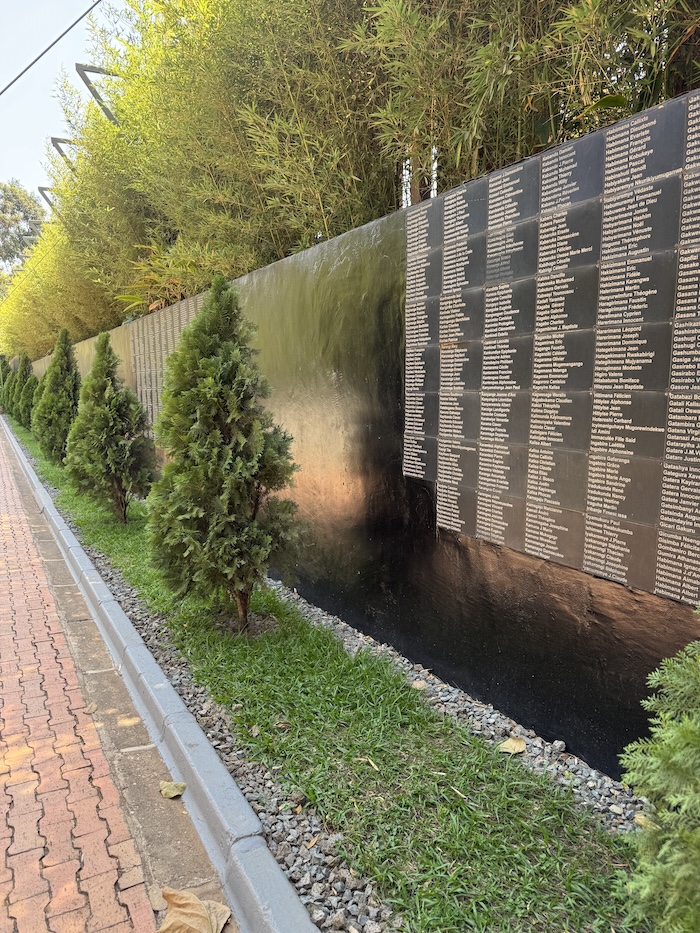
Gardens at the Kigali Genocide Memorial

Where to Eat in Kigali

One thing we definitely didn’t struggle with during our two weeks in Kigali was finding somewhere to eat. Most of these restaurants are in or around Kimihurura, and we could walk to many of them from our accommodation.

EyaMya

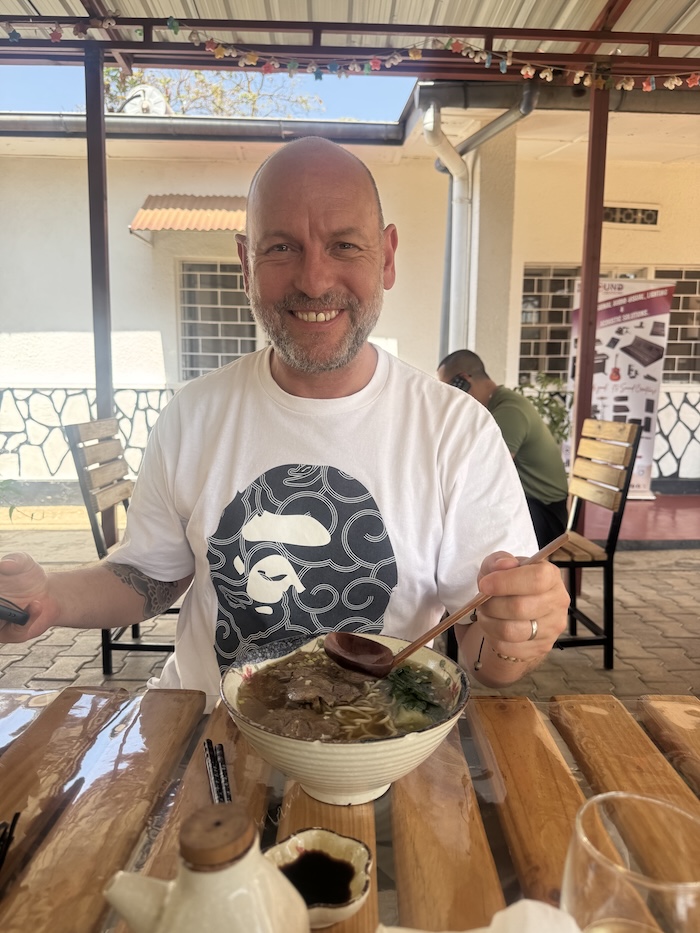
EyaMya serves Chinese food and quickly became our go-to restaurant in the area. The noodle soup was particularly good, and we ended up eating here probably four or five times during our stay.

Noodle soup at EyaMya in Kigali
Chinese food at EyaMya restaurant in Kigali
entrance to EyaMya restaurant in Kigali

Basta & Pasta

Basta & Pasta is a good option if you’re craving Western food. It’s on the expensive side for Kigali, but the food was really good and the Italian owner was very friendly.

When we visited, the restaurant was located just outside Kimihurura, but we heard they were planning to move into the neighbourhood.

Italian food at Bastsa & Pasta, Kigali

Petit Marché

Petit Marché is a small shop with a lovely little patio where you can stop for a glass of wine, some nibbles or a full meal. The staff were incredibly friendly every time we visited, and it quickly became our regular after-work hangout.

Kimchi

A good option for Korean food in Kimihurura, with plenty of different dishes to choose from.

Patio at Petit Marché in Kimihurura
Petit Marché Patio
Korean food at Kimchi in Kimihurura
Kimchi

Borneo

Borneo became a handy option for lunch. They offer a buffet including a drink for 8,500 RWF, making it an easy and reasonably priced meal.

The staff were also super sweet, and we ended up coming back several times during our stay.

Entrance to Borneo in Kigali
Exterior Borneo in Kigali

Soy

Soy serves Pan-Asian food in a nice setting. We enjoyed the food, although we found it a little expensive for what it was.

Damasquino

A great option for Syrian food and something a little different from many of the other restaurants around Kimihurura.

Syrian food at Damasquino in Kigali

Fire & Stone

A good option when you fancy pizza. Simple, casual and easy for dinner.

Pizza at Fire & Stone in Kigali
Seating at Fire & Stone in Kigali

Amahoro Area

For something more local, head towards the Amahoro area. There are lots of restaurants serving food from different African cuisines, and the area feels much less geared towards tourists and international visitors than many of the restaurants around Kimihurura.

We ended up here by chance after needing to visit the nearby hospital and had a great time exploring the area and trying some of the local restaurants.

Amahoro area, Kigali
Cafe in Amahoro area, Kigali
Food in Amahoro area, Kigali

Cafés in Kimihurura

Kimihurura has a great café scene, which was particularly useful for us as we were working during our two weeks in Kigali. There are plenty of places where you can grab a coffee, have something to eat or spend a couple of hours working.

Indabo Café

Indabo Café become one of our favorite places to hang out. The coffee and food was really good and it was a great place to get some work done. The staff were super friendly, there’s space to sit with a laptop and there’s even a doggy daycare next door, so you can watch the dogs while you work. Always a plus!

Outdoor seating at Indabo Café in Kigali

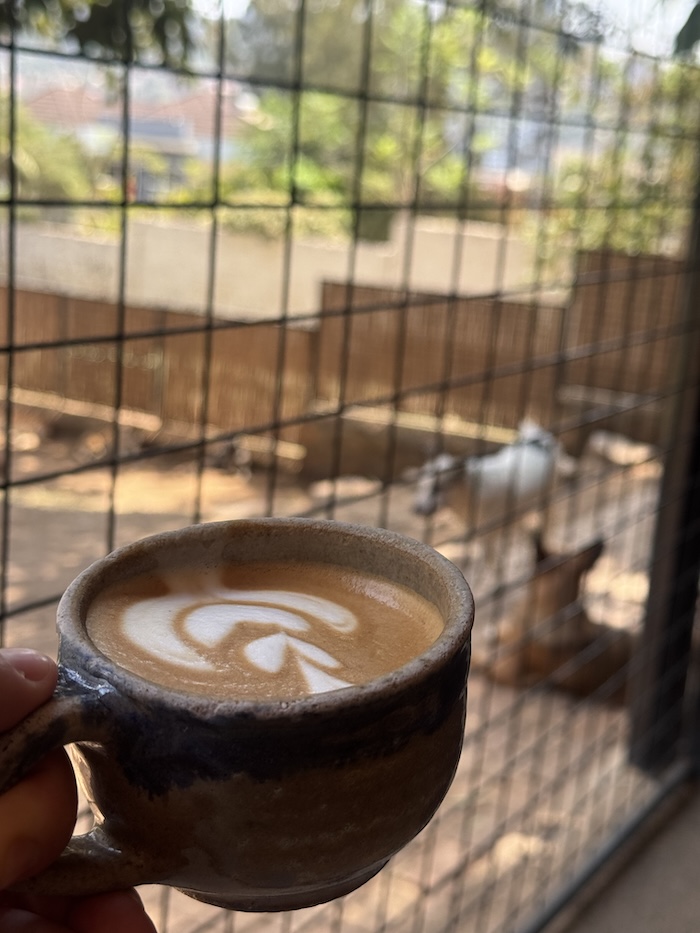
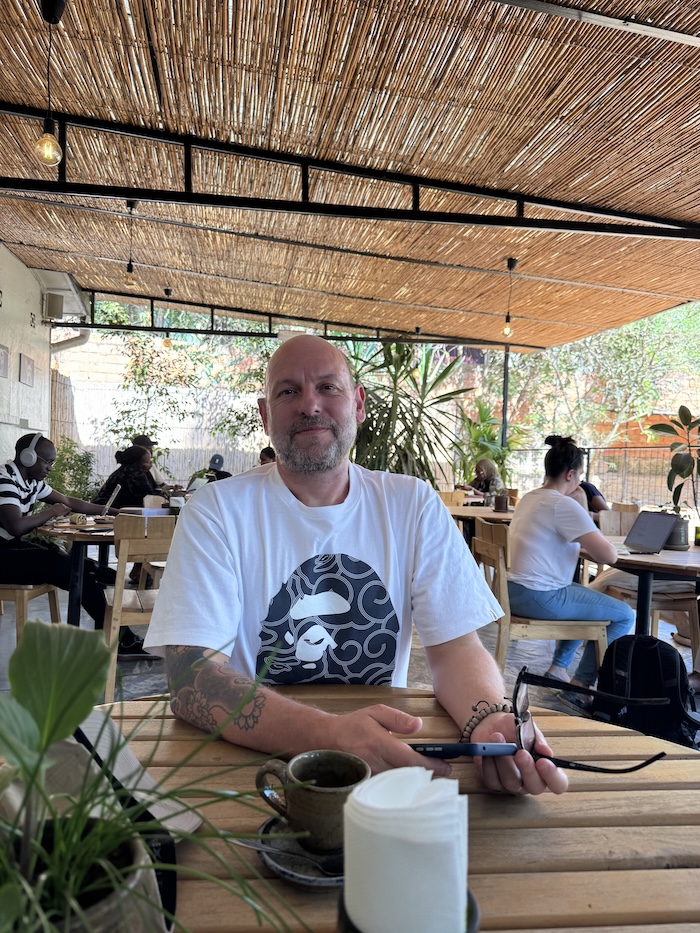
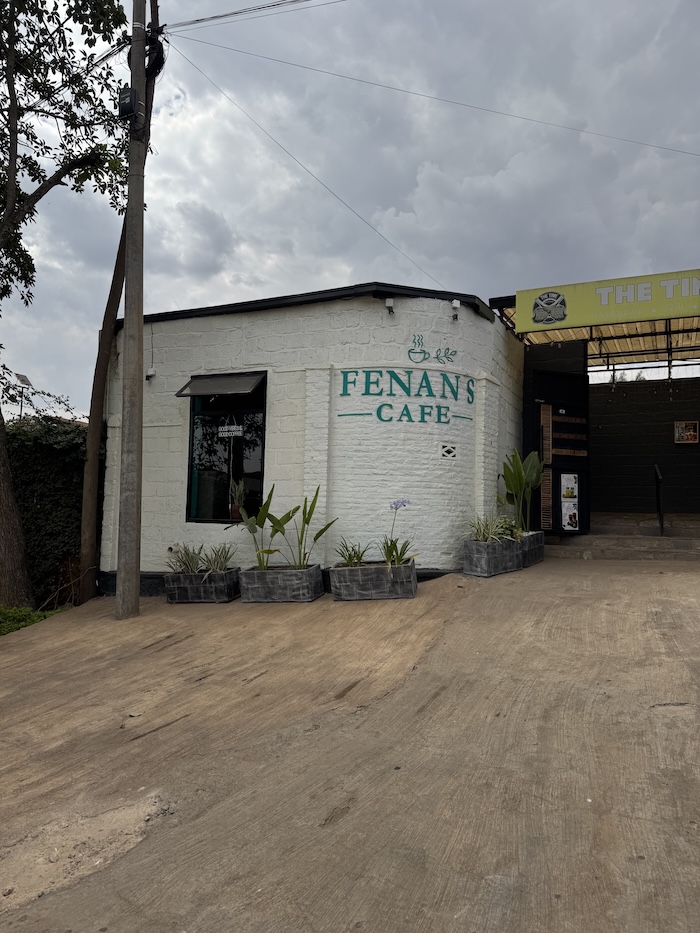
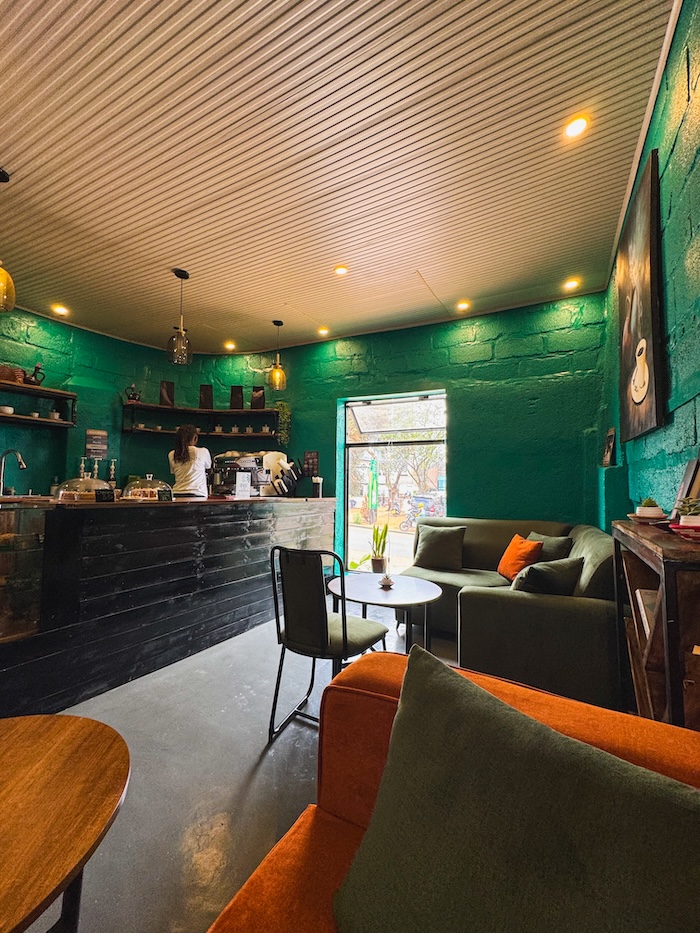
Fenans Café

Fenans is a cute little café with a relaxed atmosphere. We really liked this one for a coffee break or a change of scenery during the workday.

exterior of Fenans Café in Kigali
Interior of Fenans Café in Kigali

Kivu Noir

Kivu Noir is a little more expensive than some of the other cafés in the area, but it’s a nice spot for coffee and something to eat. Very popular place though, so it can get a bit busy.

Tugende

Tugende is a good option for healthy food, coffee and getting some work done. There’s also a yoga and Pilates studio in the same building.

Indoor seating at Tugende Café in Kimihurura
Tugende
coffee at Kivu Noir café in Kigali
Kivu Noir
Kivu Noir café in Kigali
Kivu Noir

It could get a little noisy while we were there because of construction in the area and the padel courts next door, so it wasn’t always the quietest place to work.

Is Kigali Safe?

We felt very safe during our two weeks in Kigali, particularly around Kimihurura. We regularly walked around the neighbourhood and never had a situation where we felt unsafe. As with any city, it’s still sensible to be aware of your surroundings and take the usual precautions with your belongings.

How to Get Around Kigali

Getting around Kigali is pretty easy. We mostly walked when staying within Kimihurura and used moto taxis when we wanted to go further.

Moto Taxis

Motos were our main form of transport whenever we needed to travel beyond walking distance.

Motorcycle taxis are everywhere in Kigali, and we rarely had to walk far before one passed that we could flag down. We normally paid around 1,000 RWF per ride, although locals may pay less. For the journeys we took, we never paid more than around 2,000 RWF for a ride of up to roughly 20 minutes. It’s worth agreeing on the price before getting on.

Rwanda has strict rules for motorcycle taxis. Both the driver and passenger must wear helmets, and the driver provides one for you. Motos can also only carry one passenger at a time. We felt very safe using them and were never nervous about getting on.

Many of our moto drivers didn’t speak much English, so it helps to have your destination ready on your phone. Occasionally, we ended up navigating from the back of the bike to make sure we were heading in the right direction.

Taxis

For longer journeys or when we didn’t want to take a moto, we used YEGO or Move by Volkswagen to order taxis. It was easy to use and particularly handy when travelling with luggage or when we wanted a car rather than a motorcycle.

Walking

Kigali is surprisingly walkable, especially when you’re exploring individual neighbourhoods. Just be prepared for hills. Kigali is known as the Land of a Thousand Hills, and even a short route on Google Maps can involve a surprisingly steep climb.

Is Kigali Good for Slow Travellers?

For us, Kigali worked really well as a slow travel destination.

After two busy weeks travelling around Uganda, we didn’t want another destination where we felt the need to fill every day with sightseeing. We needed somewhere to catch up on work, do some laundry and generally get back on top of life for a bit.

Two weeks gave us time to settle into Kimihurura rather than simply visit Kigali. We found cafés we returned to, had regular restaurants, worked during the week and explored when we felt like it.

If you’re travelling through East Africa for a longer period and need somewhere to slow down for a while, Kigali is an easy place to spend a week or two. Kimihurura in particular gave us exactly what we needed: somewhere comfortable and walkable where everyday life could become part of the trip.

September 18, 2026 0 comments
FacebookTwitterPinterestLinkedinRedditStumbleuponWhatsappTelegramThreadsOpenAIChatGPTEmail
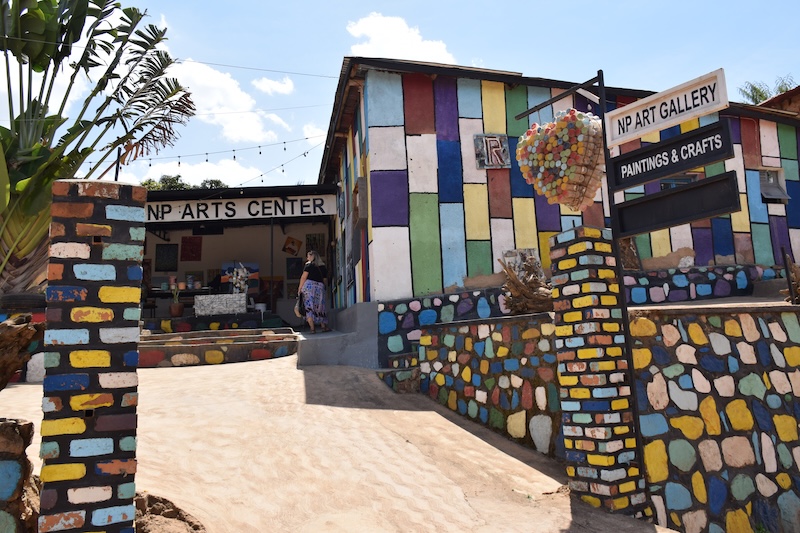
Exterior of NP Arts Center in Kigali
Rwanda

A Self-Guided Art Walk in Kigali: Exploring Kacyiru’s Art Centres

by Livia September 5, 2026
written by Livia

Kigali has a lively contemporary art scene, with several art centres and creative spaces clustered around Kacyiru, just north of Kimihurura.

While staying in Kimihurura, we put together our own self-guided art walk through the area. We took a moto to Niyo Arts Center and then made our way back on foot, stopping at different art spaces along the way.

Our Kigali Art Walk Route

Optional Starting Point: Impundu Arts Center

We only heard about Impundu Arts Center after doing our art walk, but if we were planning the route again, this is where we’d start. The centre showcases work exclusively by female artists, which sounds well worth a visit.

It’s also close to Niyo Arts Center, where we started our walk, so it’s easy to add without changing the route much.

1. Niyo Arts Center

Niyo Arts Center was where we started our art walk and a great place to begin the morning. The centre is colourful and welcoming, with several rooms filled with work by local artists.

There’s also a nice café, making it a good spot to grab breakfast or a coffee before setting off. Everyone we met here was incredibly friendly, and we spent around 30 minutes looking around before continuing.

Entrance to Niyo Arts Center in Kacyiru, Kigali
Cafe at Niyo Arts Center in Kacyiru, Kigali

2. Inkingi Arts Space

From Niyo, it’s around a 15-minute walk to Inkingi Arts Space.

There’s plenty to browse here, but as with most of the art spaces on this route, how long you spend really depends on what catches your eye. We spent around half an hour at some stops, while others were much quicker visits.

Entrance to Inkingi Arts Space in Kacyiru, Kigali
street art at Inkingi Arts Space in Kacyiru, Kigali

3. MADS Kigali

MADS Kigali doesn’t have the same colourful exterior as some of the other art centres along the route, but don’t let that put you off. Inside, the art is quite different from what we saw elsewhere, with some really distinctive and unusual pieces. We really enjoyed this stop.

It does require a small detour. The road doesn’t continue through towards the next stop, so after visiting MADS you’ll need to retrace your steps for a short distance before continuing the walk.

Entrance to MADS Kigali during our Kigali art walk

Optional Stop: Touch of Rwanda

Touch of Rwanda isn’t an art centre, but it’s conveniently located along the route and worth popping into while you’re passing.

There are seamstresses here who can make clothes for you, as well as locally made pieces to browse and buy. If you’re staying in Kigali for a few days, you could also arrange to have something made and return to collect it later.

4. NP Arts Center

Continue towards NP Arts Center, which you’ll find along a dirt road.

It’s another easy stop to add to the route, and you won’t have far to walk afterwards as the next art centre is almost opposite.

Exterior of NP Arts Center in Kigali

5. Ishyuka Arts

Ishyuka Arts is very close to NP Arts Center and was the final art centre we visited on our walk.

We had arrived at Niyo at around 10am and reached Ishyuka at approximately 1:30pm. By this point, after several hours of walking around Kigali in the sun, we were getting seriously hot and decided this was enough art for one day.

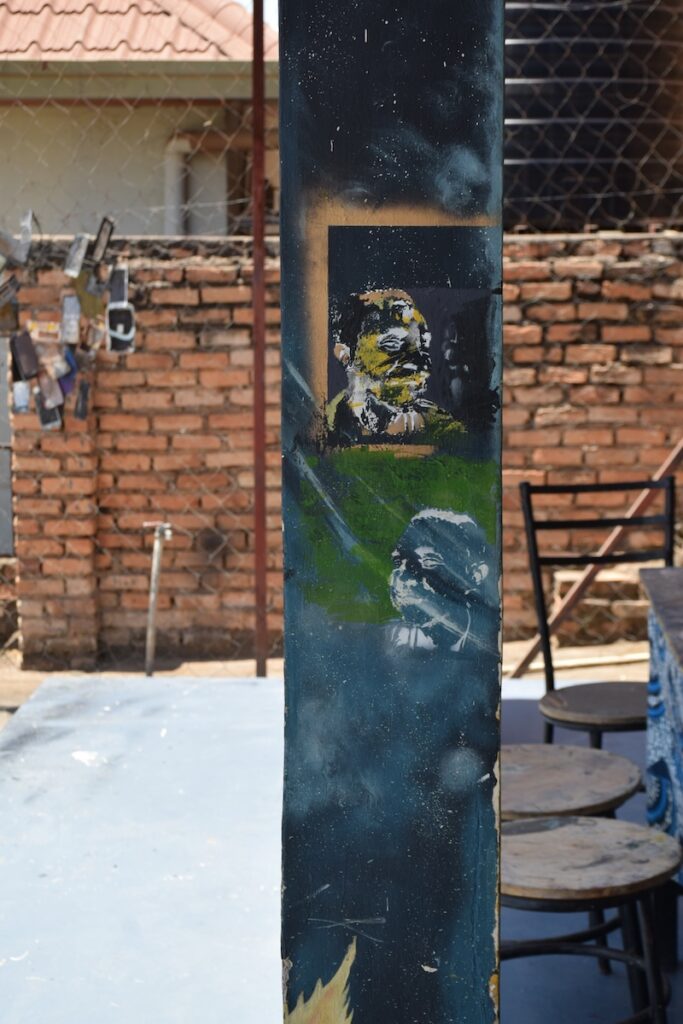
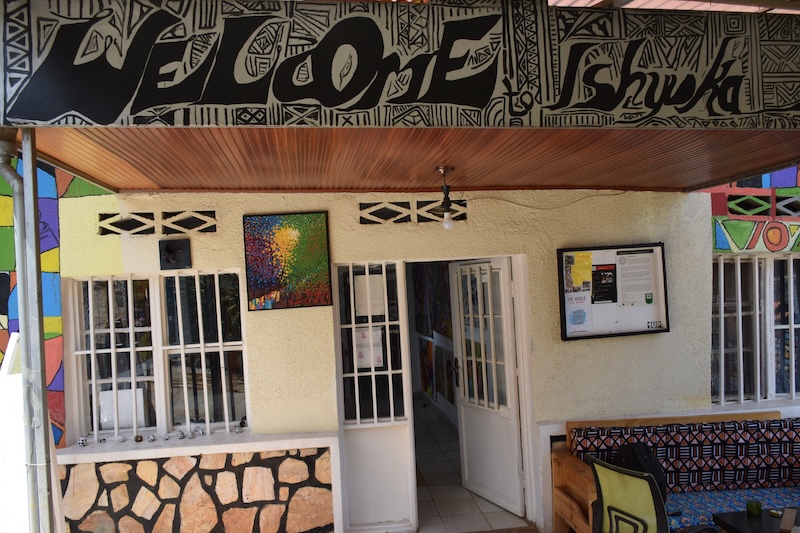
Entrance to Ishyuka Arts in Kacyiru, Kigali

6. Inema Arts Center

If you still have the energy, continue along the dirt road towards Inema Arts Center.

We had planned to include Inema in our walk but were simply too hot by this point and decided to skip it. It’s also the only art centre on this route that charges an entrance fee, which apparently includes a coffee.

After Inema, you can jump on a moto back to your accommodation or continue walking towards Kimihurura for lunch or dinner.

How Long Does the Kigali Art Walk Take?

We arrived at Niyo Arts Center at around 10am and finished at Ishyuka at approximately 1:30pm, so the part of the route we walked took us around three and a half hours.

If you add Impundu at the beginning, visit Inema and walk all the way back to Kimihurura, we’d allow around five hours in total. That should give you enough time to look around each art centre, stop for a coffee and walk between them without rushing.

How long you spend at each stop will vary. We spent around 30 minutes at some, while others were quick 10-minute visits.

If you don’t want to visit them all, we’d concentrate on the first half of the route. We found the art more interesting towards the beginning of the walk, so Niyo, Inkingi and MADS would be our picks if you only have a couple of hours.

Tips for Doing the Kigali Art Walk

  • Start early. We started at 10am, but we’d recommend going earlier. It gets hot once you reach the middle of the day.
  • Wear comfortable shoes. You’ll be doing quite a bit of walking, including along some dirt roads.
  • Bring water. You’ll definitely want it as the day gets hotter.
  • Carry some cash. It’s useful for smaller purchases and for grabbing a moto if you decide you’ve walked enough.
  • Don’t feel like you need to complete the whole route. Motos are everywhere, so it’s easy to stop whenever you’ve had enough.

Is Kigali’s Art Walk Worth Doing?

If you’re staying in Kimihurura or Kacyiru, this is an easy way to spend half a day seeing some of Kigali’s independent galleries and creative spaces.

Taking a moto to the furthest point and then walking back means there’s no need to arrange transport between every stop, and most of the galleries are relatively close together. You can follow the whole route, choose just a few galleries or call it a day whenever the heat gets too much and grab a moto back.

We really enjoyed the walk, saw some great art and met genuinely lovely people at every stop along the way. It ended up being a really nice way to spend a morning in Kigali.

colorful wall at NP art center
Artwork on display at Ishyuka Arts in Kigali
Streetart and views at Inkingi Arts Space in Kacyiru, Kigali
September 5, 2026 0 comments
FacebookTwitterPinterestLinkedinRedditStumbleuponWhatsappTelegramThreadsOpenAIChatGPTEmail
Sunset over central Windhoek with Christuskirche and the surrounding hills
Namibia

Windhoek Travel Guide: Is Namibia’s Capital Worth Visiting?

by Livia September 1, 2026
written by Livia

Windhoek is often treated as little more than the starting point for a trip around Namibia. Most travellers fly in, pick up a rental car or join a tour and head straight for the desert, national parks and dramatic landscapes the country is famous for.

And, to be fair, if you’re visiting Windhoek purely as a tourist, you probably don’t need very long here.

The main sights can easily be explored in a day or two, but after spending more time in the city, we found there was another side to Windhoek. There are some interesting historical sights, surprisingly good restaurants, relaxed places for drinks and several areas that are easy to settle into.

So, is Windhoek worth visiting? Yes, but how long you should stay depends very much on how you’re travelling.

Where to Stay in Windhoek

Chameleon Backpackers

We stayed at Chameleon Backpackers, a long-running hostel and guesthouse close to central Windhoek. It’s also the base for Chameleon Safaris, who we travelled with on our 9-day group tour around Namibia.

Despite being a backpackers, it was surprisingly quiet and relaxed, which made it easy to get some work done or simply have some downtime during the day. At the same time, it was a very social place. There was usually someone around to chat to, and Chameleon regularly organised dinners, quiz nights and other activities. It struck a good balance between having some atmosphere without feeling like a party hostel.

There’s also a shared kitchen, which is particularly useful if you’re staying for more than a couple of nights and don’t want to eat out for every meal.

Chameleon also offers a free walking tour of Windhoek, giving you an easy introduction to the city and its history. If you’re joining one of their Namibia tours, staying here is particularly convenient as everything starts from the same place.

There’s a good range of accommodation available, including dorms, several categories of private rooms, family rooms and even tents, making Chameleon an option for different budgets and travel styles.

Chameloen backpackers hostel Windhoek room

Other areas to stay in Windhoek

Although we enjoyed Chameleon Backpackers, if we returned to Windhoek for a longer stay, particularly while working remotely, we’d probably choose Klein Windhoek.

Another area we’d consider is around The Village. We really liked the atmosphere here, with several restaurants, cafés and places for drinks clustered together.

If you’re only spending a night or two in Windhoek before joining a safari, somewhere central like Chameleon is very convenient.

Things to Do in Windhoek

You don’t need a huge checklist for Windhoek. Most of the central sights are relatively close together and can easily be combined into one day.

Take a Free Walking Tour

If you’re staying at Chameleon Backpackers, their free walking tour is an easy way to get your bearings.

The tour takes you through central Windhoek and introduces some of the city’s main landmarks and history. It’s particularly useful at the beginning of your stay, as you can return to anything you want to explore in more detail afterwards.

Visit Christ Church

Sitting prominently above the city centre, Christ Church, or Christuskirche, is probably Windhoek’s most recognisable building.

The Lutheran church dates back to the German colonial period, and its distinctive architecture makes it stand out immediately from the more modern buildings surrounding it.

It’s also conveniently located close to several of Windhoek’s other main sights, so it’s easy to include while exploring the centre on foot.

Walk Around Parliament Gardens and Tintenpalast

Close to Christ Church you’ll find the Parliament Gardens and Tintenpalast, home to Namibia’s parliament.

The gardens provide a greener contrast to the surrounding streets and are another easy stop while exploring central Windhoek.

Parliament Gardens in Windhoek with Christuskirche in the background
Parliament Gardens
Parliament Gardens in Windhoek
Parliament Gardens
Christuskirche in central Windhoek, Namibia
Christ Church

Explore Windhoek’s Independence Monuments

Around the Independence Memorial Museum you’ll find several monuments connected to Namibia’s colonial history, struggle for independence and those who lost their lives under colonial rule.

It’s worth spending some time walking around this area rather than simply heading straight into the museum.

Namibia has a complex and often brutal history, and learning some of that story in Windhoek gives you important context before travelling further around the country.

Browse the Markets

If you’re looking for Namibian crafts and souvenirs, there are a couple of places worth checking out in central Windhoek.

The Namibia Craft Centre brings together a large number of local crafts under one roof, with everything from jewellery and textiles to carvings, baskets and other handmade products.

We also visited the Craft Market on Independence Avenue, where you’ll find stalls selling souvenirs and crafts in a more traditional outdoor market setting.

Both are easy to include while exploring central Windhoek, particularly if you’re looking to pick up something from Namibia before continuing your trip.

Visit the Independence Memorial Museum

One of the most distinctive buildings on Windhoek’s skyline is the Independence Memorial Museum.

The museum focuses on Namibia’s anti-colonial resistance and struggle for independence, making it one of the more important places to visit if you want to understand the country’s recent history.

The building itself also has an unusual backstory. It was constructed by North Korea’s Mansudae Overseas Projects, which has been responsible for monumental architecture and statues in several African countries.

Independence Memorial Museum in central Windhoek, Namibia

Have Sunset Drinks Above Windhoek

At the top of the Independence Memorial Museum you’ll find a restaurant with panoramic views across Windhoek.

We came here for drinks around sunset, and it’s a great place to see the city from above.

You get a particularly good view across to Christ Church and the surrounding city centre, while the hills around Windhoek stretch out into the distance.

If you only have one day in Windhoek, we’d time your sightseeing so that you end up here towards sunset.

View over Windhoek from the Independence Memorial Museum restaurant
Sunset drinks overlooking central Windhoek and Christuskirche

Where to Eat in Windhoek

We were actually more impressed by Windhoek’s restaurant scene than its list of tourist attractions. There are several areas where restaurants and bars are clustered together, making it easy to head somewhere for the evening and decide where you want to eat once you arrive.

Joe’s Beerhouse

If there’s one restaurant almost everyone seems to know in Windhoek, it’s Joe’s Beerhouse.

The sprawling restaurant is packed with Namibian memorabilia and has an atmosphere that makes dinner feel like part meal, part experience.

One of the big reasons to come here is the opportunity to try different types of game meat. We tried several during our time in Namibia, but the surprise for us at Joe’s was giraffe. We had no idea what to expect, but absolutely loved it.

If you’re curious about trying game meat while travelling in Namibia, Joe’s is an easy place to start.

Entrance to Joe's Beerhouse in Windhoek, Namibia
Joe’s Beerhouse
Game meat served at Joe's Beerhouse in Windhoek
Joe’s Beerhouse
The Village in Windhoek
The Village

The Village

We really liked The Village, a relaxed café and restaurant in Windhoek with a lovely outdoor setting. It’s a good spot for breakfast, lunch, coffee or drinks, and also somewhere you can comfortably sit with a laptop and get some work done.

They occasionally host markets and other events too, and there are several other restaurants and places for drinks within the same complex and nearby.

We came back here several times during our stay and really liked the atmosphere, whether we were stopping for something to eat, getting some work done or heading out in the evening.

The Stellenbosch Wine Bar & Bistro

Another place we enjoyed was The Stellenbosch Wine Bar & Bistro.

It’s a good option if you want something a little more polished, with a strong focus on meat, wine and South African-influenced food.

It’s also in Klein Windhoek, the part of the city we’d probably choose as our base if we returned for a longer stay.

Butcher Block Namibia

Butcher Block Namibia is another good option, particularly if you’re looking for steak and grilled meat.

There are several other restaurants and places for drinks around this area too, so you don’t necessarily need to decide exactly where you’re eating before you arrive.

Using Windhoek as a Base for Exploring Namibia

Windhoek is the starting point for many trips around Namibia, whether you’re joining an organised tour or picking up a rental car and travelling independently.

We chose a 9-day group tour with Chameleon Safaris, travelling from Windhoek through some of Namibia’s most spectacular landscapes before eventually returning to the capital. Travelling as part of a small group meant we didn’t need to worry about driving the huge distances ourselves or organising accommodation and activities along the way.

We’ve written a full guide to the experience, including the route, accommodation, camping and what travelling Namibia with Chameleon was actually like.

READ MORE: HOW TO TRAVEL IN NAMIBIA: OUR 9-DAY ADVENTURE WITH CHAMELEON SAFARIS

If you’d rather travel independently, we’ve also explored Namibia on a self-drive trip. You can read everything we learned about renting a 4×4, driving conditions, fuel, camping and planning your route in our Namibia Self Drive Guide.

Windhoek is also a practical place to return to between different parts of a longer trip.

There are large supermarkets, restaurants, accommodation at different price points and all the everyday services you might need before heading somewhere more remote.

Get 10% Off Chameleon Safaris

If you’re planning to explore Namibia with Chameleon Safaris, they have given LBSB World readers 10% off tours and safaris booked through their website.

Simply use our promo code: PADDINGTON10

The discount can be used when booking directly with Chameleon Safaris.

READ MORE: CHAMELEON SAFARIS PROMO CODE: GET 10% OFF YOUR NAMIBIA TOUR

Getting Around Windhoek

How you get around Windhoek depends quite a lot on where you’re staying and what you’re planning to do. During the day, we felt comfortable walking around the central parts of Windhoek and areas such as Klein Windhoek and around The Village.

For shorter journeys within these areas, walking is perfectly practical. The bigger issue is distance. Windhoek is fairly spread out, and places that don’t look particularly far apart on a map can turn into quite a long walk.

For longer journeys, we used InDrive. You enter your destination and the amount you’re willing to pay, and drivers can then accept the ride. It worked well for us, although we sometimes had to wait a while for a car.

The main tourist sights in central Windhoek are much easier to explore on foot. Christ Church, Parliament Gardens, the Independence Memorial Museum and several of the city’s monuments are all relatively close together.

After dark, we’d generally choose InDrive rather than walking longer distances, particularly when returning from restaurants or bars.

Is Windhoek Good for Digital Nomads?

While we wouldn’t spend a week in Windhoek purely for sightseeing, we found it a surprisingly good place to stop and work for a while.

It has the practical things we need when travelling long-term: good internet, supermarkets, restaurants, cafés and relatively easy transport. There are also enough places to go for dinner or drinks in the evening without the city feeling overwhelmingly busy.

Chameleon Backpackers worked well for us. It was quiet during the day, but still social, with dinners, quiz nights and other activities if we felt like joining in. Having a shared kitchen was another bonus when staying longer.

Windhoek isn’t somewhere we’d travel to specifically as a digital nomad destination, but if you’re already travelling through Namibia and need a comfortable place to stop, work and reset for a week or two, it works very well.

Is Windhoek Safe?

We felt comfortable walking around central Windhoek, Klein Windhoek and The Village during the day.

After dark, we generally used InDrive rather than walking between different parts of the city, particularly when heading back from restaurants or bars.

As elsewhere, we’d recommend being aware of your surroundings, keeping valuables discreet and asking your accommodation for current local advice.

How Many Days Do You Need in Windhoek?

For sightseeing, one or two days is plenty.

One full day gives you time to explore the centre, see Christ Church and the Independence Memorial Museum, browse the markets and finish with sunset drinks overlooking the city.

With two days, you can take things more slowly, join the walking tour and spend more time exploring Windhoek’s restaurants and neighbourhoods.

If you’re using Windhoek as a base, working remotely or simply taking a break during a longer Namibia trip, staying longer makes much more sense.

Is Windhoek Worth Visiting?

We think Windhoek is worth a stop, even if it isn’t the main reason you’re travelling to Namibia.

Give yourself a day or two rather than heading straight from the airport into the rest of the country. Explore the centre, learn a little about Namibia’s history, have a sunset drink overlooking the city and make time for dinner at Joe’s Beerhouse.

For us, though, Windhoek’s appeal went beyond its sights. We enjoyed the restaurants, the slower pace and having somewhere comfortable to stop between travels.

We’d happily come back.

September 1, 2026 0 comments
FacebookTwitterPinterestLinkedinRedditStumbleuponWhatsappTelegramThreadsOpenAIChatGPTEmail
Namibia

Chameleon Safaris Promo Code: Get 10% Off Your Namibia Safari

by Sam July 2, 2026
written by Sam

Planning a trip to Namibia?

We’ve partnered with Chameleon Safaris to offer our readers an exclusive 10% discount on any safari or tour booked directly through their website.

Chameleon Safaris Discount Code

Use promo code:

PADDINGTON10

Enter the code when booking through the Chameleon Safaris website to receive 10% off your tour.

👉 Book here: https://www.chameleonsafaris.com/

Why We Recommend Chameleon Safaris

We spent 9 days travelling across Namibia with Chameleon Safaris on their Canyons, Dunes & Wildlife tour, visiting incredible places including Etosha National Park, Swakopmund, Sossusvlei, Dead Vlei, Kolmanskop and Fish River Canyon.

It remains one of the best organised tours we’ve ever been on. The guides were knowledgeable, the food was excellent, the accommodation exceeded our expectations and the itinerary covered many of Namibia’s most spectacular highlights.

You can read our full review, day-by-day itinerary and honest experience here:

Our 9-Day Namibia Tour with Chameleon Safaris: An Honest Review

👉 https://lbsbworld.com/how-to-travel-in-namibia-our-9-day-adventure-with-chameleon-safaris/

Terms

  • Promo code: PADDINGTON10
  • Discount: 10% off
  • Valid on: Tours and safaris booked through the official Chameleon Safaris website.
  • Be sure to enter the code during the booking process to receive your discount.

If you’re planning a Namibia adventure, we genuinely recommend Chameleon Safaris and hope this discount helps you save a little money on an unforgettable trip.

Sam in Deadvlei, Namibia on our Chameleon Safari

Sam in Deadvlei, Namibia on our Chameleon Safari

Save the pin

July 2, 2026 0 comments
FacebookTwitterPinterestLinkedinRedditStumbleuponWhatsappTelegramThreadsOpenAIChatGPTEmail
Namibia

Namibia Self Drive Safari vs Guided Tour: Which Is Better?

by Sam June 2, 2026
written by Sam

What’s the best way to travel around Namibia?

One of the most common questions we get after travelling in Namibia is whether it’s better to join a guided safari tour or rent a 4×4 and drive yourself.

The short answer?

We’ve done both, and honestly, neither is better. They’re just different.

What We Actually Did

Before comparing costs, comfort and flexibility, it’s worth looking at what we actually did on each trip. Although both adventures took place in Namibia, they ended up being very different experiences. The Cameleon Safaris tour covered ALOT of ground and it would be extremely tiring to drive the distances they did, if you want to see as much as possible, we would highly reccommend taking one of their tours.

Our 9-Day Chameleon Safaris Tour

The guided tour focused on many of Namibia’s most famous highlights. Over nine days we visited:

  • Etosha National Park
  • Swakopmund
  • Dune 45
  • Sossusvlei
  • Dead Vlei
  • Sesriem Canyon
  • Klein-Aus Vista
  • Kolmanskop Ghost Town
  • Lüderitz
  • Fish River Canyon
  • Quiver Tree Forest

This trip was very much about seeing Namibia’s headline attractions. The biggest surprise for us was just how much ground we covered in such a short amount of time. Looking back, it’s hard to believe everything that was packed into nine days.

We expected Dead Vlei and Sossusvlei to be impressive, but they completely exceeded our expectations. Dead Vlei in particular is one of the most extraordinary places we’ve ever visited.

The biggest surprise of the entire guided tour was Kolmanskop. Before arriving, we thought it would be a quick stop to photograph an abandoned town. Instead, it became one of the highlights of our time in Namibia. The combination of history, abandoned buildings and drifting desert sand creates an atmosphere unlike anywhere else we’ve visited. If you’re interested in photography, history or unusual places, Kolmanskop alone is worth the journey.

📌 We booked our Nambia Tour directly with Chameleon Safaris and we think you should too. We even have a discount code you can use if you want 10% off any of their tours, just use code PADDINGTON10 at checkout.
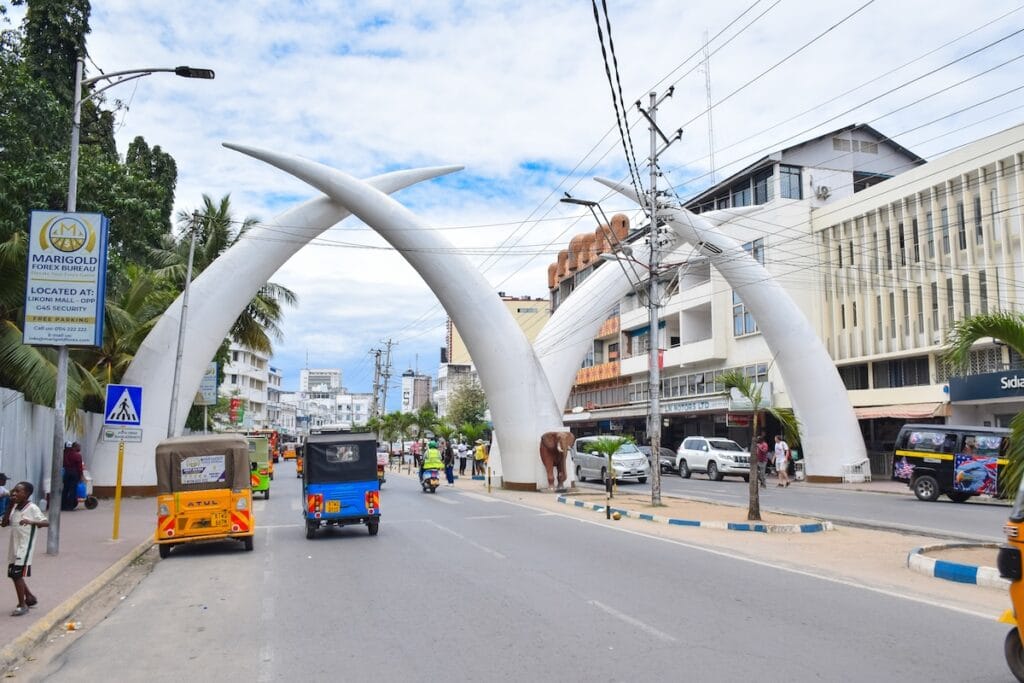
Our 8-Day Namibia Self Drive Safari

After the guided tour, we rented a fully equipped 4×4 and headed off on our own adventure. Rather than revisiting places we’d already seen, we focused on areas we had missed during the tour:

  • Spitzkoppe
  • Brandberg Mountain
  • The White Lady hike
  • Vingerklip
  • Ugab Terraces
  • Waterberg

This trip felt completely different. Instead of trying to see as much as possible, we slowed down and spent more time in fewer places.

The biggest surprise was Spitzkoppe. We had heard good things about it beforehand, but neither of us expected it to become one of our favourite places in Namibia. The granite peaks, hiking trails, rock formations and night skies were absolutely incredible.

Waterberg was another surprise. We booked the rhino tracking experience hoping to see a few rhinos from a vehicle. We certainly didn’t expect to be walking alongside them only a few metres away.

Here’s our full itinerary of our Namibia Self Drive with all the best tips / do’s and don’t

If you’re trying to decide between a Namibia self drive safari and a guided tour, here’s our honest take.

Cost Comparison

Let’s start with the big one.

The Chameleon Safaris tour cost approximately N$48,000 (€2,592) per person and included transport, accommodation, camping, meals, guides, park fees and activities.

At first glance, that’s a lot of money and our 8-day self drive safari was significantly cheaper. But you are paying for comfort, zero stress and not having to book lodges and camp grounds.

The 4×4 rental cost us approximately N$20,650 (€1,100) for two people. Adding fuel, campsites, food and a couple of lodge stays brought our total to roughly €2,100 for two people, depending on how many restaurant meals and upgrades you choose.

Financially, the self drive option wins comfortably. On first glance for the price of one guided tour, two people can complete a substantial self drive adventure.

Wildlife Viewing: Guided Tour Wins

This one wasn’t even close.

When we visited Etosha National Park with Chameleon Safaris, our guide seemed capable of spotting animals from another continent.

Within minutes, they were finding lions, elephants, giraffes, birds and creatures we would never have noticed ourselves.

Later, while driving around Namibia, we saw plenty of self-drive tourists driving around Etosha looking slightly confused and often stopping randomly in the hope of finding wildlife.

The guides know where animals were last seen, understand behaviour patterns and communicate with other guides throughout the day.

If wildlife is your number one priority, especially in Etosha, we would strongly recommend paying for a local guided safari. They will pick you up at the lodge in an open sided raised 4×4 and take you around the park while you take photos.

You can’t beat sitting in the back of an open sided 4×4 taking photos while the guides do the spotting.

Freedom: Self Drive Wins

The biggest advantage of renting your own 4×4 is freedom.

Want to spend an extra hour photographing a sunset? Go for it.

Found a campsite you love and want to stay another night? No problem.

Fancy stopping every ten minutes for photos? Nobody is going to complain.

With a self drive safari, you completely control the pace.

Some of our favourite moments in Namibia happened simply because we decided to take a random gravel road or stop somewhere unexpected. That being said our Chameleon Safaris guide told us we only have to ask if we want to stop. They also know great photo spots and how far it is to the next toilet.

That spontaneity doesn’t really exist on an organised tour.

Freedom and the open road.

Stress Levels: Guided Tour Wins

Driving in Namibia isn’t difficult, but it does require concentration.

  • Distances are huge.
  • Fuel stations can be hundreds of kilometres apart.
  • Gravel roads demand attention.
  • Tyres puncture.
  • Equipment breaks.
  • Water containers leak.

Trust us, we experienced some of these ourselves.

On the guided tour, somebody else handled all of that. We could sit back, watch the scenery and enjoy the experience without worrying about navigation, campsite bookings or whether we had enough fuel to reach the next town.

For many travellers, particularly first-time visitors to Africa, that’s worth paying for.

With a guided tour everything is organized, your food, tours and accommodation.

Accommodation and Comfort

This one depends on your travel style.

On the guided tour, we stayed in a mix of lodges, hotels and campsites. Everything was organised for us and meals were prepared by our guides.

The self drive trip required more effort.

We had to set up camp, cook, clean and organise ourselves every day.

That said, we also had complete freedom to choose where we stayed.

Some nights we camped under spectacular star-filled skies, while other nights we upgraded ourselves into comfortable lodges.

Call this one a draw.

Cooking for youself can be a pain if the BBQ doesn’t get hot enough, but having a nice hotel with a pool has a lot going for it.

Which Trip Saw More of Namibia?

For us the Chameleon Safaris Guided tour covered more ground and our Self Drive was a much slower pace.

In just nine days, we visited Etosha, Swakopmund, Sossusvlei, Dead Vlei, Sesriem Canyon, Fish River Canyon, Kolmanskop and the Quiver Tree Forest.

That’s an enormous amount of Namibia packed into a relatively short time and personally I wouldn’t want to drive those distances AND have the energy to hike up dunes, worry about toilets and gas stations. It’s nice to sit back and relax and have someone else do the work for you.

Our self drive trip was slower and more focused. Instead of trying to see everything, we concentrated on Spitzkoppe, Brandberg, Vingerklip and Waterberg.

The result was a deeper experience in fewer places.

Neither approach is wrong. It simply depends on whether you prefer breadth or depth.

Out on your own, or enjoying a group trip, it’s really down to your own travel style.

Who Should Choose a Guided Tour?

We would recommend a guided tour if:

  • It’s your first visit to Namibia
  • Wildlife is your main priority
  • You don’t want to drive long distances
  • You enjoy meeting other travellers
  • You want everything organised for you
  • You have limited time

The Chameleon tour showed us some of the most spectacular places we’ve ever visited and removed virtually all of the planning and logistics. It’s also more social, so for solo travelers that can be really nice if you want to meet other people.

Who Should Choose a Self Drive Safari?

A self drive safari is probably better if:

  • You enjoy road trips
  • You like travelling independently
  • You want maximum flexibility
  • You want to choose your own accommodation
  • You’re travelling on a tighter budget

There is something incredibly satisfying about driving your own vehicle across Namibia’s vast landscapes and creating your own adventure.

What We’d Change Next Time

Having now experienced both a guided safari and a self-drive adventure in Namibia, there are a few things we’d do differently.

If we were booking the guided tour again, we’d probably choose one with an extra day in Etosha or Swakopmund and perhaps skip Fish River Canyon. While it was certainly impressive, the long detour didn’t quite justify the time investment for us. We’d happily trade that day for more time exploring the coast or the desert landscapes around Sossusvlei. That being said, Chameleon Safaris offers a broad spectrum of safari experiences, someting for everyone if you like.

📌 We booked our Nambia Tour directly with Chameleon Safaris and we think you should too. We even have a discount code you can use if you want 10% off any of their tours, just use code PADDINGTON10 at checkout.
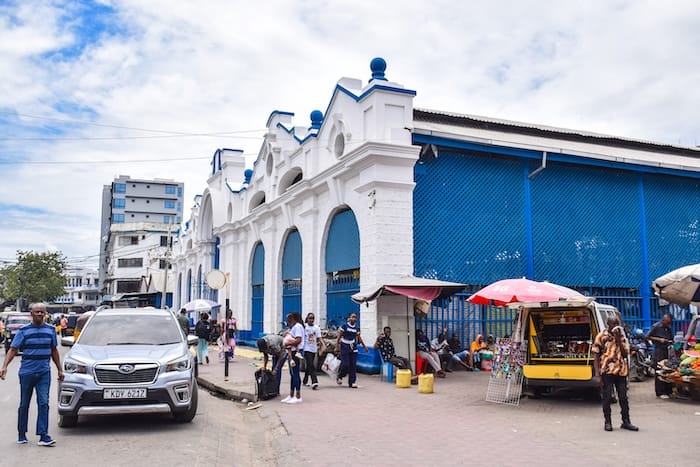
For the self-drive safari, we’d definitely allow more time. Eight days was enough to see some incredible places, but we often felt like we were arriving somewhere just as it was time to leave again. Namibia is enormous, and the distances between destinations are much greater than they appear on a map.

We’d also book our vehicle and accommodation earlier. Leaving things until the last minute limited our options and meant we had to be more flexible with our route than we’d originally planned.

If someone asked us how to travel Namibia, we’d recommend exactly what we ended up doing. Start with a guided safari to visit places like Etosha, Sossusvlei and Dead Vlei, where local knowledge makes a huge difference. Then rent a 4×4 and spend a week exploring some of the country’s quieter corners at your own pace.

Looking back, the guided tour and self-drive safari weren’t competing experiences. They complemented each other perfectly and together gave us a much more complete picture of Namibia than either trip could have done on its own.

Our Verdict

If we had to choose just one?

We honestly couldn’t. The guided safari gave us access to incredible wildlife encounters, expert local knowledge and many of Namibia’s most famous attractions. The self drive safari gave us freedom, flexibility and some of our most memorable moments on the open road.

If your budget allows, we genuinely think the perfect Namibia itinerary combines both.

Use a guided tour to experience places like Etosha and Sossusvlei, then rent a 4×4 afterwards and explore some of the country’s quieter corners at your own pace.

That’s exactly what we did.

And looking back, we wouldn’t change a thing.

June 2, 2026 0 comments
FacebookTwitterPinterestLinkedinRedditStumbleuponWhatsappTelegramThreadsOpenAIChatGPTEmail
NamibiaTravel Itineraries

Namibia Self Drive: Everything We Learned Driving a 4×4 Across Namibia

by Sam June 1, 2026
written by Sam

Why We Decided to Do a Namibia Self Drive

After completing an incredible guided tour with Chameleon Safaris, we still felt there was more of Namibia we wanted to explore. Rather than joining another organised trip, we decided to rent a fully equipped 4×4 and spend eight days exploring independently.

It was one of the most memorable road trips we’ve ever done.

That said, if we were planning the trip again, there are a few things we would do differently. This guide covers everything we learned about renting a 4×4 in Namibia, where we stayed, how much it cost and whether we think a self drive safari is worth it.

Renting a 4×4 in Namibia

The first lesson we learned is simple. Book early!

We booked far later than we should have and quickly discovered that most of the best rental companies were already sold out. We eventually ended up with our third choice of rental company, which worked out fine, but it wasn’t ideal.

If you’re planning a Namibia self drive safari, try to reserve your vehicle at least three to six months in advance, especially if you’re travelling during peak season.

Picking Up Your Vehicle

Whether you’re collecting your vehicle at Windhoek Airport or in the city itself, take your time before driving away.

We always recommend:

  • Filming a complete walk-around video
  • Photographing any scratches or dents
  • Checking the condition of the tyres
  • Testing the fridge
  • Checking the water container for leaks
  • Confirming all camping equipment is present
  • Learning how to set up the rooftop tent

Our water container leaked and our fridge wasn’t working correctly. Neither issue was discovered until we were already on the road, which caused much unnecessary stress.

Read the Insurance Terms Carefully

Many rental companies track vehicle location and speed electronically. That means they know exactly where you’ve driven and how fast you’ve been travelling. If your rental agreement says no river crossings or no off-road driving, don’t ignore it. Breaking those conditions could invalidate your insurance immediately.

Understanding Namibia’s Roads

Namibia has three main road types:

B Roads (Trunk Roads)
The major tarred highways connecting cities and regions. These are generally in excellent condition and easy to drive.

C Roads (District Roads)
Well-maintained gravel roads connecting towns, campsites and tourist attractions. You’ll likely spend most of your trip on these.

D Roads (Rural Roads)
Smaller, rougher gravel or dirt roads that often require a high-clearance vehicle or 4×4, especially after rain.

The “Namibian Massage”

Sooner or later you’ll experience the famous Namibian Massage. This is what travellers call the constant vibration caused by corrugated gravel roads. Your vehicle rattles, everything shakes, and after a few hours you’ll understand exactly why it got its nickname. Slow down, stay alert and enjoy it. It’s all part of the Namibia self-drive experience.

Stock Up Before Leaving Windhoek

Before heading into the wilderness, make your first stop a supermarket.

You’ll need:

  • Drinking water
  • Breakfast supplies
  • Lunches and dinners
  • Road snacks
  • Fire starters
  • Braai wood
  • Ice
  • Drinks

We found it easiest to buy enough supplies for at least three or four days at a time.

Sam’s top Tip: don’t leave Namibia without trying biltong, it makes a great energy booster when driving.

Our Namibia Self Drive Route

Because we had already visited Etosha National Park during our Chameleon Safaris tour, we decided to focus on areas we had previously missed.

Our route included:

  • Spitzkoppe
  • Brandberg
  • Vingerklip
  • Waterberg

Looking back, it was the perfect combination of landscapes, hiking, camping and wildlife.

Our Namibia Self drive route

Spitzkoppe: Namibia’s Most Beautiful Mountain Landscape

If you only add one stop to your Namibia self drive itinerary, make it Spitzkoppe. Rising dramatically from the desert floor, these granite peaks create one of the most photogenic landscapes in the entire country.

We spent our time:

Hiking Around the Granite Formations

There are countless trails winding between the rocks, offering fantastic viewpoints and opportunities for photography.

Visiting the Famous Rock Arch

One of Namibia’s most iconic photography locations.

Stargazing

Like many places in Namibia, Spitzkoppe offers exceptionally dark skies. The Milky Way here was absolutely spectacular.

Where We Stayed

We stayed at Spitzkoppe Rest Camp on the sunset side which provided an incredible location right among the rocks. One important thing to know is that all campsites share access to restrooms and showers located near the reception area (although there are dry toilets at campsites), there are no supermarkets nearby, so bring all your food, drinking water and firewood with you. Internet access is practically non-existent. Something we found alittle stressful was you are not assigned a campsite, you drive around and choose your own from the empty looking ones. The area is huge, and reading the map and finding a spot is a little confusing, so arrive early and definately book in advance.

Namibia sunsets are to die for
Sam working out what works and what doesn't
Our Namibia 4x4 with roof tent
Namibia milkyway almost every night
Spitzkoppe stone arch

Brandberg Mountain and the White Lady Hike

Our next stop was Brandberg, Namibia’s highest mountain. The name means “Fire Mountain”, and it quickly becomes obvious why. At sunset, the mountain glows a deep red colour that appears almost unreal.

Hiking to the White Lady

One of the main attractions here is the famous White Lady rock painting.

The hike is approximately 2.5 kilometres each way and can be surprisingly demanding in the heat.

We strongly recommend:

  • Starting early
  • Carrying plenty of water
  • Wearing a hat
  • Bringing sunscreen

The hike is guided and well worth doing. Here is a google map location to the starting point called ‘White Lady Felszeichnungen‘

Where We Stayed

We stayed at White Lady Lodge near Brandberg. The facilities were excellent, the staff were incredibly friendly and the resident meerkats quickly became a highlight. Sadly, we missed the desert elephants, which had moved elsewhere due to the rainy season.

Now this is a 4x4!
When you have wifi in Namibia
Setting off on our White Lady walk
It's tiring being a local wildlife star

Vingerklip and the Ugab Terraces

After Brandberg, we continued towards the fascinating landscapes around Vingerklip. The scenery here reminded us of Arizona, with huge plateaus, dramatic rock formations and endless views across the Ugab Valley.

Ugab Terrace Lodge

Our first night inthe area was spent at Ugab Terrace Lodge Campsite. The campsite offered private showers, toilets and plenty of camping/vehicle space, there are only 3 campsites here so it’s nice and private. You can also walk up to the lodge for sundowners and the take advantage of the lodge restaurant and pool.

Pickybits and wine with a view

Vingerklip Lodge

If like us you are also looking to mix and match your camping with lodge stays and you’re looking for something more luxurious, Vingerklip Lodge is exceptional. We stayed here for one night and it was amazing (not to mention they had wifi!) The restaurant sits high above the valley and offers some of the most spectacular sunset views we experienced in Namibia. Make sure you reserve dinner in advance.

Vingerklip from afar
Vingerklip up close
Sunsets in Namibia!
Dinner on the cliff edge
Ugab Terraces of northwestern Namibia

Rhino Tracking at Waterberg

The final stop of our Namibia self drive safari was Waterberg Wilderness. And what a way to finish. The camp site was great, lots of space, private shower and toilet and of course the obligatory concrete BBQ pit. It was super nice and each spot is surrounded by bush. While we there there we booked their rhino tracking experience without really knowing what to expect. It turned out to be one of the most incredible wildlife experiences we’ve ever had.

After spotting several rhinos from the vehicle, our guide suddenly stopped and told everyone to get out. A few minutes later, we were walking alongside wild rhinos. Not viewing them from a vehicle. Walking with them.

Each rhino is protected by dedicated anti-poaching guards who monitor them constantly. Later we encountered a mother and calf, which required considerably more caution, but the experience was unforgettable. The evening ended with drinks and snacks in the bush while watching the sun disappear over the Namibian landscape.

It was the perfect ending to our road trip.

walking with rhinos in Waterberg
Mother Rhino and calf, walking with rhinos in Waterberg
Rooftop tents are awesome!

Namibia Self Drive Safari Safety Tips

Namibia is one of the safest countries we’ve travelled in, but there are still some important things to remember.

Do:

  • Carry 10-15 litres of drinking water
  • Fuel up whenever possible
  • Carry a spare tyre
  • Bring a first aid kit
  • Take a head torch
  • Keep shoes inside your tent
  • Drive with headlights on all the time

Don’t:

  • Drive after dark
  • Pick up hitchhikers
  • Ignore fuel levels
  • Wild camp outside designated areas

How Much Does a Namibia Self Drive Safari Cost?

Our costs for two people were approximately:

4×4 Vehicle Rental in Namibia

20,650 NAD (€1,100)

Including:

  • Insurance
  • Taxes
  • Camping equipment
  • Cleaning fees

Fuel

Approximately €120-150

Food

Around €100

Campsites

€15-30 per person per night

Lodges

Starting around €100 per night

Is Namibia Safe for a Self Drive Safari?

In our experience, yes.

The roads can be challenging, distances are huge and you’ll spend long periods far from major towns, but with sensible preparation Namibia is an excellent self drive destination.

We never felt unsafe.

The biggest risks are usually mechanical problems, wildlife on roads after dark and simple lack of preparation.

What We’d Change Next Time

As much as we loved our Namibia self drive safari, there are a few things we’d do differently if we were planning it again.

First, we’d book much earlier. Leaving it until the last minute meant many of the best rental companies and some of our preferred campsites were already fully booked. A little more planning would have given us more options and probably saved some money too.
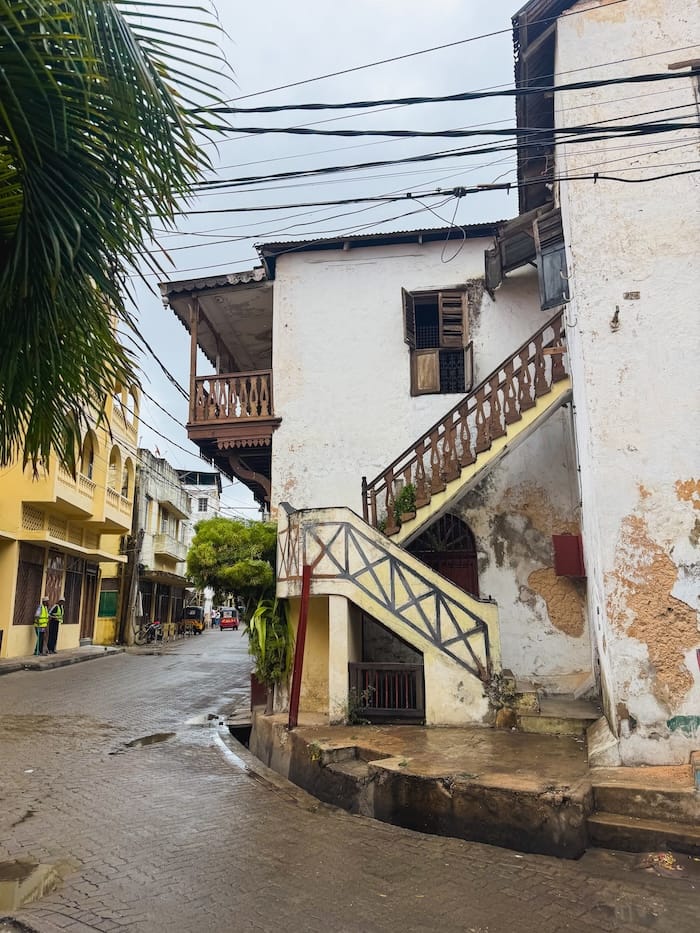
We’d also allow more time. Eight days was enough to experience some incredible places, but Namibia is much bigger than it looks on a map. We spent a lot of time driving between destinations and often wished we had an extra day or two at Spitzkoppe.
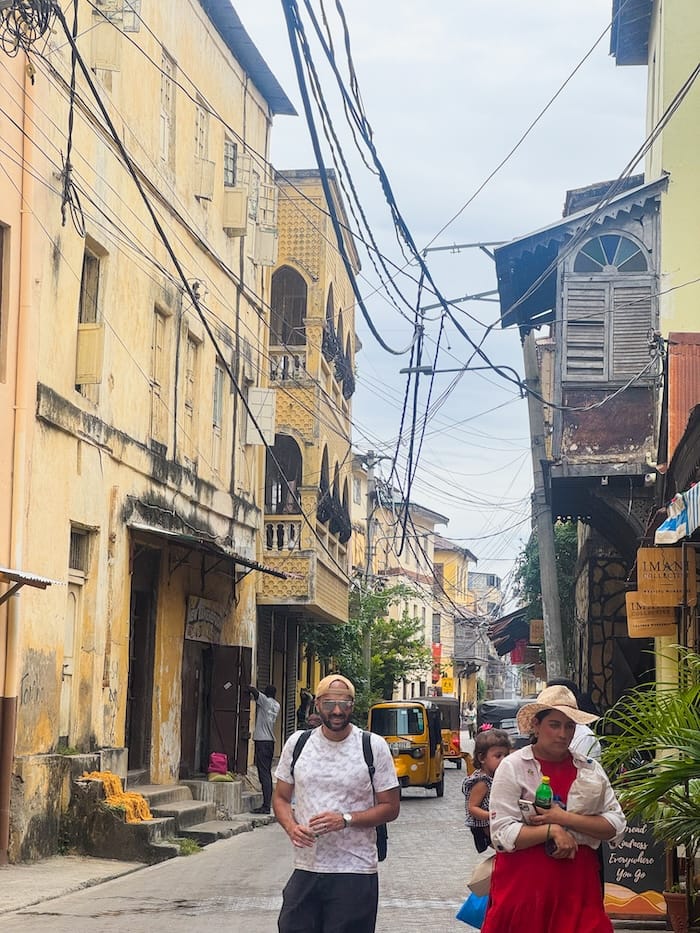
Finally, we’d probably skip Etosha as a self-drive destination. Having experienced both a guided safari and independent travel, we genuinely think a good guide is worth the money in Etosha. The guides know where to find wildlife, can spot animals we’d never see ourselves and make the whole experience far more rewarding.

Other than that, we wouldn’t change much. The route worked well, the campsites were excellent and the mix of mountains, desert landscapes and wildlife gave us a side of Namibia that perfectly complemented our guided tour.

Final Thoughts

We absolutely loved our Namibia self drive safari.

There’s something incredibly satisfying about turning off the tarmac and heading down a gravel road towards somewhere you’ve never been before. Camping under the stars, cooking dinner over a braai, waking up to sunrise over the desert and having complete freedom to explore at your own pace made this one of our favourite road trips anywhere in the world.

Would we do it again?

Without hesitation. Next time, we’d simply book earlier.

📌 If you don’t want to do the self drive we booked a Nambia Tour directly with Chameleon Safaris and we think you should too. We even have a discount code you can use if you want 10% off any of their tours, just use code PADDINGTON10 at checkout.
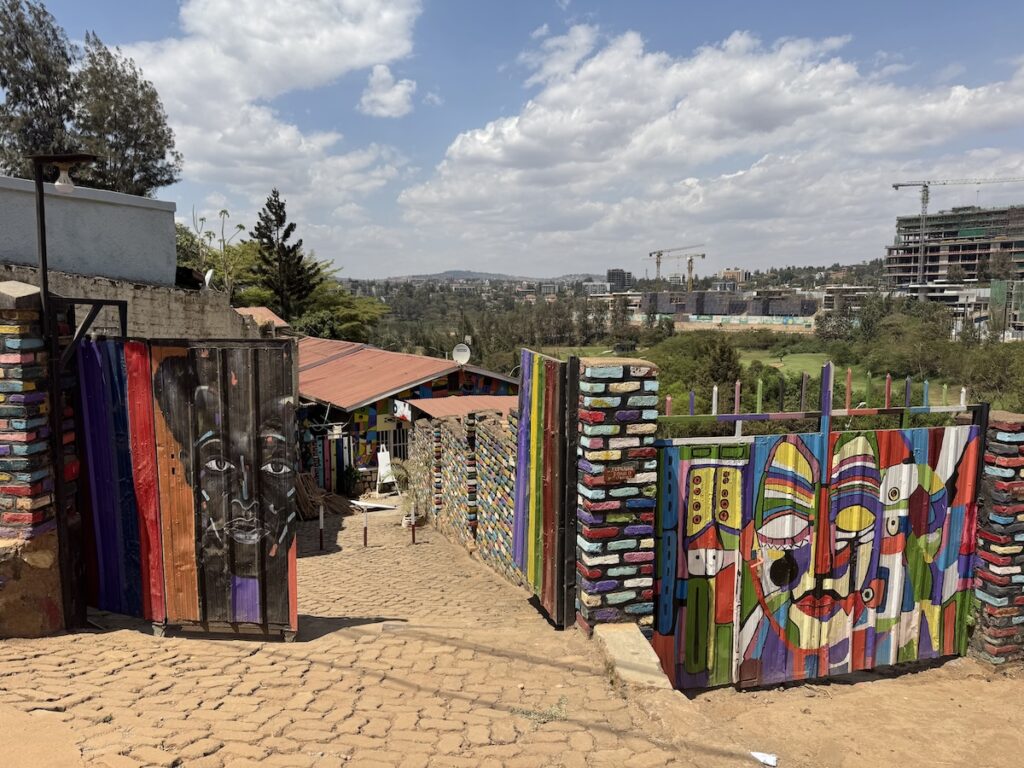
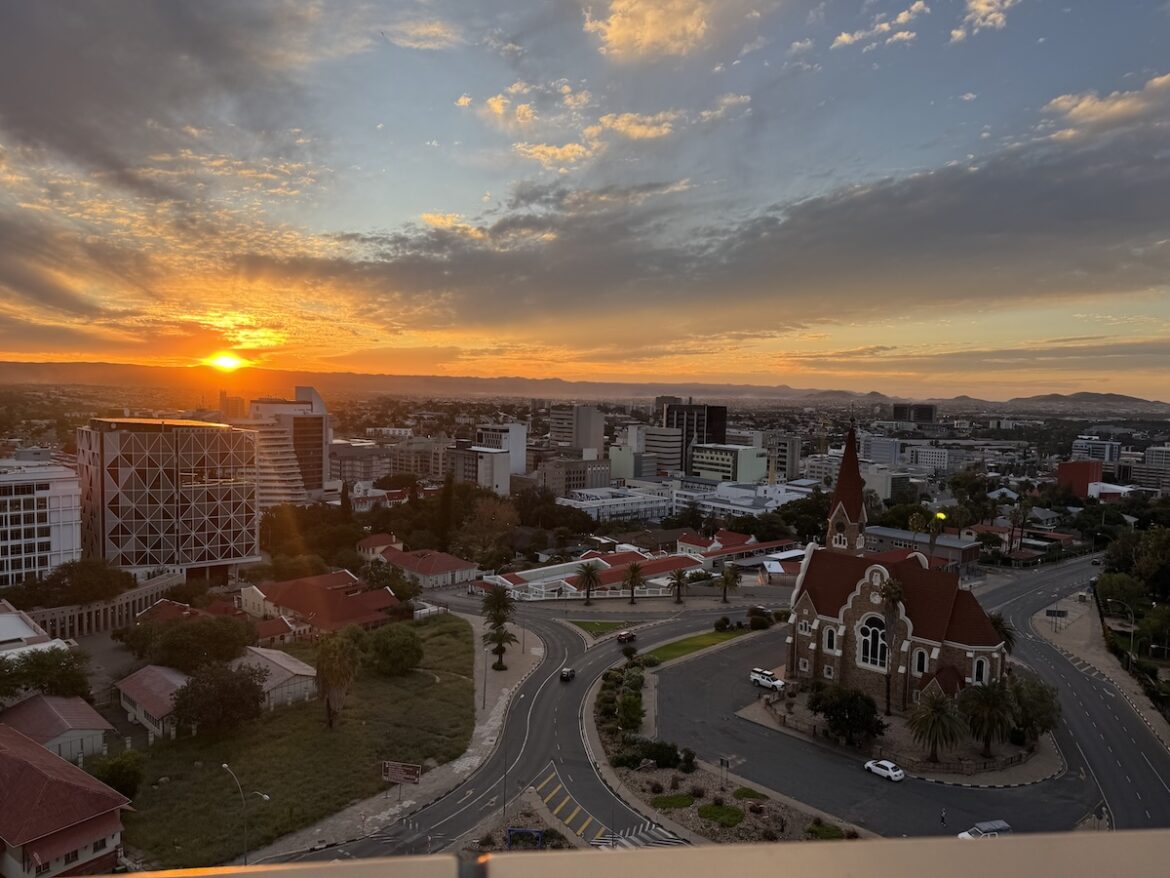
June 1, 2026 0 comments
FacebookTwitterPinterestLinkedinRedditStumbleuponWhatsappTelegramThreadsOpenAIChatGPTEmail
Newer Posts
Older Posts

Recent Posts

  • How to Spend 7 Days in Kathmandu. Temples, Momos and Tattoos

  • Diani Beach: 4 Days on Kenya’s South Coast

  • 2 Days in Mombasa, Kenya: Our Experience & Self-Guided Old Town Walk

We use Safetywing

We use THS

Trusted House Sitters

Here’s 25% off your annual membership to TrustedHousesitters - thanks to your pet loving pals at LBSBWorld.

Join now with 25% Off!

We use NordVPN

NordVPN

Get 3 months of NordVPN right now!


The best VPN service for a free, open internet

Get NordVPN!

We use Wise

Wise

Get Zero Fees on a transfer up to €500


Spend in 150+ countries like a local with Wise card

Get Wise!

Follow us on Instagram

A Bear Called Paddington abearcalledpaddington 🌍 7 years full-time travel
Follow on Instagram
©2026 LBSBWorld - All Right Reserved - Designed and Developed by Livia & Sam
LBSB World
  • Home
  • Destinations
    • Africa
      • Kenya
      • Namibia
      • Rwanda
    • Asia
      • China
      • Indonesia
      • Japan
      • Nepal
      • Qatar
    • Europe
      • Albania
      • Bosnia-Herzegovina
      • Croatia
      • Montenegro
      • Netherlands
      • North Macedonia
      • Serbia
    • North America
      • Dominican Republic
  • Travel itineraries
  • Plan your trip
  • About Us
    • About Sam & Livia
    • The Story Behind Our Full-Time Travel Life
    • abearcalledpaddington