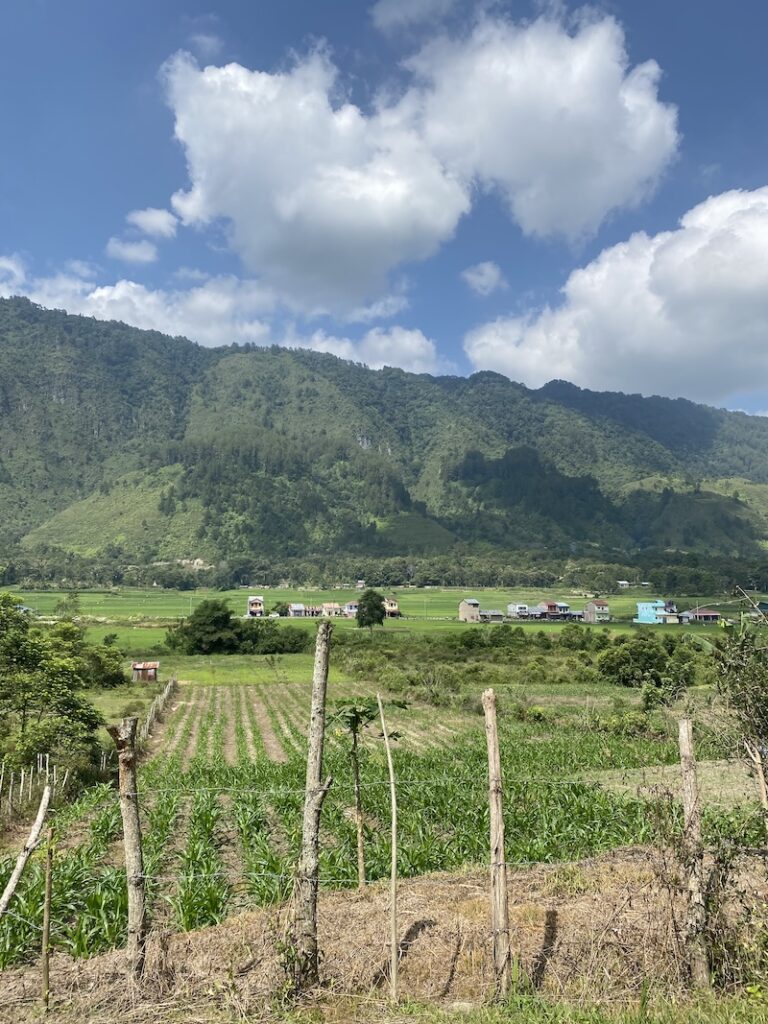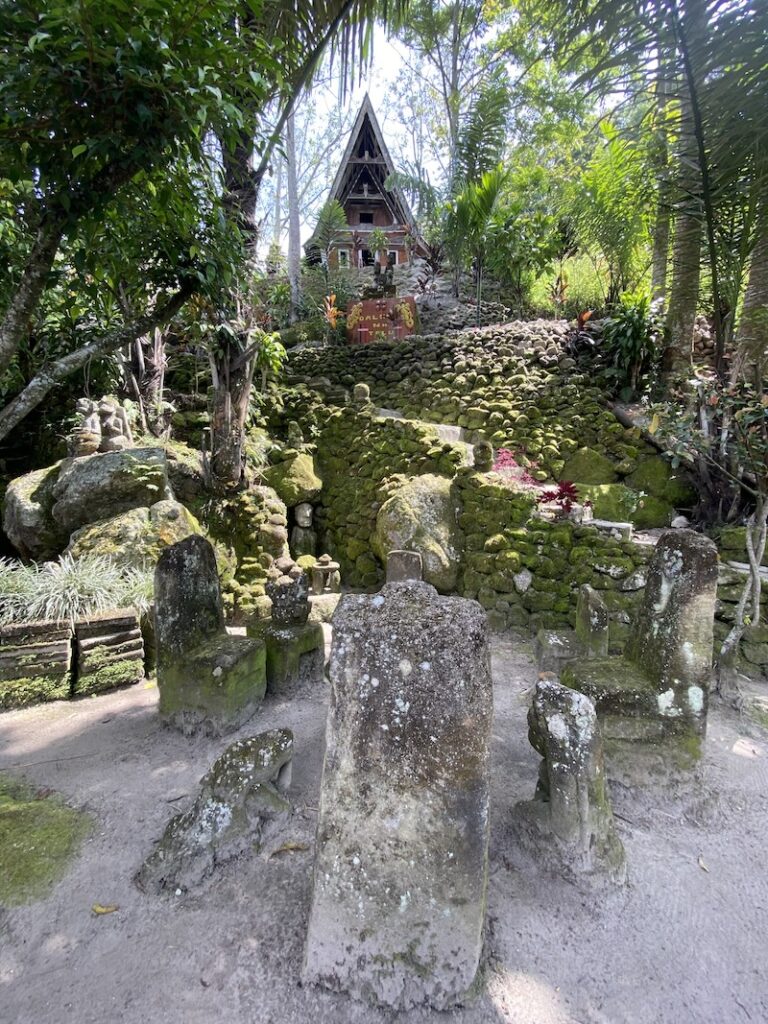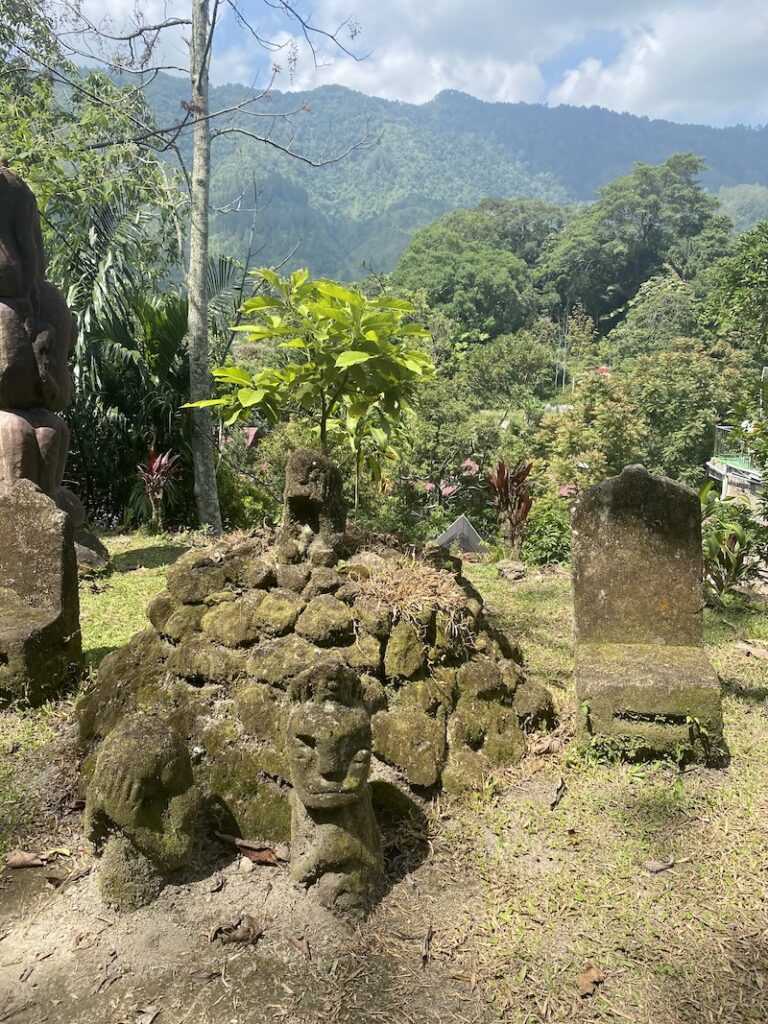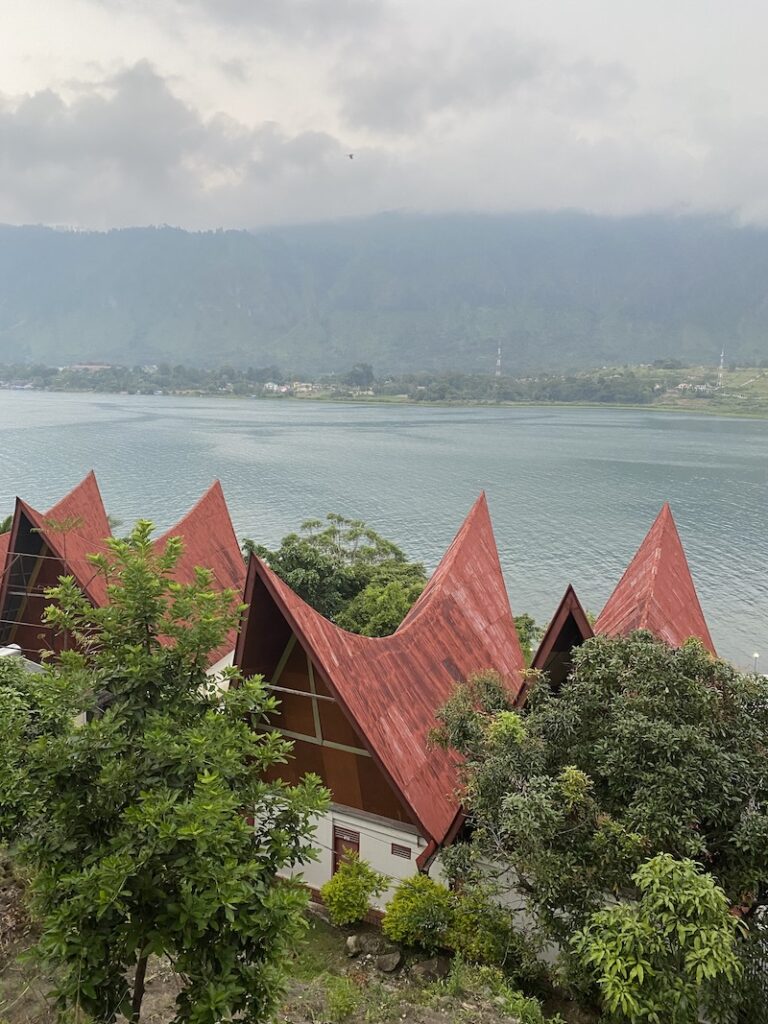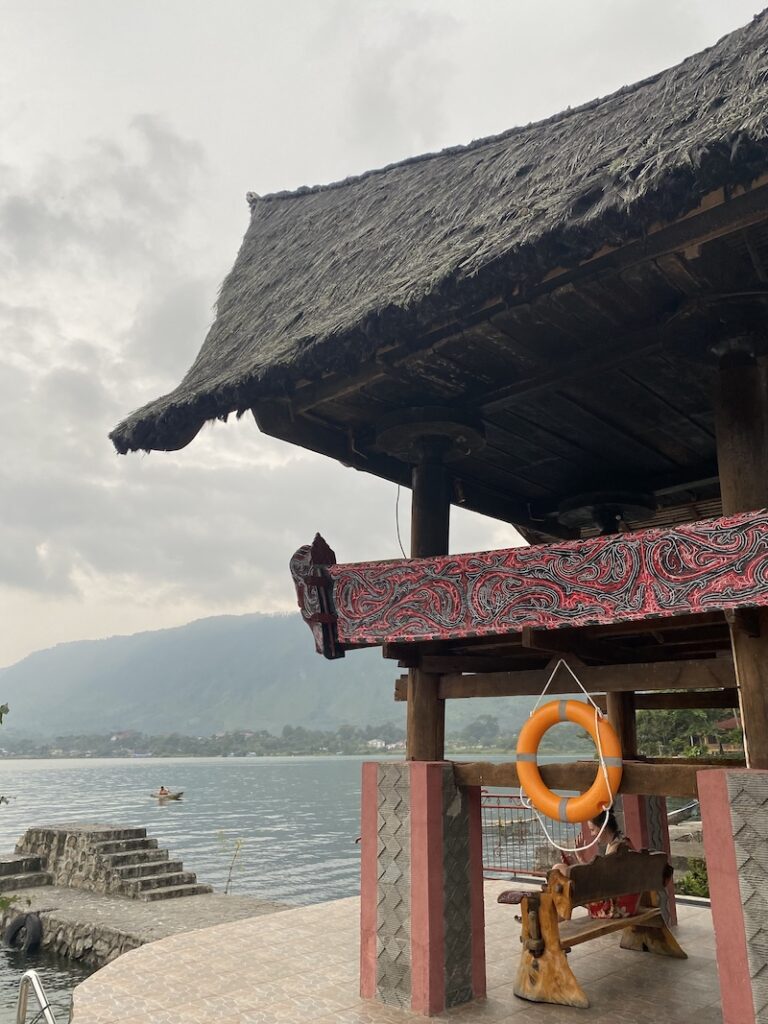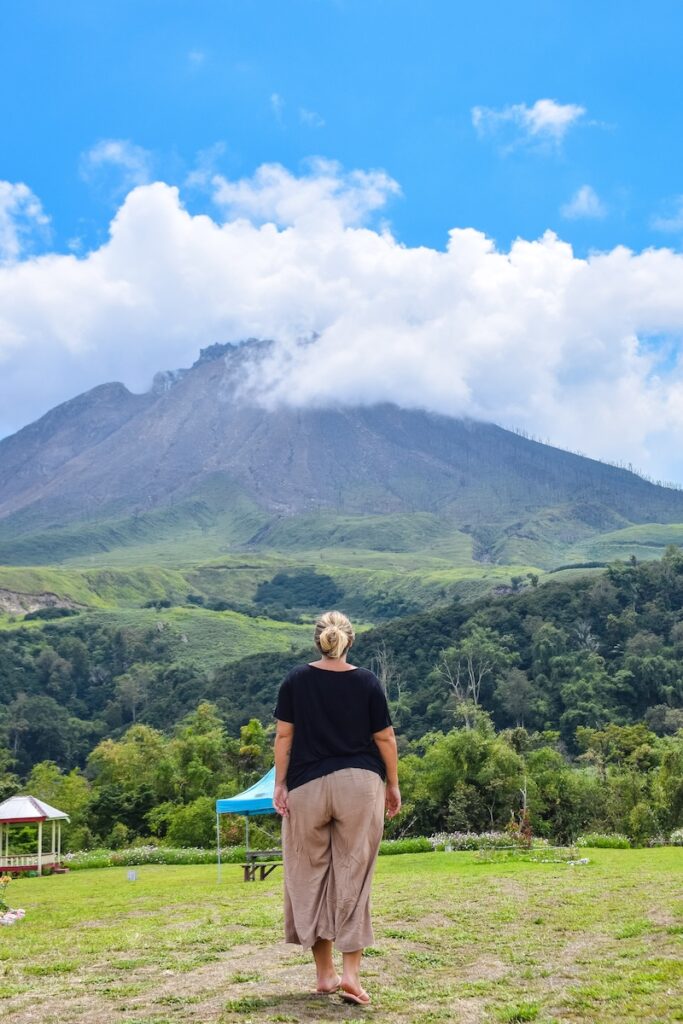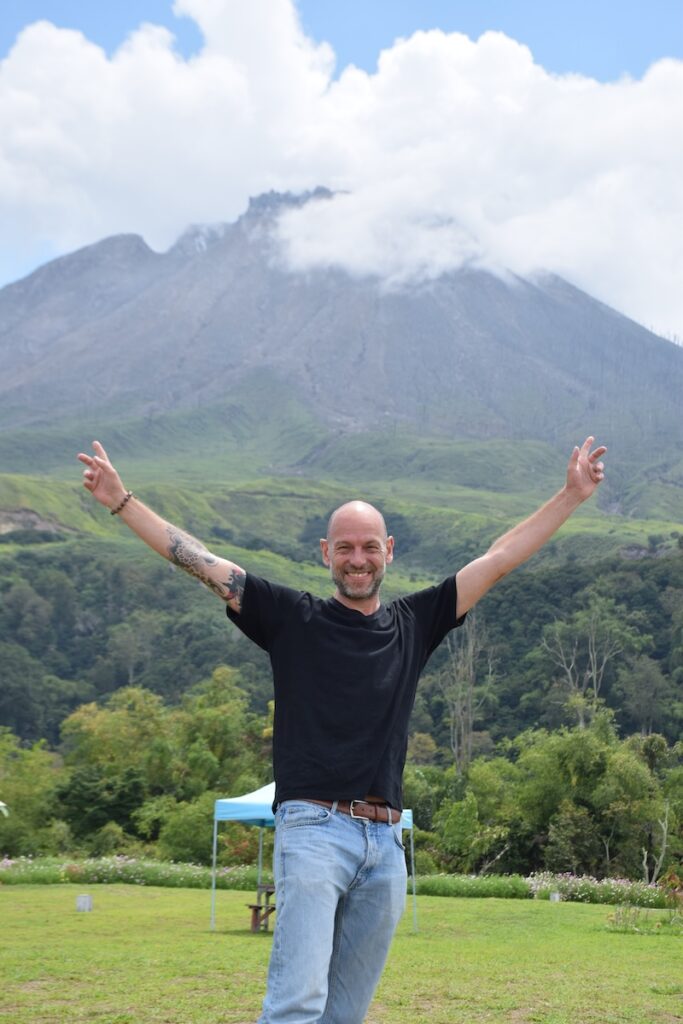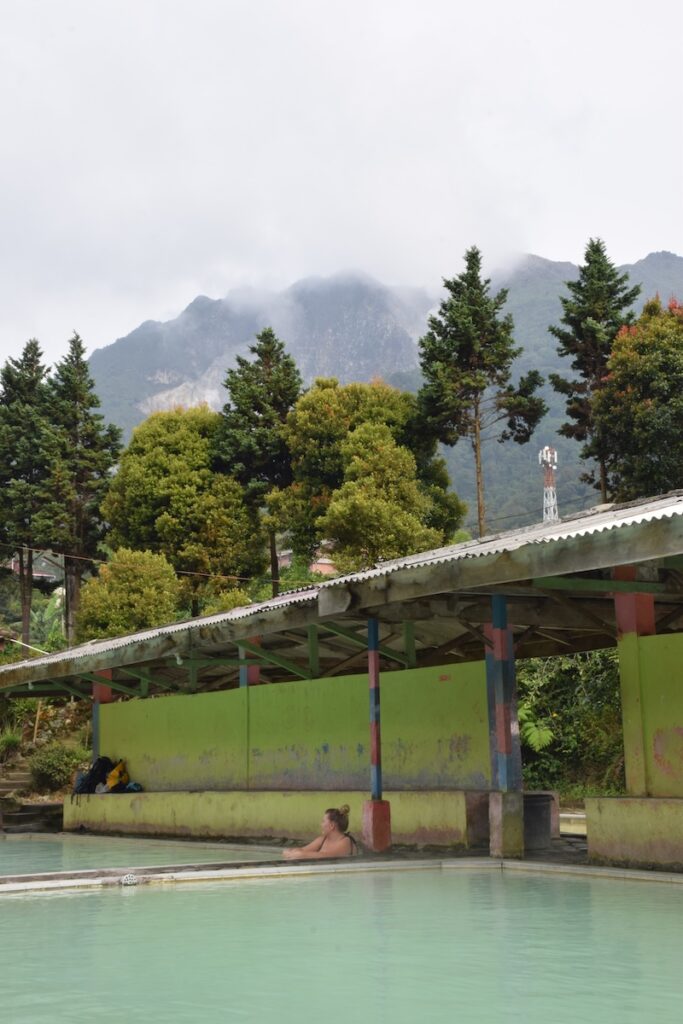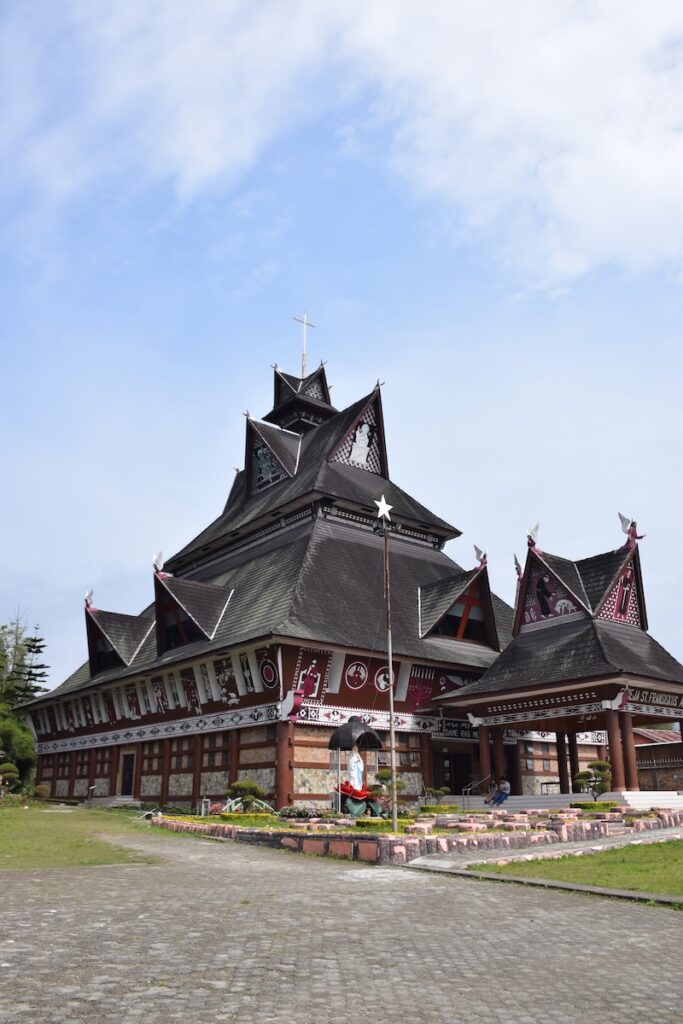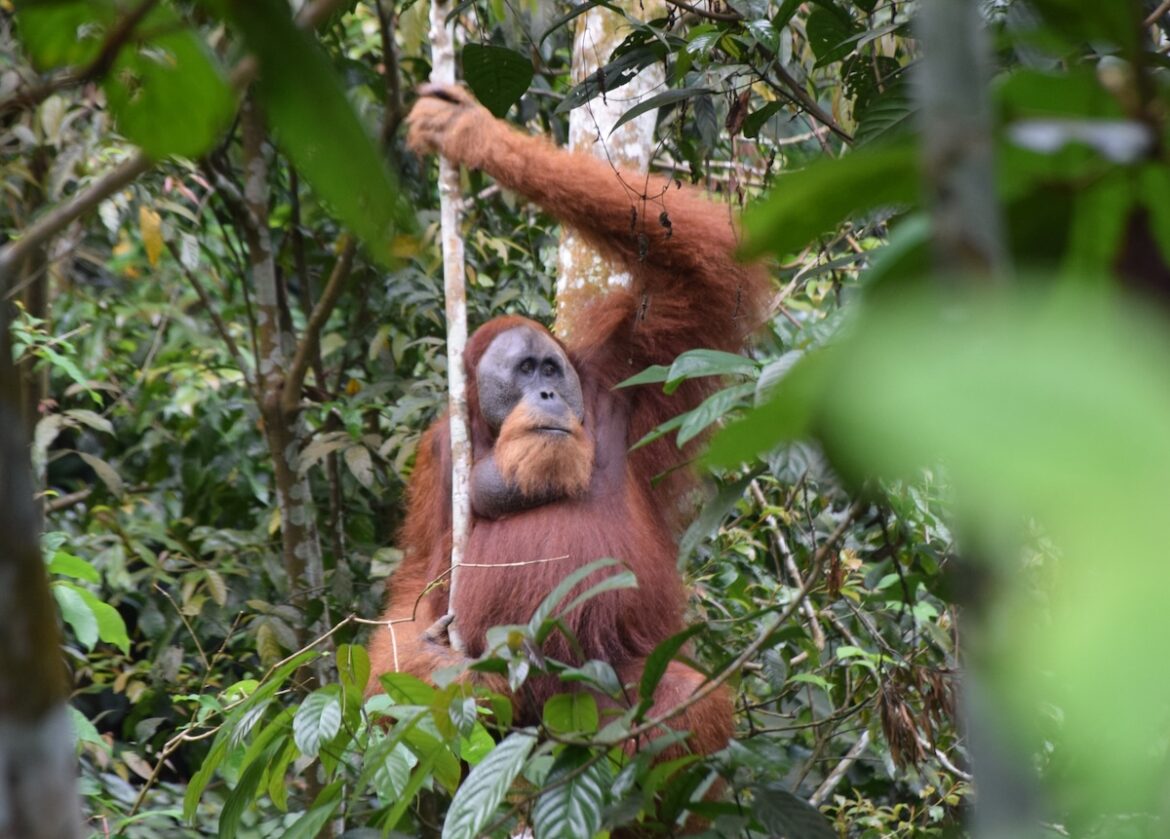
Top Posts
Okayama Travel Guide: A Practical Base for Kurashiki and the Kibi Plain
Is Tottori Worth Visiting on a Japan Trip?
North Sumatra Itinerary: Bukit Lawang, Berastagi & Lake Toba
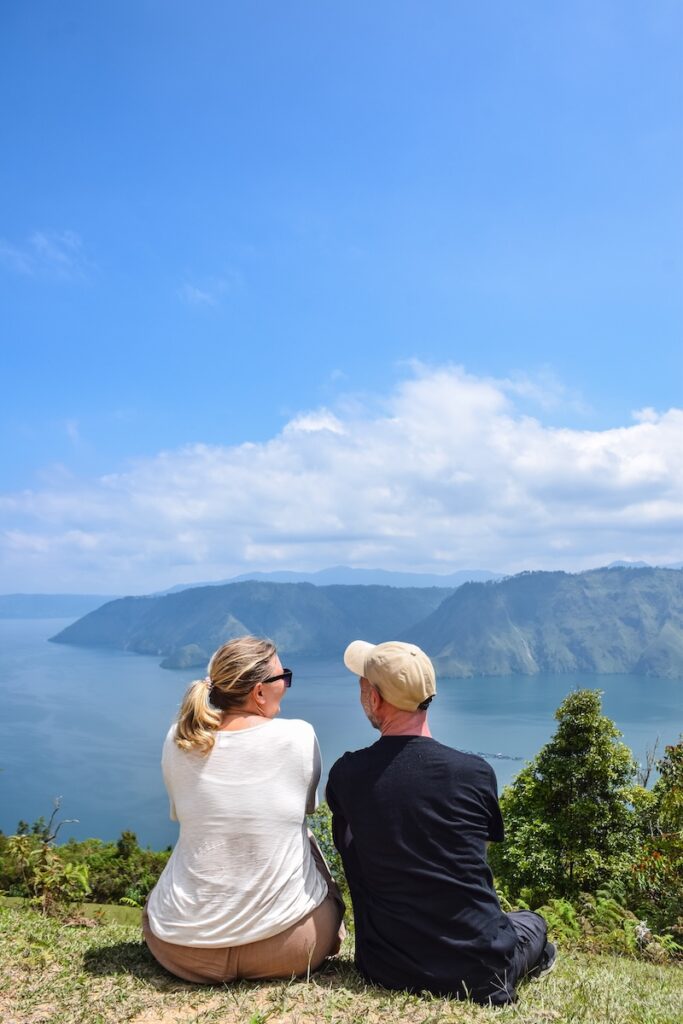
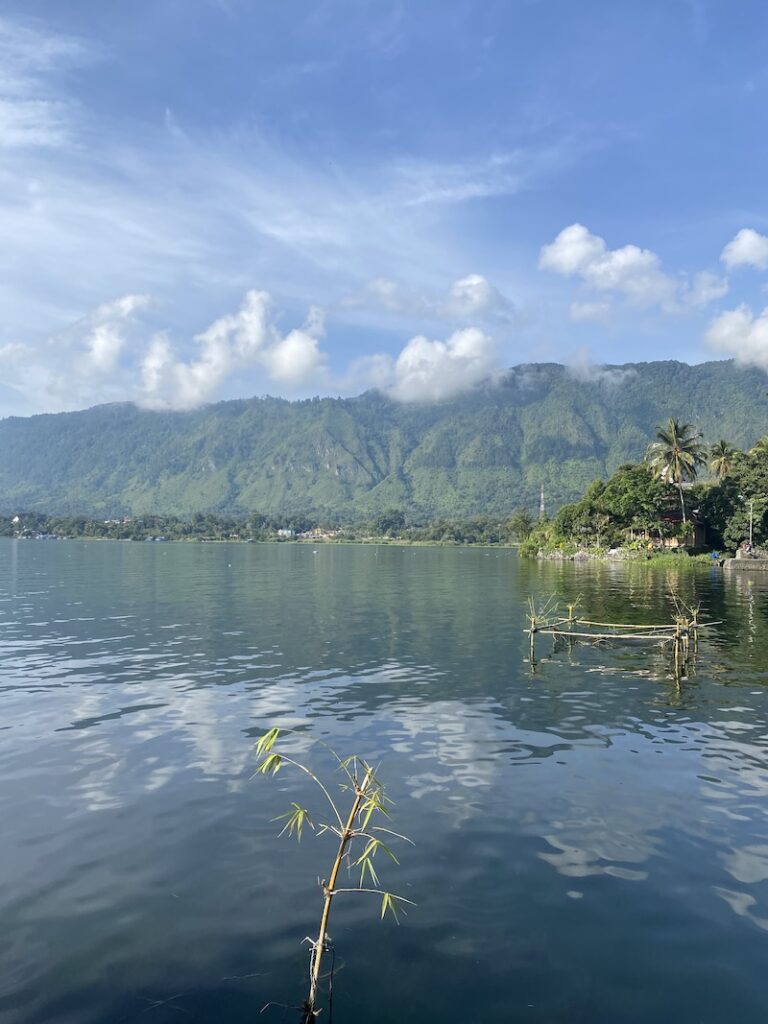
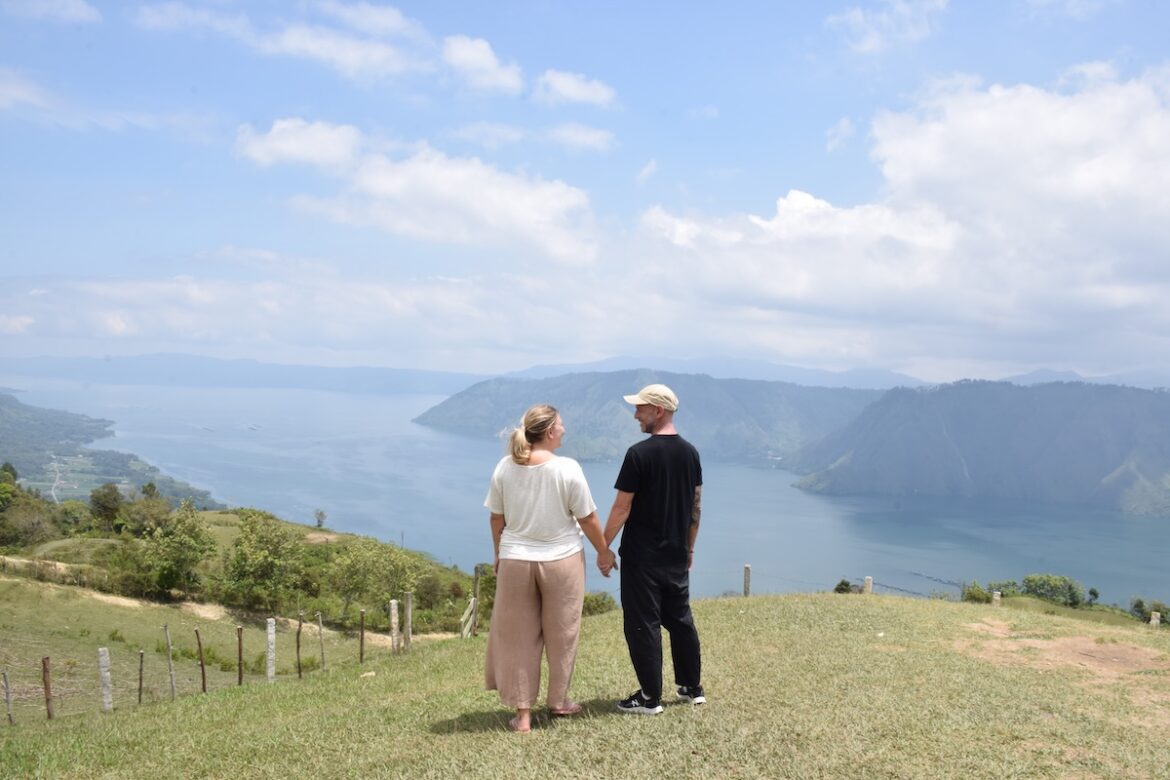
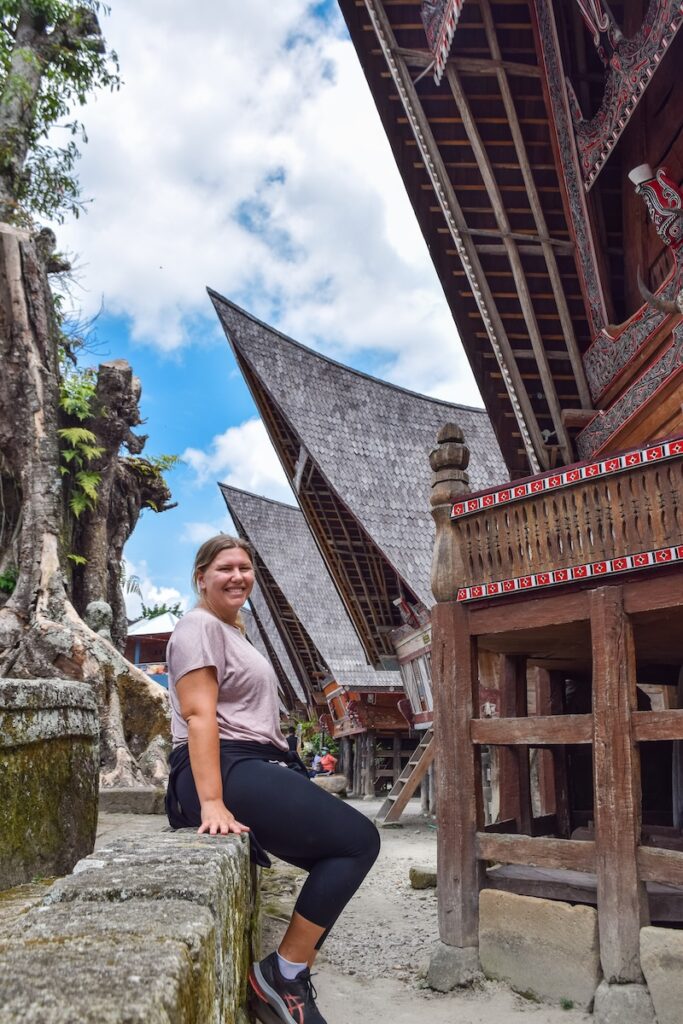
Lake Toba & Samosir Island: Is It Worth Visiting?
Mount Sibayak Sunrise Hike: Our Experience in Berastagi, Sumatra
Orangutan Trekking and Bukit Lawang Travel Guide
A Short Guide to Solo, Indonesia: Palaces, Street Food & Where We Stayed
How to Find the Abandoned Kurayoshi Railway Line
Kurayoshi Travel Guide: Old Town, Pears and Railway Ruins
Is China Difficult to Travel Independently? Our Honest Experience
LBSB World
  • Home
  • Destinations
    • Africa
      • Namibia
    • Asia
      • China
      • Indonesia
      • Japan
    • Europe
      • Albania
      • Bosnia-Herzegovina
      • Croatia
      • Montenegro
      • Netherlands
      • North Macedonia
      • Serbia
    • North America
      • Dominican Republic
  • Travel Itineraries
    • Our 9-Day Namibia Tour with Chameleon Safaris: An Honest Review
    • Our 2 Week Albania Itinerary
    • Bosnia and Herzegovina Itinerary: Our 1 Month Route by Bus
    • Namibia Self Drive: Everything We Learned Driving a 4×4 Across Namibia
    • Our 3-Month Balkans Itinerary: 93 Days by Bus Through Southeast Europe
    • 23 Day Japan Slow Travel Itinerary by Train
    • North Sumatra Itinerary: Bukit Lawang, Berastagi & Lake Toba
  • Plan Your Trip
    • How to Deal with Travel Burnout (And Start Enjoying Travel Again)
    • Sam’s Fulltime Travel Packing List
    • Using Trusted House Sitters to Support Your Travels
    • Trusted House Sitters Promo Code: Save on Your Membership
  • About Us
    • About Sam & Livia
    • The Story Behind Our Full-Time Travel Life
    • abearcalledpaddington
Category:

Asia

Kibitsu Jinja (Sanbi Ichinomiya) Entrance
Japan

Okayama Travel Guide: A Practical Base for Kurashiki and the Kibi Plain

by Sam August 25, 2026
written by Sam

Okayama was the final longer stop on our 23 day slow travel route through western Japan. We stayed for 4 nights, although unless you want a slower base with a couple of day trips, you could probably stay for less.

For us, Okayama worked best as a practical stop rather than a city we fell madly in love with. It has good train connections, easy access to Kurashiki, and one of the nicest low-effort cycling routes we did in Japan: the Kibi Plain route between Bizen-Ichinomiya and Soja.

It was a useful place to pause, eat ramen, rent bikes, visit shrines, and take a relaxed day trip to Kurashiki before finishing our 23 Day Japan Slow Travel Itinerary by Train.
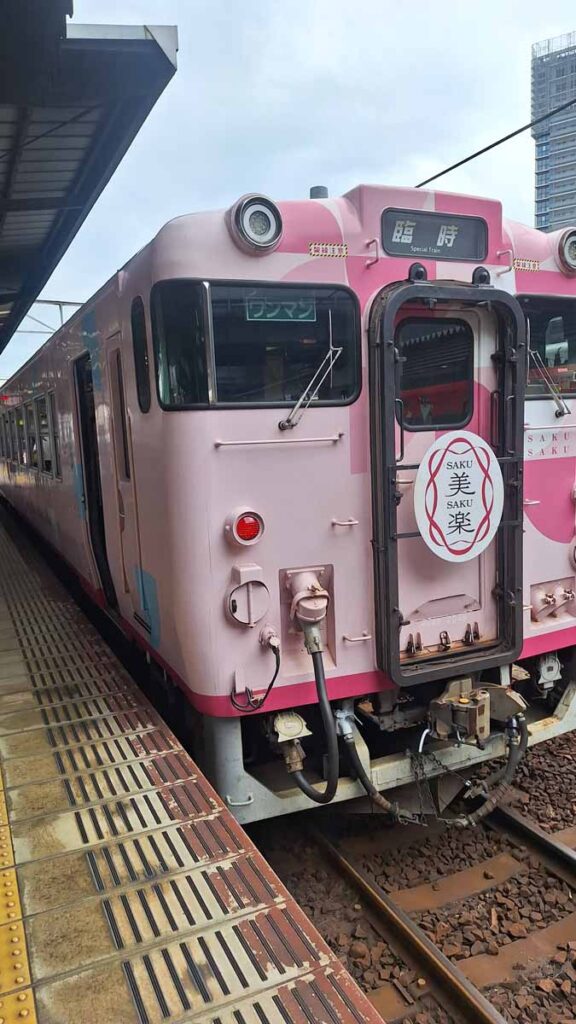
The Hello Kitty local train at Okayama Station
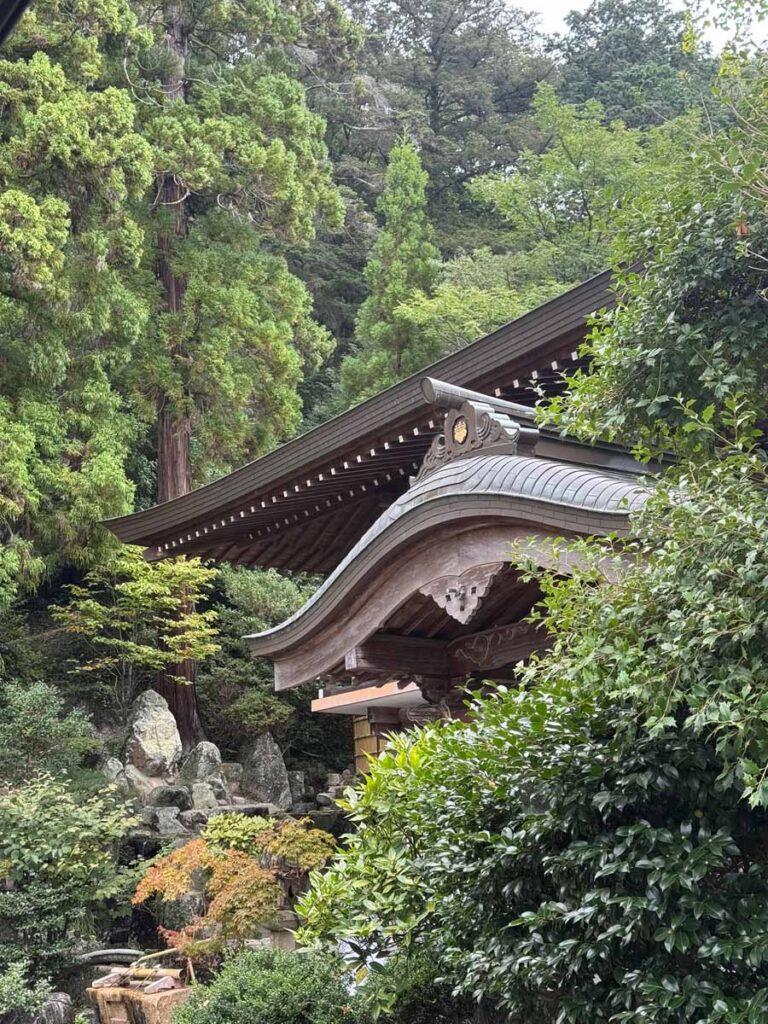
Kibitsu Jinja
Kibitsu Jinja
Kibiji District Cycle Path

Where We Stayed in Okayama

We stayed at Hotel LiVEMAX Okayama West.

The location was convenient for Okayama Station, which mattered more than anything else for us. By this point in the trip, we were using Okayama as a base for day trips, so being close to trains made life easy.

We stayed 4 nights, but if you are only planning to visit Kurashiki and do the Kibi Plain cycling route, 2 or 3 nights would probably be enough.

Why Visit Okayama?

Okayama is not the most exciting city we visited in Japan, but it is a very useful base. It sits in a great location for exploring nearby places by train, especially if you are travelling slowly through western Japan.

The highlights for us were:

  • Cycling the Kibi Plain
  • Visiting Kibitsu Jinja Shrine
  • Taking a day trip to Kurashiki
  • Eating very large bowls of ramen
  • Having a few slower days after moving regularly along the Sanin Line

If you are following a wider Japan itinerary, Okayama works well as a practical stop between the Sanin coast and onward travel towards bigger cities.

Things to Do in Okayama

Cycle the Kibi Plain

The best thing we did from Okayama was rent bikes and cycle part of the Kibi Plain route.

We took the train from Okayama Station to Bizen-Ichinomiya Station, then rented bikes from Uedo Rent-a-Cycle.

The rental cost was ¥1,500 each, with the option to drop the bikes off at Soja Station for an extra ¥500 each. It was cash only when we visited, but there was a 7-Eleven nearby if you need an ATM.

The route is flat, easy, and very relaxed. You cycle through rice fields, quiet countryside and small villages, with shrine and temple stops along the way. It is not a difficult ride at all, and it made a lovely contrast to the towns and cities we had been visiting.

This is the short version here, because the Kibi Plain cycling route deserves its own proper post.

Official tourism information lists the Kibi cycling route as running between Bizen-Ichinomiya and Soja, with bike rental available at both ends and one-way drop-off possible for an additional fee. You can check current details on the Okayama tourism Kibi Cycling Route page.
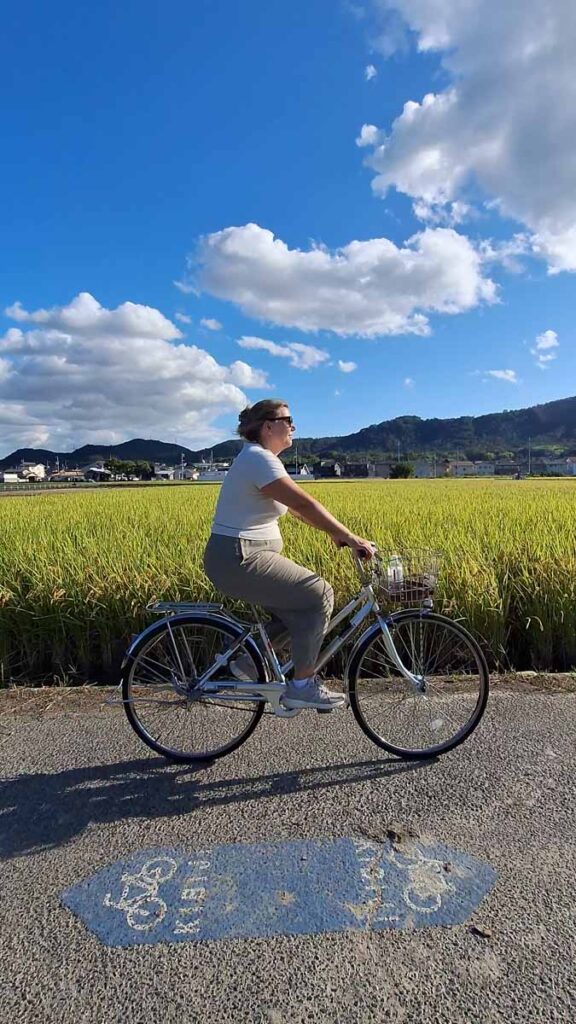
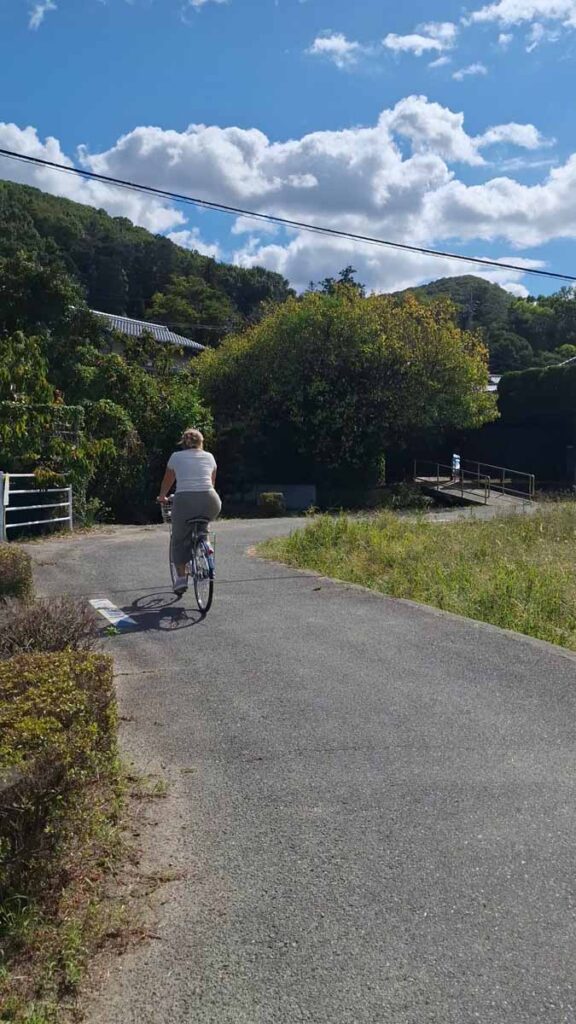
Kibiji District Cycle Path

Visit Kibitsu Jinja

Kibitsu Jinja was one of the best places we visited around Okayama. We went there on foot the day before our bike ride, taking the train from Okayama Station to Kibitsu Station, then walking around 10 minutes to the shrine.

The shrine is best known for its long wooden corridor, which stretches beautifully through the grounds and makes the whole place feel much larger than a quick map glance suggests. There are also lots of smaller shrines and quiet corners around the site, so it is worth taking your time rather than treating it as a quick photo stop.

The area around Kibitsu Jinja is peaceful and easy to explore slowly, but the shrine grounds are bigger than they first appear, so give yourself enough time to wander without rushing.
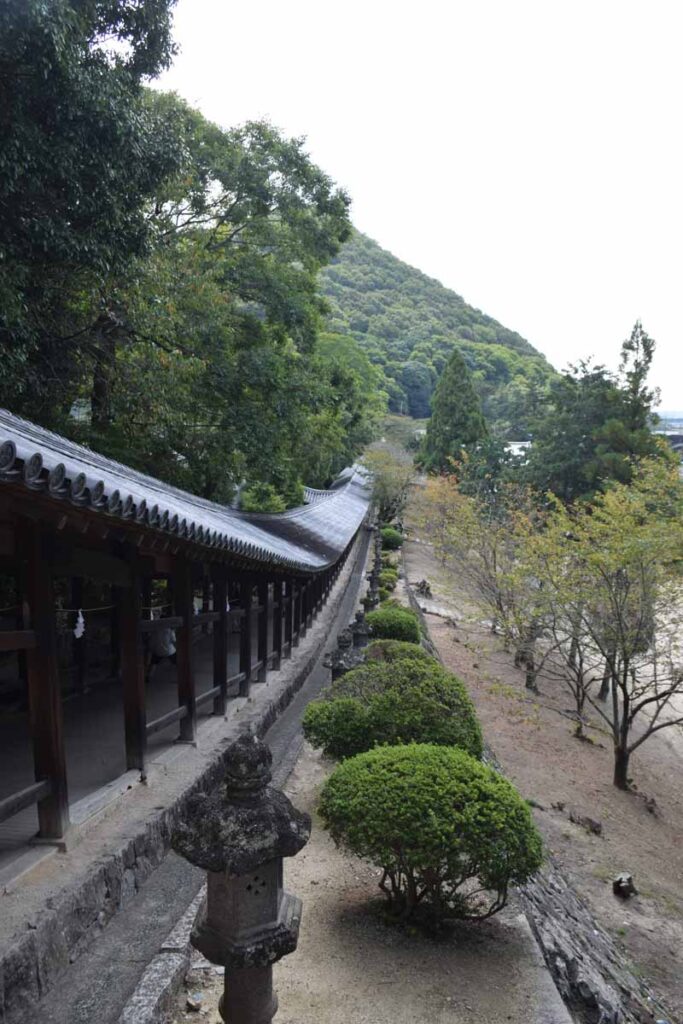
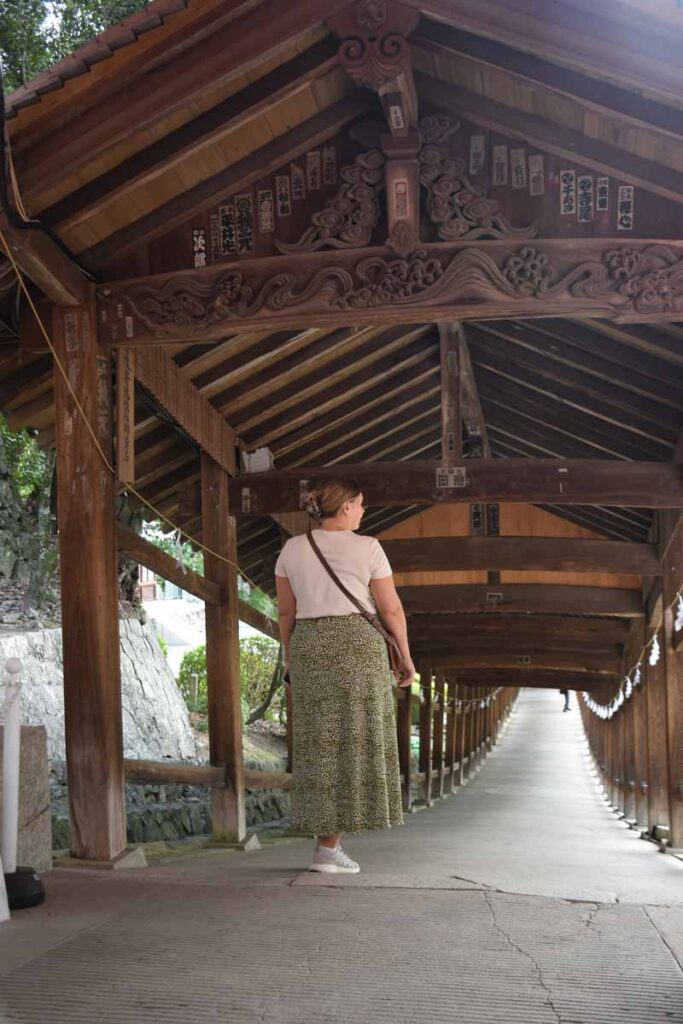
Kibitsujinjakairo Corridor
Okamaden at Kibitsu Jinja

See the Five-Storied Pagoda at Bitchu Kokubun-ji Temple

One of the most beautiful sights on the Kibi Plain route is the Five-Storied Pagoda of Bitchu Kokubun-ji Temple.

Cycling towards it through the countryside is part of the appeal. The route is mostly flat, with open views, rice fields and a slower rural feel that makes this one of the easiest and most enjoyable half-day trips from Okayama.
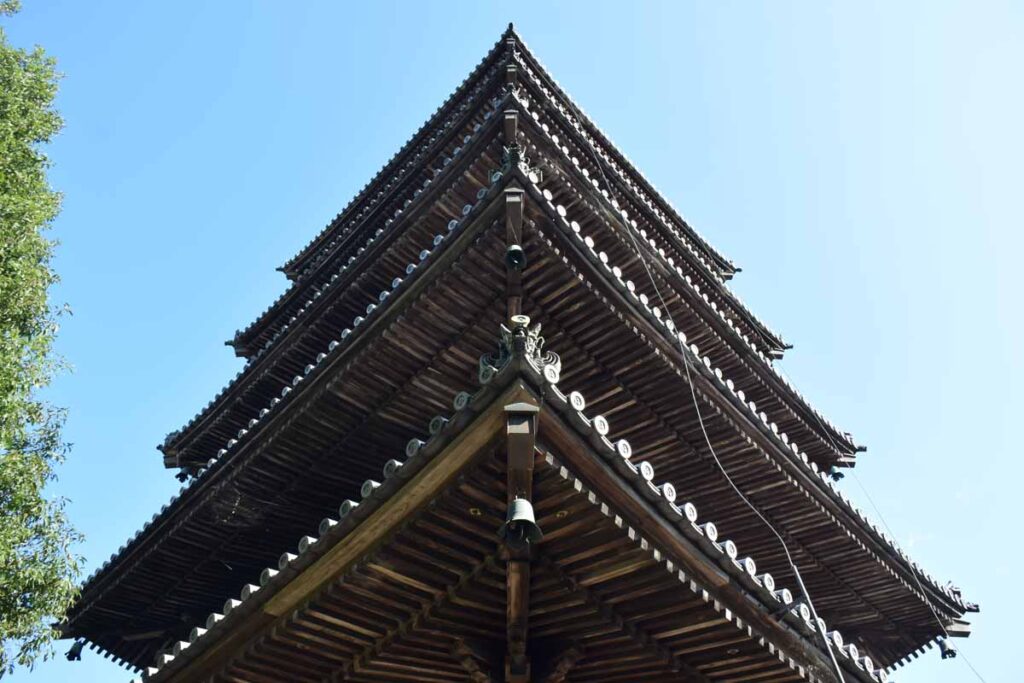
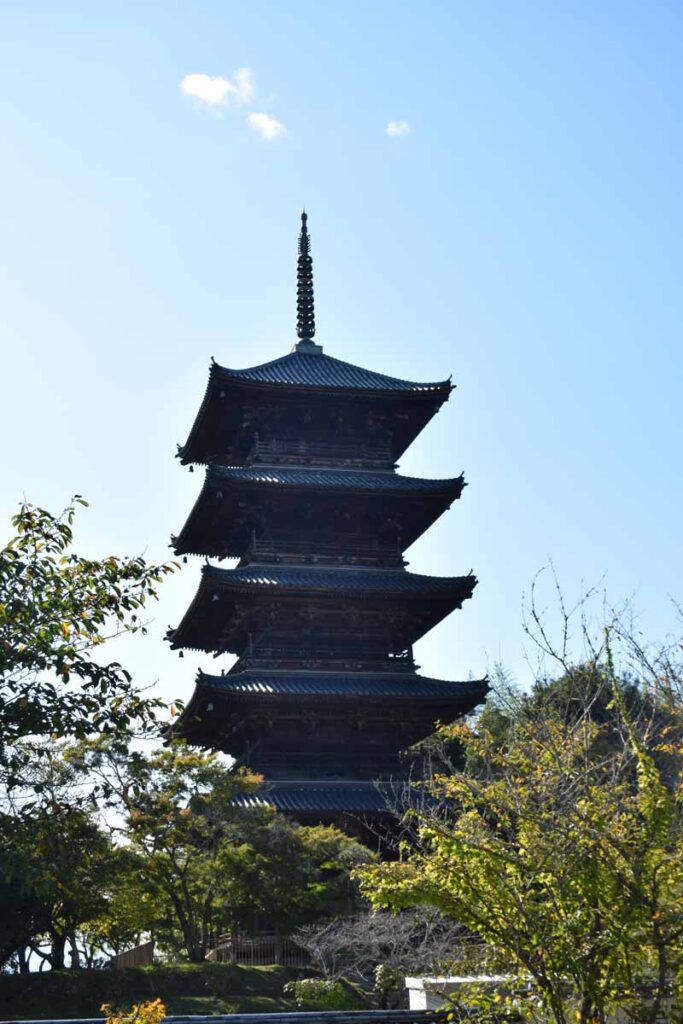
Five-storied Pagoda of Bitchu Kokubun-ji Temple

Day Trip to Kurashiki

Kurashiki is an easy day trip from Okayama by train, and it was well worth doing.

The main tourist area is the Kurashiki Bikan Historical Quarter, centred around the old canal. You can take a short boat ride along the water, but it is also lovely just to buy a coffee, sit by the river, and enjoy the old buildings.

Kurashiki is more polished and more touristy than some of the smaller places we visited earlier in the trip, but it is still very pretty.

Denim Shopping in Kurashiki

Kurashiki is also known for denim, and there are plenty of shops if you are interested in Japanese jeans or denim clothing.

We found cheaper denim clothes at Kurara Kurashiki Denim. If you want something more stylish and trendier, Kurashiki Denim Street is the more obvious stop, although prices are higher.

SNOOPY Chocolat

If you are into Snoopy like Livia, there is also a SNOOPY Chocolat shop selling Kurashiki-only style souvenirs and chocolates.

Is it essential? No. Is it very Japan? Absolutely.
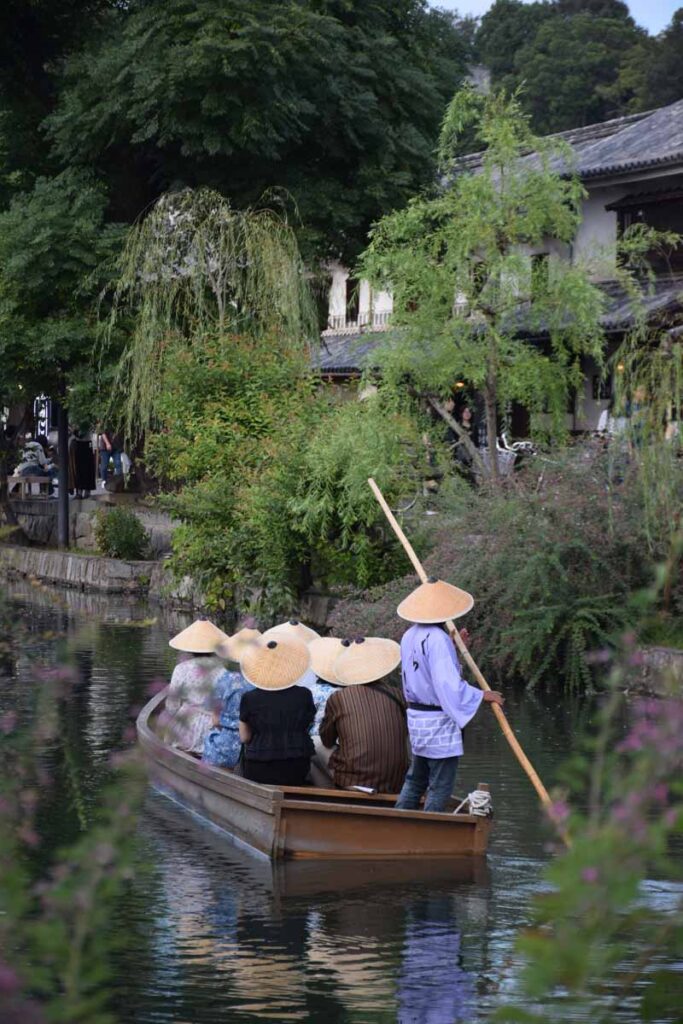
Boat trips at Kurashiki River
Snoopy Chocolat shop in Kurashiki
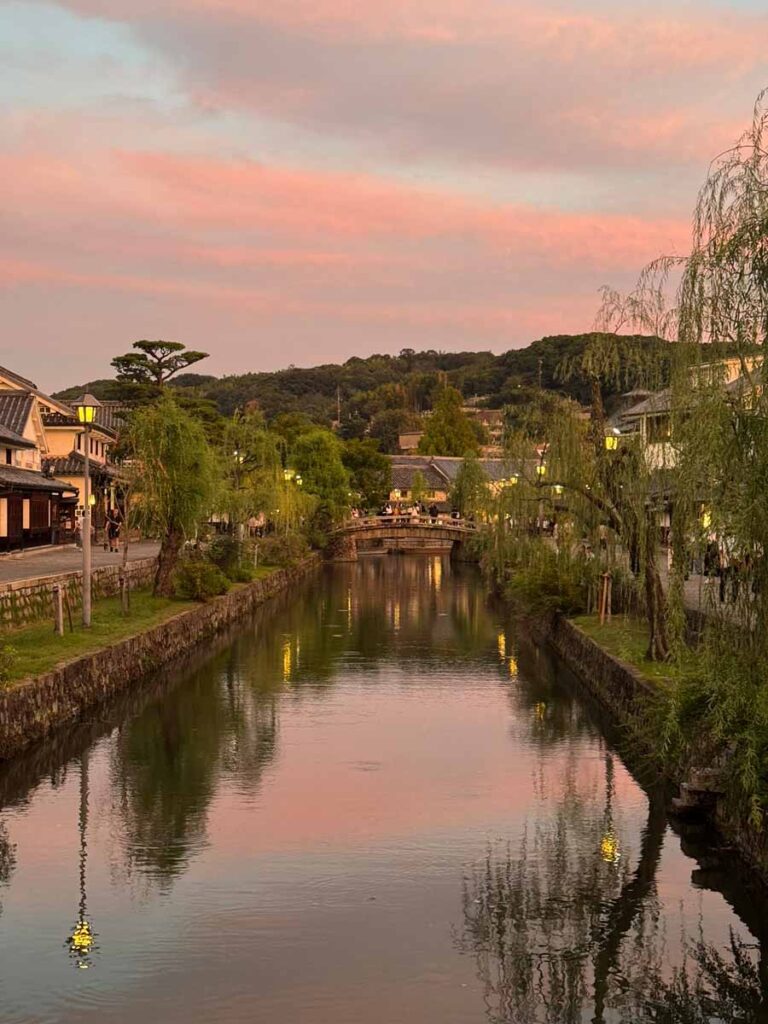
Kurashiki at sunset
Kurashiki at sunset
Kurashiki River at sunset

Where to Eat in Okayama

Chuka Soba Fujiya

We ate a massive bowl of ramen at Chuka Soba Fujiya Granvia Branch, close to Okayama Station.

It was exactly what we needed: easy, filling, close to transport, and very satisfying after a travel day.

Chuka Soba Asazuki Honten

We also ate another huge bowl of ramen at Chuka Soba Asazuki Honten, a long-running ramen shop in Okayama.

This was exactly the kind of place we love finding in Japan: simple, filling, local, and very satisfying after a day of walking or cycling. If you are staying near Okayama Station and want another easy ramen option, this is a good one to add to your list.

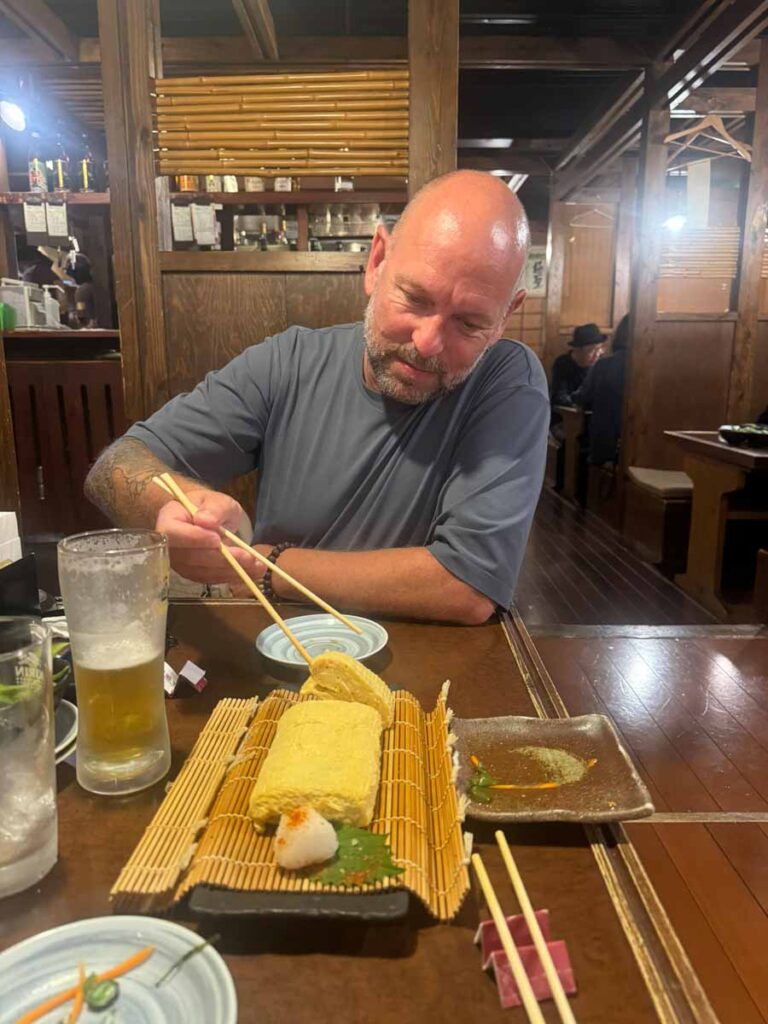
Izakaya Yotteba

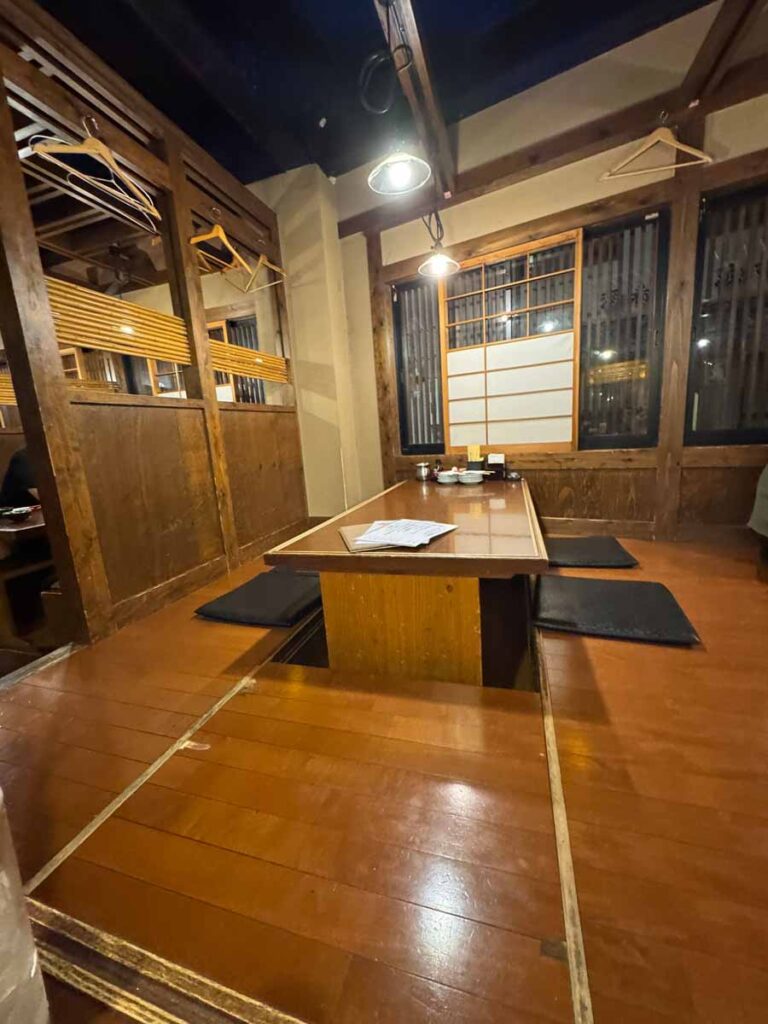
We also went to Izakaya Yotteba, which was another easy local food option while staying near the station area. The seating area is raised and the chairs are sunken. Great vibes and friendly staff.

Shodoshima Ramen Hishio in Kurashiki

During our Kurashiki day trip, we ate at Shodoshima Ramen Hishio. It’s on the corner and you’ll spot the denim stools at the bar.

If you are already spending the day around the canal area, it is a great place to keep in mind.
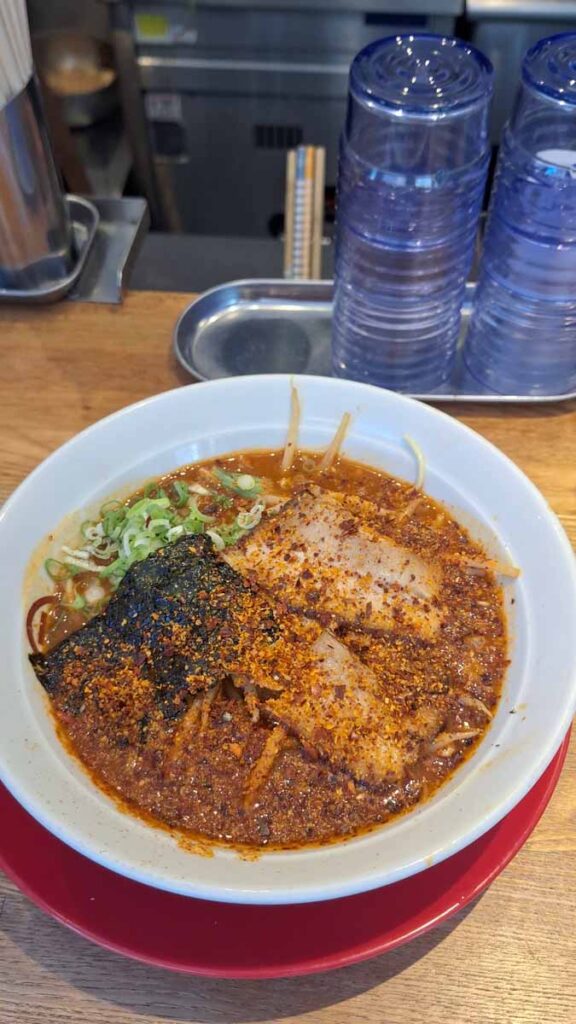
Shodoshima Ramen Hishio in Kurashiki
Izakaya Yotteba in Okayama

How Many Days Do You Need in Okayama?

1 Day

One day is enough if you only want to pass through Okayama and maybe visit Kurashiki or one nearby sight.

2 Days

Two days gives you enough time for one day trip to Kurashiki and one day around Okayama or the Kibi Plain.

3 Days

Three days is probably the sweet spot if you want to cycle the Kibi Plain, visit Kurashiki, and not feel rushed.

4 Days

We stayed 4 nights, which worked for our slow travel pace, but it is more than most people will need unless you want downtime or are using Okayama as a very relaxed base.

Final Thoughts on Okayama

Okayama was not the most memorable city on our Japan route, but it was one of the most useful. It gave us easy transport, good day trips, and a chance to slow down before finishing our journey.

The Kibi Plain cycling route was the real highlight for us, followed by Kurashiki as an easy and pretty day trip. If you are travelling through western Japan by train, Okayama makes sense as a base, just do not expect the city itself to do all the heavy lifting.

This stop was part of our wider slow travel route through western Japan. You can read the full journey here: 23 Day Japan Slow Travel Itinerary by Train
August 25, 2026 0 comments
FacebookTwitterPinterestLinkedinRedditStumbleuponWhatsappTelegramThreadsOpenAIChatGPTEmail
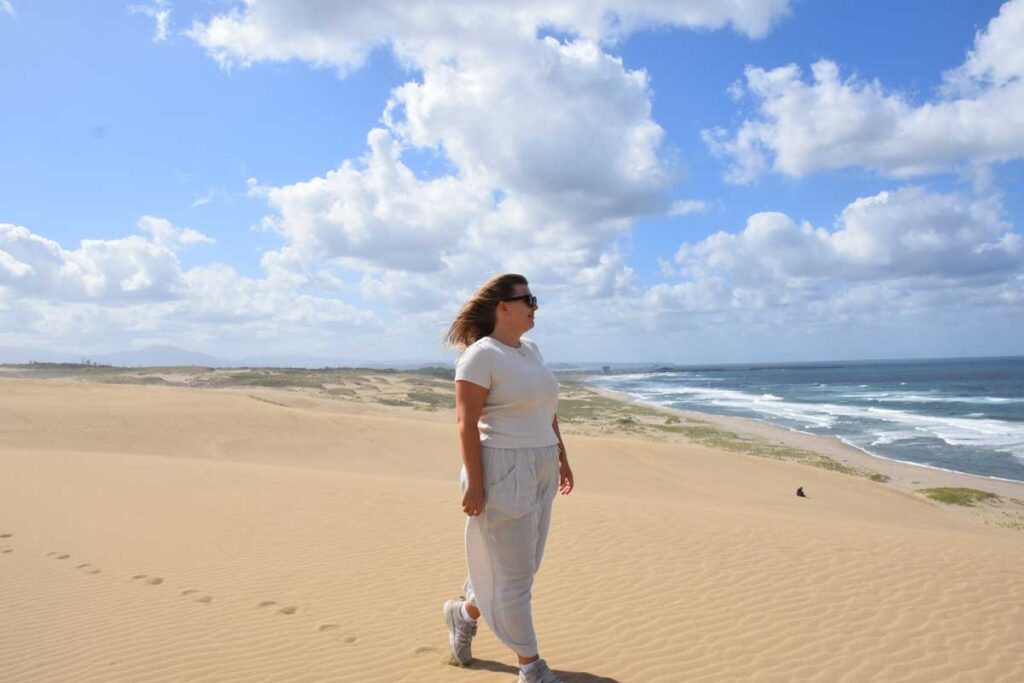
Livia on the Tottori Sand Dunes
Japan

Is Tottori Worth Visiting on a Japan Trip?

by Sam August 25, 2026
written by Sam

Tottori was one of the more unusual stops on our 23 day slow travel route through western Japan. After a few quieter places along the Sanin Line, it was also the first time in weeks that we noticed more tourists around again.

We stayed for 2 nights, which gave us enough time to see the famous Tottori Sand Dunes, visit the Sand Museum, eat well near the station, and enjoy a slower stop before continuing our 23 Day Japan Slow Travel Itinerary by Train

Tottori is not a city packed with endless sights, but it does have one very clear reason to visit: the dunes. Huge sand dunes rolling down towards the sea are not something you expect to find in Japan, and that alone makes Tottori feel different from anywhere else we visited.

Tottori Dunes
Tottori Dunes

Where We Stayed in Tottori

We stayed at Tottori Washington Hotel Plaza.

The location was the main reason we chose it. It is close to Tottori Station, which made arriving by train, catching buses, and leaving again very easy. For a short 2-night stop, being near the station worked perfectly.

Tottori - just another Japanese City
Tottori – just another Japanese City
Japanese Business Hotel Pajamas

Why Visit Tottori?

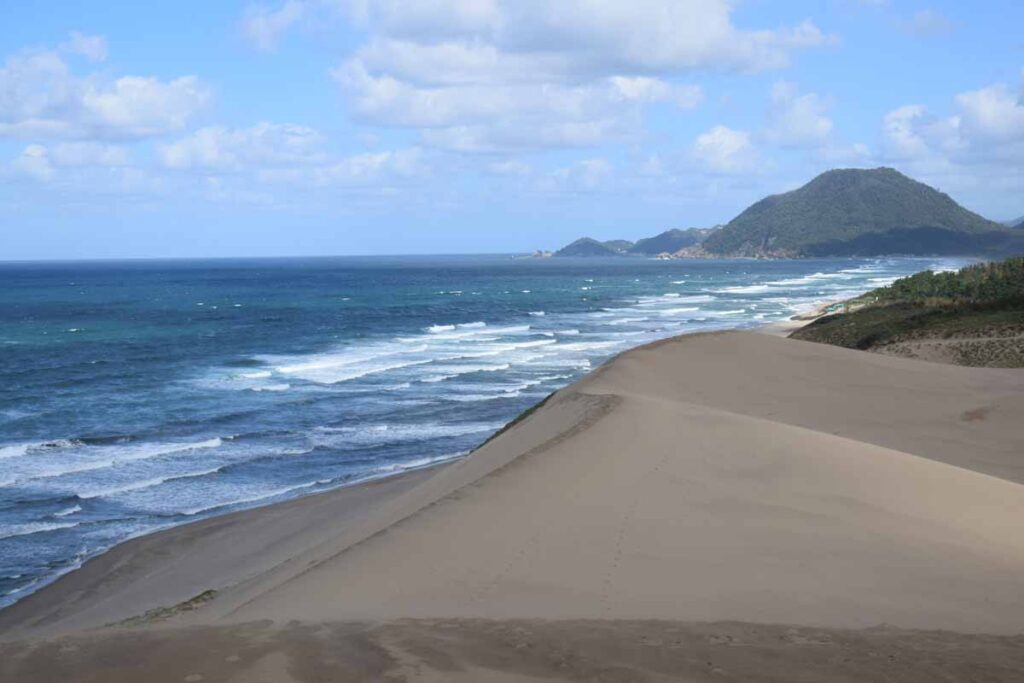
The main reason to visit Tottori is the sand dunes. They are the largest sand dunes in Japan, and they sit right beside the Sea of Japan, which makes the landscape feel surprisingly dramatic.

But the dunes are not the only reason to go. The Sand Museum is genuinely impressive, especially if you visit before walking out to the dunes themselves. We also found Tottori easy to use as a short, practical stop on our slow train route through western Japan.

It felt busier than some of the smaller towns we had visited before it, but still calm compared with Japan’s major tourist cities.

Things to Do in Tottori

Visit the Tottori Sand Museum

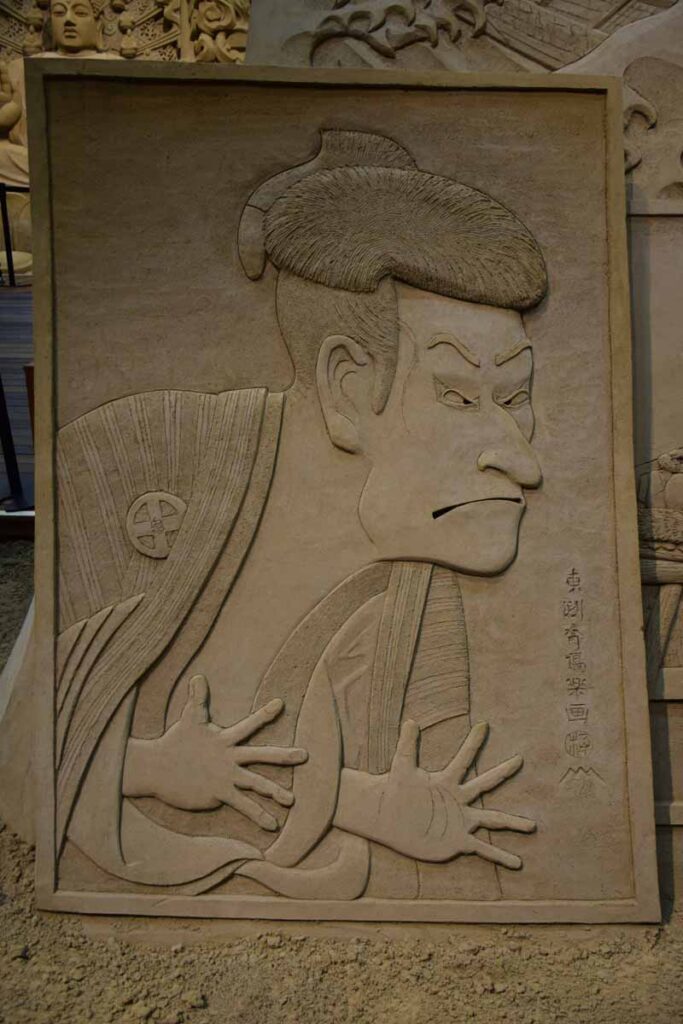
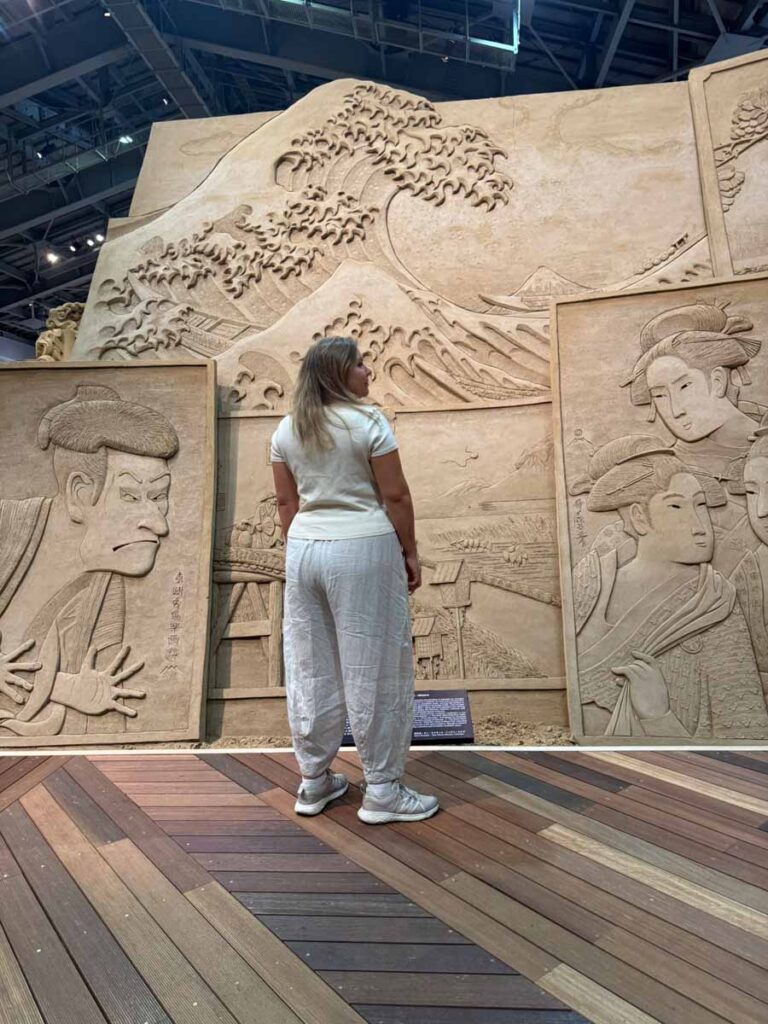
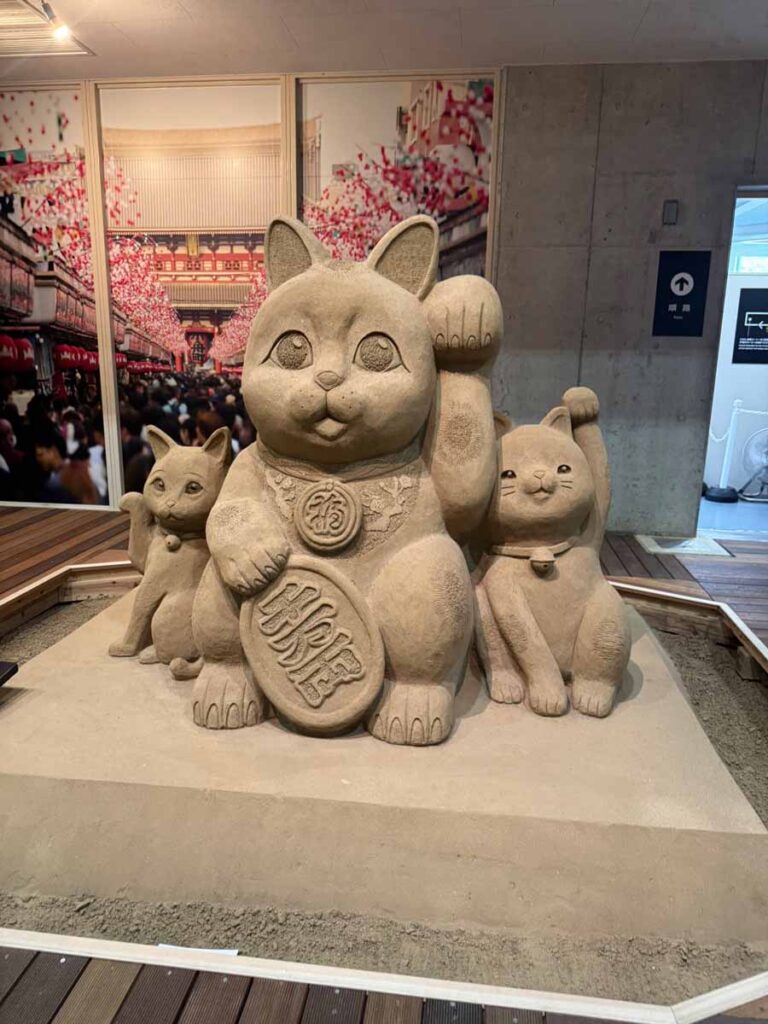
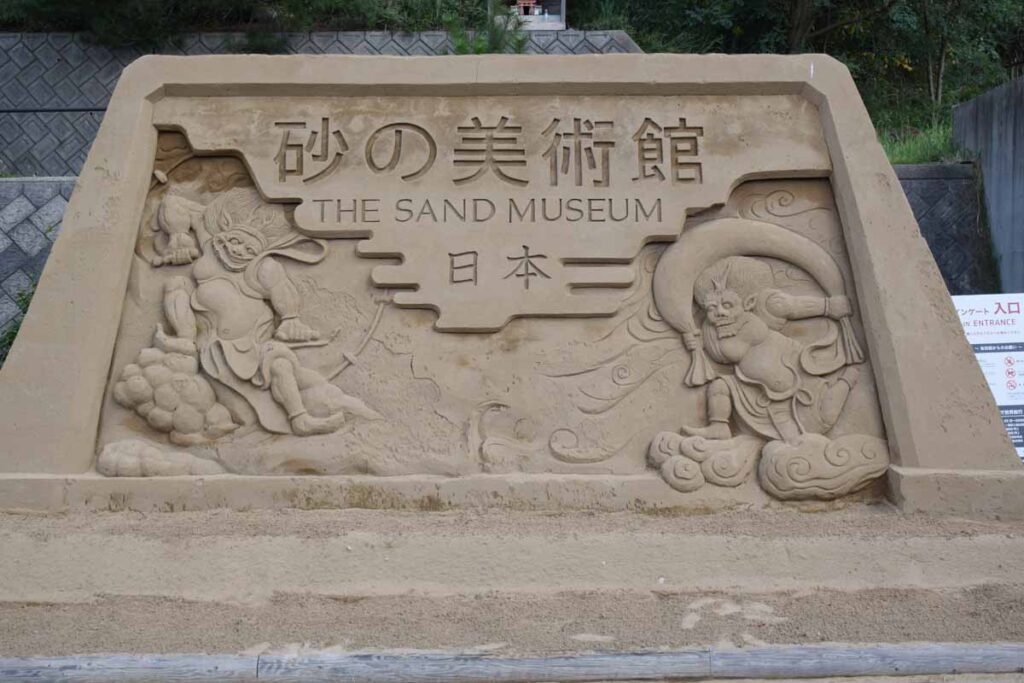
The Tottori Sand Museum was much better than we expected. It is an indoor museum filled with huge sand sculptures, and the detail is seriously impressive.

When we visited, the exhibition theme was Japan, which felt like a perfect fit for the trip. The theme changes regularly, so it is worth checking what is on before you go. The official Sand Museum website says the museum usually runs one main exhibition theme each year, with the display open from spring until early January before closing for the next exhibition changeover.

Adult entry is currently listed as ¥800, with student tickets at ¥400, according to the official Sand Museum information page.

Tottori Sand Museum
Tottori Sand Museum
Tottori Sand Museum
Tottori Sand Museum
Tottori Sand Museum
Tottori Sand Museum
Tottori Sand Museum
Tottori Sand Museum

Walk Across the Tottori Sand Dunes

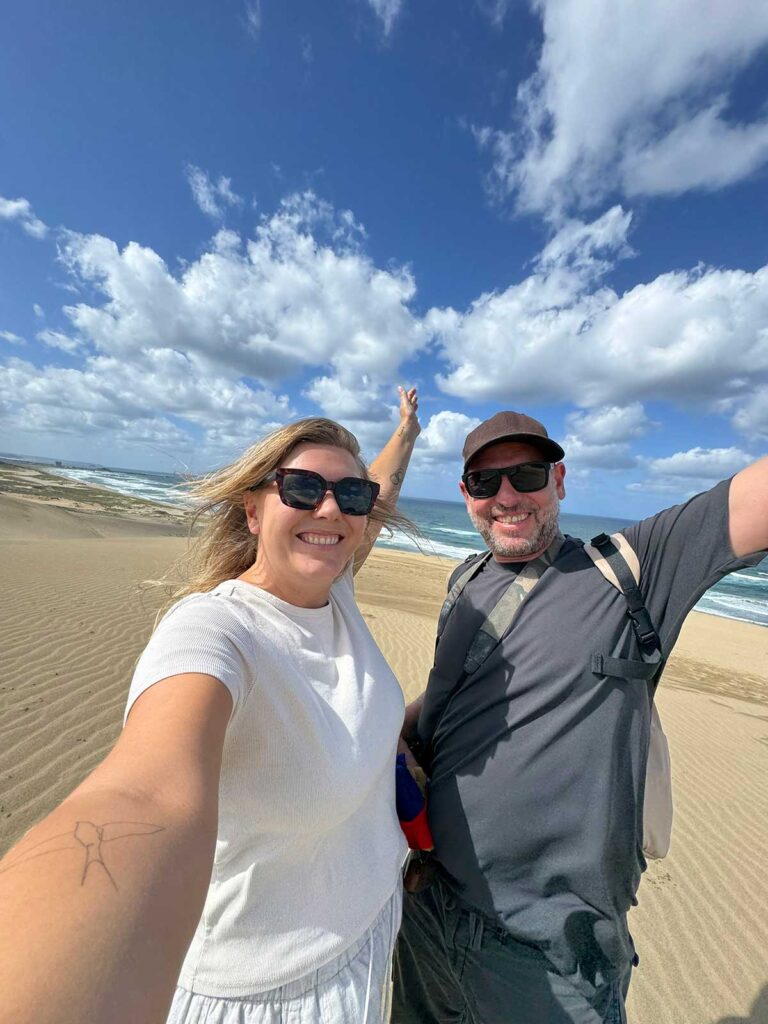
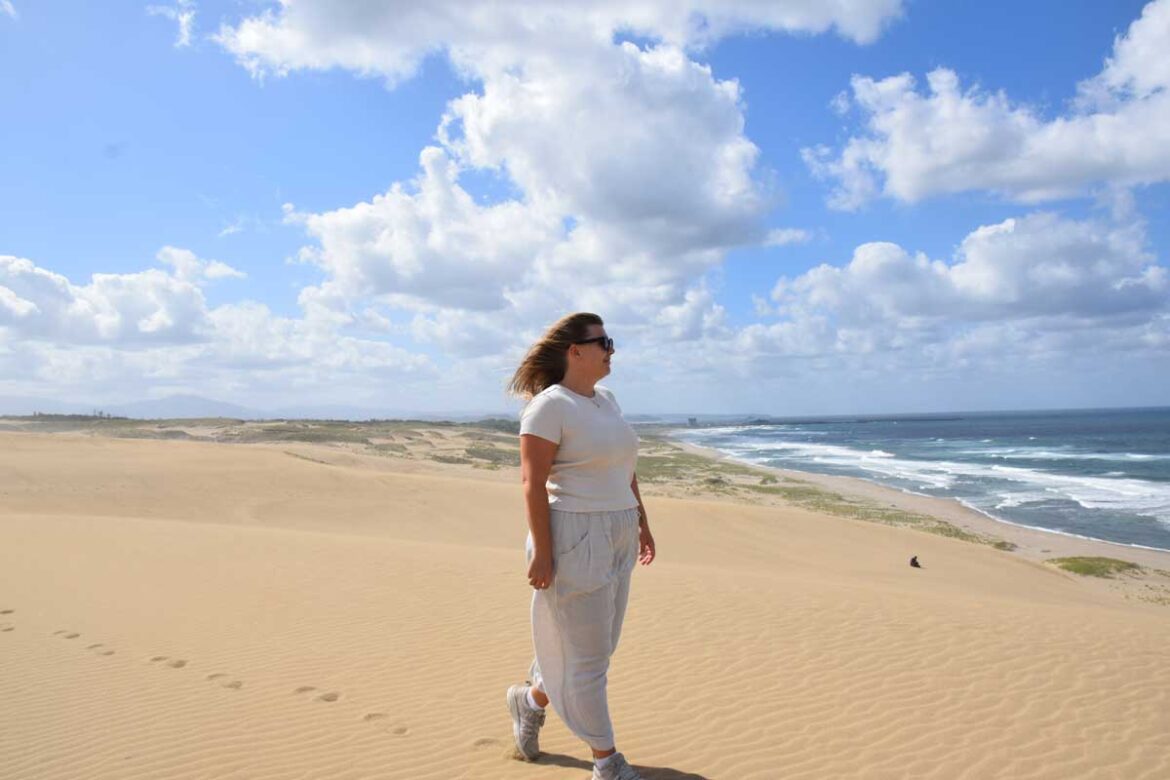
After the museum, cross the road and walk over to the Tottori Sand Dunes.

The dunes are, well, sand dunes — but sand dunes that roll all the way down towards the sea, which is what makes them special. It is a strange and slightly surreal landscape, especially in Japan, where so much of our route had been towns, mountains, rivers and old streets.

You can walk up and across the dunes, then down towards the beach if you want to. Just remember that sand is much harder work than it looks, especially if the weather is hot.

We would recommend going early. By late morning, the dunes were already getting busier, so the early bus is worth it.

Livia & Sam on the Tottori Sand Dunes
Livia on the Tottori Sand Dunes

Stop at the Sakyu Center

We got off the bus at Sakyu Center, which is near the chairlift/cable car area above the dunes.

From there, you can walk down towards the Sand Museum first, then continue to the dunes afterwards. This worked well because it meant we visited the museum before the dunes got too busy.

Just make sure you check return bus times before wandering too far. Buses are not constant, and you do not want to finish at the dunes only to realise you have a long wait.

Try the Pear Shake at Tottori Station Starbucks

Tottori is famous for pears, and we somehow ended up at Starbucks at the station drinking a pear shake. Was it the most local, hidden, off-the-beaten-path experience in Japan? Absolutely not. Was it delicious? Yes.

If the pear shake is available when you visit, it is worth trying.

Google Maps: Starbucks Tottori Station

Where to Eat in Tottori

GyuTonBaKei Yakiniku

Our favourite food stop in Tottori was GyuTonBaKei Yakiniku.

It was a great local food joint: friendly, relaxed, and exactly the kind of place we love finding while travelling. The staff were super welcoming, and the food was excellent.

After a day out at the dunes, it made for a very good evening meal.

Pear shake at Tottori Starbucks
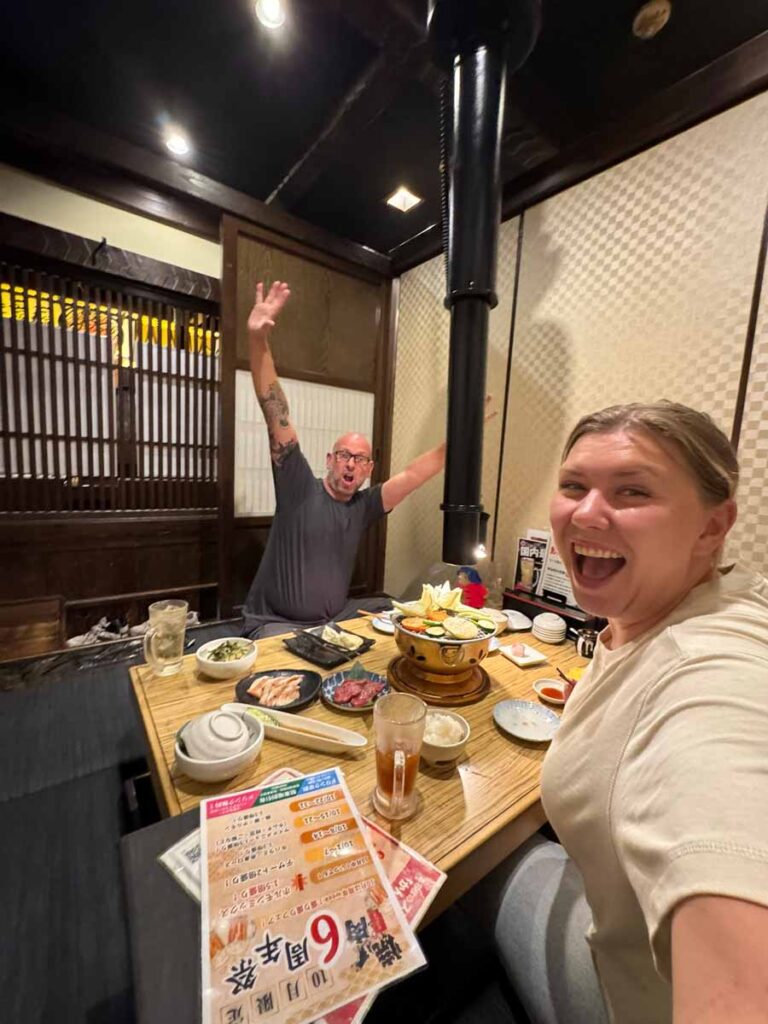
We all love Yakiniku

How to Get to Tottori Sand Dunes by Bus

The easiest way to reach the dunes without a car is by bus from Tottori Station.

When we visited, we took bus 39 from Tottori Station towards the dunes. The fare was ¥380, and the journey took around 30 minutes. We got off at Sakyu Center, which is useful if you want to start near the chairlift area and walk down towards the Sand Museum.

Official tourism information also lists buses from Tottori Station to the Sand Museum / dune area, with journey times around 20–30 minutes depending on the service. There is also a Loop Kirinjishi Bus on weekends and holidays, according to the official Tottori tourism site.

The important thing is this: there are not loads of buses.

Check your outbound and return times carefully before you go. We would suggest taking an early bus, visiting the Sand Museum first, then walking across to the dunes. Before you head too far into the sand, check what time you need to be back for the return bus.

Suggested Half-Day Route to the Dunes

This is the route we would suggest:

  1. Take an early bus from Tottori Station.
  2. Get off at Sakyu Center.
  3. Walk down to the Sand Museum.
  4. Visit the Sand Museum before it gets too busy.
  5. Exit near the lower/main entrance.
  6. Cross the road to the Tottori Sand Dunes.
  7. Walk across the dunes towards the sea.
  8. Return in time for your chosen bus back to Tottori Station.

This works well as a morning trip and leaves the afternoon free for food, coffee, or a slower wander around the station area.

How Many Days Do You Need in Tottori?

1 Day

One full day is enough if you only want to visit the Sand Museum and Tottori Sand Dunes. Arrive the night before or early in the morning, visit the dunes, then continue onwards.

2 Days

Two nights worked well for us. It gave us enough time to arrive without rushing, visit the dunes properly, eat locally, and continue our slow train route without making Tottori feel like a dash.

3+ Days

If you have more time, you could use Tottori as a base for exploring more of the coast, nearby temples, or other parts of eastern Tottori Prefecture. For our itinerary, though, 2 nights was enough.

Practical Tips for Visiting Tottori Sand Dunes

Go early if you can. The dunes can get busy by late morning.

Check bus times carefully. Services are not constant, and return timing matters.

Visit the Sand Museum before the dunes. It is indoors, structured, and easier to enjoy before you get sandy and tired.

Wear comfortable shoes. Sand is harder to walk on than it looks.

Bring water. There are facilities around the dune area, but once you are out walking, it is exposed.

Check the Sand Museum exhibition before visiting. The theme changes, and the museum closes between exhibition periods.

Be ready for wind. It is an open coastal sand area, so weather can make a big difference.

Final Thoughts on Tottori

Tottori was a worthwhile 2-night stop on our slow train route through western Japan. The city itself did not grab us in the same way as Matsue or Kurayoshi, but the dunes and Sand Museum made it memorable.

It is the kind of place that works best as part of a wider Sanin Line journey rather than a standalone city break. If you are travelling slowly through western Japan, Tottori gives you something completely different: sand, sea, sculpture, and a landscape you probably do not expect to find in Japan.

This stop was part of our wider route across western Japan. You can read the full journey here: 23 Day Japan Slow Travel Itinerary by Train

August 25, 2026 0 comments
FacebookTwitterPinterestLinkedinRedditStumbleuponWhatsappTelegramThreadsOpenAIChatGPTEmail
Volcanic landscape in the mountains of North Sumatra, Indonesia
IndonesiaTravel Itineraries

North Sumatra Itinerary: Bukit Lawang, Berastagi & Lake Toba

by Livia August 22, 2026
written by Livia

North Sumatra was one of the most varied parts of our Indonesia trip. Within a relatively short distance, we went from trekking through rainforest looking for orangutans to climbing an active volcano for sunrise and relaxing beside the enormous Lake Toba.

We spent around two weeks travelling through the region, but we were moving slowly and stayed much longer in some places than you need to. If you’re short on time, this same North Sumatra route could easily be done in around one week.

Our North Sumatra Route

We travelled between the main stops by taxi or private/shared transfer, which made this route very straightforward without needing to hire a car.

We flew into Medan, travelled directly to Bukit Lawang and then continued south through Berastagi to Lake Toba before returning to Medan.

If you’re following the same route, we’d recommend travelling in this direction rather than returning to Medan between each destination.

Our route looked like this:
Medan → Bukit Lawang → Berastagi → Lake Toba & Samosir Island → Medan

Bukit Lawang: 8 Nights

For a shorter trip: 3 nights

Bukit Lawang was our first stop and also where we spent the most time.

Most people visit for just a couple of days to go orangutan trekking in Gunung Leuser National Park, but we stayed for eight nights and were very happy that we did.

The orangutan trek was the main event. We did a one-day trek with a guide from Green Hill, climbing up and down through the rainforest before returning to Bukit Lawang by river on a raft made from large inner tubes.

But Bukit Lawang was also somewhere we enjoyed simply being. We walked along the river, explored the village and market and spent plenty of time doing very little surrounded by rainforest.

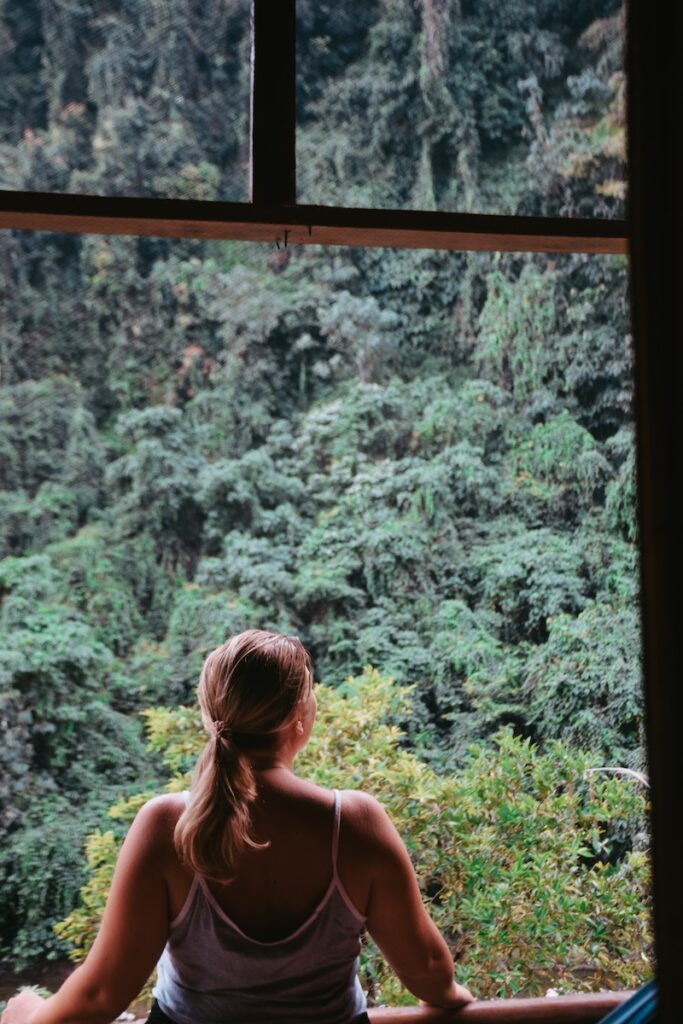
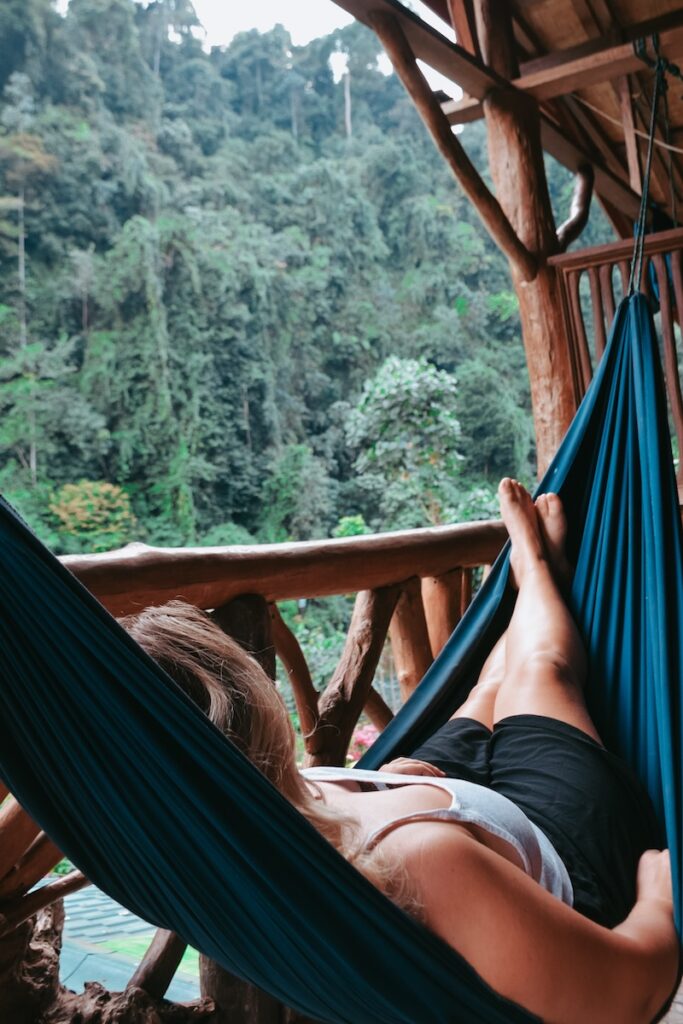
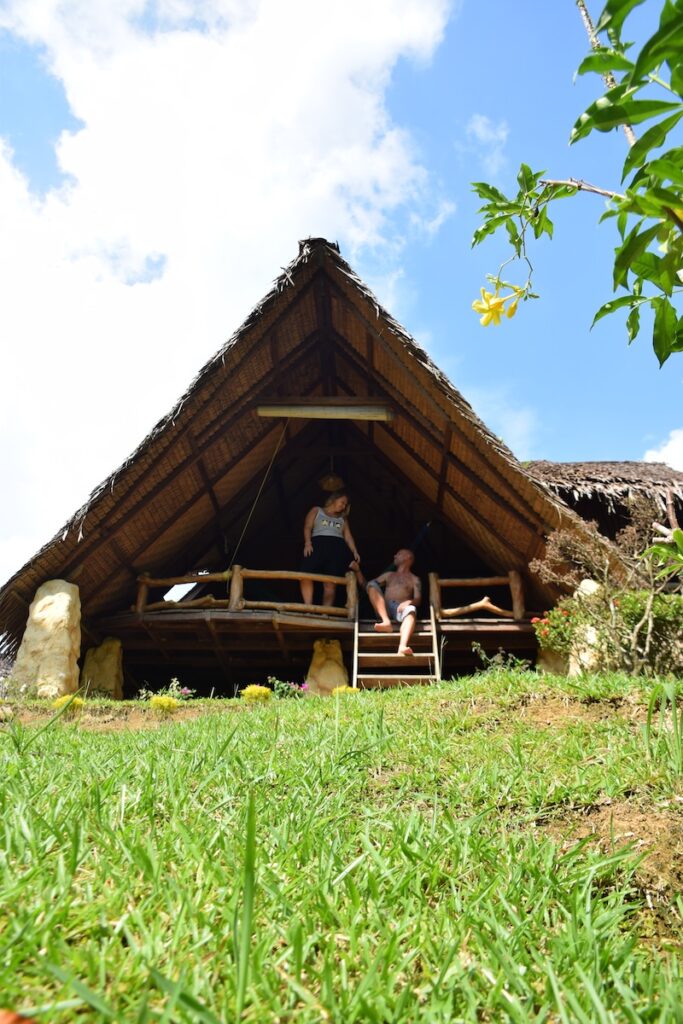
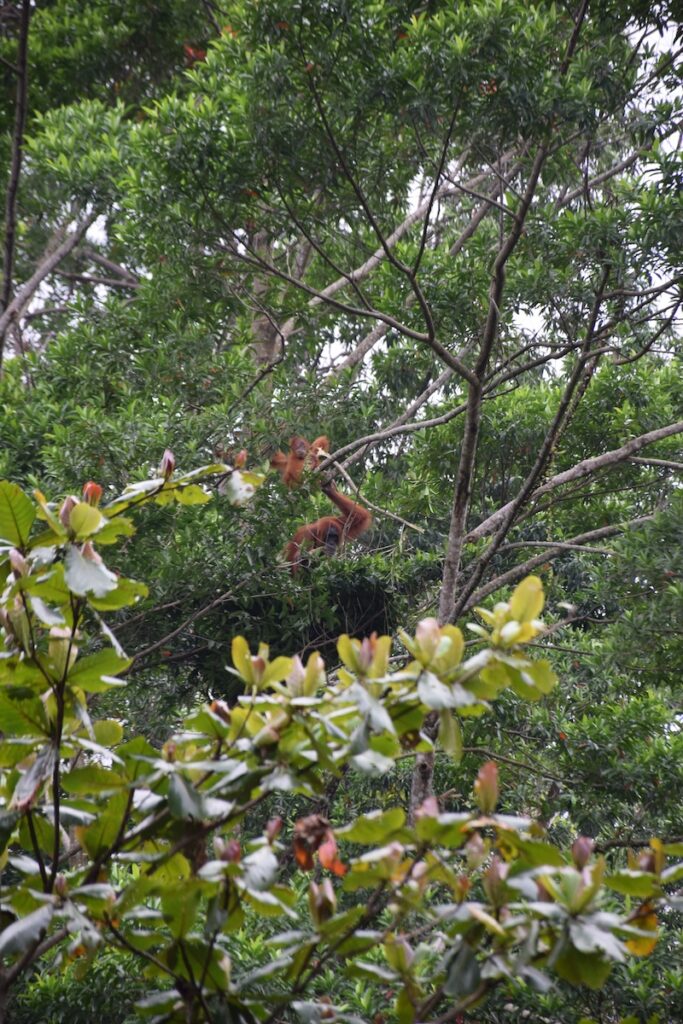
We stayed at three different places during our time here: Sam’s Bungalows, Garden Inn and On The Rocks. On The Rocks was our favourite, right on the edge of the rainforest, where we even had an orangutan and her baby nesting outside our room.

If you’re travelling North Sumatra in one week, we’d give Bukit Lawang three nights. That gives you time to arrive, do a full-day orangutan trek and still have some time to enjoy the village.

Read our full Orangutan Trekking and Bukit Lawang Travel Guide.

Orangutang trekking Bukit Lawang
Views over the rainforest from Sam's Bungalow in Bukit Lawang
River going through Bukit Lawang

Berastagi: 1 Night

From Bukit Lawang, we travelled by taxi to Berastagi.

The journey itself was beautiful, taking us through the increasingly mountainous landscape of North Sumatra.

We stayed for just one night at Nachelle Homestay, where the lovely owners also arranged our Mount Sibayak sunrise hike.

We left while it was still dark and reached the top of Mount Sibayak at around 6:15 am. The hike wasn’t particularly difficult, and at the top we were surrounded by volcanic rock, steam rising from the crater and views across the mountains.

It was surprisingly chilly before sunrise, so our thin puffer jackets came in very handy.

After hiking back down, we stopped at the sulfur hot springs before returning to Berastagi.

One night worked perfectly for what we wanted to do, although you could easily add another if you want to explore more of the surrounding area.

Read about our Mount Sibayak Sunrise Hike and stay in Berastagi.

Sunrise view from Mount Sibayak near Berastagi
Looking into the steaming Mount Sibayak crater in North Sumatra
Volcanic landscape on the Mount Sibayak hiking trail

Lake Toba & Samosir Island: 5 Nights

For a shorter trip: 2–3 nights

From Berastagi, we travelled to Parapat, where we caught the ferry across Lake Toba to Samosir Island.

We stayed for five nights at Tabo Cottages in Tuk Tuk.

Lake Toba is spectacularly beautiful, and we spent one day taking a tour up into the hills of Samosir for views across the lake and surrounding landscape.

Another day, we walked from Tuk Tuk towards Huta Siallagan in Ambarita, where you can see traditional Batak houses and the ancient stone chairs associated with the village’s history. Along the way, we also passed some of the elaborate Batak tombs found across the island.

Despite the scenery, Lake Toba was the place we connected with least on this route. The atmosphere felt a little off to us, and we generally found interactions less warm than we’d experienced elsewhere in Indonesia.

We’re still glad we visited. The landscape and Batak culture make Samosir very different from the other stops on this itinerary, but if we did the trip again, we’d probably spend three nights rather than five.

Read more about our experience in Lake Toba & Samosir Island: Is It Worth Visiting?.

Historic Batak village of Huta Siallagan on Samosir Island
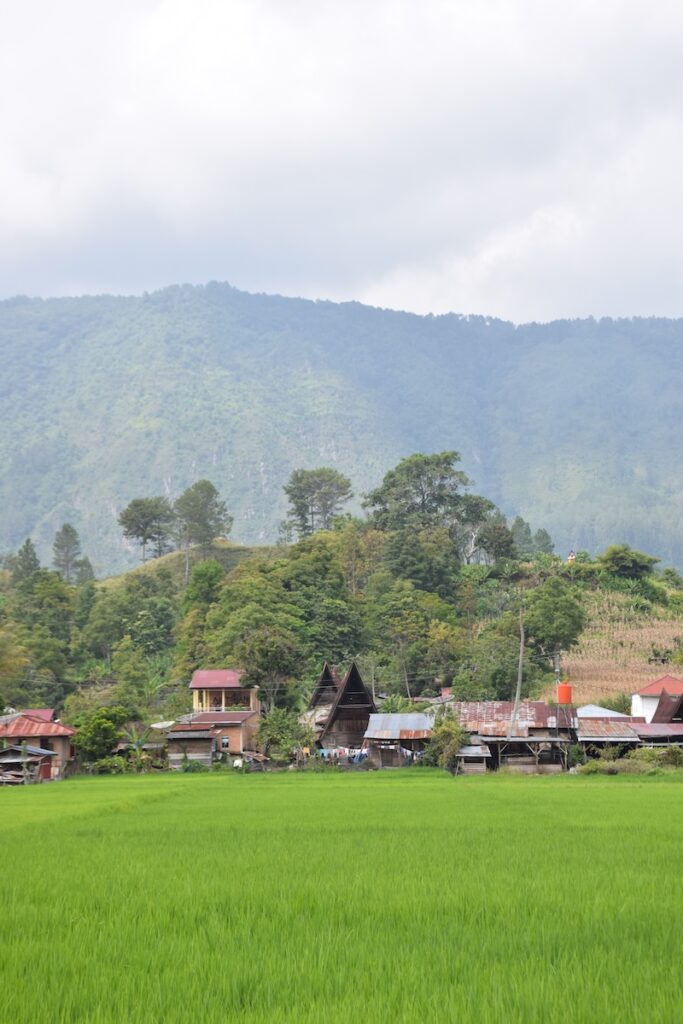
View across the volcanic landscape of Lake Toba
Mountain scenery surrounding Lake Toba in North Sumatra

Returning to Medan

From Lake Toba, we returned towards Medan for our onward journey.

We didn’t actually spend time exploring Medan itself, so we can’t give you recommendations for the city based on our own experience.

However, if you have an extra day or two, you could easily add Medan at either the beginning or end of this itinerary.

We did spend a couple of nights at Hotel Deli River and Restaurant Omlandia when we needed to be closer to Medan airport. It was a very relaxing place to stay, with a pool and even a floating breakfast, and worked well when we didn’t want to head straight into another journey. It’s a bit outside the city and we only used it as a place to relax for a couple of days before leaving. So if you want to explore Medan city, this hotel might be a little far out.

How to Travel Around North Sumatra

We travelled between the main destinations by taxi or shared/private transfer.

This was more expensive than using local buses, but with our luggage it made the route very easy. We could travel directly from Bukit Lawang to Berastagi and then from Berastagi towards Lake Toba without having to return to Medan. It’s easy to arrange with your accommodation.

For Lake Toba, we travelled to Parapat and then took the ferry across to Samosir Island.

Once we’d arrived at each destination, we mostly walked, joined locally organised tours or used local transport when needed.

Don’t judge travel times purely by the distances on Google Maps. Journeys around North Sumatra can take longer than you might expect, so we wouldn’t plan tight connections on travel days.

Can You Do This North Sumatra Itinerary in One Week?

Yes.

Although we spent around two weeks travelling this route, you could comfortably see the main highlights in seven days.

A shorter version could look something like:

Day 1: Medan → Bukit Lawang
Day 2: Orangutan trekking
Day 3: Bukit Lawang → Berastagi
Day 4: Mount Sibayak sunrise hike → Lake Toba
Day 5: Explore Samosir Island
Day 6: Lake Toba / Huta Siallagan
Day 7: Return to Medan

Would we personally travel this quickly? Probably not.

One of the things we enjoyed most about our trip was having time to slow down, particularly in Bukit Lawang. But if you only have one week in North Sumatra, you don’t need to choose between the orangutans, Mount Sibayak and Lake Toba.

If You Have 10 Days or Two Weeks

With more time, we’d keep the same route and simply slow it down.

We wouldn’t necessarily add more destinations.

For 10 days, we’d add a couple of extra nights in Bukit Lawang and another night at Lake Toba.

With two weeks, you can travel at a similar pace to us, although knowing what we know now, we’d redistribute our nights slightly.

We’d happily spend five or more nights in Bukit Lawang, keep Berastagi at one or two nights and spend around three or four nights at Lake Toba.

You could also add a night or two in Medan if you want to explore the city.

What We’d Change

The route itself worked really well.

If we did it again, the main thing we’d change would be how we divided our time.

We’d still stay longer than most travellers in Bukit Lawang. Having several days there beyond the orangutan trek gave us time to enjoy the river, rainforest and village without constantly having something planned.

We’d keep Berastagi as a short stop. One night was enough for us to hike Mount Sibayak and visit the sulfur hot springs.

We’d probably shorten Lake Toba from five nights to around three. We’re glad we visited, but it wasn’t somewhere we felt we needed as much time.

We would add some beach time onto this itinerary, we were thinking of it, but it was quite far and our visa permitted time in Indonesia was running out. But there are many beautiful islands around North Sumatra to visit.

Is North Sumatra Worth Visiting?

Definitely.

The three main stops on this route couldn’t have felt more different.

In Bukit Lawang, we trekked through dense rainforest looking for Sumatran orangutans. In Berastagi, we stood beside the steaming crater of Mount Sibayak as the sun came up. And at Lake Toba, we explored traditional Batak villages surrounded by one of Indonesia’s most impressive landscapes.

You can experience all three in a week, but if you have longer, North Sumatra is also a great place to slow down.

For us, Bukit Lawang was the place we’d happily have stayed even longer, Berastagi was the perfect short stop, and Lake Toba was beautiful even though we didn’t connect with it in quite the same way.

If we were planning the trip again, we’d follow almost exactly the same route. We’d just move a couple of those Lake Toba nights back to the rainforest.

August 22, 2026 0 comments
FacebookTwitterPinterestLinkedinRedditStumbleuponWhatsappTelegramThreadsOpenAIChatGPTEmail
Looking out over Lake Toba from Samosir Island in North Sumatra
Indonesia

Lake Toba & Samosir Island: Is It Worth Visiting?

by Livia August 22, 2026
written by Livia

Lake Toba was probably the place we connected with least during our time in North Sumatra.

That’s not to say it isn’t beautiful. It absolutely is. The enormous volcanic lake, green hills and traditional Batak villages make this one of the most distinctive landscapes in Indonesia. But after spending five nights on Samosir Island we came away with mixed feelings.

For some reason, the atmosphere just felt a little off to us. We also found people noticeably less friendly than elsewhere we’d travelled in Indonesia, where we’d become so used to incredibly warm and welcoming interactions.

We’re still glad we visited, though. Lake Toba gave us a completely different experience from Bukit Lawang and Berastagi and introduced us to the culture and traditions of the Batak people.

Traditional Batak houses at Huta Siallagan on Samosir Island
Exploring the countryside on Samosir Island
Mountain scenery surrounding Lake Toba in North Sumatra

Getting to Lake Toba from Berastagi

After hiking Mount Sibayak in Berastagi, our next stop was Lake Toba.

We travelled by road from Berastagi to Parapat, the main gateway for reaching Samosir Island. From there, we took the ferry across Lake Toba to Samosir.

The ferry journey is a lovely introduction to the lake. Once you leave Parapat behind, you begin to appreciate just how enormous Lake Toba actually is, with mountains and green hills surrounding the water in almost every direction.

Most travellers staying on Samosir head to Tuk Tuk, where you’ll find plenty of guesthouses, restaurants and accommodation along the lakeshore.

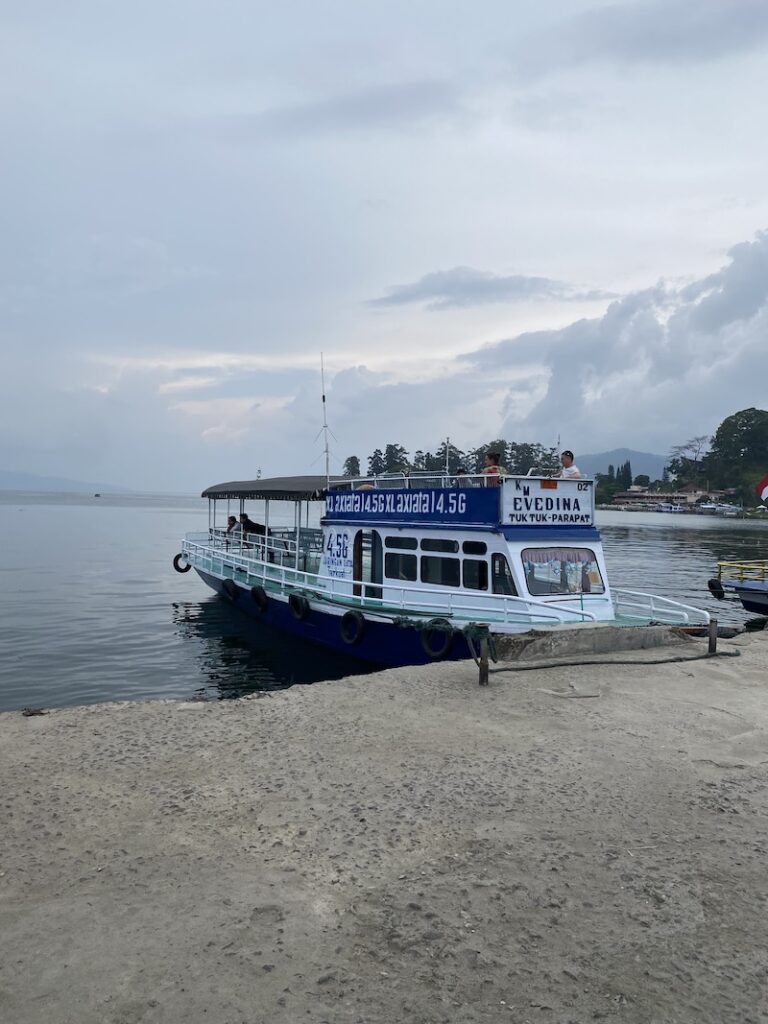
Ferry from Parapat to Samosir Island on Lake Toba
Crossing Lake Toba by ferry to Samosir Island

Where We Stayed on Samosir Island

We stayed at Tabo Cottages in Tuk Tuk for five nights.

It’s a well-established place with gardens, a pool and a lovely setting beside Lake Toba. There are different accommodation options spread around the property, and it’s an easy base for exploring this part of Samosir.

There’s also a strong German influence, including plenty of German food on the menu, which wasn’t necessarily what we expected to find in the middle of Sumatra!

The location worked well for us because we could spend quieter days around Tuk Tuk and explore parts of the island on foot, while also arranging a tour to see some of the places further into Samosir.

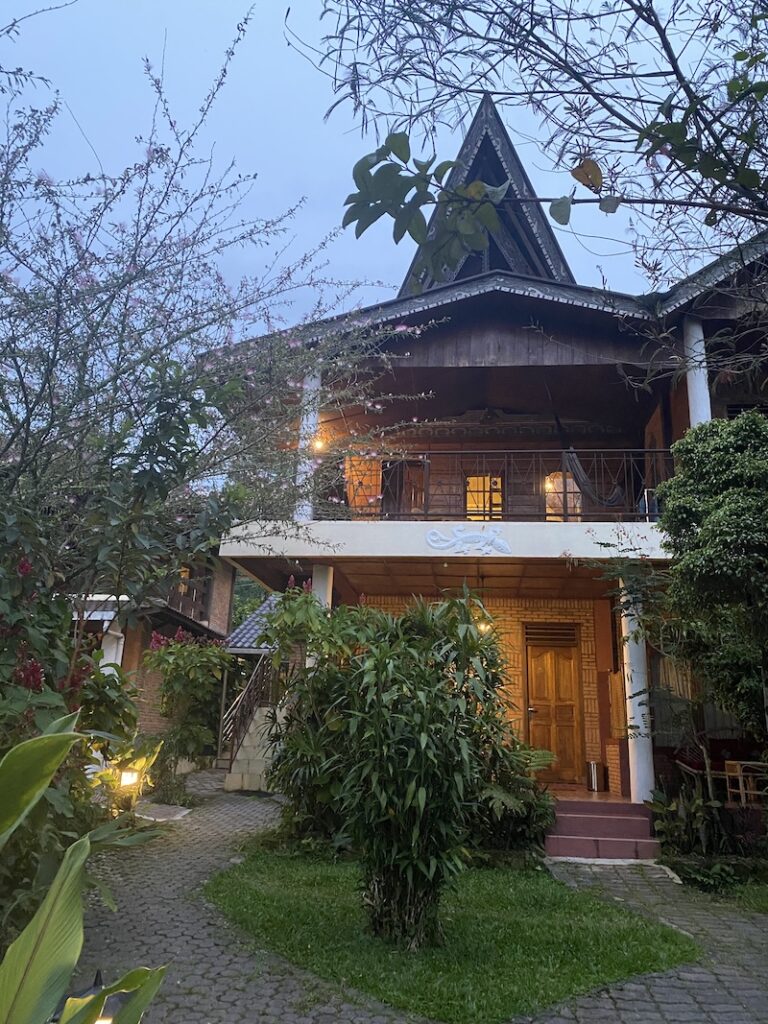
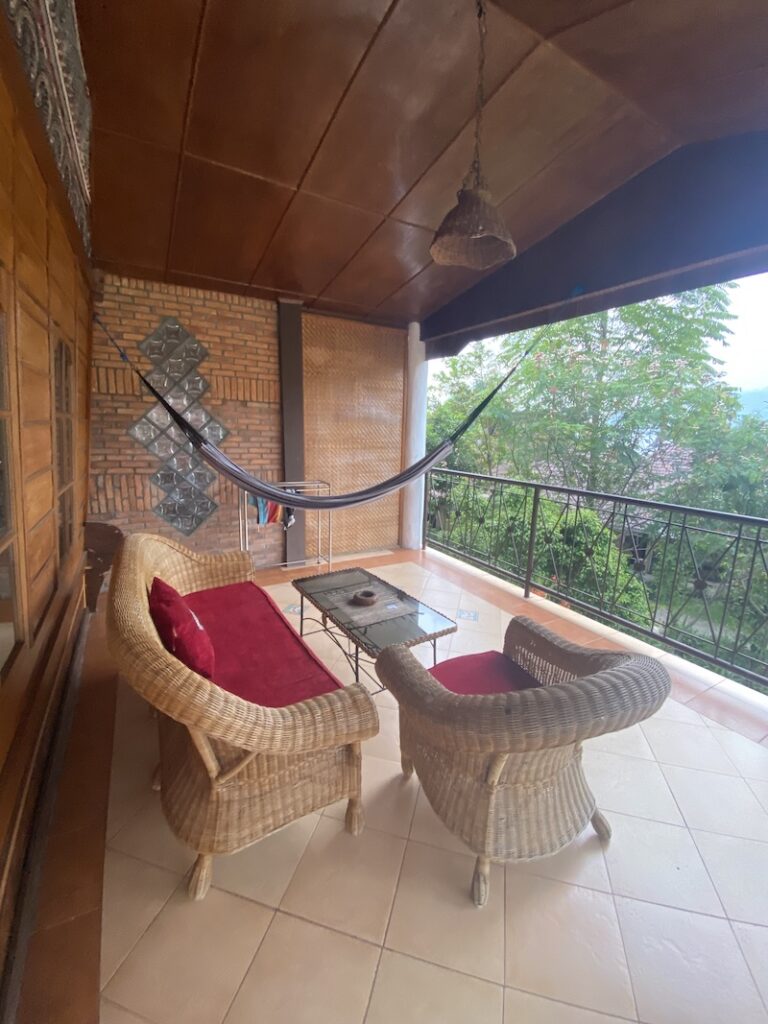
Tabo Cottages beside Lake Toba on Samosir Island
room at Tabo Cottages beside Lake Toba on Samosir Island

Exploring Samosir Island

We spent one day taking a tour further into Samosir and up into the hills.

Getting away from the lakeshore gives you a completely different perspective on the island. The roads climb above Lake Toba, opening up views across the water, surrounding mountains and villages below.

The scenery was probably what we enjoyed most about our time here. Lake Toba is beautiful from the water, but seeing it from higher up really gives you a sense of the scale of the lake and the volcanic landscape surrounding it.

If you’re staying around Tuk Tuk, we’d recommend spending at least one day exploring beyond the immediate area rather than staying beside the lake for your entire visit.

View across the volcanic landscape of Lake Toba
Traditional Batak architecture on Samosir Island

Walk from Tuk Tuk to Huta Siallagan

Another day, we explored independently on foot.

From Tuk Tuk, we walked towards Ambarita and Huta Siallagan, a traditional Batak village and one of the better-known cultural sites on Samosir Island.

The village is known for its traditional Batak houses and ancient stone chairs, which were historically used for meetings and judicial proceedings by local rulers.

The walk itself was part of the experience. Rather than simply travelling directly to the site, we could see more of everyday life on Samosir along the way.

We also passed some of the distinctive Batak tombs and graves found around the island. Batak burial traditions are very visible on Samosir, with elaborate tombs appearing beside roads and around villages. Some are surprisingly large and ornate, while others are older and rather eerie.

After exploring Huta Siallagan, we didn’t particularly fancy walking the whole way back, so we hailed one of the local motorbike taxis for the return journey to Tuk Tuk.

Traditional Batak architecture on Samosir Island
Historic Batak village of Huta Siallagan on Samosir Island
Exploring the countryside on Samosir Island
Traditional Batak graves near Lake Toba
Batak burial site beside the road on Samosir Island

Batak Culture on Samosir Island

One of the most interesting aspects of visiting Lake Toba is learning a little about Batak culture.

Traditional Batak architecture is immediately recognisable, particularly the houses with their dramatic curved roofs. Around Samosir, you’ll see both preserved traditional villages and Batak architectural influences incorporated into newer buildings.

Huta Siallagan gives some historical context to what you’re seeing elsewhere around the island, while the tombs, villages and traditional houses make Batak culture a visible part of travelling around Samosir rather than something confined to a museum.

This was quite different from the other places we’d visited in Indonesia and was one of the reasons we were glad we’d included Lake Toba in our North Sumatra route.

Traditional Batak houses on Samosir Island
Tabo Cottages beside Lake Toba on Samosir Island

How Long Do You Need at Lake Toba?

We stayed for five nights, which gave us plenty of time.

That allowed us to spend a day touring further around Samosir, walk to Huta Siallagan and still have time to simply enjoy the lake and our accommodation.

For most travellers, we’d say 2-3 nights would probably be enough to get a good introduction to Samosir Island without rushing.

If you want to explore much more of the island, spend time hiking or simply want somewhere to stay for a while beside the lake, you could easily stay longer.

For us personally, five nights was enough.

Getting from Lake Toba to Medan

Our departure from Samosir was unfortunately not quite as straightforward as our arrival.

We’d arranged a shared taxi back to Medan and arrived at the departure point around 30 minutes early, only to be told that our taxi had already left.

When we questioned what had happened, the man we were dealing with became extremely rude and started shouting at us. It was completely unlike the interactions we’d had almost everywhere else during our many travels in Indonesia.

Eventually another man came and helped us and we made our way onwards in another shared taxi, but it wasn’t a particularly pleasant way to finish our time at Lake Toba.

If you’re arranging a shared transfer back to Medan, we’d make sure you confirm the departure arrangements and pick-up point beforehand. If you have a flight to catch, we’d also leave yourself plenty of extra time rather than relying on a tight connection.

Our Mixed Feelings About Lake Toba

It’s difficult to explain exactly why you connect with some places and not others.

There wasn’t one particular incident that shaped our opinion of Lake Toba. Even before the unpleasant experience when we left, we simply hadn’t felt as comfortable here as we had elsewhere in Indonesia.

We found interactions generally less warm than we’d experienced in other parts of the country, and the atmosphere never quite clicked with us.

That’s obviously a very subjective experience. Another traveller could arrive the following week, meet completely different people and come away feeling entirely differently.

And none of that changes the fact that Lake Toba itself is spectacular.

The scenery, Batak villages, traditional architecture and enormous volcanic lake make it a fascinating place to see while travelling through North Sumatra.

Is Lake Toba Worth Visiting?

Despite our mixed experience, we’re glad we went.

Lake Toba is unlike anywhere else we visited during our time in Indonesia, and Samosir Island offers an opportunity to experience Batak culture alongside some genuinely beautiful scenery.

But we also wouldn’t pretend we loved somewhere simply because it’s a popular destination.

Of the main stops on our North Sumatra route, Bukit Lawang was somewhere we could happily have stayed longer, while Lake Toba was somewhere we were ready to leave.

That doesn’t mean we’d tell other travellers to skip it. Lake Toba is absolutely worth seeing and you may have a completely different experience from us.

For our trip, though, three or four nights would probably have been enough.

August 22, 2026 0 comments
FacebookTwitterPinterestLinkedinRedditStumbleuponWhatsappTelegramThreadsOpenAIChatGPTEmail
Hiker at the Mount Sibayak crater near Berastagi, North Sumatra
Indonesia

Mount Sibayak Sunrise Hike: Our Experience in Berastagi, Sumatra

by Livia August 22, 2026
written by Livia

On our Northern Sumatra trip we spent one night in Berastagi, and there was one main reason for stopping here: to climb Mount Sibayak for sunrise.

After several days relaxing in Bukit Lawang, we travelled by taxi through the mountains to Berastagi. The drive itself was beautiful, taking us through the green landscapes of northern Sumatra before reaching the town.

The following morning, we were up long before sunrise and heading towards Mount Sibayak, an active volcano just outside Berastagi.

Getting from Bukit Lawang to Berastagi

We travelled directly from Bukit Lawang to Berastagi by taxi, which was an easy way to make the journey between the two.

It’s also a very scenic drive. As you head towards Berastagi, the landscape becomes increasingly mountainous, with plenty of views along the way.

If you’re travelling through northern Sumatra, combining Bukit Lawang and Berastagi works particularly well. We went from orangutan trekking and rainforest in Bukit Lawang to climbing a volcano in Berastagi, despite the two being relatively close to each other.

North Sumatra volcano views

Where We Stayed in Berastagi

We stayed at Nachelle Homestay for our one night in Berastagi and found the owners incredibly sweet and welcoming.

They also offer Mount Sibayak trekking, which made everything very easy. We joined a small group of 3 from the homestay and went with the husband of the family as our guide rather than arranging a separate tour in advance.

With such an early start, being able to organise everything directly where we were staying was particularly convenient. We could simply get up, meet the group and head out together.

Room at Nachelle Homestay in Berastagi

Where to Eat Near Nachelle Homestay

Another advantage of staying at Nachelle Homestay was having plenty of good local food right outside the door.

There are several bakso warungs nearby, where you can try the Indonesian meatball soup you’ll see all over the country. We also ate at Cafe J.Vayona, just a short walk from the homestay.

We were only in Berastagi for one night, so we didn’t explore the wider restaurant scene, but we certainly didn’t need to travel far to find somewhere good to eat.

Cafe J.Vayona near Nachelle Homestay in Berastagi with resident cat
Local food stalls near Nachelle Homestay in Berastagi

Hiking Mount Sibayak for Sunrise

Our hike started well before sunrise while it was still completely dark outside and we reached the top at around 6:15 am, as the morning light was beginning to appear over the surrounding landscape.

We didn’t find the Mount Sibayak hike particularly difficult. There is some climbing involved, but compared with some of the other hikes we’ve done, it was relatively manageable.

Having a guide also meant we didn’t need to think about navigating the trail in the dark. We could simply follow the group and concentrate on the walk.

Trail leading up Mount Sibayak near Berastagi
Volcanic landscape on the Mount Sibayak hiking trail

Sunrise at Mount Sibayak

Once we reached the top, the landscape opened up around us.

Mount Sibayak is an active volcano, and the crater gives the summit a completely different feel from a normal mountain viewpoint. Steam and volcanic gases rise from parts of the crater, surrounded by rugged volcanic rock and mountains in the distance.

It was also noticeably colder at the top than we’d been used to in Sumatra. We wore our thin puffer jackets and were glad we’d brought them, particularly while standing around waiting for the sun to come up.

Watching the landscape slowly appear as the morning light came in was worth the early start.

Even without the sunrise, the volcanic landscape around the crater makes the hike interesting in its own right.

Looking into the steaming Mount Sibayak crater in North Sumatra
Sunrise view from Mount Sibayak near Berastagi
Hikers at the Mount Sibayak crater near Berastagi, North Sumatra

Visit the Sulfur Hot Springs After the Hike

The morning wasn’t quite finished once we’d climbed back down.

On our way back to Berastagi, we stopped at the sulfur hot springs near Mount Sibayak.

After getting up in the middle of the night and hiking up and down a volcano, sitting in the warm water was a very welcome way to finish the morning.

The pools are naturally heated by the geothermal activity around Mount Sibayak, with views of the surrounding volcanic landscape.

If your Mount Sibayak tour includes the hot springs, bring swimwear with you. We’d definitely recommend adding them rather than heading straight back to Berastagi after the hike.

Sulfur hot springs near Mount Sibayak in Berastagi
Natural hot spring pools near Mount Sibayak

Do You Need a Guide to Hike Mount Sibayak?

We hiked Mount Sibayak with a guide arranged through Nachelle Homestay, and for a sunrise hike we’d happily do the same again.

Starting in complete darkness makes navigating an unfamiliar trail more difficult, and having someone who knew the route meant we didn’t have to worry about finding our way.

It also made the whole experience incredibly easy to arrange. We didn’t book a separate Mount Sibayak tour before arriving in Berastagi. We organised the hike through our accommodation and joined a group from there.

If you’re staying elsewhere in Berastagi, it’s worth asking your accommodation whether they can arrange a Mount Sibayak sunrise hike.

What to Bring for a Mount Sibayak Sunrise Hike

You don’t need huge amounts of equipment for the hike, but there are a few things we’d recommend bringing:

  • Comfortable shoes with decent grip
  • A light jacket or thin puffer jacket
  • Water
  • A headtorch or torch
  • Swimwear if you’re visiting the sulfur hot springs afterwards
  • A small towel
  • Camera or phone

Don’t assume that because you’re in Sumatra it will be hot. Berastagi sits at a higher elevation, and before sunrise on Mount Sibayak it can feel surprisingly cool.

How Long Do You Need in Berastagi?

We only stayed for one night, which was enough for what we’d come to Berastagi to do.

We arrived from Bukit Lawang, stayed at Nachelle Homestay, explored a little around the area and got up early the following morning to hike Mount Sibayak. After the hike and a stop at the sulfur hot springs, we continued our journey.

There are other things to see around Berastagi if you want to stay longer, but we didn’t visit them, so we can’t tell you whether they’re worth adding.

If Mount Sibayak is your main reason for visiting, an overnight stop can work well.

Berastagi church
sunrise view from Mount Sibayak near Berastagi

Is the Mount Sibayak Sunrise Hike Worth It?

For us, yes.

We didn’t spend enough time in Berastagi to write a complete guide to the town, but stopping here for one night worked perfectly as part of our journey through northern Sumatra.

The hike wasn’t particularly difficult, the volcanic landscape around the crater was beautiful, and soaking in the sulfur hot springs afterwards was a great way to finish the morning.

After the rainforest and orangutans of Bukit Lawang, spending a night in the mountains and starting the next morning on top of an active volcano gave us a completely different side of northern Sumatra.

If you’re travelling through the region, Mount Sibayak is well worth adding to your route, even if, like us, you only have one night in Berastagi.

August 22, 2026 0 comments
FacebookTwitterPinterestLinkedinRedditStumbleuponWhatsappTelegramThreadsOpenAIChatGPTEmail
Indonesia

Orangutan Trekking and Bukit Lawang Travel Guide

by Livia August 22, 2026
written by Livia

Most people come to Bukit Lawang for one reason: to trek into the Sumatran rainforest in search of orangutans.

That was the main reason we came too, but after spending a week here we discovered that Bukit Lawang is also a lovely place to simply stay for a while and relax in nature.

Set alongside the Bohorok River on the edge of Gunung Leuser National Park, the village is surrounded by dense green rainforest. Away from the orangutan trekking, there isn’t a huge list of things you need to see or do, and that’s part of the appeal. We spent our days walking along the river, exploring the village, eating at small restaurants and enjoying being surrounded by nature.

If your North Sumatra itinerary allows it, we’d recommend staying a little longer rather than arriving, doing the trek and immediately leaving again.

How to Get to Bukit Lawang from Medan airport

We flew into Medan, the main gateway to Bukit Lawang and northern Sumatra, and arranged a private pick-up from the airport with our hotel.

The drive from Kualanamu International Airport (Medan) to Bukit Lawang usually takes around 3.5–4.5 hours, depending on traffic.

As you get closer to Bukit Lawang, the busy city streets gradually give way to smaller towns, plantations and increasingly green countryside.

Once you arrive, it’s worth knowing that parts of Bukit Lawang are pedestrian-only. Depending on where you’re staying, you may need to walk the final section to your accommodation with your luggage. As we booked our pick up with the hotel, the hotel staff were there meeting us and helping us with our luggage to the hotel.

Where to Stay in Bukit Lawang

We stayed in three different places during our eight nights in Bukit Lawang, which gave us a good feel for the different accommodation available around the village.

Sam’s Bungalows

Our first stay was at Sam’s Bungalows, towards the end of the village beside the river.

The location is lovely, with the river and rainforest right outside, and we found the staff very friendly. There’s also a restaurant serving good food, so you don’t necessarily need to walk back into the main part of the village whenever you want to eat.

Being towards the end of the village also means you’re away from some of the busier areas.

Rainforest view from Sam's Bungalow in Bukit Lawang
Restaurant view from Sam's Bungalow in Bukit Lawang

Garden Inn

We also stayed at Garden Inn, which has beautiful views across the surrounding greenery.

The rooms were quite simple and we found it a little hot and noisy at times as you are more in the middle of the village, but the setting is lovely. If you’re mainly looking for somewhere inexpensive with great views and don’t mind fairly basic accommodation, it can be a good option.

Rainforest view from Garden Inn in Bukit Lawang

On The Rocks

Our favourite place we stayed in Bukit Lawang was On The Rocks.

It’s set higher up amongst the trees, right on the edge of the rainforest, so reaching it involves a bit of a walk uphill, but the location is worth the effort.

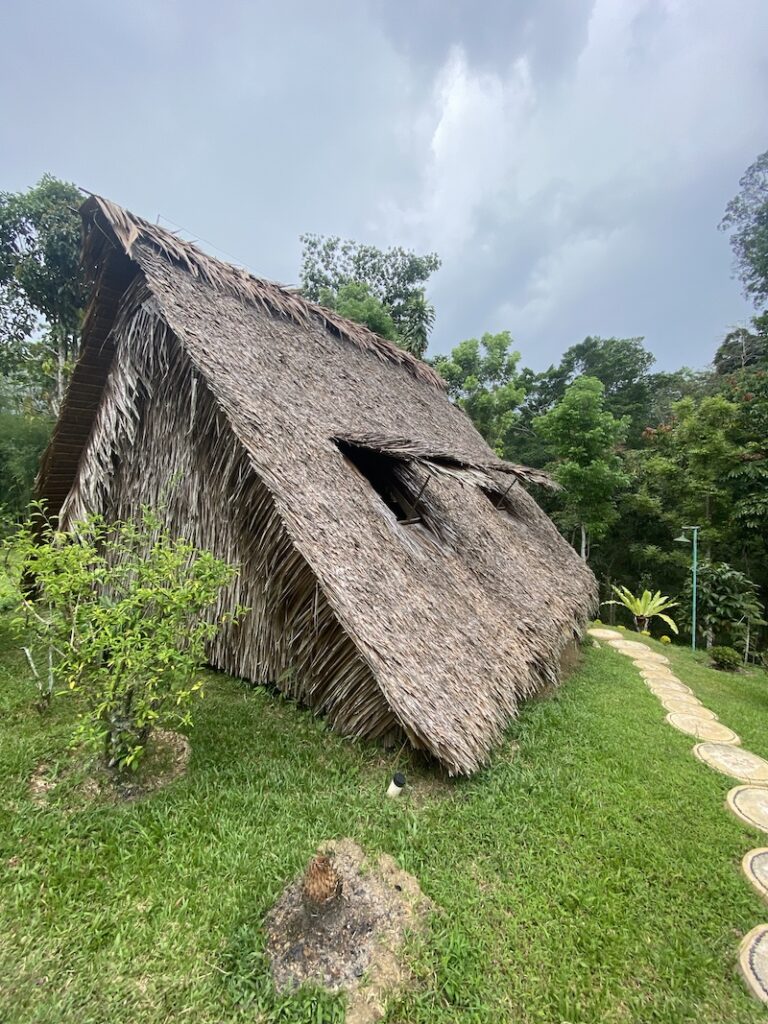
There are several different types of accommodation at different price points. We stayed in one of the cheapest options, a simple little thatched cottage, and absolutely loved it. The more expensive rooms are beautiful, but you don’t need to spend a lot to enjoy the setting, so there are options for different budgets.

You’re surrounded by rainforest here, and it feels much more secluded than staying down beside the main path through the village. We even had a female orangutan with her baby nesting in the trees outside our room. The food is also good here.

If we returned to Bukit Lawang, this is where we’d stay again.

Thatched cottage at On The Rocks in Bukit Lawang
Mother and baby orangutan in the trees at Bukit Lawang
Thatched cottage at On The Rocks in Bukit Lawang

Orangutan Trekking in Bukit Lawang

Seeing Sumatran orangutans in the wild is the main reason most travellers visit Bukit Lawang.

The village sits beside Gunung Leuser National Park, part of the wider Leuser Ecosystem and one of the remaining places where Sumatran orangutans live in the wild.

You can choose anything from a one-day trek to multi-day jungle expeditions, with longer treks taking you deeper into the rainforest and usually involving camping overnight.

We chose a one-day trek, which was plenty challenging enough for us.

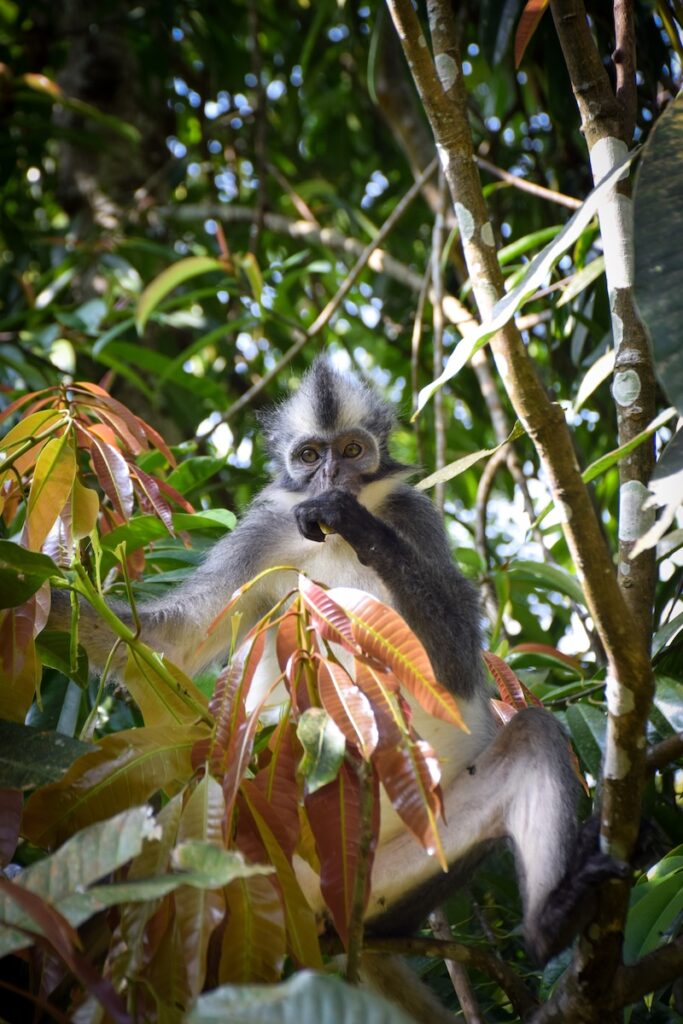
Thomas monkey in the rainforest near Bukit Lawang
Sumatran orangutan in the rainforest near Bukit Lawang
Orangutan trekking in Gunung Leuser National Park near Bukit Lawang

How Difficult Is the Orangutan Trek?

Don’t underestimate the terrain.

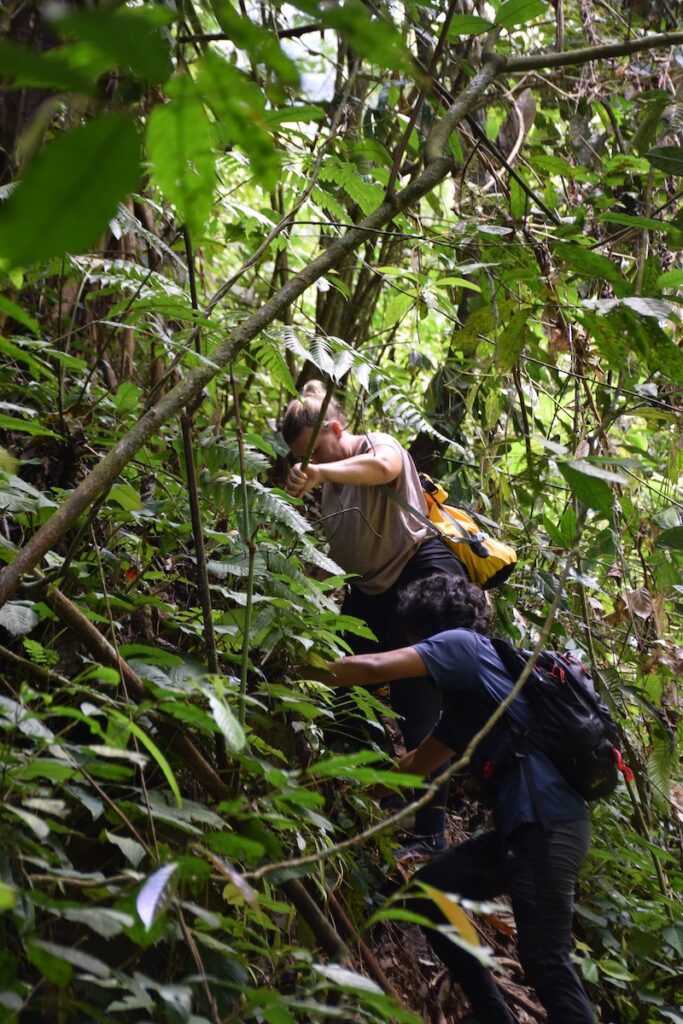
The trekking involves a lot of steep ups and downs through humid rainforest. There were sections where we were pulling ourselves uphill using vines and tree roots, followed by steep descents where you really need to watch where you’re putting your feet.

It was tough at times, but also incredibly rewarding. The rainforest itself is beautiful, quite apart from the wildlife you’re there to see.

You don’t need to race through it either. A good guide will adapt the trek to your ability and let you take breaks when needed.

Hiking through the rainforest on a Bukit Lawang orangutan trek

Choosing an Ethical Orangutan Trekking Guide

Choosing the right guide was particularly important to us.

There are rules around encounters with orangutans, including maintaining an appropriate distance and never feeding or touching them. Before booking, we wanted to make sure we went with guides who respected those rules rather than prioritising close-up photographs for tourists.

Most accommodation in Bukit Lawang can arrange orangutan trekking, but you don’t have to book through the place you’re staying. Green Hill is another guesthouse in the village, and although we weren’t staying there, we simply walked over after we arrived in Bukit Lawang and asked about arranging a trek.

We ended up trekking with Randa Armando from Green Hill, who was excellent. He took the trek at our pace, helped us through the more difficult sections and was respectful of the wildlife we encountered.

After later staying at On The Rocks and getting to know the place a little, we would also have been very happy trekking with their guides. If we returned, we’d probably arrange our trek directly through them.

Whichever company or guesthouse you choose, we’d recommend asking about their approach to wildlife before booking. Guides should maintain the required distance from orangutans and shouldn’t feed them, touch them or encourage tourists to get closer for photographs.

Rafting Back to Bukit Lawang

At the end of many jungle treks, you’ll have the option of returning to Bukit Lawang by river rather than walking all the way back.

The “rafting” is done using large inner tubes tied together to create a simple raft.

I was a little hesitant about this part before we did it, but it turned out to be really enjoyable. After hours of climbing up and down through the hot rainforest, getting onto the river was a pretty good way to finish the trek.

You float downstream through the jungle before eventually arriving back in Bukit Lawang.

If you’re unsure about adding the rafting to your trek, we’d do it again.

What Else Is There to Do in Bukit Lawang?

Not much. And we mean that in a good way.

Bukit Lawang isn’t somewhere you need an itinerary packed with attractions. We spent plenty of time simply walking along the river and through the village. You can follow the riverside paths, cross the suspension bridges and walk into the main town away from the more tourist-oriented accommodation beside the national park.

There’s also a small market area by the river, which is worth wandering through while you’re exploring. You can also walk further into the main town, away from the guesthouses and restaurants clustered closer to the national park.

For us, the appeal of staying longer was having nowhere in particular we needed to be. It’s a good place to slow down, read, sit beside the river and enjoy being surrounded by nature.

Bohorok River running through Bukit Lawang
Bukit Lawang village
Bohorok River running through Bukit Lawang

Where to Eat in Bukit Lawang

There are plenty of small restaurants and guesthouse restaurants along the river in Bukit Lawang, so finding somewhere to eat is easy.

We found that many of the menus were quite similar, usually with a mixture of Indonesian dishes and familiar Western options aimed at travellers.

We mostly ate at our accommodation, particularly Sam’s Bungalows and On The Rocks, simply because it was convenient and the food was good. With many of the guesthouses and restaurants spread along the river, there wasn’t much reason to go searching for a particular restaurant every evening.

We wouldn’t come to Bukit Lawang specifically for the food, but there are more than enough options for a stay of several days.

How Long Should You Stay in Bukit Lawang?

Many travellers spend just two or three nights in Bukit Lawang, giving them enough time to arrive, complete an orangutan trek and continue their journey through Sumatra.

We stayed for eight nights and were very happy that we did.

You certainly don’t need that long to see the main attraction, but Bukit Lawang is worth considering as somewhere to slow down for a few days, particularly if you’re travelling for a longer period.

After the trek, having a few days to relax beside the river and enjoy the rainforest without another activity planned was exactly what we wanted.

If you’re on a shorter Indonesia trip, we’d suggest 2-3 nights. If you have more time and enjoy nature, adding a few extra nights gives you the chance to experience Bukit Lawang beyond the orangutan trek.

Staying Near Medan Airport

If your flight times mean you need a night in Medan before or after visiting Bukit Lawang, we stayed at Hotel Deli River and Restaurant Omlandia for a couple of nights.

It was a really relaxing place to stay, particularly after travelling. There’s a pool, plenty of space to unwind and we even had a floating breakfast served in the pool.

Rather than trying to squeeze the journey between Bukit Lawang and the airport around a flight, spending a night or two here made the journey much more relaxed.

Hotel Deli River and Restaurant Omlandia in Medan
Hotel Deli River and Restaurant Omlandia in Medan, near airport
Floating breakfast in pool at Hotel Deli River and Restaurant Omlandia

Is Bukit Lawang Worth Visiting?

If seeing Sumatran orangutans in the wild is something you want to experience, Bukit Lawang is an obvious addition to a Indonesia itinerary.

The orangutan trek was challenging, beautiful and incredibly rewarding, but we also really enjoyed our longer stay in Bukit Lawang, having time to simply walk beside the river, waking up surrounded by rainforest and watching an orangutan and her baby in the trees outside our room.

You can come for the orangutans.

But you might want to stay a little longer for Bukit Lawang itself.

August 22, 2026 0 comments
FacebookTwitterPinterestLinkedinRedditStumbleuponWhatsappTelegramThreadsOpenAIChatGPTEmail
Indonesia

A Short Guide to Solo, Indonesia: Palaces, Street Food & Where We Stayed

by Livia August 22, 2026
written by Livia

Solo, also known as Surakarta, is a city in Central Java that often gets overlooked by travellers heading to nearby Yogyakarta. We didn’t spend a huge amount of time here, but we had enough time to explore some of the city, visit one of its palaces and, of course, eat plenty of Javanese food.

Solo (or Surakarta) has a very different feel from Indonesia’s bigger tourist destinations. There are fewer international visitors, plenty of street food and a strong connection to traditional Javanese culture. If you’re travelling through Central Java, it’s an easy place to add to your route for a couple of days.

Where to Stay in Solo

The Royal Surakarta Heritage

We stayed at The Royal Surakarta Heritage, right in the centre of Solo.

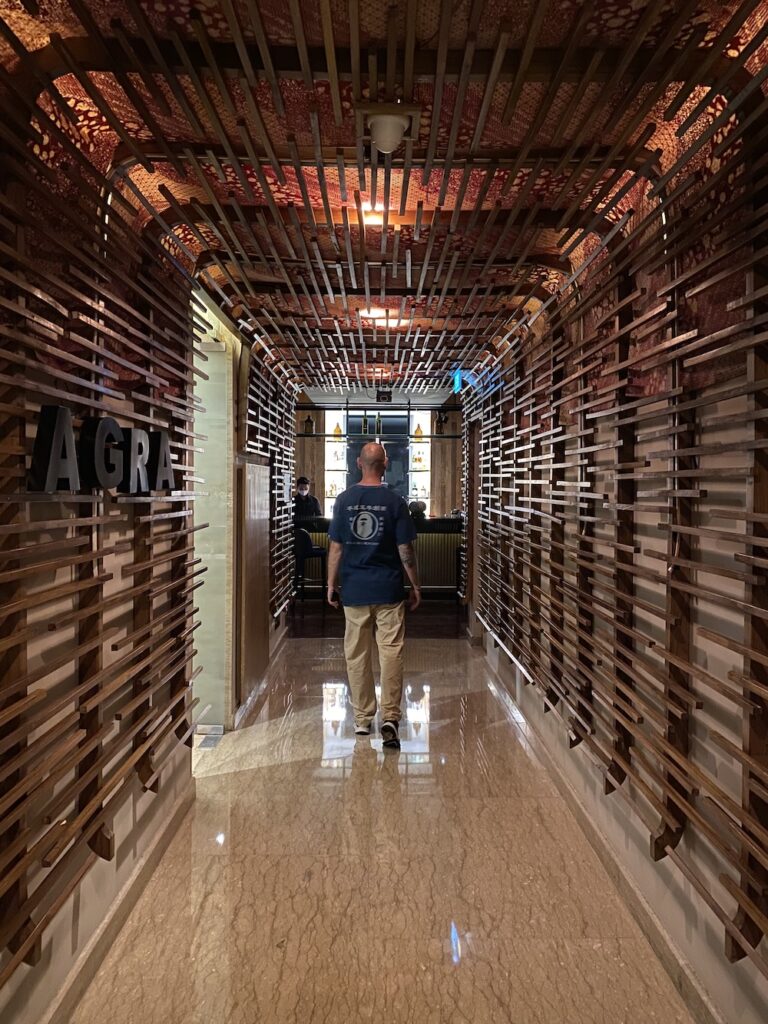
The location worked well for our short stay, with plenty of the city within easy reach. The hotel itself has a grand, traditional style with lots of Javanese details throughout the interiors.

For a first visit to Solo, staying centrally made exploring much easier, particularly when we only had a limited amount of time in the city.

The Royal Surakarta Heritage hotel in central Solo

Things to Do in Solo (Surakarta)

Visit Mangkunegaran Palace

If you only have time for a few sights in Solo, Mangkunegaran Palace (Pura Mangkunegaran) is well worth including.

Built in the 18th century, the palace is particularly interesting because Solo’s royal traditions aren’t simply part of its past. The Mangkunegaran royal family still exists today, and the palace remains their official residence, with the current ruler continuing the Mangkunegaran dynasty.

Parts of the palace are open to visitors, giving you a glimpse into both Solo’s royal history and a tradition that is still very much alive today. The complex combines traditional Javanese architecture with European influences, with large pavilions, courtyards and beautifully decorated interiors.

Allow some time to walk around rather than treating it as a quick photo stop. The details in the buildings, collections and interiors are a big part of the experience.

Traditional Javanese interior at Mangkunegaran Palace
Mangkunegaran Palace in Solo, Central Java
Traditional Javanese interior at Mangkunegaran Palace

Wander Through Central Solo (Surakarta)

Solo is also an interesting city to explore on foot, particularly around the centre where you’ll come across a mix of traditional Javanese buildings and architecture dating from the Dutch colonial period. Old façades, grand public buildings and newer developments sit alongside busy streets, markets and small local businesses.

We enjoyed simply walking around and taking in the architecture between the city’s main sights. It’s another reminder of the different layers of history that have shaped Solo.

Dutch colonial architecture in central Solo, Indonesia

Where to Eat in Solo (Surakarta)

Food was a big part of our time in Solo, from a more formal meal inside the Mangkunegaran complex to eating our way through the city’s street food.

Pracimasana Mangkunegaran

While visiting Mangkunegaran Palace, we also ate at Pracimasana Mangkunegaran, located within the palace complex.

The restaurant serves traditional Javanese dishes in a beautiful setting within the palace complex. It makes a great addition to a visit to Mangkunegaran Palace, particularly if you want to try regional food surrounded by Solo’s royal heritage.

Traditional Javanese food at Pracimasana Mangkunegaran
Pracimasana Mangkunegaran restaurant in Solo

Try Solo’s Street Food

At the other end of the spectrum, don’t leave Solo without trying some of its street food.

Once evening arrives, food stalls and small roadside eateries appear across the city. This was a completely different experience from eating at Pracimasana and gave us another side of Solo’s food culture. There were plenty on the streets near The Royal Surakarta Heritage hotel.

Rather than searching for particular restaurants, we enjoyed simply walking around, seeing what was being cooked and trying different things along the way.

Street food in Solo, Central Java

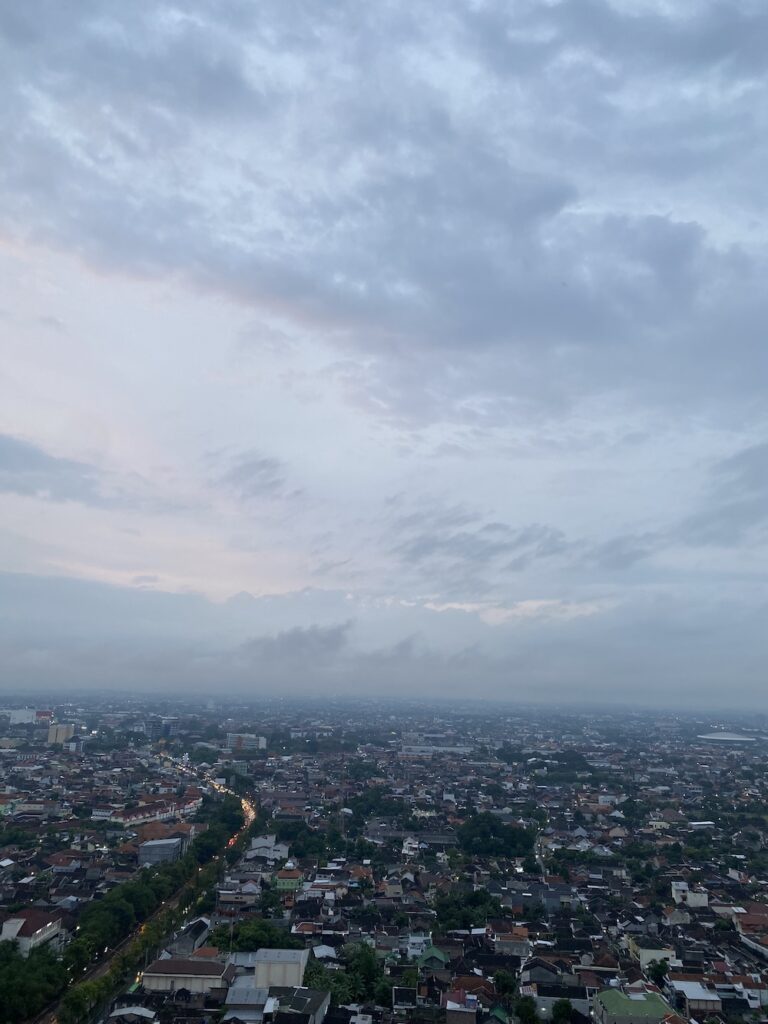
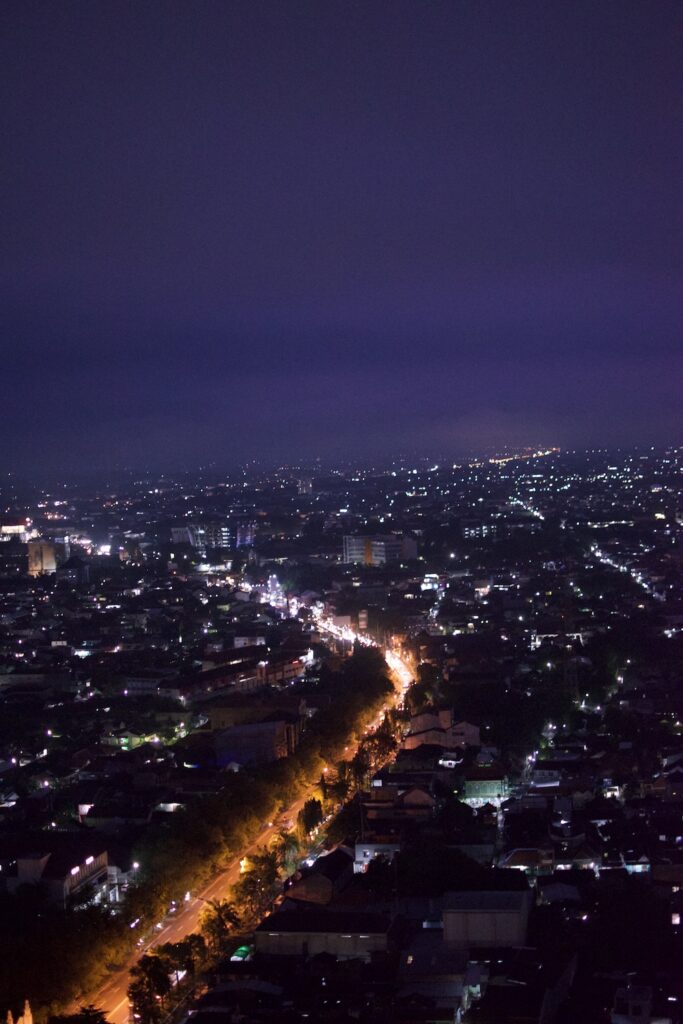
Have a Drink at the Alila Solo Rooftop

For a completely different view of the city, head up to the rooftop at Alila Solo (which would also be a good place to stay, but a little more outside the center).

The hotel is one of the tallest buildings in the city, and its rooftop gives you a fantastic view across Solo and the surrounding landscape.

We came here for drinks rather than staying at the hotel, and it’s a good place to finish the day, particularly around sunset when you can watch the city change from day to night below you.

View across Solo from the rooftop at Alila Solo
Roof top bar in Solo at Alila Solo
View across Solo from the rooftop at Alila Solo

How Long Do You Need in Solo?

For a first visit, we’d suggest one or two full days in Solo.

That gives you enough time to visit Mangkunegaran Palace, explore the centre, try some of the city’s food and spend an evening wandering around without rushing.

If you’re particularly interested in Javanese history and culture, you could easily stay longer and explore more of the palaces, museums and traditional neighbourhoods around the city.

Is Solo Worth Visiting?

Solo isn’t packed with major attractions, and that’s partly why we enjoyed including it in our trip.

Our time here was more about getting a feel for the city: walking around, eating street food, visiting Mangkunegaran Palace and seeing Solo from above with a drink at Alila.

If you’re travelling through Central Java and have a couple of days to spare, Solo is an easy addition to an Indonesia itinerary, particularly if you want to experience somewhere that sees fewer international tourists than nearby Yogyakarta.

August 22, 2026 0 comments
FacebookTwitterPinterestLinkedinRedditStumbleuponWhatsappTelegramThreadsOpenAIChatGPTEmail
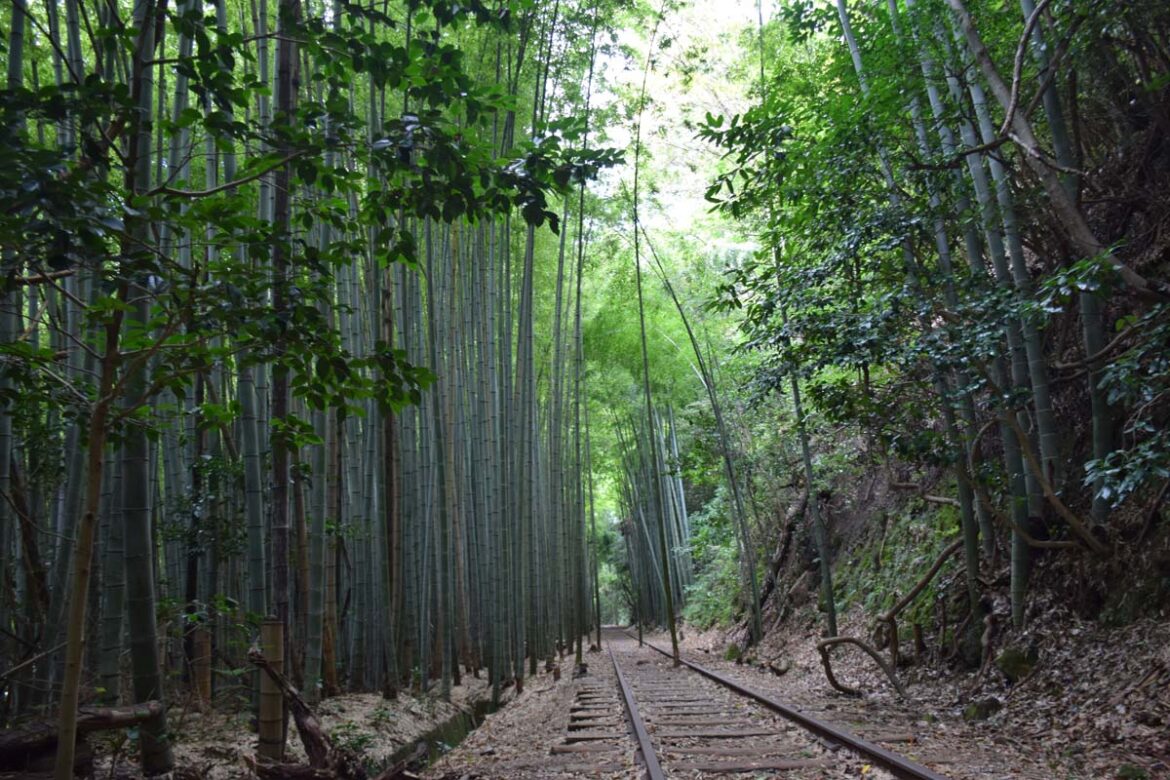
Bamboo grove at the Abandoned Kurayoshi Railway Line
Japan

How to Find the Abandoned Kurayoshi Railway Line

by Sam August 1, 2026
written by Sam

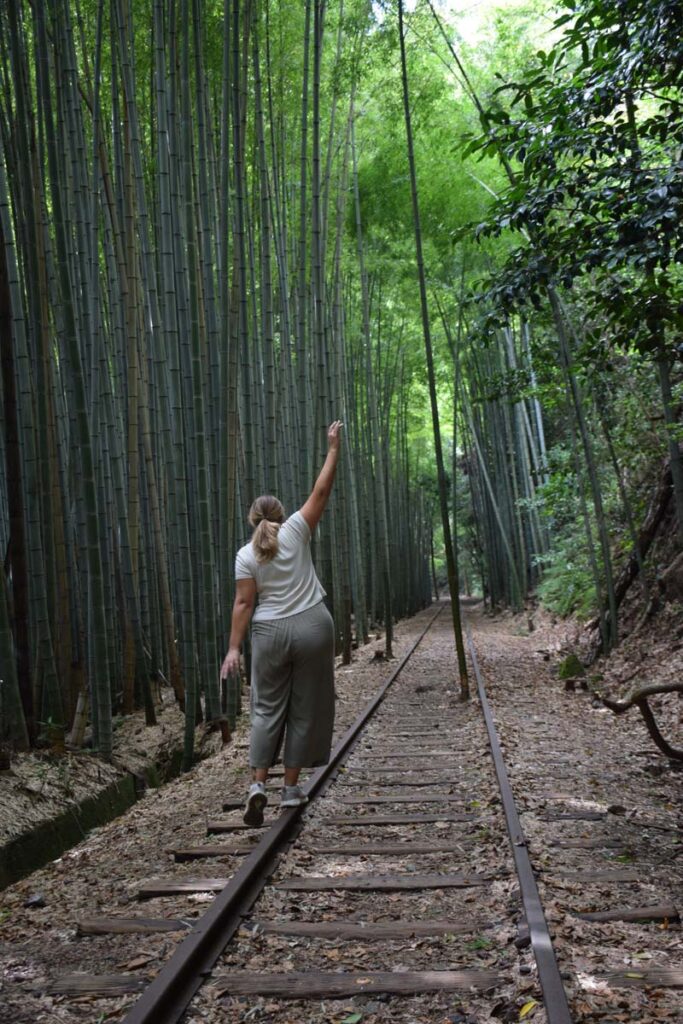
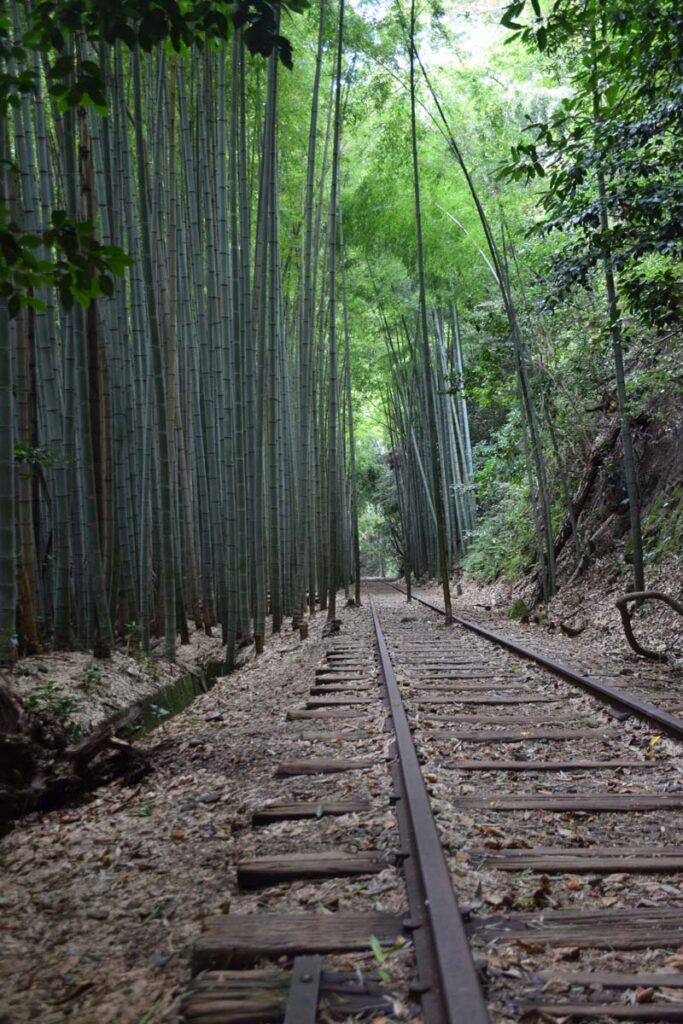
The abandoned Kurayoshi Railway Line was one of our favourite little detours in Tottori Prefecture. It is not a big polished tourist attraction, and that is exactly why we loved it. Old rails disappear into the countryside, the former Taikyuji Station still feels half-forgotten, and the bamboo grove looks like something from a Studio Ghibli scene.

We visited in the morning and did it as a half-day trip from Kurayoshi. It takes a little planning by public transport, but it is absolutely worth the effort if you like quiet places, old railway lines, and finding something that still feels genuinely hidden.

If you’re staying in town, pair this with our full Kurayoshi travel guide for the old town, pear museum, cafés and where we stayed.

Bamboo grove at the Abandoned Kurayoshi Railway Line
Abandoned Kurayoshi Railway Line

What Is the Abandoned Kurayoshi Railway Line?

The old Kurayoshi Line once connected Kurayoshi Station with Yamamori Station, running for around 20 kilometres through the Sekigane area. The line closed in 1985, but parts of the track, platforms and railway remains are still visible today.

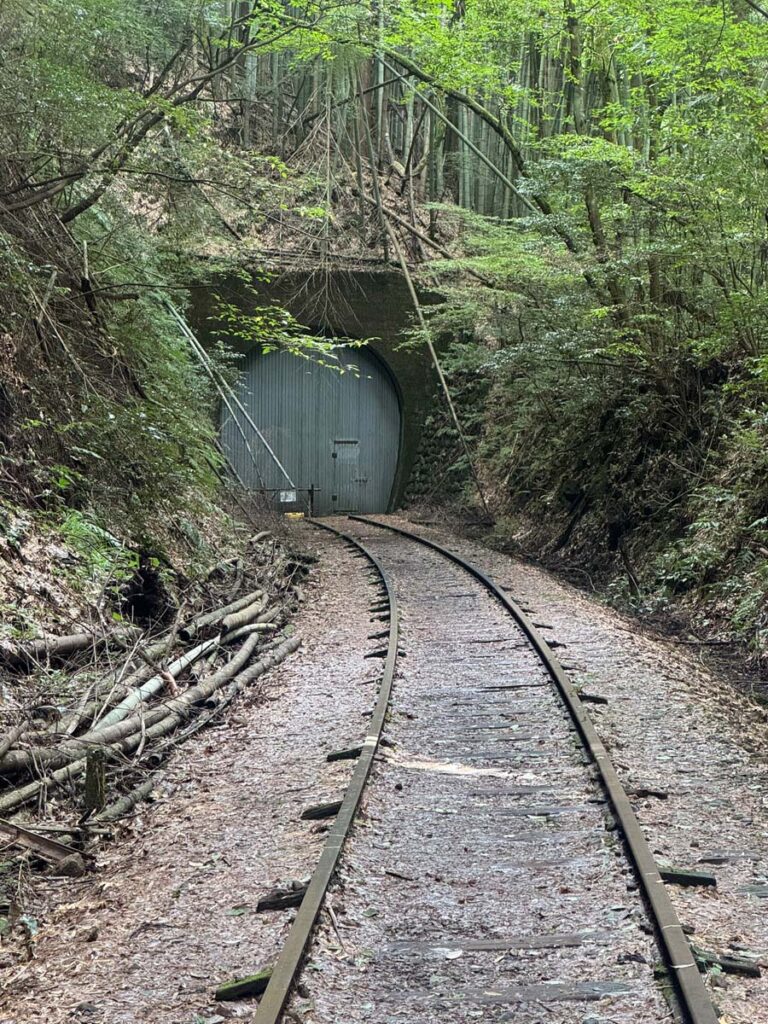
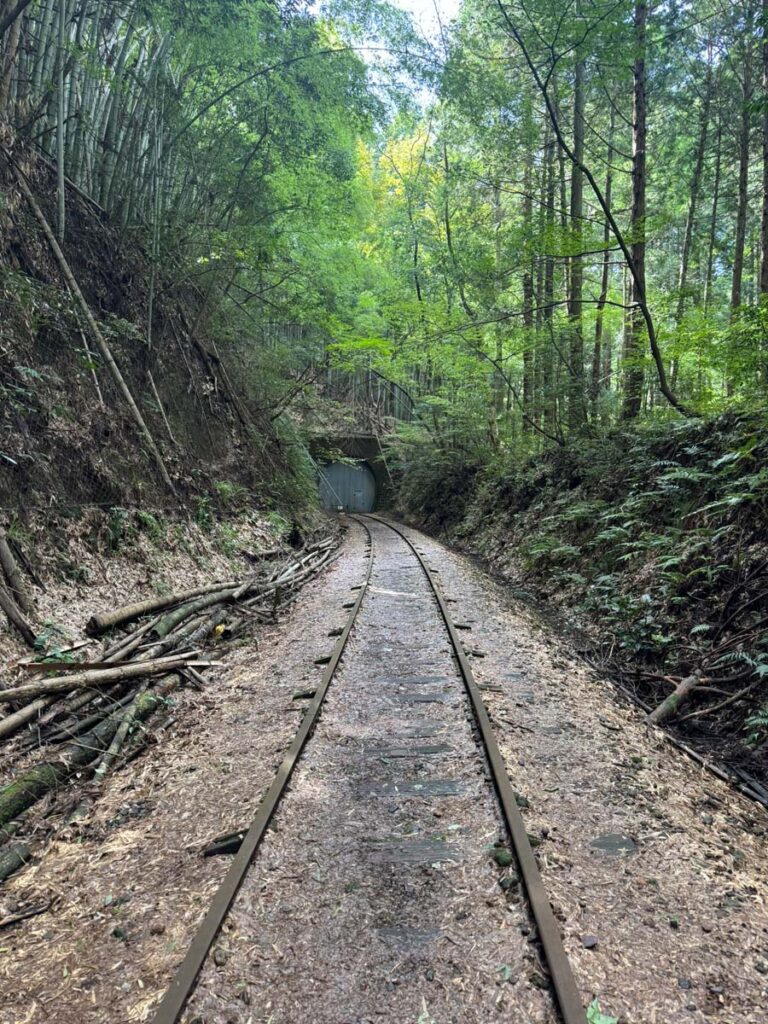
The most atmospheric section is around the former Taikyuji Station ruins, where the old track continues towards the bamboo grove and Yamamori Tunnel. The rails are still there, but nature has slowly taken over, which is what makes the place so special.

You can walk freely around the Taikyuji Station ruins and bamboo grove area, but Yamamori Tunnel itself is not normally open to walk through unless you join an official event or guided tour.

Where Is the Abandoned Kurayoshi Railway Line?

The section most people visit is near the former Taikyuji Station ruins in Sekigane, outside central Kurayoshi.

Google Maps link: Former Kurayoshi Line / Taikyuji Station area

Useful search terms for Google Maps:

  • 旧国鉄倉吉線 泰久寺駅跡
  • 357-5 Sekiganecho Taikyuji, Kurayoshi, Tottori 682-0404, Japan

How to Get There by Bus from Kurayoshi Station

Start at Kurayoshi Station bus terminal. Buses for the Sekigane area usually leave from platform 2.

The most useful route is the Nihon Kotsu Sekigane Line. The easiest direct option is to take the bus towards Akedaka / Sekigane and get off at Taikyuji, but this is not always convenient because direct buses to Taikyuji are very limited during the day, so check the local timetable.

The easiest and most flexible option (which we took) is to take the bus from Kurayoshi Station to Sekigane Chosha-mae, which is the stop for the Kurayoshi City Hall Sekigane Branch area.

Google Maps link: Kurayoshi City Hall Sekigane Branch

From Kurayoshi Station to Sekigane Chosha-mae / City Hall the bus takes around 45 minutes.

From there, allow roughly 30 minutes on foot to reach the former Yamamori Station, depending on your pace and how many photos you stop for.

From Yamamori Station, walk behind and left along the old tracks to Taikyuji Station ruins, allow another 5 minutes or so to walk along the railway line towards the bamboo grove.

So, as a simple morning route:

  • Kurayoshi Station to Sekigane area by bus: around 45 minutes
  • Sekigane City Hall area to Yamamori Station ruins: around 30 minutes on foot
  • Yamamori Station to Taikyuji Station (which then ruins to bamboo grove: around 20 minutes on foot)
  • Time exploring and taking photos: 45–90 minutes
  • Total trip: half a day

If you can line up the bus times well, this works nicely as a morning trip from Kurayoshi. Just remember to check the departure times before you leave the City Hall bus stop. Google Maps will also help you with transport times.

Countryside around Kurayoshi
Walking from Kurayoshi City Hall Sekigane Branch to Yamamori Station

The Route We Took

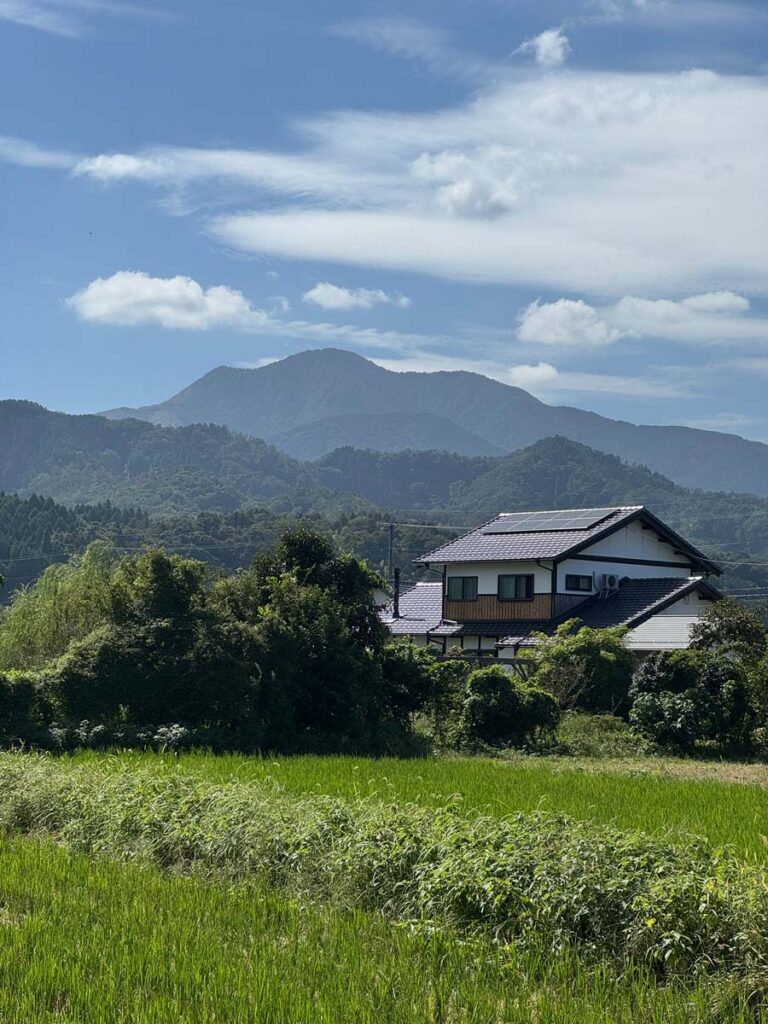
We started from Kurayoshi Station and took the bus out towards Sekigane. Once you leave the town behind, the journey quickly becomes rural, with small villages, rice fields and mountains.

After getting off near the Sekigane City Hall area, we walked towards the former railway line. It’s a straight, flat road that continues past the gas station. It’s not a difficult walk, but it does feel like you are heading further and further away from the obvious tourist route. That is part of the charm.

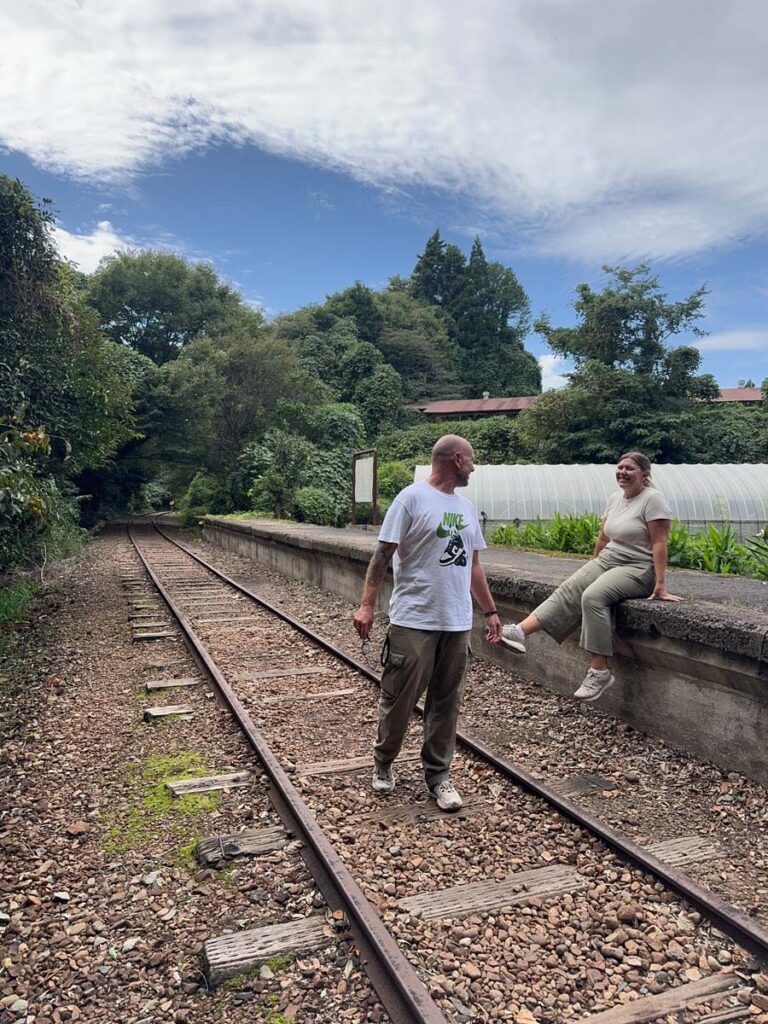
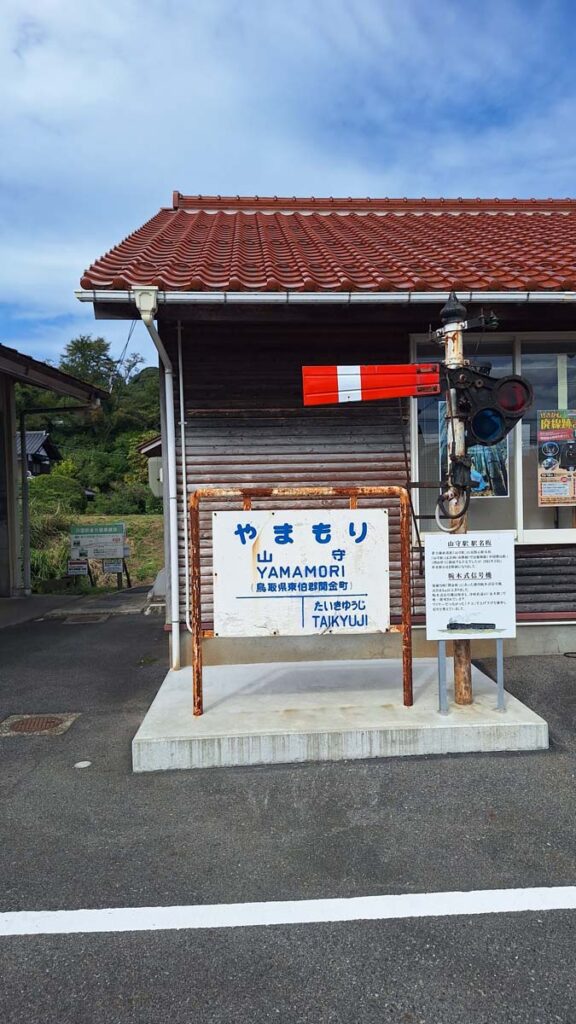
The first main goal is the former Yamamori Station. From there you need to walk about 20 minutes to the Taikyuji Station. This is where the abandoned railway atmosphere really begins. You can see the old platform area, rails and signs, and it already feels wonderfully quiet. Walk behind the old station and turn left and begin walking along the tracks.

Continue along the old line towards the bamboo grove. The actual line breaks up a bit, but you can see where it goes. There’s a road crossing, so go right up a little hill and re-join the line at the old station. The rails run into the trees, then the bamboo closes in around the track, and it feels completely different from the rest of Kurayoshi. We had the place entirely to ourselves.

It is not a long walk, but it is slow in the best way. You will want to stop constantly for photos.

Can You Walk Through Yamamori Tunnel?

No. It’s sealed up, there is a locked door.

The Yamamori Tunnel is beyond the bamboo grove, but it is not normally open for casual visitors to walk through. According to the official Kurayoshi tourism information, you need to join an organised walking event or guided tour if you want to enter the tunnel.

For most visitors, the Taikyuji Station ruins and bamboo grove are the main reason to come anyway. You still get the abandoned railway feeling without needing to enter the tunnel.

Entrance to Yamamori Tunnel

What to Bring

You do not need hiking gear, but this is not a city stroll either.

Bring:

  • Comfortable shoes
  • Water
  • A snack, especially if you are doing it in the morning
  • Sun protection in warmer months
  • A light rain jacket if the weather looks changeable
  • Offline maps or the location saved in Google Maps
  • A portable charger
  • Cash (you’re in Japan afterall)
  • Your camera or phone with plenty of battery

The walking is not technically difficult, but the ground can be uneven around the tracks. Watch your step, especially if it has been raining.

How Long Do You Need?

We did this as a half-day morning trip from Kurayoshi, and that felt about right.

If you only want to see the old station ruins and bamboo grove, you do not need a full day. The main thing is timing the buses properly, because public transport is not as frequent as it is in bigger Japanese cities.

A relaxed half-day plan would look something like this:

  • Morning bus from Kurayoshi Station
  • Walk to the former Yamamori Station , then to Taikyuji Station
  • Continue to the bamboo grove
  • Take photos and explore slowly
  • Walk back towards Sekigane
  • Bus back to Kurayoshi
  • Lunch or coffee back in town

If you are travelling by car, it is much easier and quicker, but going by bus made it feel like more of a little adventure.

Is It Worth the Effort?

100% Yes, if you like quiet, unusual places.

This is not somewhere with big crowds, souvenir shops or polished attractions. It is a peaceful abandoned railway walk in the countryside, and that is exactly what makes it memorable.

For us, it was one of those small Japan moments that stuck with us more than expected. A quiet bus ride, a rural walk, an old station, and railway tracks disappearing into bamboo. Simple, but brilliant.

Practical Tips for Visiting

Check the bus times before you go, ideally the day before. The direct bus to Taikyuji is limited, so you may need to travel via the Sekigane City Hall area instead.

Save the map location before leaving Kurayoshi Station. Mobile signal may be fine, but this is not the place to start guessing.

Go in the morning if you can. It gives you more breathing room with buses and means you can be back in Kurayoshi for lunch or coffee afterwards.

Do not enter Yamamori Tunnel unless it is part of an official open day or guided tour.

Wear proper shoes. The route is easy, but the railway area is uneven in places.

Where We Stayed in Kurayoshi

We stayed at Hotel St Palace Kurayoshi, just opposite Kurayoshi Station.

The location was very convenient for arriving and leaving by train, but it did mean we needed to catch a bus into the old town area. That trade-off worked fine for us, especially as Kurayoshi’s buses were straightforward enough once we knew where we were going.

Final Thoughts

Finding the abandoned Kurayoshi Railway Line took a bit more effort than simply visiting Kurayoshi’s old town, but that is what made it feel special. It was quiet, slightly odd, beautiful in a forgotten sort of way, and completely different from the usual Japan sightseeing stops.

If you are spending two nights in Kurayoshi, this is one of the best little half-day trips you can do.

This stop was part of our wider slow travel route through western Japan. You can read the full journey here: 23 Day Japan Slow Travel Itinerary by Train
Save the pin

August 1, 2026 0 comments
FacebookTwitterPinterestLinkedinRedditStumbleuponWhatsappTelegramThreadsOpenAIChatGPTEmail
Japan

Kurayoshi Travel Guide: Old Town, Pears and Railway Ruins

by Sam August 1, 2026
written by Sam

Kurayoshi was one of the quieter stops on our 23 day slow train route through western Japan, and that was exactly what made it memorable. We stayed for 2 nights, using the city as a slower stop between bigger names on the Sanin Line.

It is not a place packed with major sights, but Kurayoshi has a lovely old town, some excellent coffee, a wonderfully odd pear museum and one of the most atmospheric abandoned railway walks we found in Japan.

Nashikkokan, the Tottori Nijusseiki Pear Museum
Kurayoshi Old Town
Kurayoshi Old Town
Countryside around Kurayoshi

Where We Stayed in Kurayoshi

We stayed at Hotel St Palace Kurayoshi, just opposite Kurayoshi Station.

The location was very convenient for arriving and leaving by train, but it did mean we needed to catch a bus into the old town area. That trade-off worked fine for us, especially as Kurayoshi’s buses were straightforward enough once we knew where we were going.

Why Visit Kurayoshi?

Kurayoshi is best known for its White Wall Warehouses district, a preserved old merchant area with canals, stone bridges, red-tiled roofs and traditional buildings. It is small, peaceful and easy to explore slowly.

The town also has a few historic residences, cafés, local beer and one very unusual museum dedicated entirely to pears. And if you are willing to make the effort, the abandoned former Kurayoshi railway line near Sekigane is genuinely special.

Kurayoshi probably is not somewhere we would cross Japan specifically to visit, but as a stop on a slow regional train journey, it worked beautifully.

Things to Do in Kurayoshi

Walk Around the White Wall Warehouses District

The prettiest part of Kurayoshi is the White Wall Warehouses district, also known as 白壁土蔵群.

This is the area to wander without much of a plan. You’ll find old storehouses, canals, small bridges, shops, cafés and quiet streets that feel very different from Japan’s larger tourist towns.

We especially liked walking around 東仲町通り / Higashinakamachi Street, where the old buildings and waterways give Kurayoshi its most photogenic side.

Kurayoshi White Wall Warehouses District
Visit Daigakuin Temple
Kurayoshi shopping
Kurayoshi shopping

Visit Toyoda Family Residence

Toyoda Family Residence is one of Kurayoshi’s traditional merchant houses. It is a good stop if you want to understand a little more about the town’s historic architecture rather than just walking past the old buildings from the outside.

It is not a huge attraction, but it fits nicely into a slow walk around the old town.

Visit Kurayoshi Yodoya, Former Makita Family Residence

We also visited Kurayoshi Yodoya, the former Makita Family Residence. This old merchant house is now a small museum and is one of the most interesting historic buildings in town.

One of our favourite memories from Kurayoshi was meeting the lovely volunteer ladies here. Nobody spoke much English, but somehow we still had a brilliant conversation, with plenty of smiling, pointing, translation attempts and shared enthusiasm.

Sometimes those small human moments are the things you remember most.

Visit Daigakuin Temple

Daigakuin Temple is another quiet stop you can add while exploring Kurayoshi. Like much of the city, it is not about rushing through major attractions, but about slowing down and letting the town unfold a little.

Visit Nashikkokan, the Tottori Nijusseiki Pear Museum

One of the strangest and most fun places we visited in Kurayoshi was Nashikkokan, the Tottori Nijusseiki Pear Museum.

Yes, it is a museum about pears. And yes, it is much better than that sounds.

Tottori is famous for its 20th Century Pears, and this museum is dedicated to the history, farming and culture around them. It is slightly odd, very wholesome and surprisingly enjoyable. If you like regional museums that fully commit to one very specific thing, you’ll probably enjoy it too.

Nashikkokan, the Tottori Nijusseiki Pear Museum
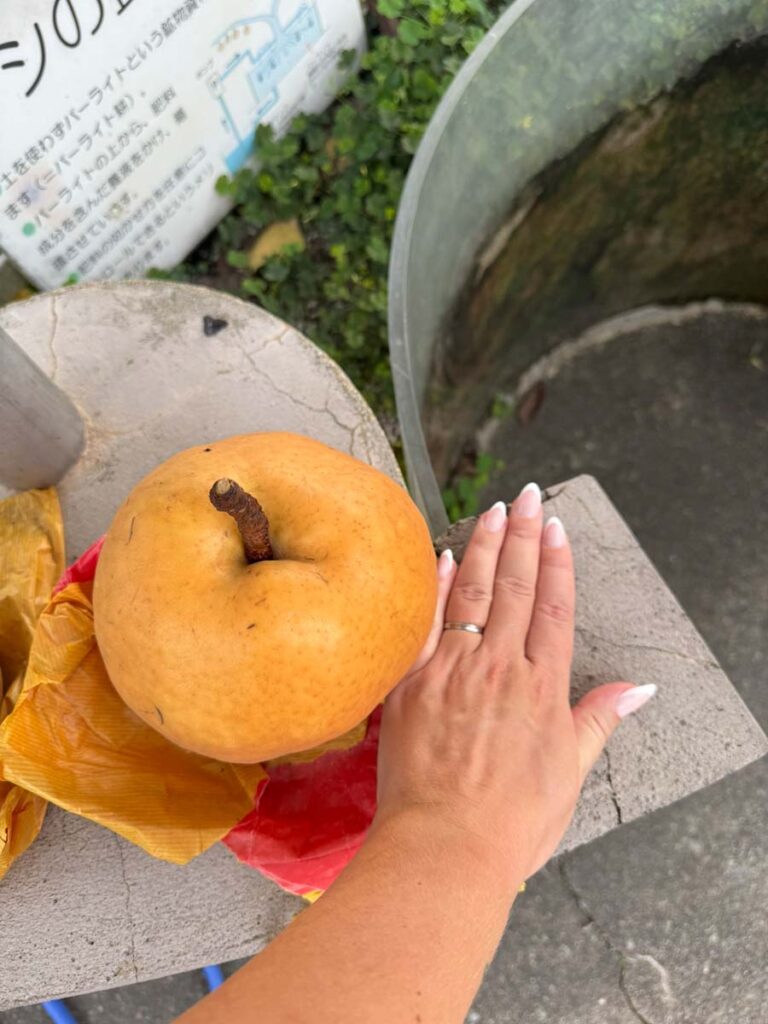
Giant pears at Nashikkokan, the Tottori Nijusseiki Pear Museum
fruit hats at Nashikkokan, the Tottori Nijusseiki Pear Museum

Find the Abandoned Kurayoshi Railway Line

Our favourite side trip from Kurayoshi was visiting the old abandoned railway line near Sekigane.

The former Kurayoshi Line once ran from Kurayoshi towards Yamamori, but it closed in 1985. Today, parts of the old track remain, including a beautiful section through bamboo forest near the former Taikyuji Station area.

It felt like something from a Studio Ghibli film: old railway tracks, bamboo, greenery and absolutely no crowds when we visited. It took a bit more effort to reach by bus, but it was completely worth it.

If you want to visit the old tracks yourself, we’ve written a separate guide on how to find the abandoned Kurayoshi Railway Line with bus details, walking times and the route to the bamboo grove.

The former Kurayoshi Line
Abandoned Kurayoshi Railway Line

Where to Eat and Drink in Kurayoshi

Harukiya Cafe

Harukiya Cafe was a lovely stop in the old town area. It is set in a renovated traditional building and makes a good coffee break while exploring the White Wall Warehouses district.

BrewLab KURAYOSHI

BrewLab KURAYOSHI is a local craft beer spot in the old town, close to the warehouse district. If you like finding small local breweries while travelling, this is an easy one to add to your Kurayoshi walk.

Yokohama Iekei Ramen Yoshiokaya Kurayoshi Station Branch

Near the station, we ate at 横浜家系ラーメン吉岡家 倉吉駅前店, a ramen shop close to Kurayoshi Station.

It was convenient, filling and exactly what we needed after a day of buses and walking. It also stood out because the shop was run by women, which made it feel a little different from many ramen places we had visited.

Tasting at BrewLab KURAYOSHI
Collect the stamps from around Kurayoshi Old Town

How Many Days Do You Need in Kurayoshi?

1 Day

One day is enough to see the White Wall Warehouses district, visit one or two historic houses, stop for coffee and get a feel for the old town.

2 Days

We stayed 2 nights, which gave us time to explore Kurayoshi slowly and also make the trip out to the abandoned railway line near Sekigane. If you are following a slow regional train route, this felt like the right amount of time.

3+ Days

You probably only need three days or more if you want to use Kurayoshi as a base for nearby areas, visit Misasa Onsen, or explore more of central Tottori Prefecture.

Getting Around Kurayoshi

Kurayoshi Station is not right beside the old town, so you will probably need to use local buses unless you have a car.

For the White Wall Warehouses district, look for buses heading towards the old town / Akagawara / Shirakabe area. For the abandoned railway line, you’ll need a bus towards Sekigane, then a walk.

As always with rural Japan, check the return bus times before heading out, especially if you are visiting places outside the city centre.

Final Thoughts on Kurayoshi

Kurayoshi is quiet, gentle and a little unusual. The old town is pretty, the coffee was good, the pear museum was far more fun than expected, and the abandoned railway line was one of the most memorable detours of our western Japan trip.

It is not a blockbuster destination, and that is part of the appeal. For us, Kurayoshi worked best as a slow stop on our 23 day slow train route through western Japan, giving us time to enjoy a smaller city that many travellers simply pass by.

August 1, 2026 0 comments
FacebookTwitterPinterestLinkedinRedditStumbleuponWhatsappTelegramThreadsOpenAIChatGPTEmail
China

Is China Difficult to Travel Independently? Our Honest Experience

by Livia August 1, 2026
written by Livia

Before travelling to China, we read countless articles warning about language barriers, blocked websites, complicated payment systems and the challenges of travelling without speaking Mandarin. By the time we boarded our flight, we weren’t quite sure what to expect.

After spending 10 days travelling independently through Chengdu, Chongqing and Shanghai, we came away with a very different impression.

Was everything effortless? No.

Was it as difficult as we’d been led to believe? Definitely not.

In fact, once we’d set ourselves up with a few essential apps, travelling independently around the parts of China we visited became far easier than we’d expected.

The Biggest Challenge Happens Before You Arrive

Ironically, the hardest part of travelling in China happens before you even land.

Downloading the right apps, setting up WeChat and Alipay, arranging an eSIM and understanding which websites are blocked took a little preparation before we left home.

We cover everything we used in our Essential Apps for Travelling in China guide.

Public Transport Was Outstanding

One of the things that impressed us most was China’s public transport.

The metro systems in Chengdu, Chongqing and Shanghai were clean, affordable, frequent and incredibly easy to use.

Adding a city transport card directly in Alipay meant we could simply tap in and out without buying individual tickets.

We also used local buses and found them just as easy to use. Whenever public transport wasn’t the most convenient option, we booked a DiDi, which was reliable, reasonably priced and simple to arrange through the WeChat app.

Even travelling between cities by high-speed rail was straightforward using Trip.com to buy tickets.

We Rarely Needed English

Before arriving, we assumed language would be one of our biggest obstacles.

Instead, we found that translation apps solved almost every situation we encountered.

Ordering food, asking simple questions and reading menus became much easier than we expected.

Shanghai had noticeably more English than Chengdu or Chongqing, but even in the cities where English was limited, we never felt unable to get around.

The People Were Incredibly Kind

One of the biggest surprises during our trip was how friendly and helpful people were. Despite the language barrier, we never felt unwelcome. Whether it was pointing us in the right direction, helping us find the right platform, order food or simply pointing us in the right direction, people were incredibly generous with their time.

There were plenty of moments where neither we nor the other person spoke the same language, but that never seemed to matter. A smile, a translation app and a little patience went a long way.

It reminded us that kindness doesn’t need a shared language. Even in a country where communication isn’t always easy, we left feeling that people genuinely wanted to help whenever they could.

Travelling Independently Doesn’t Mean Travelling Alone

Although we travelled independently throughout our 10 days in China, we were lucky enough to meet a local in each city who wanted to show us around for a few hours. They introduced us to neighbourhoods, local dishes and places we probably wouldn’t have discovered on our own.

We always think it’s worth spending time with locals whenever we travel. They don’t just know the best places, they also give you a much better understanding of daily life. No matter where you are in the world, they often know the best places to eat, the quieter streets to explore and the hidden gems that rarely make it into guidebooks.

The rest of the time, we explored completely independently. We used the metro to get around, booked all our own transport and accommodation, and visited Zhujiajiao Ancient Town on our own using public transport as well as the Panda Research Center in Chengdu.

Mobile Payments Quickly Become Normal

Like many visitors, we wondered whether we’d struggle without cash. In reality, almost everything was paid for using Alipay and WeChat.

Restaurants, cafés, metro journeys, convenience stores and even small street food stalls all accepted mobile payments.

After a day or two, paying with your phone simply becomes second nature. One thing we did notice was that Alipay may occasionally flag your account for verification during your first few days of use, especially while it’s getting used to your spending. Livia was temporarily locked out a couple of times, but each time it was quickly resolved by completing a passport verification in the app, and there were no issues afterwards.

That’s why we’d recommend setting up both Alipay and WeChat before you travel, just in case one of them temporarily asks you to verify your identity.

Is China Safe?

We found China to feel incredibly safe.

Whether walking through busy city centres, using the metro late in the evening or exploring neighbourhoods away from the main tourist areas, we never felt uncomfortable.

As with travelling anywhere, it’s important to use common sense, but safety was never something we worried about during our trip.

The Cities Felt Completely Different

One thing we hadn’t expected was just how different each city would feel.

Chengdu was relaxed, green and food-focused.

Chongqing felt unlike anywhere we’d ever visited, with its dramatic hills, layered roads and incredible skyline.

Shanghai was modern, international and much easier to navigate, making it an excellent first stop for many visitors.

It never felt repetitive, and each destination brought something completely different to the trip.

Shanghai
Chengdu
Chongqing

So… Is China Difficult to Travel Independently?

For us, the answer is no.

China certainly requires a little more preparation than some destinations, particularly when it comes to apps and mobile payments, but once you’re there, travelling independently is far easier than many people expect.

Looking back, most of the challenges we worried about before arriving turned out to be much smaller than we’d imagined. With the right apps installed before you travel and a little preparation, we found China surprisingly easy to explore independently.

If you’ve been putting off visiting China because you think it will be too difficult, we’d encourage you to reconsider. It turned out to be one of the most rewarding and straightforward independent trips we’ve taken.

August 1, 2026 0 comments
FacebookTwitterPinterestLinkedinRedditStumbleuponWhatsappTelegramThreadsOpenAIChatGPTEmail
Newer Posts
Older Posts

Recent Posts

  • Is Tottori Worth Visiting on a Japan Trip?

  • North Sumatra Itinerary: Bukit Lawang, Berastagi & Lake Toba

  • Lake Toba & Samosir Island: Is It Worth Visiting?

We use Safetywing

We use THS

Trusted House Sitters

Here’s 25% off your annual membership to TrustedHousesitters - thanks to your pet loving pals at LBSBWorld.

Join now with 25% Off!

We use NordVPN

NordVPN

Get 3 months of NordVPN right now!


The best VPN service for a free, open internet

Get NordVPN!

We use Wise

Wise

Get Zero Fees on a transfer up to €500


Spend in 150+ countries like a local with Wise card

Get Wise!

Follow us on Instagram

A Bear Called Paddington abearcalledpaddington 🌍 7 years full-time travel
Follow on Instagram
©2026 LBSBWorld - All Right Reserved - Designed and Developed by Livia & Sam
LBSB World
  • Home
  • Destinations
    • Africa
      • Namibia
    • Asia
      • China
      • Indonesia
      • Japan
    • Europe
      • Albania
      • Bosnia-Herzegovina
      • Croatia
      • Montenegro
      • Netherlands
      • North Macedonia
      • Serbia
    • North America
      • Dominican Republic
  • Travel Itineraries
    • Our 9-Day Namibia Tour with Chameleon Safaris: An Honest Review
    • Our 2 Week Albania Itinerary
    • Bosnia and Herzegovina Itinerary: Our 1 Month Route by Bus
    • Namibia Self Drive: Everything We Learned Driving a 4×4 Across Namibia
    • Our 3-Month Balkans Itinerary: 93 Days by Bus Through Southeast Europe
    • 23 Day Japan Slow Travel Itinerary by Train
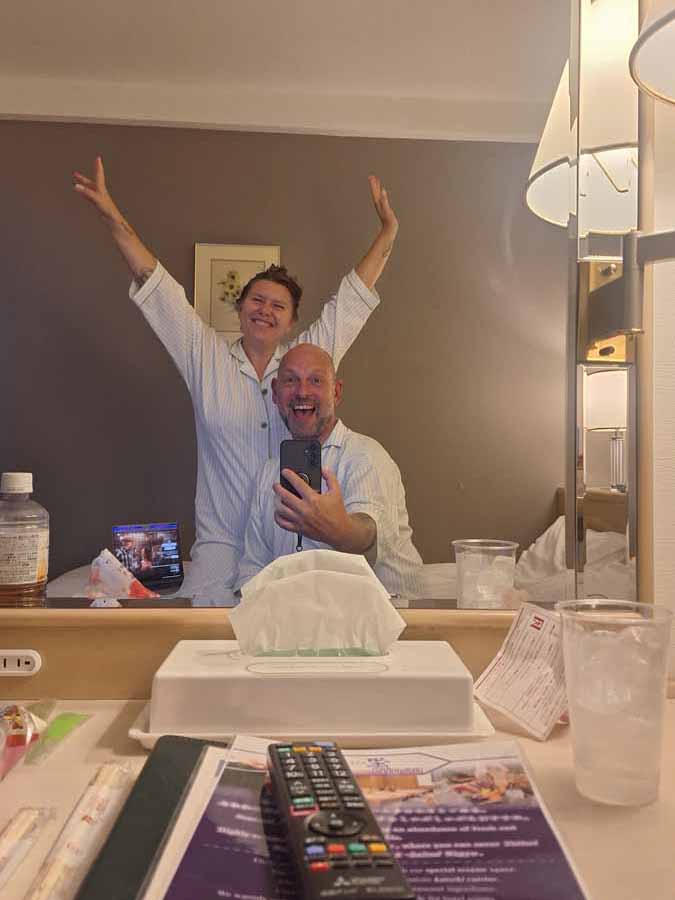
    • North Sumatra Itinerary: Bukit Lawang, Berastagi & Lake Toba
  • Plan Your Trip
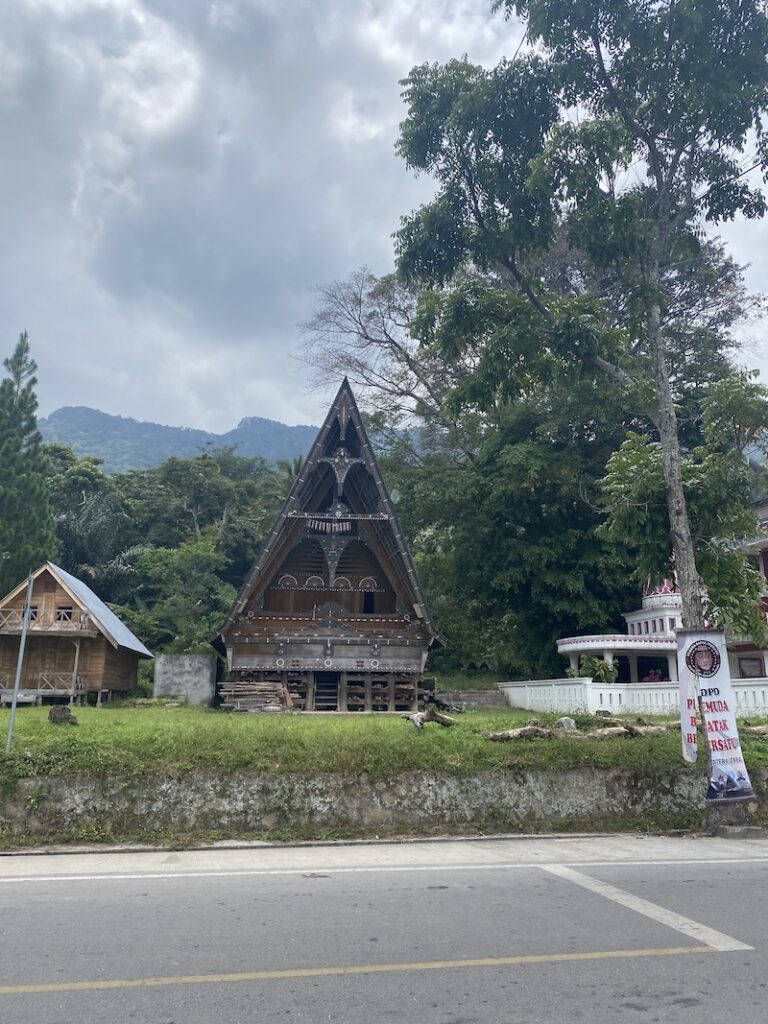
    • How to Deal with Travel Burnout (And Start Enjoying Travel Again)
    • Sam’s Fulltime Travel Packing List
    • Using Trusted House Sitters to Support Your Travels
    • Trusted House Sitters Promo Code: Save on Your Membership
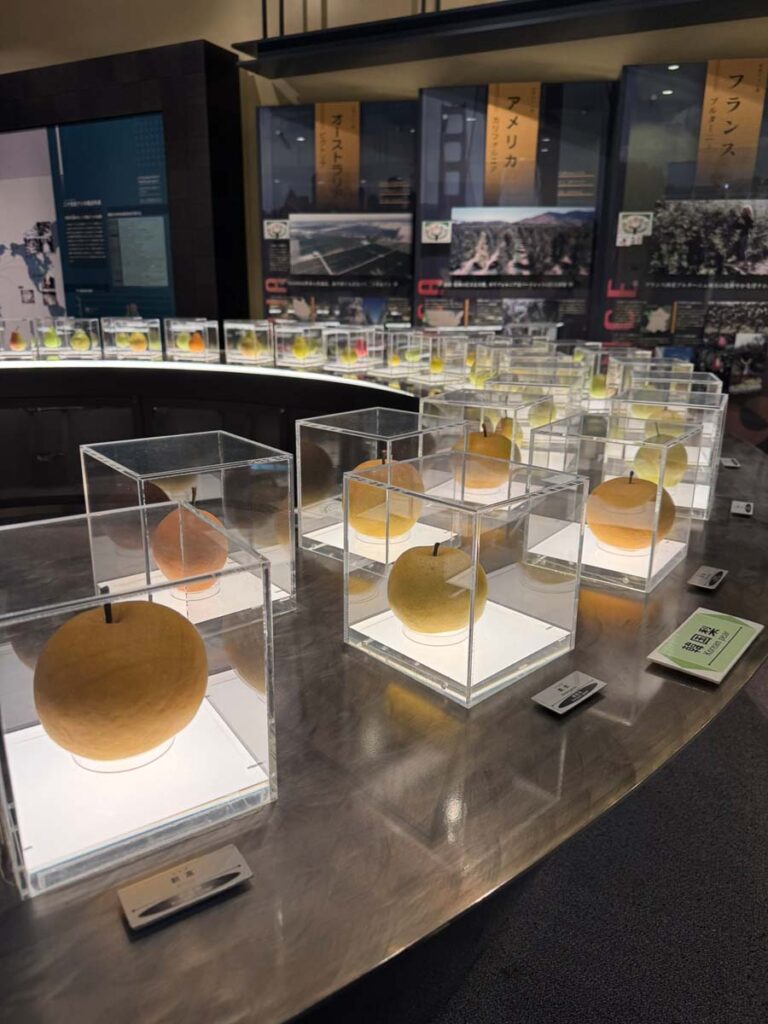
  • About Us
    • About Sam & Livia
    • The Story Behind Our Full-Time Travel Life
    • abearcalledpaddington